JavaScript has a variety of built-in popup APIs that display special UI for user interaction. Famously:
alert("Hello, World!");
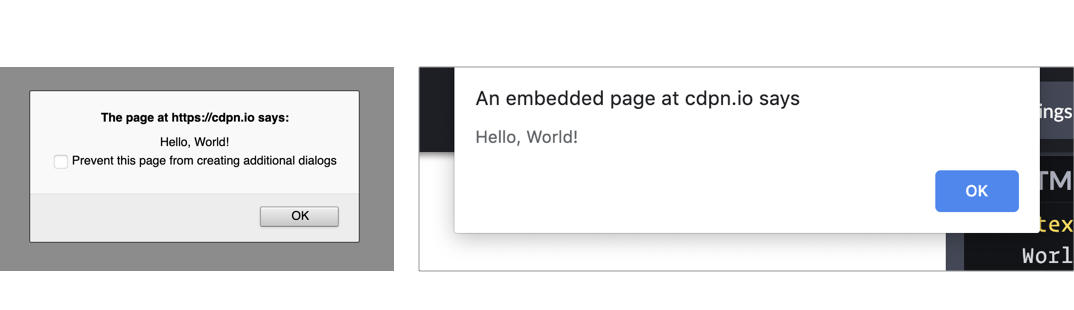
The UI for this varies from browser to browser, but generally you’ll see a little window pop up front and center in a very show-stopping way that contains the message you just passed. Here’s Firefox and Chrome:
Native popups in Firefox (left) and Chrome (right). Note the additional UI preventing additional dialogs in Firefox from triggering it more than once. You can also see how Chrome is pinned to the top of the window.
There is one big problem you should know about up front
JavaScript popups are blocking.
The entire page essentially stops when a popup is open. You can’t interact with anything on the page while one is open — that’s kind of the point of a “modal” but it’s still a UX consideration you should be keenly aware of. And crucially, no other main-thread JavaScript is running while the popup is open, which could (and probably is) unnecessarily preventing your site from doing things it needs to do.
Nine times out of ten, you’d be better off architecting things so that you don’t have to use such heavy-handed stop-everything behavior. Native JavaScript alerts are also implemented by browsers in such a way that you have zero design control. You can’t control *where* they appear on the page or what they look like when they get there. Unless you absolutely need the complete blocking nature of them, it’s almost always better to use a custom user interface that you can design to tailor the experience for the user.
With that out of the way, let’s look at each one of the native popups.
What it’s for: Displaying a simple message or debugging the value of a variable.
How it works: This function takes a string and presents it to the user in a popup with a button with an “OK” label. You can only change the message and not any other aspect, like what the button says.
The Alternative: Like the other alerts, if you have to present a message to the user, it’s probably better to do it in a way that’s tailor-made for what you’re trying to do.
If you’re trying to debug the value of a variable, consider console.log(<code>"`Value of variable:"`, variable); and looking in the console.
window.confirm();
window.confirm("Are you sure?");

<button onclick="confirm('Would you like to play a game?');">Ask Question</button>

let answer = window.confirm("Do you like cats?");
if (answer) {
  // User clicked OK
} else {
  // User clicked Cancel
}
What it’s for: “Are you sure?”-style messages to see if the user really wants to complete the action they’ve initiated.
How it works: You can provide a custom message and popup will give you the option of “OK” or “Cancel,” a value you can then use to see what was returned.
The Alternative: This is a very intrusive way to prompt the user. As Aza Raskin puts it:
...maybe you don’t want to use a warning at all.”
There are any number of ways to ask a user to confirm something. Probably a clear UI with a <button>Confirm</button> wired up to do what you need it to do.
window.prompt();
window.prompt("What’s your name?");

let answer = window.prompt("What is your favorite color?");
// answer is what the user typed in, if anything
What it’s for: Prompting the user for an input. You provide a string (probably formatted like a question) and the user sees a popup with that string, an input they can type into, and “OK” and “Cancel” buttons.
How it works: If the user clicks OK, you’ll get what they entered into the input. If they enter nothing and click OK, you’ll get an empty string. If they choose Cancel, the return value will be null.
The Alternative: Like all of the other native JavaScript alerts, this doesn’t allow you to style or position the alert box. It’s probably better to use a <form> to get information from the user. That way you can provide more context and purposeful design.
window.onbeforeunload();
window.addEventListener("beforeunload", () => {
  // Standard requires the default to be cancelled.
  event.preventDefault();
  // Chrome requires returnValue to be set (via MDN)
  event.returnValue = '';
});
What it’s for: Warn the user before they leave the page. That sounds like it could be very obnoxious, but it isn’t often used obnoxiously. It’s used on sites where you can be doing work and need to explicitly save it. If the user hasn’t saved their work and is about to navigate away, you can use this to warn them. If they *have* saved their work, you should remove it.
How it works: If you’ve attached the beforeunload event to the window (and done the extra things as shown in the snippet above), users will see a popup asking them to confirm if they would like to “Leave” or “Cancel” when attempting to leave the page. Leaving the site may be because the user clicked a link, but it could also be the result of clicking the browser’s refresh or back buttons. You cannot customize the message.
MDN warns that some browsers require the page to be interacted with for it to work at all:
To combat unwanted pop-ups, some browsers don't display prompts created in beforeunload event handlers unless the page has been interacted with. Moreover, some don't display them at all.
The Alternative: Nothing that comes to mind. If this is a matter of a user losing work or not, you kinda have to use this. And if they choose to stay, you should be clear about what they should to to make sure it’s safe to leave.
Accessibility
Native JavaScript alerts used to be frowned upon in the accessibility world, but it seems that screen readers have since become smarter in how they deal with them. According to Penn State Accessibility:
The use of an alert box was once discouraged, but they are actually accessible in modern screen readers.
It’s important to take accessibility into account when making your own modals, but there are some great resources like this post by Ire Aderinokun to point you in the right direction.
General alternatives
There are a number of alternatives to native JavaScript popups such as writing your own, using modal window libraries, and using alert libraries. Keep in mind that nothing we’ve covered can fully block JavaScript execution and user interaction, but some can come close by greying out the background and forcing the user to interact with the modal before moving forward.
You may want to look at HTML’s native <dialog> element. Chris recently took a hands-on look) at it. It’s compelling, but apparently suffers from some significant accessibility issues. I’m not entirely sure if building your own would end up better or worse, since handling modals is an extremely non-trivial interactive element to dabble in. Some UI libraries, like Bootstrap, offer modals but the accessibility is still largely in your hands. You might to peek at projects like a11y-dialog.
Wrapping up
Using built-in APIs of the web platform can seem like you’re doing the right thing — instead of shipping buckets of JavaScript to replicate things, you’re using what we already have built-in. But there are serious limitations, UX concerns, and performance considerations at play here, none of which land particularly in favor of using the native JavaScript popups. It’s important to know what they are and how they can be used, but you probably won’t need them a heck of a lot in production web sites.
Some time has passed since my last article when I was trying to establish communication between a mobile application and MiBand 3. The latest comments in the first article showed me plenty issues I left behind the scenes.
In the last couple months, I've been working on improving my skills in order to understand BLE standard better, and I can't say I learned nothing! That minor experience helped me to solve most significant mistakes related to the authorization process and heart rate measurement. Besides, it helped me to extend functionality of my application.
Indie and enterprise web developers alike are pushing toward a serverless architecture for modern applications. Serverless architectures typically scale well, avoid the need for server provisioning and most importantly are easy and cheap to set up! And that’s why I believe the next evolution for cloud is serverless because it enables developers to focus on writing applications.
With that in mind, let’s build a REST API (because will we ever stop making these?) using 100% serverless technology.
We’re going to do that with Firebase Cloud Functions and FaunaDB, a globally distributed serverless database with native GraphQL.
Those familiar with Firebase know that Google’s serverless app-building tools also provide multiple data storage options: Firebase Realtime Database and Cloud Firestore. Both are valid alternatives to FaunaDB and are effectively serverless.
But why choose FaunaDB when Firestore offers a similar promise and is available with Google’s toolkit? Since our application is quite simple, it does not matter that much. The main difference is that once my application grows and I add multiple collections, then FaunaDB still offers consistency over multiple collections whereas Firestore does not. In this case, I made my choice based on a few other nifty benefits of FaunaDB, which you will discover as you read along — and FaunaDB’s generous free tier doesn’t hurt, either. 😉
In this post, we’ll cover:
Installing Firebase CLI tools
Creating a Firebase project with Hosting and Cloud Function capabilities
Routing URLs to Cloud Functions
Building three REST API calls with Express
Establishing a FaunaDB Collection to track your (my) favorite video games
Creating FaunaDB Documents, accessing them with FaunaDB’s JavaScript client API, and performing basic and intermediate-level queries
And more, of course!
Set Up A Local Firebase Functions Project
For this step, you’ll need Node v8 or higher. Install firebase-tools globally on your machine:
$ npm i -g firebase-tools
Then log into Firebase with this command:
$ firebase login
Make a new directory for your project, e.g. mkdir serverless-rest-api and navigate inside.
Create a Firebase project in your new directory by executing firebase login.
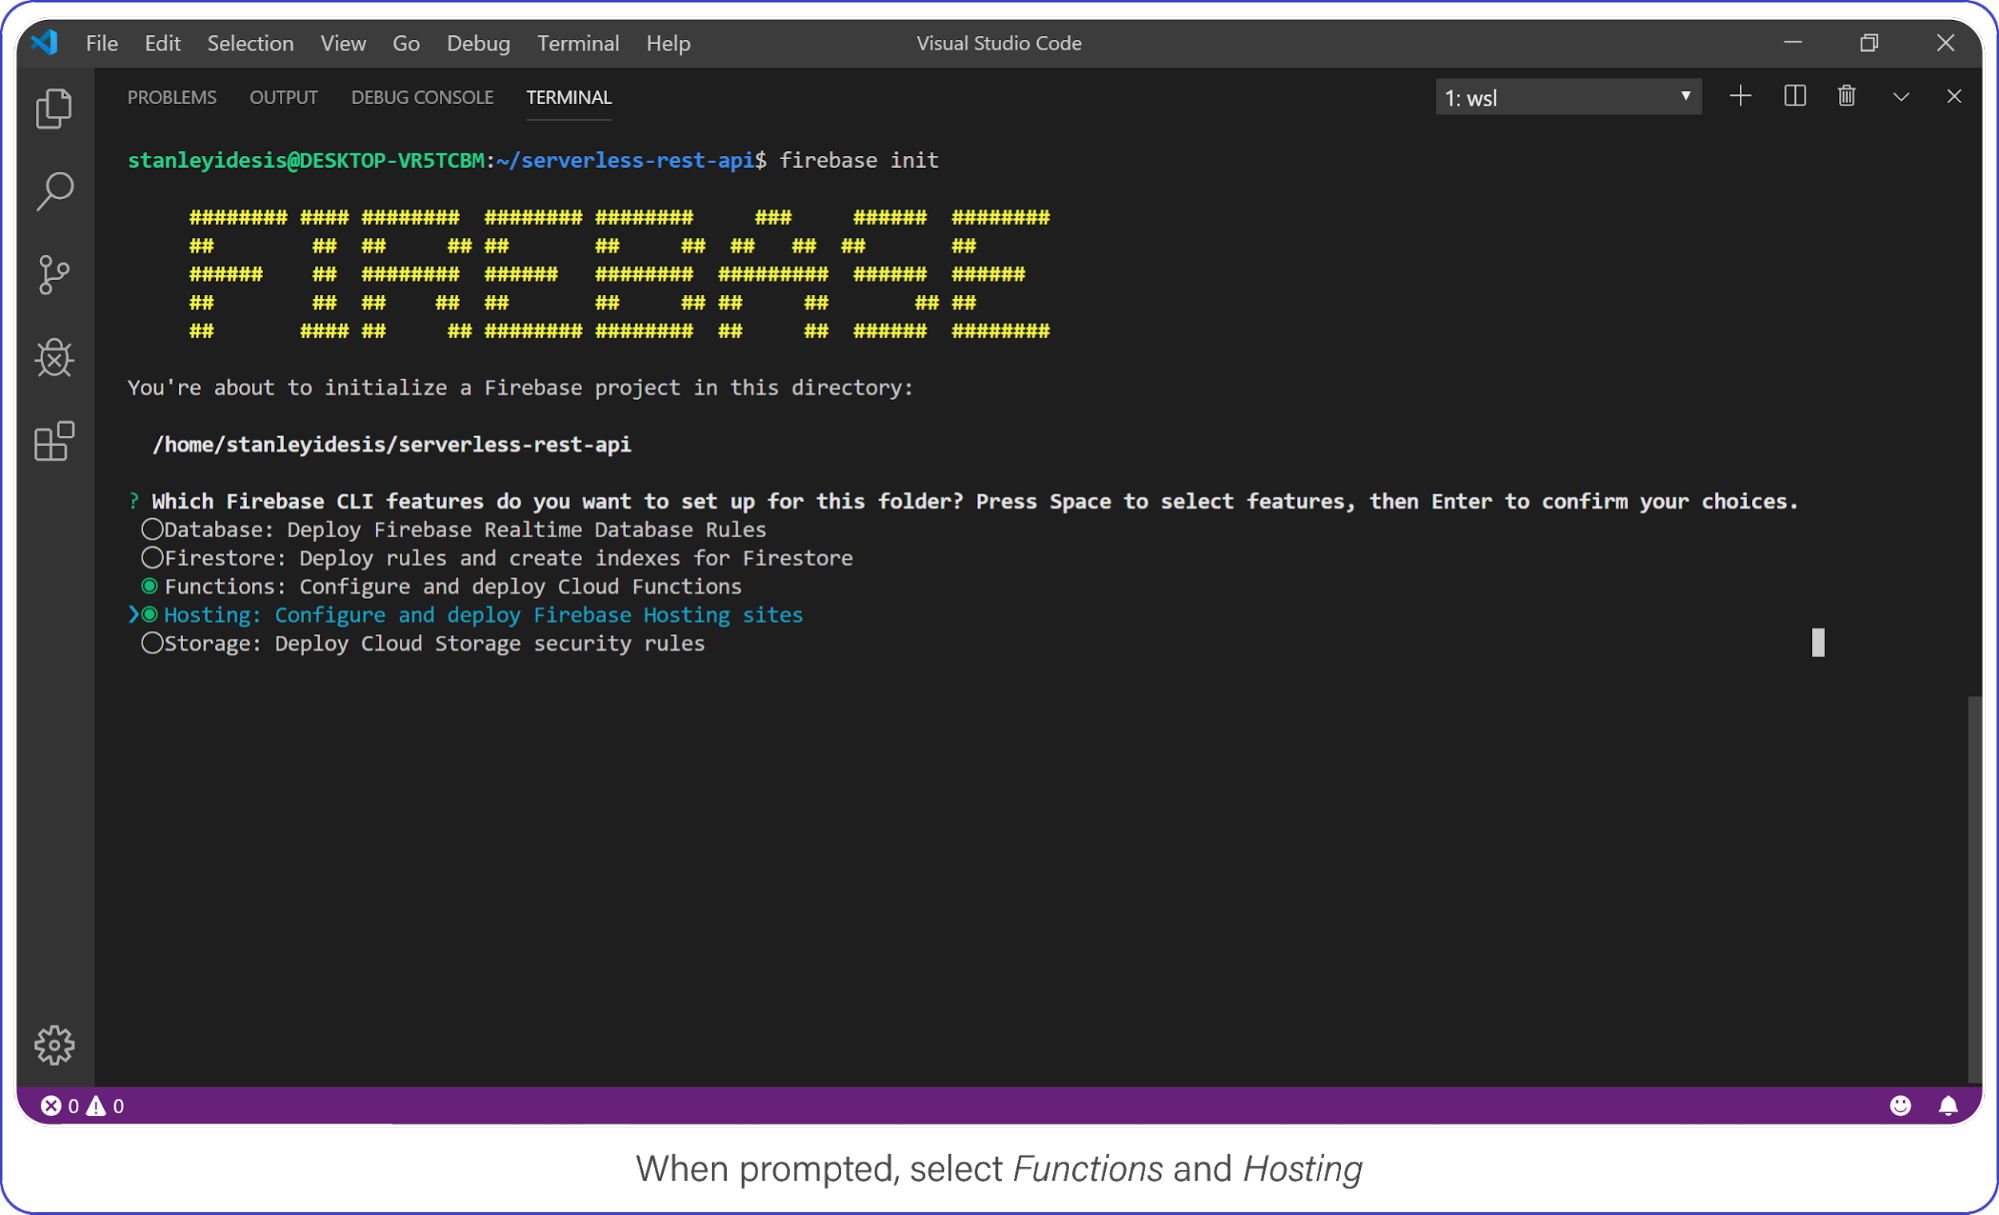
Select Functions and Hosting when prompted.
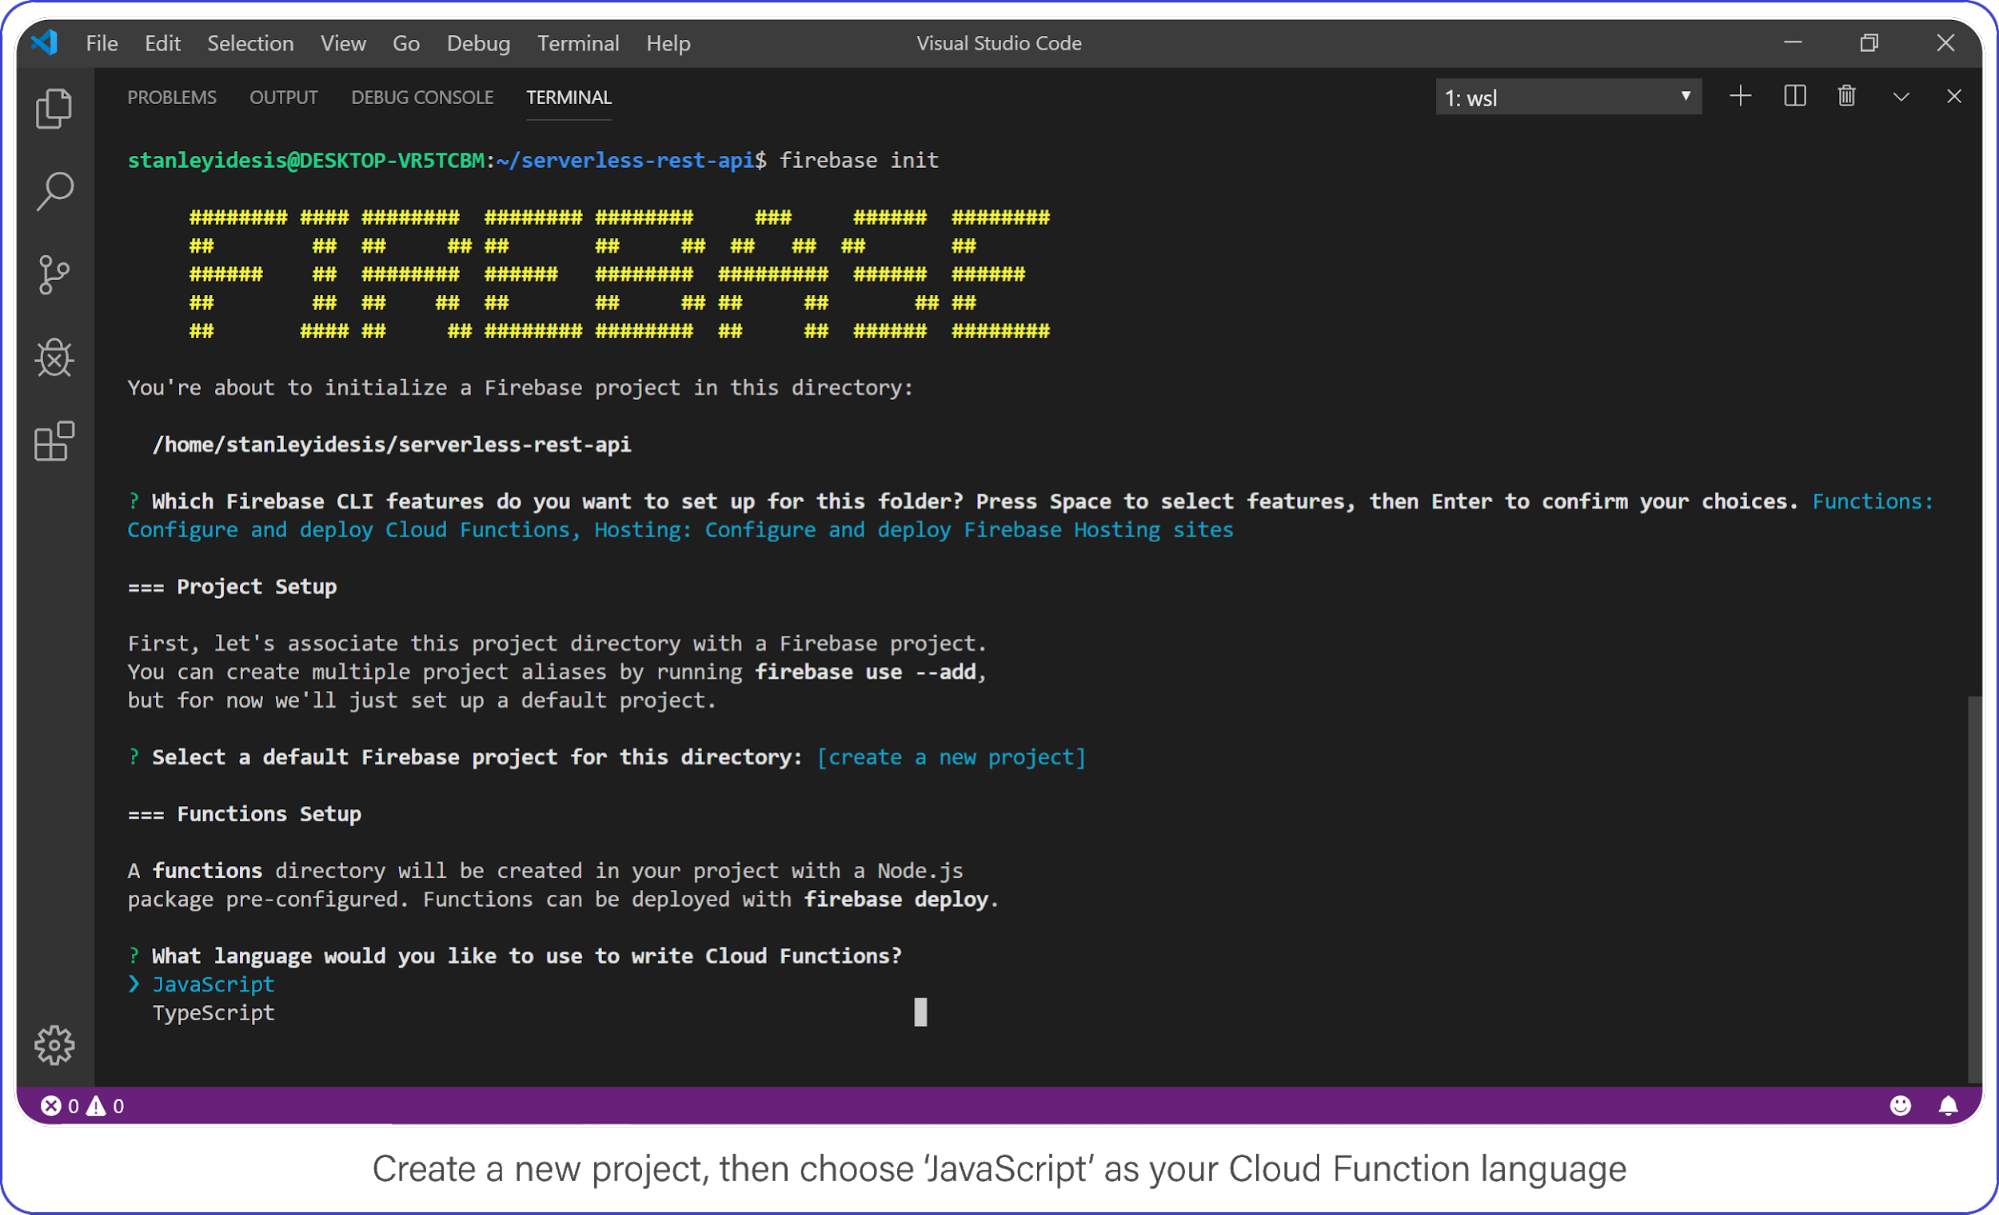
Choose "functions" and "hosting" when the bubbles appear, create a brand new firebase project, select JavaScript as your language, and choose yes (y) for the remaining options.
Create a new project, then choose JavaScript as your Cloud Function language.
Once complete, enter the functions directory, this is where your code lives and where you’ll add a few NPM packages.
Your API requires Express, CORS, and FaunaDB. Install it all with the following:
$ npm i cors express faunadb
Set Up FaunaDB with NodeJS and Firebase Cloud Functions
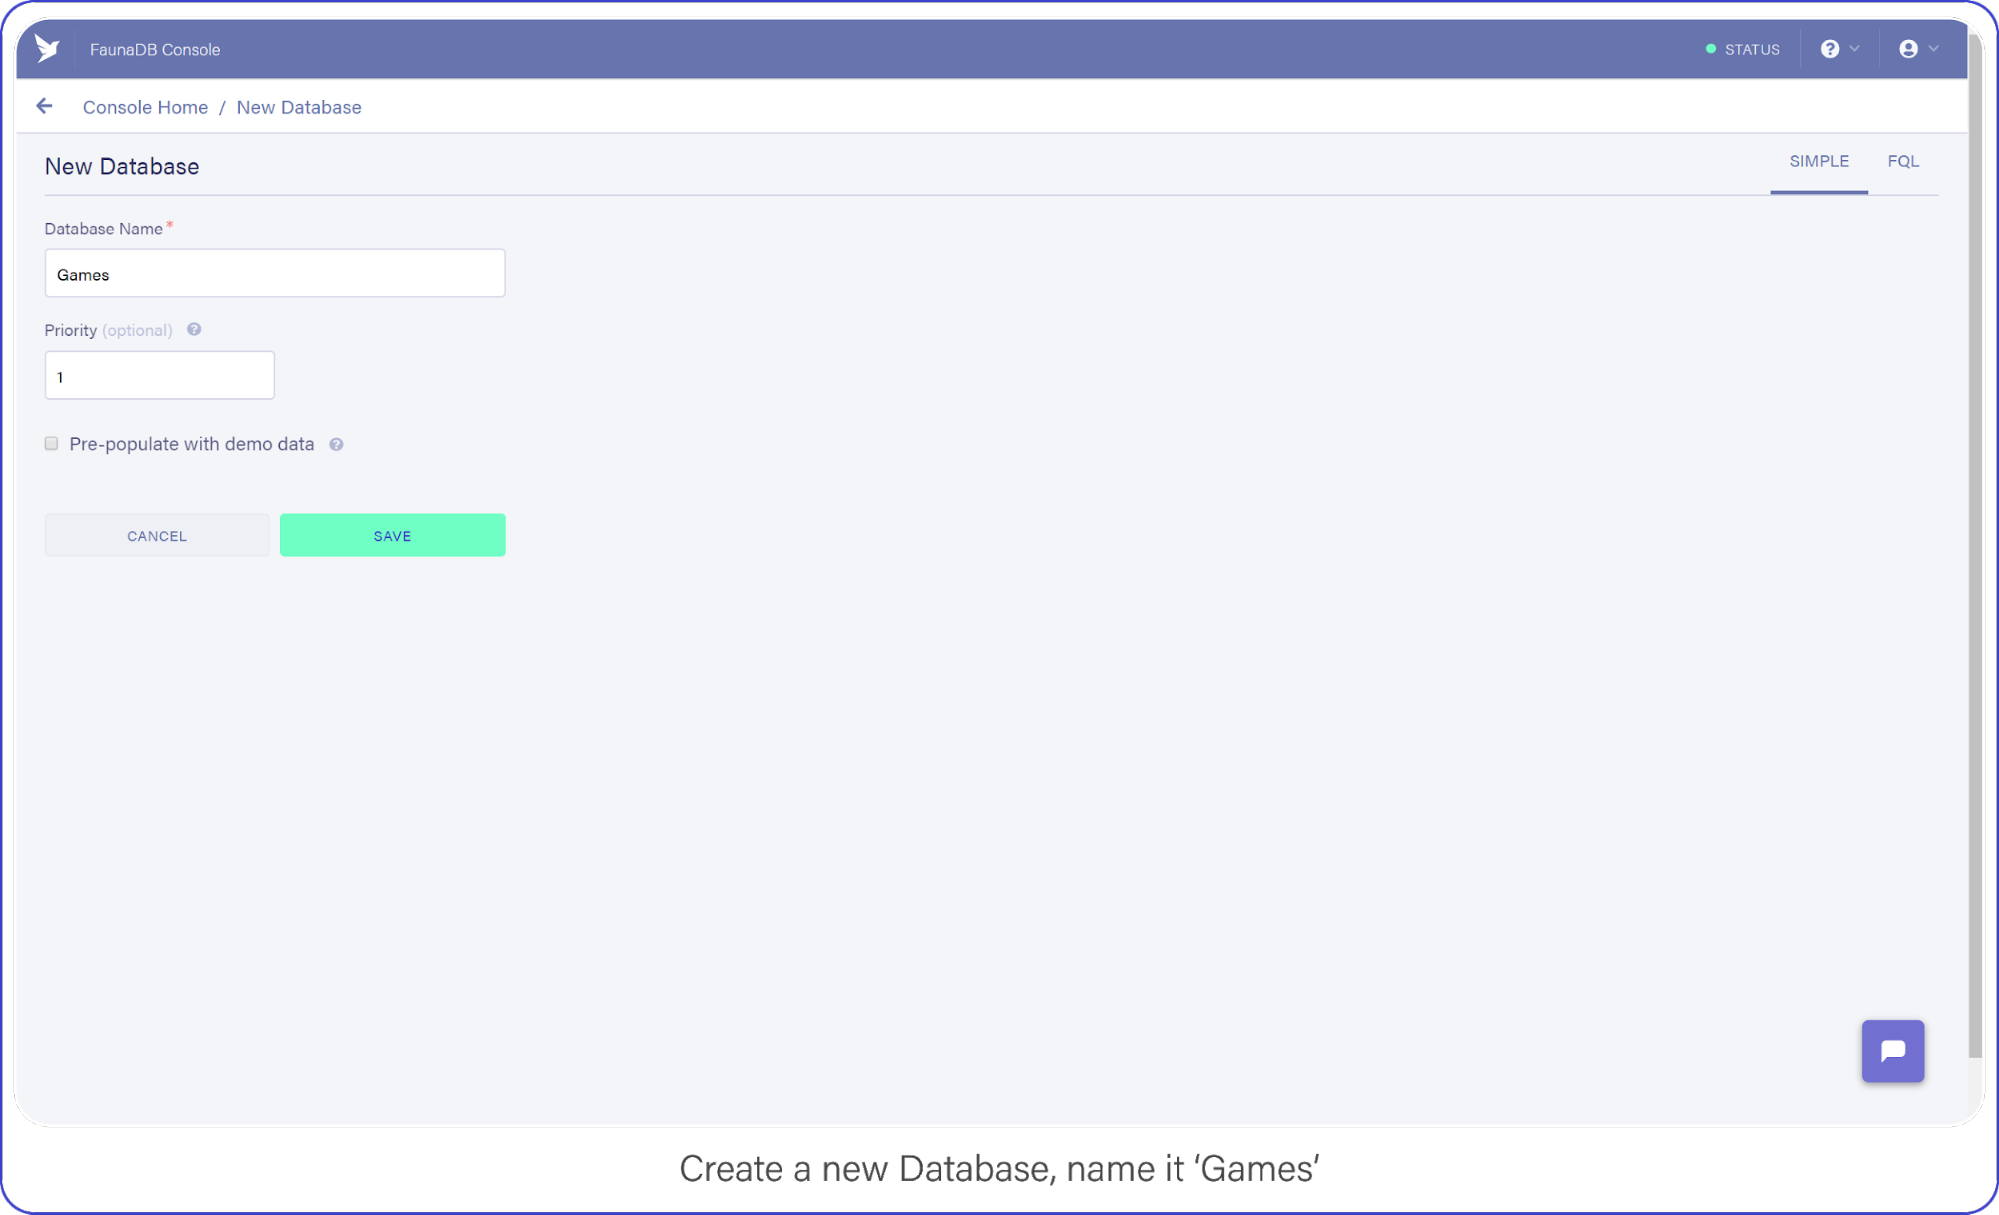
When you’re signed in, go to your FaunaDB console and create your first database, name it "Games."
You’ll notice that you can create databases inside other databases . So you could make a database for development, one for production or even make one small database per unit test suite. For now we only need ‘Games’ though, so let’s continue.
Create a new database and name it "Games."
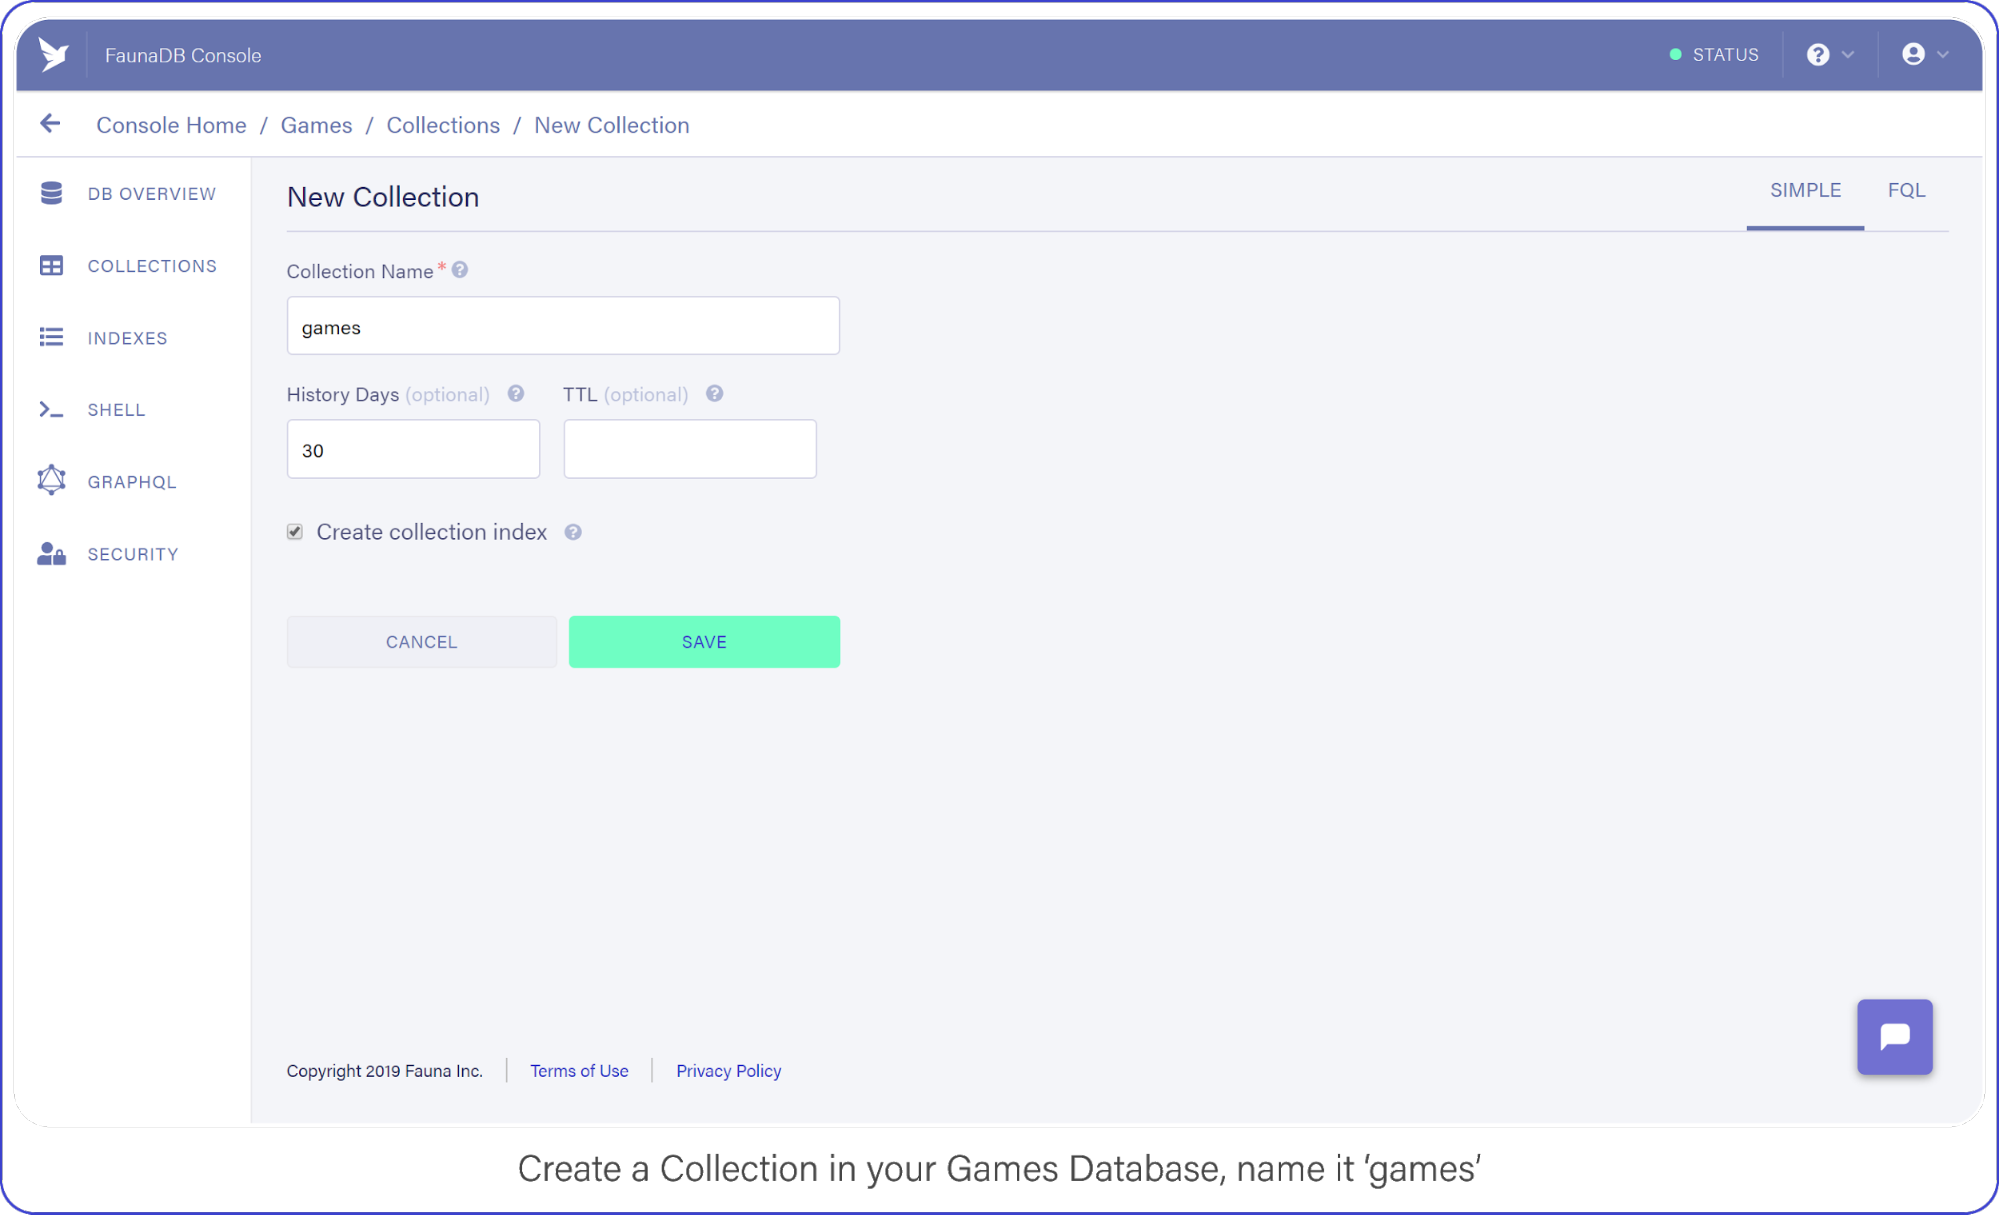
Then tab over to Collections and create your first Collection named ‘games’. Collections will contain your documents (games in this case) and are the equivalent of a table in other databases— don’t worry about payment details, Fauna has a generous free-tier, the reads and writes you perform in this tutorial will definitely not go over that free-tier. At all times you can monitor your usage in the FaunaDB console.
For the purpose of this API, make sure to name your collection ‘games’ because we’re going to be tracking your (my) favorite video games with this nerdy little API.
Create a Collection in your Games Database and name it "Games."
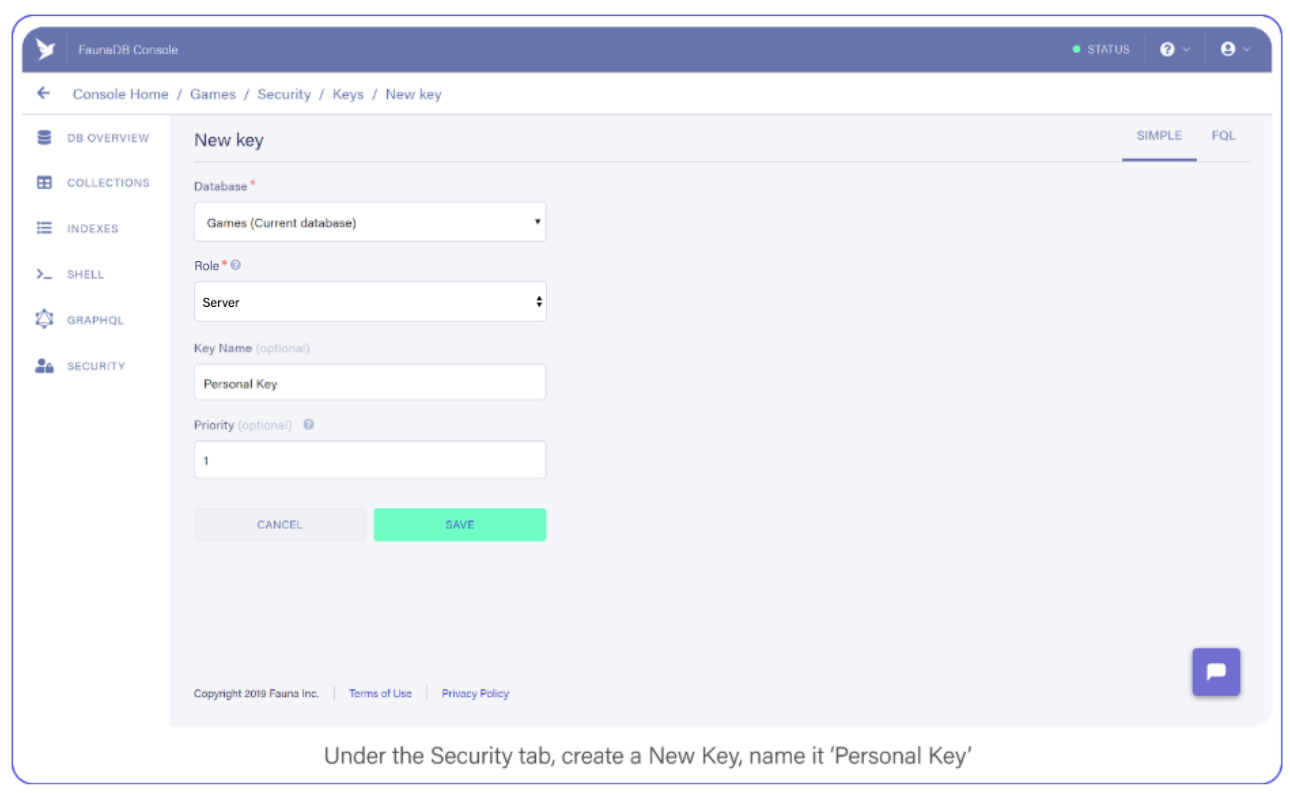
Tab over to Security, and create a new Key and name it "Personal Key." There are 3 different types of keys, Admin/Server/Client. Admin key is meant to manage multiple databases, A Server key is typically what you use in a backend which allows you to manage one database. Finally a client key is meant for untrusted clients such as your browser. Since we’ll be using this key to access one FaunaDB database in a serverless backend environment, choose ‘Server key’.
Under the Security tab, create a new Key. Name it Personal Key.
Save the key somewhere, you’ll need it shortly.
Build an Express REST API with Firebase Functions
Firebase Functions can respond directly to external HTTPS requests, and the functions pass standard Node Request and Response objects to your code — sweet. This makes Google’s Cloud Function requests accessible to middleware such as Express.
Open index.js inside your functions directory, clear out the pre-filled code, and add the following to enable Firebase Functions:
This creates a cloud function named, “api” and passes all requests directly to your api express server.
Routing an API URL to a Firebase HTTPS Cloud Function
If you deployed right now, your function’s public URL would be something like this: https://project-name.firebaseapp.com/api. That’s a clunky name for an access point if I do say so myself (and I did because I wrote this... who came up with this useless phrase?)
To remedy this predicament, you will use Firebase’s Hosting options to re-route URL globs to your new function.
Open firebase.json and add the following section immediately below the "ignore" array:
This setting assigns all /api/v1/... requests to your brand new function, making it reachable from a domain that humans won’t mind typing into their text editors.
With that, you’re ready to test your API. Your API that does... nothing!
Respond to API Requests with Express and Firebase Functions
Before you run your function locally, let’s give your API something to do.
Add this simple route to your index.js file right above your export statement:
Save your index.js fil, open up your command line, and change into the functions directory.
If you installed Firebase globally, you can run your project by entering the following: firebase serve.
This command runs both the hosting and function environments from your machine.
If Firebase is installed locally in your project directory instead, open package.json and remove the --only functions parameter from your serve command, then run npm run serve from your command line.
Visit localhost:5000/api/v1/ in your browser. If everything was set up just right, you will be greeted by a gif from one of my favorite movies.
And if it’s not one of your favorite movies too, I won’t take it personally but I will say there are other tutorials you could be reading, Bethany.
Now you can leave the hosting and functions emulator running. They will automatically update as you edit your index.js file. Neat, huh?
FaunaDB Indexing
To query data in your games collection, FaunaDB requires an Index.
Indexes generally optimize query performance across all kinds of databases, but in FaunaDB, they are mandatory and you must create them ahead of time.
As a developer just starting out with FaunaDB, this requirement felt like a digital roadblock.
"Why can’t I just query data?" I grimaced as the right side of my mouth tried to meet my eyebrow.
I had to read the documentation and become familiar with how Indexes and the Fauna Query Language (FQL) actually work; whereas Cloud Firestore creates Indexes automatically and gives me stupid-simple ways to access my data. What gives?
Typical databases just let you do what you want and if you do not stop and think: : "is this performant?" or “how much reads will this cost me?” you might have a problem in the long run. Fauna prevents this by requiring an index whenever you query.
As I created complex queries with FQL, I began to appreciate the level of understanding I had when I executed them. Whereas Firestore just gives you free candy and hopes you never ask where it came from as it abstracts away all concerns (such as performance, and more importantly: costs).
Basically, FaunaDB has the flexibility of a NoSQL database coupled with the performance attenuation one expects from a relational SQL database.
We’ll see more examples of how and why in a moment.
As with other NoSQL databases, the documents are JSON-style text blocks with the exception of a few Fauna-specific objects (such as Date used in the "release_date" field).
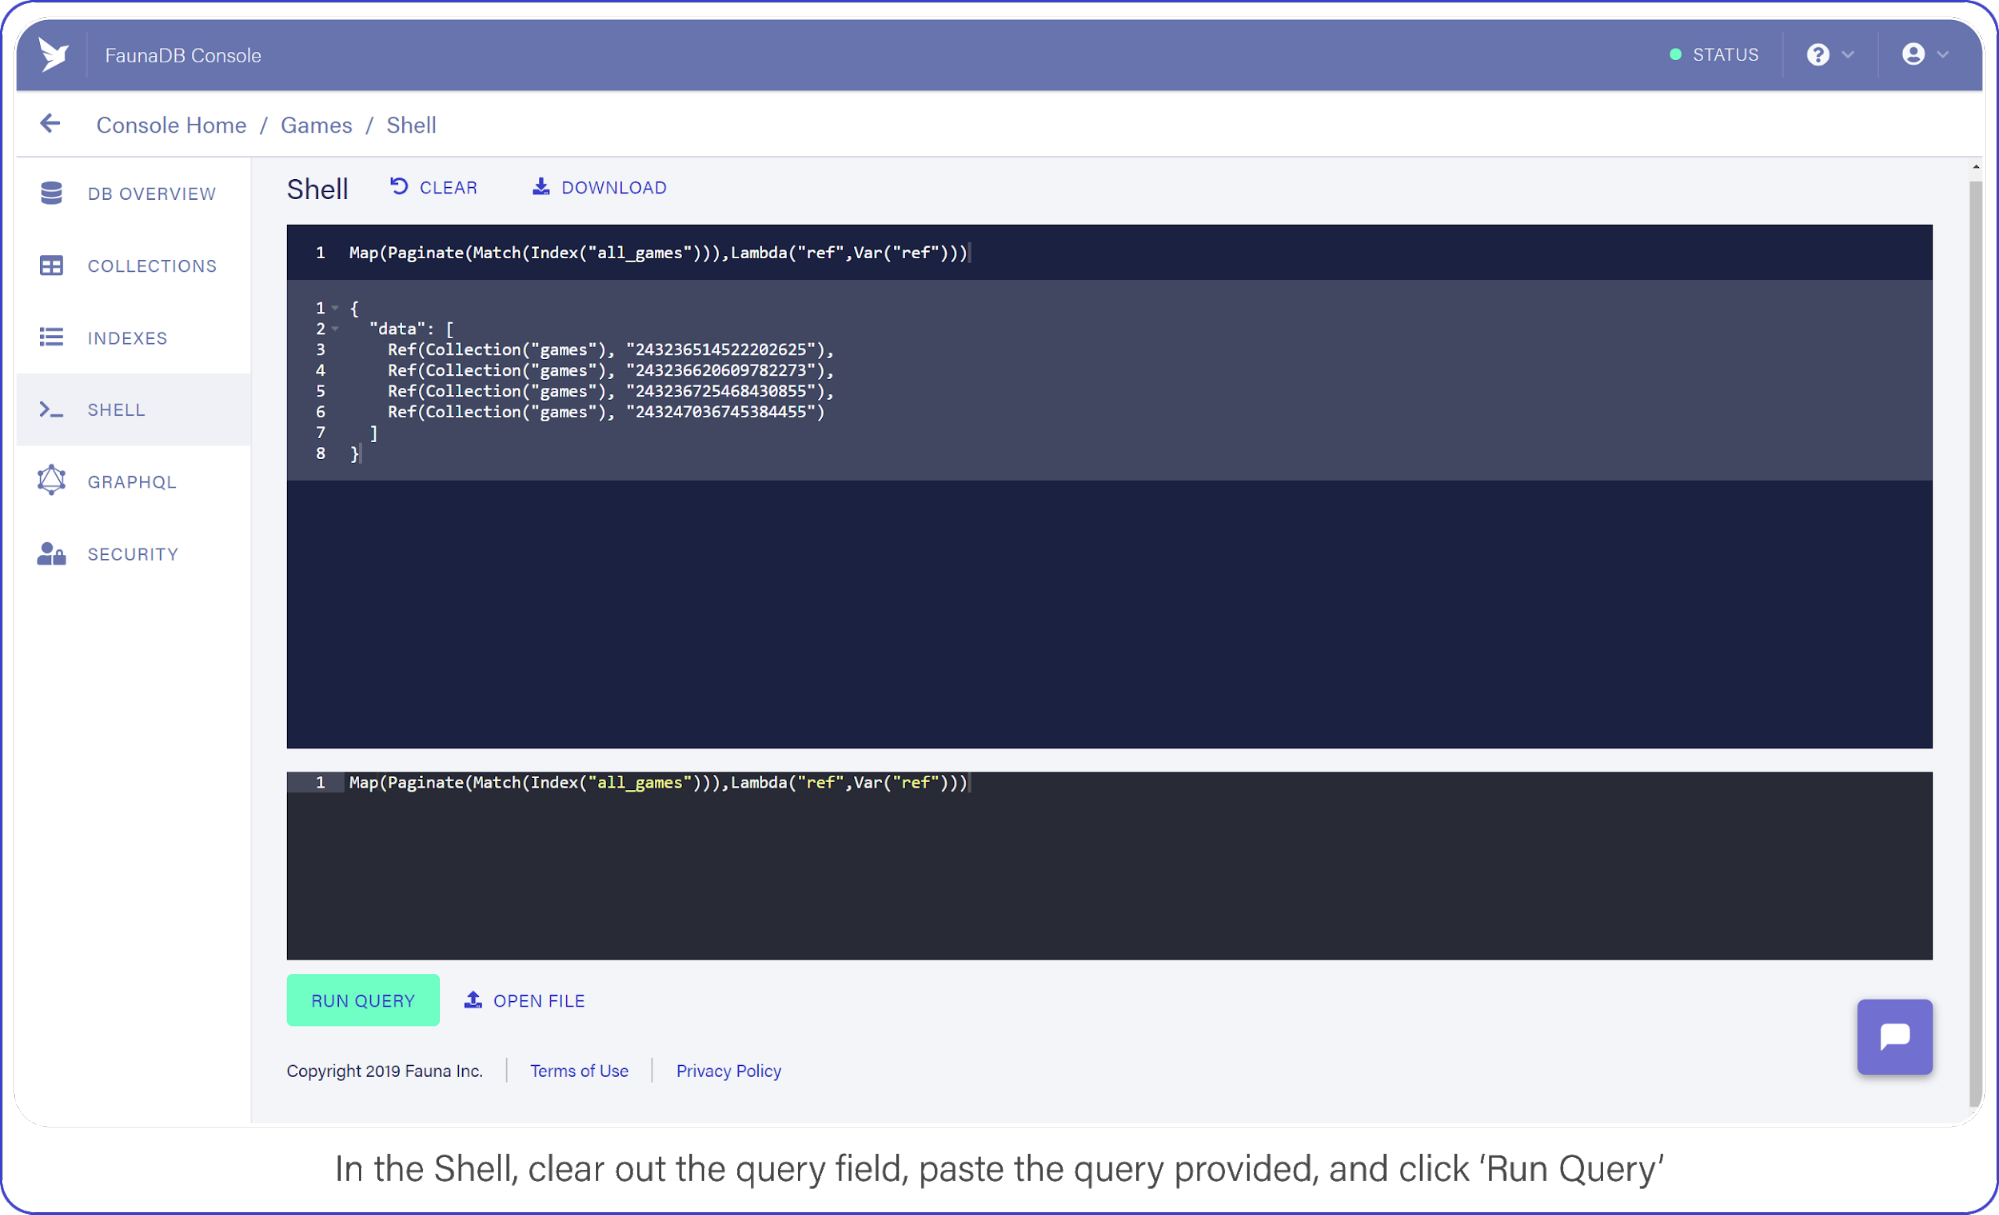
Now switch to the Shell area and clear your query. Paste the following:
And click the "Run Query" button. You should see a list of three items: references to the documents you created a moment ago.
In the Shell, clear out the query field, paste the query provided, and click "Run Query."
It’s a little long in the tooth, but here’s what the query is doing.
Index("all_games") creates a reference to the all_games index which Fauna generated automatically for you when you established your collection.These default indexes are organized by reference and return references as values. So in this case we use the Match function on the index to return a Set of references. Since we do not filter anywhere, we will receive every document in the ‘games’ collection.
The set that was returned from Match is then passed to Paginate. This function as you would expect adds pagination functionality (forward, backward, skip ahead). Lastly, you pass the result of Paginate to Map, which much like its software counterpart lets you perform an operation on each element in a Set and return an array, in this case it is simply returning ref (the reference id).
As we mentioned before, the default index only returns references. The Lambda operation that we fed to Map, pulls this ref field from each entry in the paginated set. The result is an array of references.
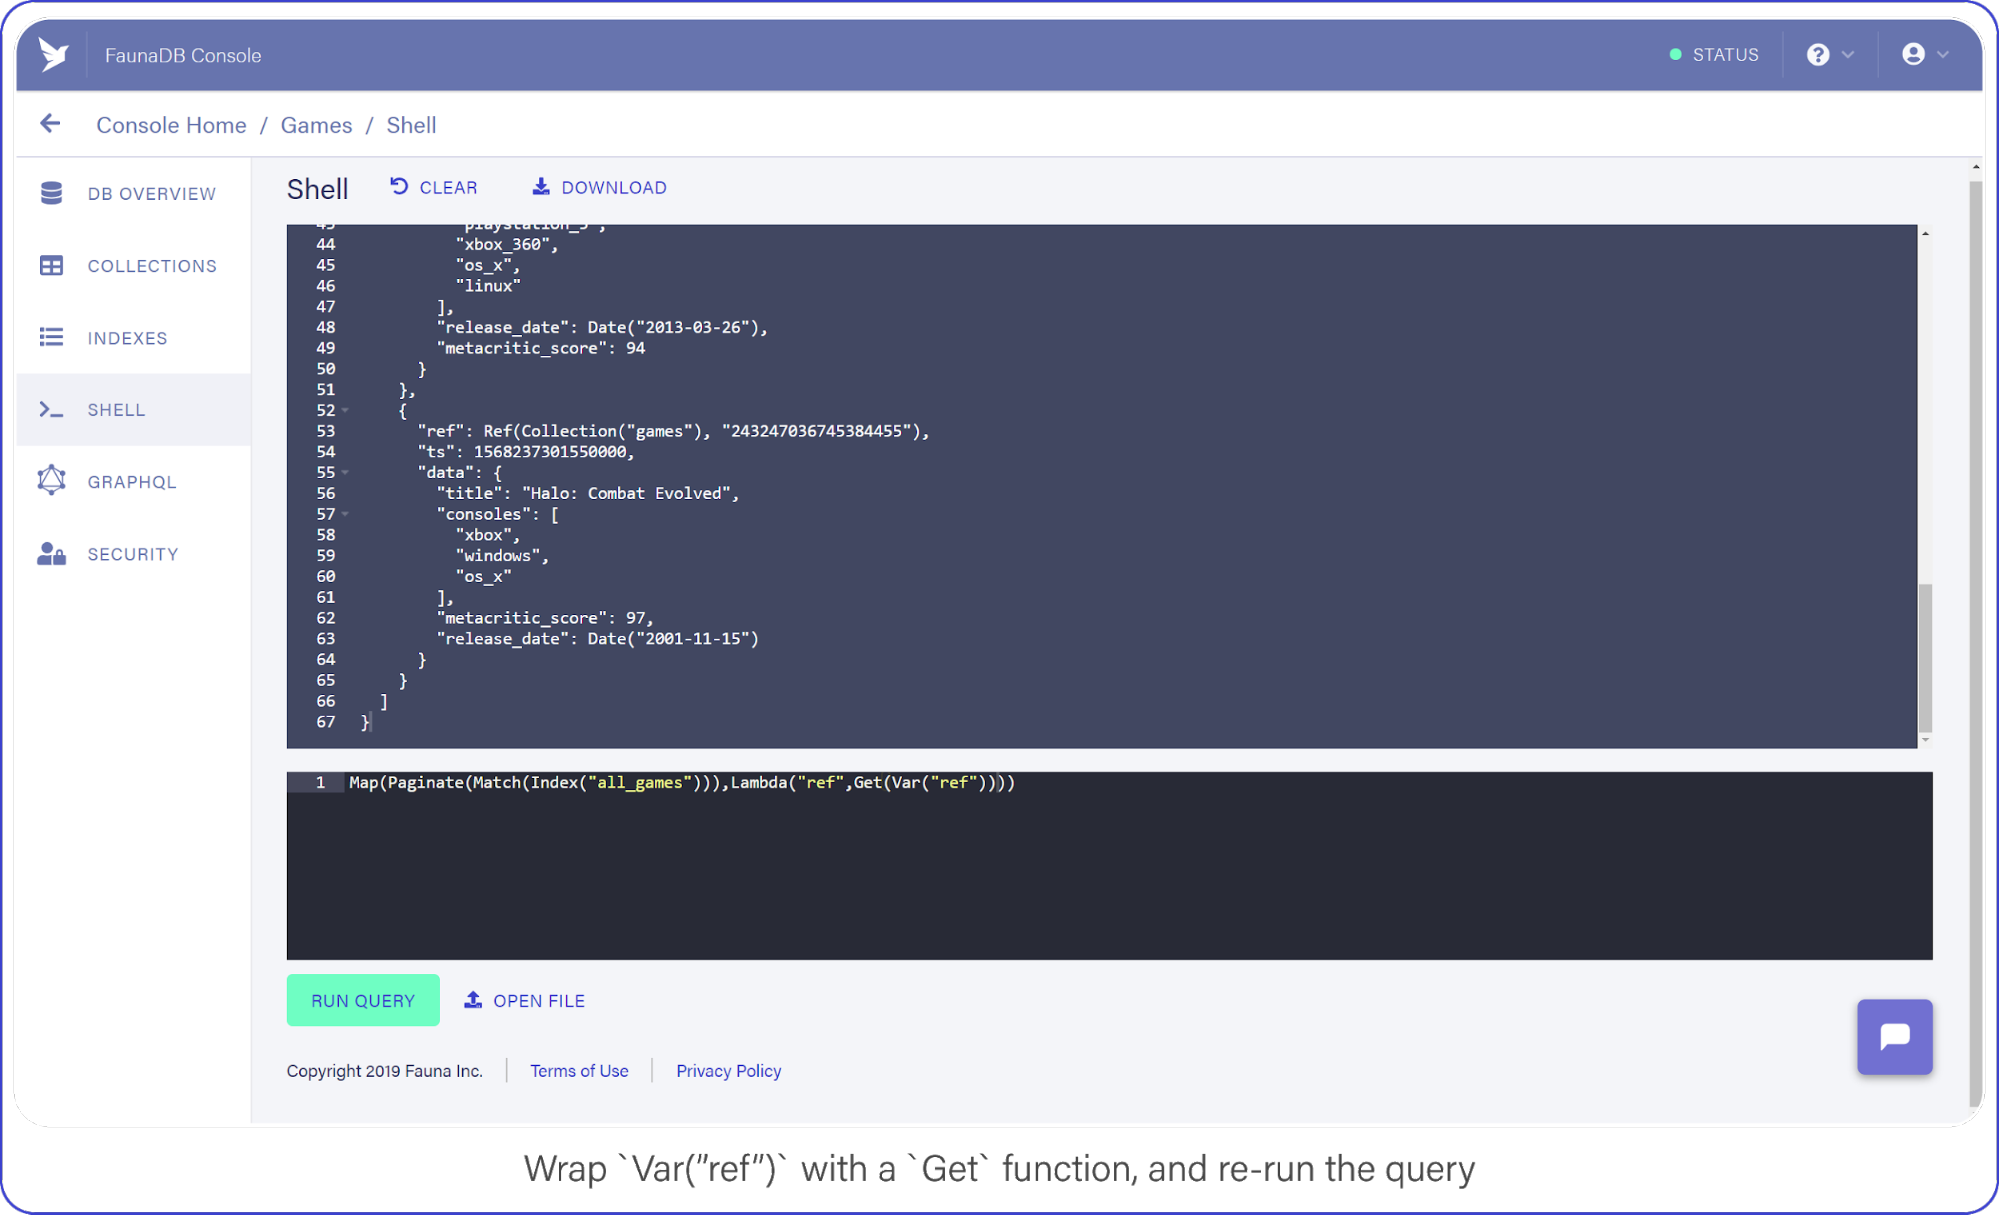
Now that you have a list of references, you can retrieve the data behind the reference by using another function: Get.
Wrap Var("ref") with a Get call and re-run your query, which should look like this:
You perform a Create, pass in your collection, and include data fields that come straight from the body of the request.
client.query returns a Promise, the success-state of which provides a reference to the newly-created document.
And to make sure it’s working, you return the reference to the caller. Let’s see it in action.
Test Firebase Functions Locally with Postman and cURL
Use Postman or cURL to make the following request against localhost:5000/api/v1/ to add Halo: Combat Evolved to your list of games (or whichever Halo is your favorite but absolutely not 4, 5, Reach, Wars, Wars 2, Spartan...)
If everything went right, you should see a reference coming back with your request and a new document show up in your FaunaDB console.
Now that you have some data in your games collection, let’s learn how to retrieve it.
Retrieve FaunaDB Records Using a REST API Request
Earlier, I mentioned that every FaunaDB query requires an Index and that Fauna prevents you from doing inefficient queries. Since our next query will return games filtered by a game console, we can’t simply use a traditional `where` clause since that might be inefficient without an index. In Fauna, we first need to define an index that allows us to filter.
To filter, we need to specify which terms we want to filter on. And by terms, I mean the fields of document you expect to search on.
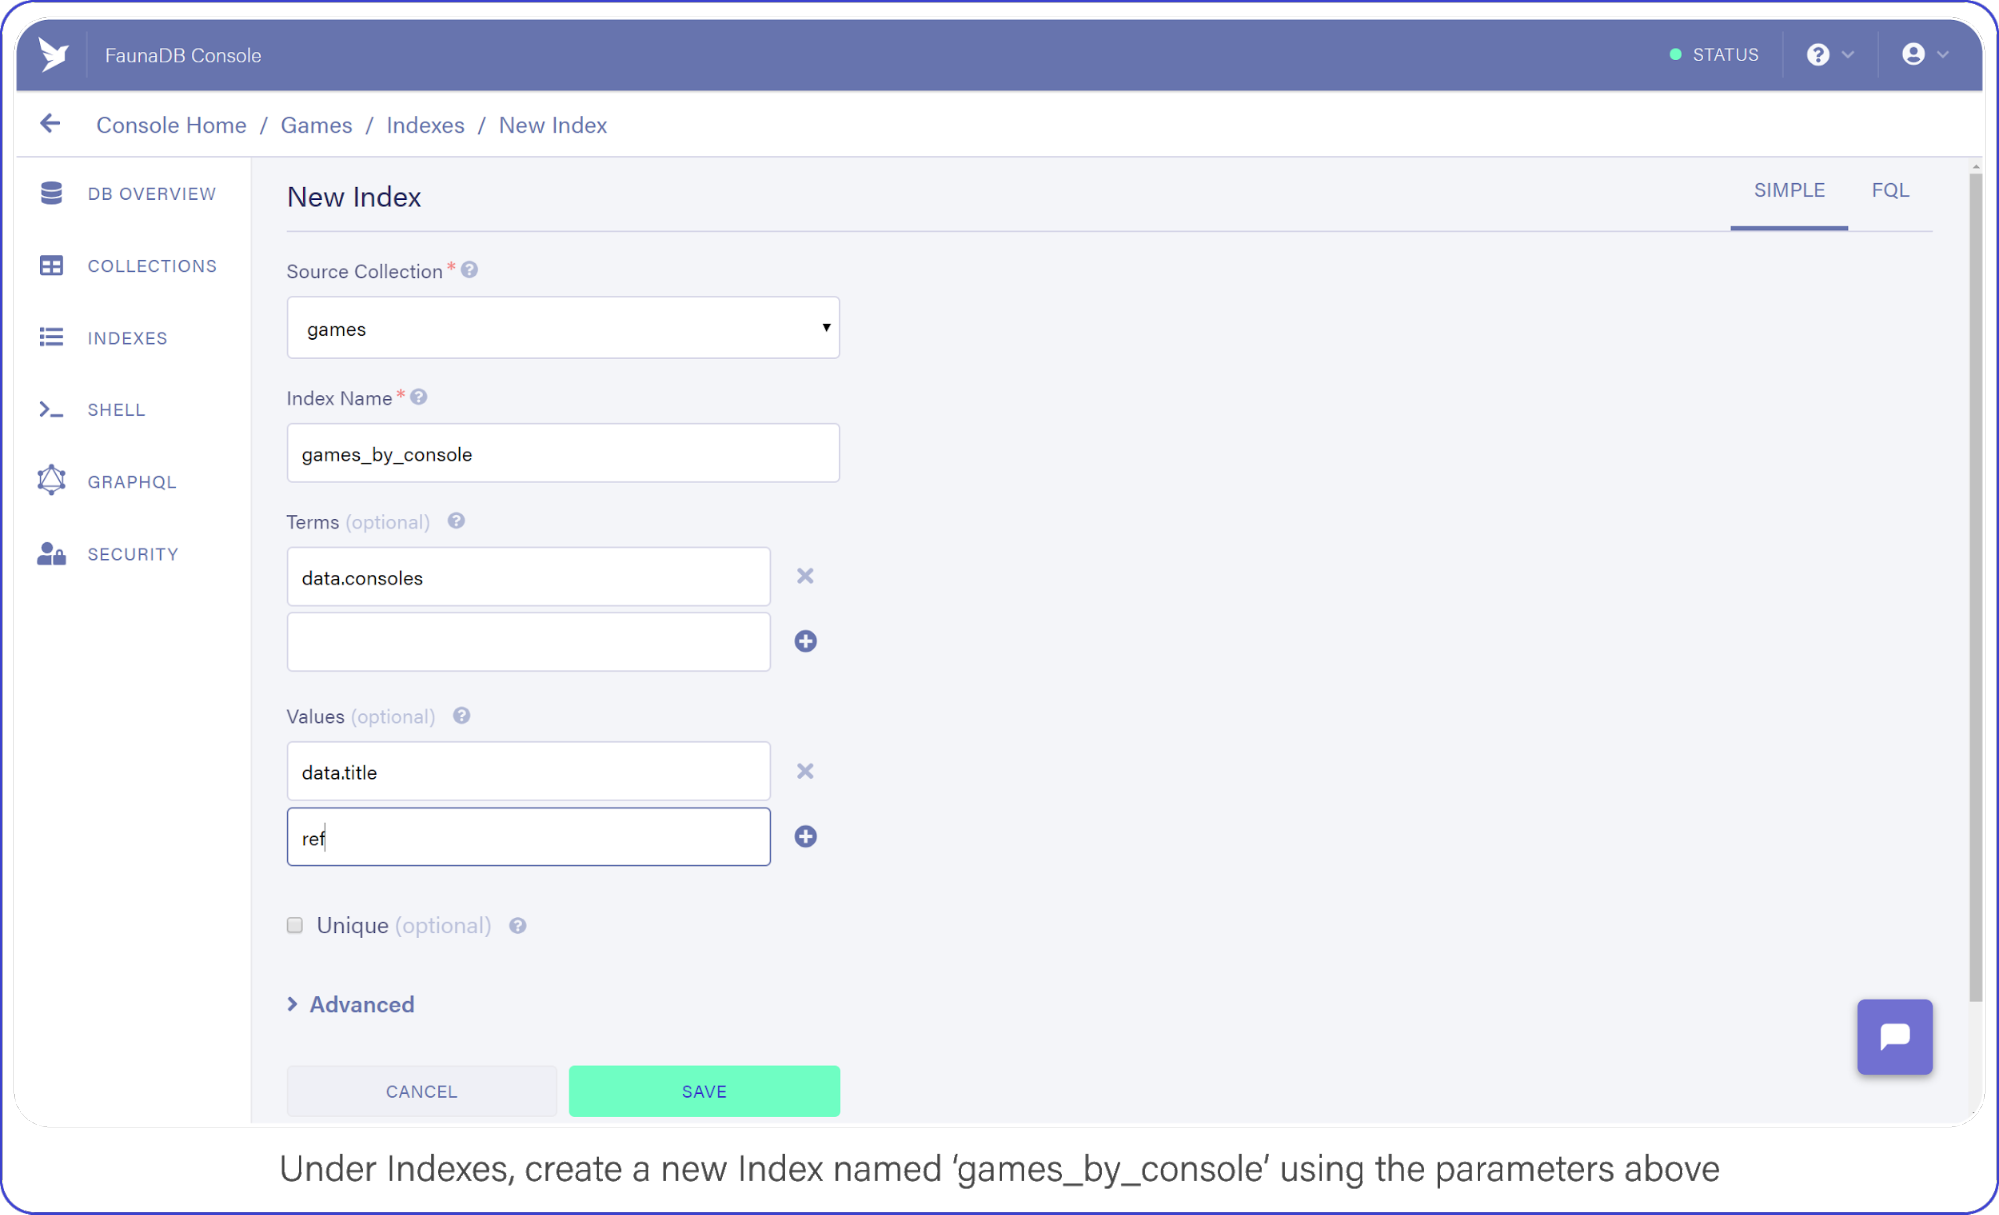
Navigate to Indexes in your FaunaDB Console and create a new one.
Name it games_by_console, set data.consoles as the only term since we will filter on the consoles. Then set data.title and ref as values. Values are indexed by range, but they are also just the values that will be returned by the query. Indexes are in that sense a bit like views, you can create an index that returns a different combination of fields and each index can have different security.
To minimize request overhead, we’ve limited the response data (e.g. values) to titles and the reference.
Your screen should resemble this one:
Under indexes, create a new index named games_by_console using the parameters above.
Click "Save" when you’re ready.
With your Index prepared, you can draft up your next API call.
I chose to represent consoles as a directory path where the console identifier is the sole parameter, e.g. /api/v1/console/playstation_3, not necessarily best practice, but not the worst either — come on now.
This query looks similar to the one you used in your SHELL to retrieve all games, but with a slight modification.This query looks similar to the one you used in your SHELL to retrieve all games, but with a slight modification. Note how your Match function now has a second parameter (req.params.name.toLowerCase()) which is the console identifier that was passed in through the URL.
The Index you made a moment ago, games_by_console, had one Term in it (the consoles array), this corresponds to the parameter we have provided to the match parameter. Basically, the Match function searches for the string you pass as its second argument in the index. The next interesting bit is the Lambda function. Your first encounter with Lamba featured a single string as Lambda’s first argument, “ref.”
However, the games_by_console Index returns two fields per result, the two values you specified earlier when you created the Index (data.title and ref). So basically we receive a paginated set containing tuples of titles and references, but we only need titles. In case your set contains multiple values, the parameter of your lambda will be an array. The array parameter above (`['title', 'ref']`) says that the first value is bound to the text variable title and the second is bound to the variable ref. text parameter. These variables can then be retrieved again further in the query by using Var(‘title’). In this case, both “title” and “ref,” were returned by the index and your Map with Lambda function maps over this list of results and simply returns only the list of titles for each game.
In fauna, the composition of queries happens before they are executed. When you write var q = q.Match(q.Index('games_by_console'))), the variable just contains a query but no query was executed yet. Only when you pass the query to client.query(q) to be executed, it will execute. You can even pass javascript variables in other Fauna FQL functions to start composing queries. his is a big benefit of querying in Fauna vs the chained asynchronous queries required of Firestore. If you ever have tried to generate very complex queries in SQL dynamically, then you will also appreciate the composition and less declarative nature of FQL.
Neat, huh? But Match only returns documents whose fields are exact matches, which doesn’t help the user looking for a game whose title they can barely recall.
Although Fauna does not offer fuzzy searching via indexes (yet), we can provide similar functionality by making an index on all words in the string. Or if we want really flexible fuzzy searching we can use the filter syntax. Note that its is not necessarily a good idea from a performance or cost point of view… but hey, we’ll do it because we can and because it is a great example of how flexible FQL is!
Filtering FaunaDB Documents by Search String
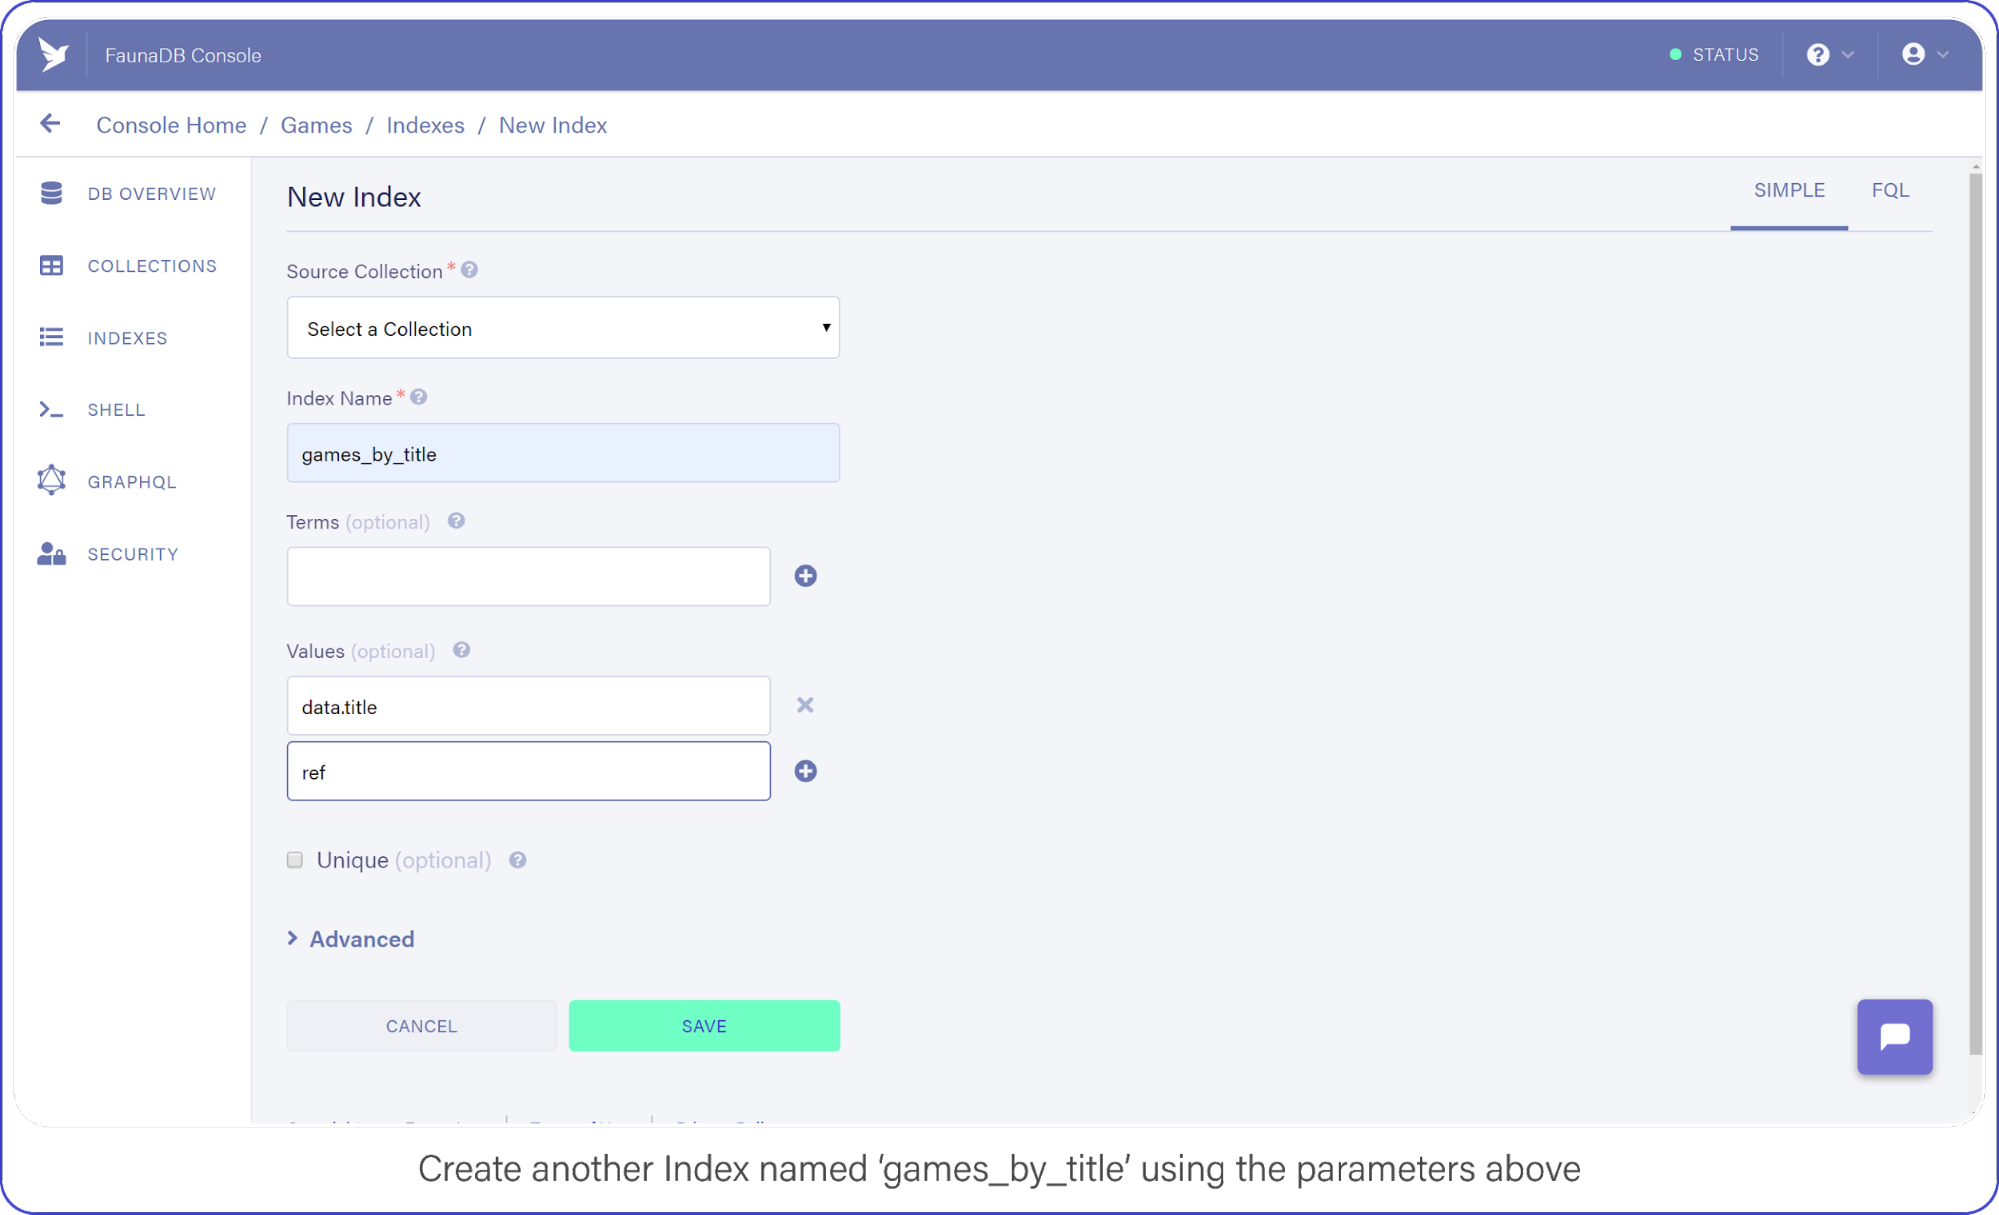
The last API call we are going to construct will let users find titles by name. Head back into your FaunaDB Console, select INDEXES and click NEW INDEX. Name the new Index, games_by_title and leave the Terms empty, you won’t be needing them.
Rather than rely on Match to compare the title to the search string, you will iterate over every game in your collection to find titles that contain the search query.
Remember how we mentioned that indexes are a bit like views. In order to filter on title , we need to include `data.title` as a value returned by the Index. Since we are using Filter on the results of Match, we have to make sure that Match returns the title so we can work with it.
Add data.title and ref as Values, compare your screen to mine:
Create another index called games_by_title using the parameters above.
Click "Save" when you’re ready.
Back in index.js, add your fourth and final API call:
Big breath because I know there are many brackets (Lisp programmers will love this) , but once you understand the components, the full query is quite easy to understand since it’s basically just like coding.
Beginning with the first new function you spot, Filter. Filter is again very similar to the filter you encounter in programming languages. It reduces an Array or Set to a subset based on the result of a Lambda function.
In this Filter, you exclude any game titles that do not contain the user’s search query.
You do that by comparing the result of FindStr (a string finding function similar to JavaScript’s indexOf) to -1, a non-negative value here means FindStr discovered the user’s query in a lowercase-version of the game’s title.
And the result of this Filter is passed to Map, where each document is retrieved and placed in the final result output.
Now you may have thought the obvious: performing a string comparison across four entries is cheap, 2 million…? Not so much.
This is an inefficient way to perform a text search, but it will get the job done for the purpose of this example. (Maybe we should have used ElasticSearch or Solr for this?) Well in that case, FaunaDB is quite perfect as central system to keep your data safe and feed this data into a search engine thanks to the temporal aspect which allows you to ask Fauna: “Hey, give me the last changes since timestamp X?”. So you could setup ElasticSearch next to it and use FaunaDB (soon they have push messages) to update it whenever there are changes. Whoever did this once knows how hard it is to keep such an external search up to date and correct, FaunaDB makes it quite easy.
Don’t You Dare Forget This One Firebase Optimization
A lot of Firebase Cloud Functions code snippets make one terribly wrong assumption: that each function invocation is independent of another.
In reality, Firebase Function instances can remain "hot" for a short period of time, prepared to execute subsequent requests.
This means you should lazy-load your variables and cache the results to help reduce computation time (and money!) during peak activity, here’s how:
let functions, admin, faunadb, q, client, express, cors, api

if (typeof api === 'undefined') {
... // dump the existing code here
}

exports.api = functions.https.onRequest(api)
Deploy Your REST API with Firebase Functions
Finally, deploy both your functions and hosting configuration to Firebase by running firebase deploy from your shell.
Without a custom domain name, refer to your Firebase subdomain when making API requests, e.g. https://{project-name}.firebaseapp.com/api/v1/.
What Next?
FaunaDB has made me a conscientious developer.
When using other schemaless databases, I start off with great intentions by treating documents as if I instantiated them with a DDL (strict types, version numbers, the whole shebang).
While that keeps me organized for a short while, soon after standards fall in favor of speed and my documents splinter: leaving outdated formatting and zombie data behind.
By forcing me to think about how I query my data, which Indexes I need, and how to best manipulate that data before it returns to my server, I remain conscious of my documents.
To aid me in remaining forever organized, my catalog (in FaunaDB Console) of Indexes helps me keep track of everything my documents offer.
And by incorporating this wide range of arithmetic and linguistic functions right into the query language, FaunaDB encourages me to maximize efficiency and keep a close eye on my data-storage policies. Considering the affordable pricing model, I’d sooner run 10k+ data manipulations on FaunaDB’s servers than on a single Cloud Function.
We had the opportunity to speak to Greg Bell, CEO, Brian Dye, CPO, and Alan Saldich, CMO of Corelight during the IT Press Tour in San Francisco. Corelight is the enterprise offering of Zeek (formerly Bro) initially developed to protect the severe environment of the Department of Energy and the Energy Sciences Network including the NERSC supercomputing facility at Lawrence Berkeley National Laboratory.
Let's take another look at F. L. Stevens's spreadsheet with agencies and agents. It's — of course — an unholy mess. Why? It's difficult to handle state change and deduplication.
Learn more about one dev's favorite Git commands for OS projects.
The basic step when committing to open source projects is to fork the project. Then the process is easy you create your branch and you make a pull request. However, from time to time, you need to adjust your branch based on the latest changes.
Read on to learn more about the Java generic factory pattern!
During my last project, I was required to build complex objects based on values derived from an XML File. We decided to use the Builder Pattern to help build complex objects.
For complex objects, which are aggregates of Domain-Driven Design, the building process, in the end, is a long method that builds all parts of the complex object. I was looking for a pattern that would allow me to create different components using only one method.
In part one, we developed a simple GraphQL server. That solution had one serious flaw: All fields were loaded eagerly on the back-end, even if they weren't requested by the front-end. We sort of accept this situation with RESTful services by not giving clients any choice.
RESTful API always returns everything, which implies always loading everything. If, on the other hand, you split RESTful API into multiple smaller resources, you risk N+1 problem and multiple network round trips. GraphQL was specifically designed to address these issues:
You can use this guide to as an in-depth, practical understanding of how Spring's transaction management (including the @Transactionalannotation) works.
The only prerequisite? You need to have a general idea of ACID, i.e. what database transactions are and when to use them. Also, XATransactions, or ReactiveTransactions, are not covered here, though the general principles, in terms of Spring, still apply.
Tania Rascia gives an overview of the various types of vulnerabilities associated with persistent client-side storage (XSS and CSRF) and ways to mitigate potential attacks.
Divi 4.0 has arrived and the new fully-featured website templating system allows you to use the Divi Builder to structure your website and edit any part of the Divi Theme including headers, footers, post templates, category templates and more.
Signs Your Website Feels More Like A Haunted House Than A Welcoming Home
Signs Your Website Feels More Like A Haunted House Than A Welcoming Home
Suzanne Scacca
When building a website or PWA, no one ever thinks, “I really hope my visitors run away in fear!” Yet, one wrong move could make a visit to your website seem like a nightmarish walk through a haunted house instead of an awe-inspiring tour of a new home.
To be clear, I’m not talking about dark color palettes or blood-red typography that might remind someone of something they’d seen in a horror movie. If those kinds of design choices make sense and don’t intrude on readability, go for it! What I’m talking about are those ominous feelings emitted by the design and content of a website — similar to the ones someone might feel when walking through a haunted house.
Dr. Frank T. McAndrew answered the question “What Makes a House Feel Haunted?” in an article on Psychology Today back in 2015. He explains:
“From a psychological point of view, the standard features of haunted houses trigger feelings of dread because they push buttons in our brains that evolved long before houses even existed. These alarm buttons warn us of potential danger and motivate us to proceed with caution.”
When a visitor shows up on your website, the last thing you want is for them to be wary of moving through it. You want your website to give off a welcoming and safe vibe; not one that makes visitors wonder what’s lurking around the corner.
So, today, I want to look at some ways in which a website might be giving your visitors the heebie-jeebies and what you can do to eliminate those haunted house-like elements from the experience.
Four Signs Your Website Feels Like A Haunted House
In a lot of ways, a website is like your home. You add comfortable furnishings to it. You make it feel warm and inviting. And you clean up before anyone comes over, so they’re not freaked out by the accumulated dust or clutter.
If you keep that in the back of your mind (i.e. your website = your home), you can avoid these scary missteps as you design websites (as well as PWAs and mobile apps) for your clients.
There’s a video game and movie called Silent Hill that’s based on Centralia, a real ghost town in Pennsylvania. Decades ago, there was a coal mine fire in the town that led to toxic conditions like the gas and smoke that billow up from the ground to this day.
It’s an element the video game designers and cinematographers latched onto when creating their own eerily abandoned setting for Silent Hill:
A still from the movie Silent Hill, featuring the toxic smoke that Centralia is known for. (Source: GIPHY)
Eventually, Centralia was condemned due to the dangers posed by the fire and the resulting toxicity. Today, there are only a few residents who remain in town.
While there are some tourists who venture to Centralia out of curiosity, they don’t stay long. And why would they? The town is unlivable and it’s devoid of any meaningful experiences.
Your website may be sending similar signals if it’s:
Too simple in design,
Too outdated looking,
Devoid of useful content,
Seemingly uncared for,
Powered only by a basic chatbot,
Missing contact details or a working contact form.
The Blockbuster website (which I can’t believe still exists) is a good example of the kinds of signals a website might send to visitors if it were abandoned:
The Blockbuster website has become nothing but a single landing page owned by DISH. (Source: Blockbuster) (Large preview)
The copyright on this website is from 2017, which is why the design of the site isn’t as bad as one might expect it to be. Even the mobile counterpart is responsive:
The nearly defunct Blockbuster still has a decent looking and mobile responsive website. (Source: Blockbuster) (Large preview)
That said, this website is nothing but a husk of what it once was in its heyday.
For example, this is what shows when someone clicks on “Blockbuster Store Location”:
The Blockbuster website advertises a location, but the pop-up leaves visitors with more questions than answers. (Source: Blockbuster) (Large preview)
If I had arrived at this site hoping to find a local video store to rent a movie from, I’d be confused by this pop-up. Does the store actually exist at 211 NE Revere Ave? What’s going to happen when I call the number? And why are they telling me I don’t have to leave the couch?
What DISH should’ve done when buying out Blockbuster is to take ownership of this domain, but then direct it to their own website. As it stands now, it feels as though there’s no one on the other side of this website and there’s no point in keeping it alive (much like the business itself).
It’s these kinds of questions and that eerie feeling of “What’s going on here????” that you want to keep your visitors from experiencing.
2. It’s Too Confusing
Another hallmark of a haunted house is excessive confusion. This is something that real-life serial killer H. H. Holmes mastered with his “Murder Castle”.
“This edifice became Holmes’ booby-trapped Murder Castle. The space featured soundproof rooms, secret passages and a disorienting maze of hallways and staircases. The rooms were also outfitted with trapdoors over chutes that dropped Holmes’ unsuspecting victims to the building’s basement.”
Interestingly, there is a term in the field of environmental psychology related to this particular quality of a space: legibility.
Essentially, if a space (like a home or a website) has clear pathways and a logical organization, it’s much easier for visitors to get oriented. Not only that, if a layout mirrors that of other spaces, it assists in recognizability and comfort. That sounds a lot like the legibility and navigability of a website, right?
Obviously, you don’t want your visitors to feel as though they’re going to get lost in your website or like they’re trapped within the walls of it. There are a number of things that could make them feel this way though:
Poor color contrasts,
Jarring typography or animations,
Excessively deep navigation without a trail of breadcrumbs,
Disappearing navigation,
Infinite scroll,
Incessant pop-ups and disruptions that won’t go away no matter how many times they’re dismissed,
An unclear or confusing call-to-action that makes them wonder what happens when they click it.
Let’s look at an example.
How many of you would feel confident pursuing any of the paths (links) available to you on the ARNGREN website?
The ARNGREN website is littered with excessive links and not enough organization. (Source: ARNGREN) (Large preview)
This is what appears when you click on the “PEDALS” image/link in the top-middle of the ARNGREN home page:
An example of one of ARNGREN’s product/category pages. (Source: ARNGREN) (Large preview)
As you can see, the “Index” disappears from the left, so the only option visitors have is to click the home page link or hit the browser “Back” button to depart from the path they’ve taken.
Then there’s the page itself which scrolls on and on, showing off more pictures of bicycles and scooters. There are occasional descriptions and links that appear, but it’s really nothing more than a painful rabbit hole to fall down:
A disorganized and poorly designed page on the ARNGREN website. (Source: ARNGREN) (Large preview)
This website is exactly how I expect visitors of H. H. Holmes’ Murder Castle felt when they first stepped inside those confusing hallways or fell through one of his trap doors. There’s no rhyme or reason to any of the pages and it almost feels as dangerous to backtrack as it is to move forward.
If you’d like to avoid taking your visitors on such a harrowing journey, focus on creating a clear and open path that’s easy to traverse and to get off of when they want to.
3. It Looks Too Low Budget
It’s not just real haunted houses you want to avoid emulating. You should also steer clear of certain types of haunted house attractions.
I’m what you might call a horror addict. I watch scary movies all year long. I take haunted tours every time I visit a new city. And I spend a good chunk of the months of September and October going to haunted house attractions.
As you can imagine, I’ve seen some really impressive haunted houses, and I’ve seen some that are really poorly done.
Although I have a slightly cowered stance, you can see that I'm laughing. That’s because I could see his face through the holes of his mask.
Now, this by no means is a low budget haunted house/Halloween event. And this actor deserves all sorts of kudos for walking around steamy hot Florida in that getup and on stilts, no less. But I will say that being there in the daytime where I could see through the mask did deflate my enthusiasm. It also had me wondering if the rest of the experience would be as disappointing. (For the record, it wasn’t.)
You definitely don’t want your visitors noticing flaws, odd design choices and other errors on your site. Then, wondering why the company behind it didn’t put more money into design and development.
If your website looks cheesy, overdone or like it was cheaply thrown together, you’re going to have a big problem on your hands. The rest of the web has set a very high bar for what a website should look like and how it should work. Fail to live up to those expectations and you’ll find that people will start to question the legitimacy or worth of the business behind it.
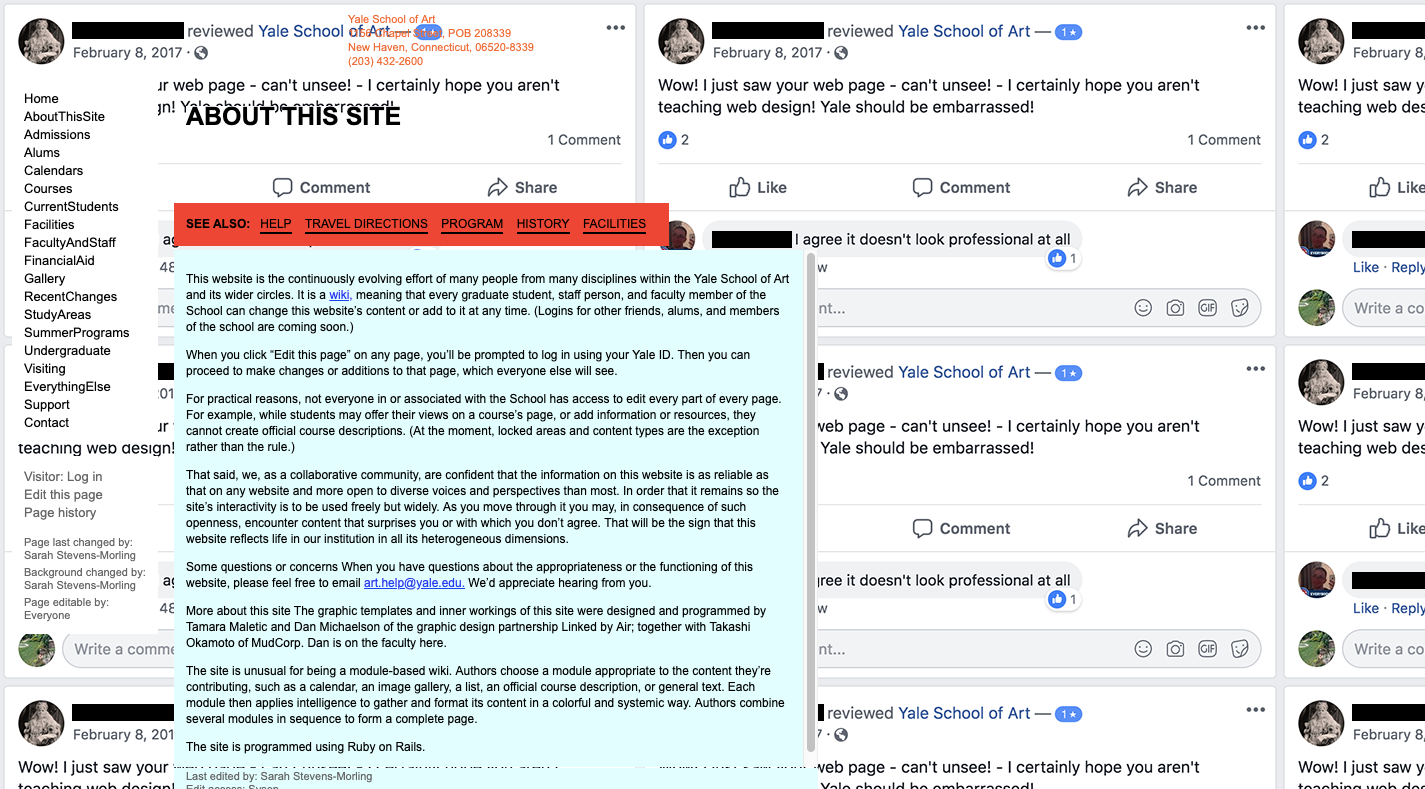
I thought it was a joke, that somehow I’d landed on someone pretending to be Yale University at yale.net instead of yale.edu. But I was wrong. This is the real website of the art department at the Ivy League university.
So, I dug a little further, hoping that somewhere on this subdomain would be an explanation of why this website sucked so much. This is what I found:
Let me point you to the most revealing parts of the explanation. First, they explain that this site is an open-source wiki:
It is a wiki, meaning that every graduate student, staff person, and faculty member of the School can change this website’s content or add to it at any time.
Next, they warn you that you may be shocked by what you see:
As you move through it you may, in consequence of such openness, encounter content that surprises you or with which you don’t agree. That will be the sign that this website reflects life in our institution in all its heterogeneous dimensions.
Considering the editor of this page used a negative review from Facebook as the repeating background image, there must be some inside joke here. In fact, when I looked into it further, it seems as though this school has had a tradition of scary web design choices as far back as 2010. So, they obviously know what they’re doing.
Here’s the thing though: even if you’re designing for someone with as well-known a reputation as Yale, building something that looks like it was thrown together in Paint back in 2001 is no way to go. There’s no exception for design this bad and I don’t think your visitors will be happy that you wasted their time either.
I realize this might help with the virality of a site, but it’ll do nothing for the credibility of it. All you’ll end up with is a few thrill seekers stumbling through in search of a good laugh or shock. What you need instead is visitors who feel comfortable and confident enough to convert.
4. It Looks Unsafe
The last thing that might leave people feeling unsettled is a lack of security (or at least the perception of none).
One of the things I often get asked by people who don’t like scary movies or going to haunted houses is:
“But aren’t you scared?”
Of course, I’m scared! I enjoy all of this horror stuff because I can do so safely from a distance. I know that the scare actors in a haunted house aren’t going to hurt me and I know that Michael Myers isn’t going to pop out of my TV screen and butcher me in the middle of the night. Plus, it’s a much more enjoyable way to get my cardio in without having to hit the treadmill.
A still of Michael Myers sneaking up on Laurie Strode in Halloween. (Source: GIPHY)
I think for some people, though, they don’t have that same sense of security when partaking in activities like these, which is why they steer clear. And this is something you need to be extra careful about when it comes to your website. Specifically, be mindful of:
Installing SSL certificates on every website.
Using security badges at checkout.
Preventing 404 errors.
Fixing faulty contact forms.
Blocking spam in comment sections and forums.
Monitoring for server downtime.
Repairing the white screen of death.
Let’s look at an example of a website that sends a number of red flags pertaining to security. This is RoadKill T-Shirts:
At first glance, you might think this e-commerce website is okay. The design is outdated, but it’s a low-end tee-shirt shop. Visitors can’t be expecting too much from the design.
But then you move over to your mobile device and realize it’s not responsive:
That said, there may be some visitors who are able to look past these design missteps, especially if there’s a tee shirt decal they really want.
One of the first red flags that should stop them in their tracks though is the “Not Secure” notice in their browser window. Although there is a GoDaddy security seal at the very bottom of the checkout page, I’m not all that sure I’d trust that to protect my purchase as a consumer either.
Then, there’s the matter of the contact form. I was curious to see how secure users would feel about filling in contact information without submitting a payment, so I forced an error:
I’m happy to see that the failure to fill in required fields triggered such a response. However, here’s what happens to the bottom of the form as a result:
RoadKill T-Shirts error-filled contact form leads to a hidden “Submit” button. (Source: RoadKill T-Shirts) (Large preview)
Users can tab down to reveal the “Submit” button. However, what if your visitors don’t know that they can do that? They may just end up abandoning the form and the website altogether if something as simple as the contact form is so fraught with error.
There are a variety of ways a website might seem unsafe to visitors, so do what you can to fortify it on the backend and then provide trust marks on the frontend to put their minds at ease.
Wrapping Up
When a visitor enters your website, what do you want their first thought to be?
“Oh great! There’s the product I was looking for!”
Or:
“Hmmm... Maybe I should go back to Google and see if there’s a different place to buy this product from.”
There are so many ways to give your visitors pause when they visit a website. But if you start looking at your website like a home, you can avoid the common pitfalls that make a website feel more like a haunted house than a warm and welcome homecoming.
Everyone agrees that broken links are bad for user experience. But did you know that broken links can significantly hurt your WordPress SEO rankings?
Yes, it’s proven that having broken internal links on your website negatively impacts SEO.
In this article, we will show you how to easily find and fix broken links in WordPress so that you can improve your user experience and SEO rankings.
What Is a Broken Link?
A broken link, also known as a dead link, is a link that no longer works.
Broken links can happen for many reasons, but the most common reason is when a page is either deleted or moved to a different location, which causes the server to show a ‘404 not found’ error message.
On WordPress sites, broken links typically occur when moving a site to a new domain name or when deleting a post or page without proper redirection.
Sometimes, broken links can also happen due to a typo, and they can go unnoticed for months, if not years.
This is why it’s extremely important to regularly monitor broken links on your WordPress website and fix them so you can keep them from hurting your SEO rankings.
In this guide, we will share the top 5 methods to find broken links in WordPress. After that, we will show you an easy way to fix those broken links.
Method 1: Finding Broken Links in WordPress Using Broken Link Checker (Quick & Easy)
The Broken Link Checker plugin by AIOSEO is an essential tool for making sure all of the links on your WordPress site are functioning correctly.
It regularly scans for broken links on your website, including internal and external links that result in a 404 error.
Unlike some other broken link checker plugins, it’s built as a SaaS service, so it won’t slow your website down. It also won’t be blocked by managed WordPress hosting companies like WP Engine because it uses an external private server to ping for broken links.
Note: The free version of Broken Link Checker allows you to scan up to 200 internal links. You can upgrade to the Pro version to scan more internal and external links.
Upon activation, the Broken Link Checker Setup Wizard will start automatically to help you set up your account.
On the next page, you can choose to create a free account or connect to a plan that you already purchased.
To create a new free account, simply click the ‘Create a Free Account’ button. You will need to fill in your name, email address, and phone number. You will also need to enter your credit card details so you can be upgraded when you go over the free 200 link limit.
If you already purchased the Pro version, then you can click on the ‘Connect to an Existing Account’ button. You will be asked to sign in to your account, and then you can click the ‘Connect’ link next to your plan.
The plugin will now start working in the background to find links in your posts, pages, and custom post types.
You can go to the ‘Broken’ tab to view the full report. The links are categorized into broken, redirects, and dismissed.
If you have been running your WordPress blog for a long time, then this report will include broken links to third-party websites as well.
You can quickly fix any broken links right inside of the plugin by clicking the ‘Edit URL’ link. Or, you can remove the link by clicking ‘Unlink.’ Once you are finished, don’t forget to click the ‘Update’ button.
Broken Link Checker will also give you ‘Status Details’ about each link when you click the Information ⓘ icon.
The information displayed includes how long the link has been broken, its HTTP status code, response headers, and more.
The plugin’s Settings tab lets you control which post types (posts, pages, custom post types) and statuses (published, draft) you want to monitor or exclude.
Broken Link Checker by AIOSEO will automatically scan your site every 3 days, so you won’t have to worry about broken links in the future.
Method 2: Finding Broken Links Using Semrush (Full Site Audit)
Semrush is one of the best SEO tools on the market. It allows you to easily monitor your website’s SEO rankings and overall health.
It also includes a powerful site audit tool that crawls your website to find common errors and prepare a detailed report for you.
It is a paid service, but they offer a limited free account that allows you to crawl up to 100 pages on one domain name. Paid plan limits start from 100,000 pages a month.
Once you are logged in, you need to click on the ‘Site Audit’ link from the left menu.
This will bring you to the Site Audit page. From here, click on the ‘Create project’ button at the top to add your website.
You will be asked to enter the domain name you want to audit, and then you need to click the ‘Create project’ button.
After that, you will be asked to configure the site audit settings.
Semrush will now begin crawling your website for the site audit. This may take a few minutes, depending on how many pages you selected for the crawl.
Once finished, you can click on your domain under the ‘Site Audit’ section to view your report.
Notice that the number of broken links is written in blue. That’s because it’s a link you can click to see more information.
You will see a list of broken links found on the crawled pages of your domain.
You can now click on the ‘Export’ button at the top right corner of the screen to download your crawl report. You will need it when fixing broken links on your website.
Method 3: Finding Broken Links Using Ahrefs (Complete Backlink Profile)
Ahrefs is an excellent all-in-one SEO tool for marketers, businesses, and SEO professionals. It offers detailed SEO insights into your own website or any of your competitors.
You can use it for keyword research, competition analysis, organic and paid keyword ideas, and site health monitoring, including broken links. With the Site Explorer tool, you will get a complete backlink profile of your website.
First, you will need to sign up for an Ahrefs account. Note that it is a paid service.
Once you are logged into your Ahref’s dashboard, you need to enter your domain name into the ‘Site Explorer’ tool.
The Site Explorer tool will now crawl your website to prepare reports. This may take some time, depending on how much content you have on your website.
Once it is finished, you will see an overview of your Site Explorer results. From here, you need to click on the Pages » Best by links menu and then sort your report by 404 status.
You can now export your report in CSV format to find and fix the broken links on your WordPress website.
Method 4: Finding Broken Links Using MonsterInsights (Advanced Tracking)
Using the plugin, you can set up Google Analytics without editing code. It also lets you set up link and button click tracking, eCommerce tracking, author tracking, and more.
To start, you will need to sign up for a Google Analytics account and connect it with your WordPress website using MonsterInsights. For more details, you can follow our detailed guide on how to install Google Analytics in WordPress.
Note: MonsterInsights is a premium WordPress plugin, but we will be using the free version for this tutorial. However, you can upgrade to its Pro version for advanced tracking features, dashboard reports, popular posts features, and more.
Once MonsterInsights is active on your website, the plugin will start to track broken links and show you a report in Google Analytics. However, it might take up to 24 hours before you see any data.
To find broken links, you need to create an Exploration report in Google Analytics. This will take information about your broken links from MonsterInsights and display them in a list.
Once you log in to Google Analytics, you will need to navigate to the ‘Explore’ tab and choose a Blank report.
Now, under Exploration Name, you can type a name for the report, such as ‘Broken Links’.
Next, you need to click the ‘+’ button next to Dimensions.
You will see a full list of the available dimensions for your report.
You need to search for the ‘Page title’ dimension and check its box. After that, you should do the same thing for the ‘Page path + query string’ dimension.
Once you’ve done that, just click the ‘Import’ button at the top right of the screen.
Next, you need to import a metric. This time, you should click on the ‘+’ button next to Metrics and import the Sessions metric.
Now, you can add the items you imported to your report.
First, you need to drag both Dimensions to the Rows box in the second column. After that, drag the Sessions metric to the Values box.
Next, scroll the second column down to the Filters section.
You need to click the box that says ‘Drop or select dimension or metric’. After that, click on ‘Page title’ from the menu.
Now, under Conditions, you need to select ‘contains’ from the dropdown menu and then type the page title for your website’s 404 page, such as ‘Page not found’.
Tip: If you are not sure of the title of your website’s 404 page, then type a random URL after your domain name, such as https://example.com/xyz and then check your browser’s tab for the title.
Once you’ve done that, you can click the ‘Apply’ link.
On the right of the page, you will now see a report of all of the 404 errors that occurred during the report’s time frame. However, in most cases, the ‘Page page + query string’ column will be cut off so that you can’t see the full URL.
To see the URLs, you will need to download the data. Simply click the ‘Download’ icon at the top right of the page.
When you view the downloaded data, you will see that most of the URLs look like this:
The part of the URL that shows your broken links comes after ?page=. In the example above, this is https://example.com/error-page-url.
The part of the URL that shows the page containing the broken link comes after &from=. In the example, this is http://example.com/page/.
You can use this information to fix the broken links. We show you how to do that in the last section of this article.
To see this report in the future, simply visit the ‘Explore’ tab in Google Analytics.
Method 5: Finding Broken Links in WordPress Using Google Search Console (Free)
Google Search Console is a free tool offered by Google to help webmasters manage their sites’ visibility in search results. It also notifies you about errors, including 404 errors that are caused by a broken link.
First, you will need to set up Google Search Console for your website. For step-by-step setup instructions, see our ultimate Google Search Console guide.
After you have logged in to your Google Search Console account, just click on the ‘Pages’ link from the left menu.
Next, make sure the box next to ‘Not indexed’ is checked.
This will make sure that you will see any 404 errors that were encountered by users when visiting your website.
When you scroll down to the section titled ‘Why pages aren’t indexed’, you will see one reason listed as ‘Not found (404)’.
When you click on this item, you will see a list of all broken links that caused a 404 error.
How to Properly Fix Broken Links in WordPress
We have shown you 5 different methods to find broken links in WordPress. Now, let’s talk about how to easily fix broken links in WordPress.
The best way to fix a broken link is to redirect it to another page.
For example, if you moved the contents of an article to a different address, then you will need to redirect it to the newer article.
Similarly, if an article does not exist anymore, then you will want to point users to a similar page that is closely related to the contents of the old article.
You can do this by setting up 301 redirects.
The easiest way to fix broken links and set up redirection is by using the All in One SEO (AIOSEO) plugin for WordPress. It offers a powerful redirection manager that helps you track 404 error pages and create 301 redirects.
Note: We will be using the AIOSEO Pro version because it includes the redirection manager addon and offers multiple types of redirections.
First, you will need to install and activate the AIOSEO Pro plugin. For more details, see our step-by-step guide on how to install a WordPress plugin.
Upon activation, you need to visit the All in One SEO » Redirects page and then click the ‘Activate Redirects’ button.
Next, you will need to go to the ‘Settings’ tab under Redirects and enable 404 logs. You can find the option in the ‘Logs’ section.
AIOSEO will also let you set the time period to record your 404 logs using the dropdown menu. We suggest that you select no longer than one month for smooth and optimal performance.
After that, go ahead and click the ‘Save Changes’ button.
You will now see a ‘404 Logs’ tab appear in the Redirects section in AIOSEO. Go ahead and click on the tab.
When you first enable the 404 logs option, there will be no data on this page. The plugin will only start to monitor and record 404 pages after enabling the settings.
However, once it’s active, AIOSEO will show a list of broken links on your website under the ‘URL’ column. It will also show you how many people visited the link under the ‘Hits’ column and the last accessed date.
You can now click the ‘Add Redirect’ button for any broken link you want to fix. When you click the button, you’ll see redirection options for your 404 error URL.
Simply enter the Target URL where you’d like to redirect your visitors and select ‘301 Moved Permanently’ as the redirection type from the dropdown menu. Once you’ve done that, you should click the ‘Add Redirect’ button.
You can now test this by visiting the old broken link, and you will be redirected to the new page.
Just repeat the process for all broken links on your website.
Now that you have found and fixed the broken links on your WordPress site, you may be wondering about other ways to use internal links to improve your site’s SEO. Here are our best guides on internal links:
Creativity Sparks Shining Through The Fog (November 2019 Wallpapers Edition)
Creativity Sparks Shining Through The Fog (November 2019 Wallpapers Edition)
Cosima Mielke
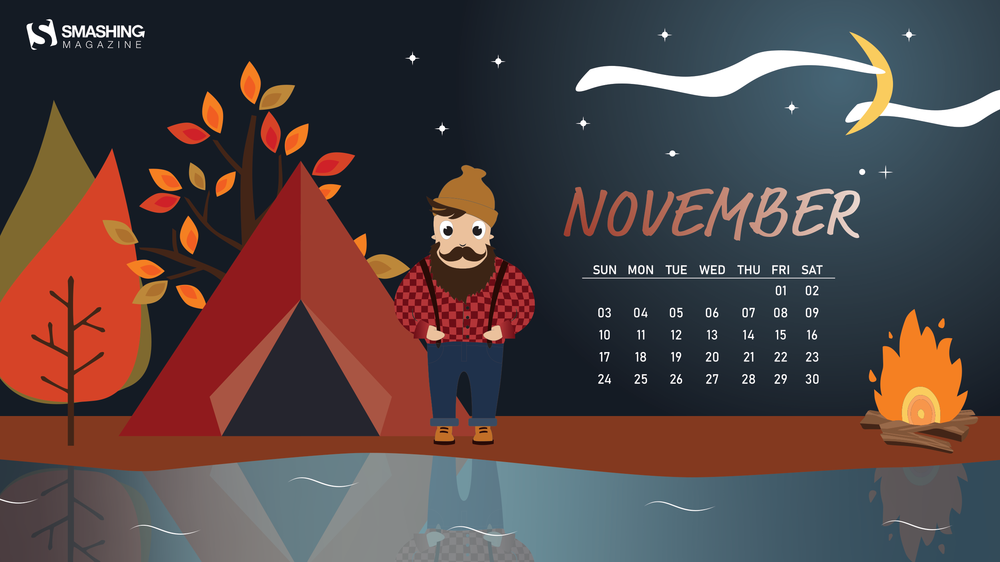
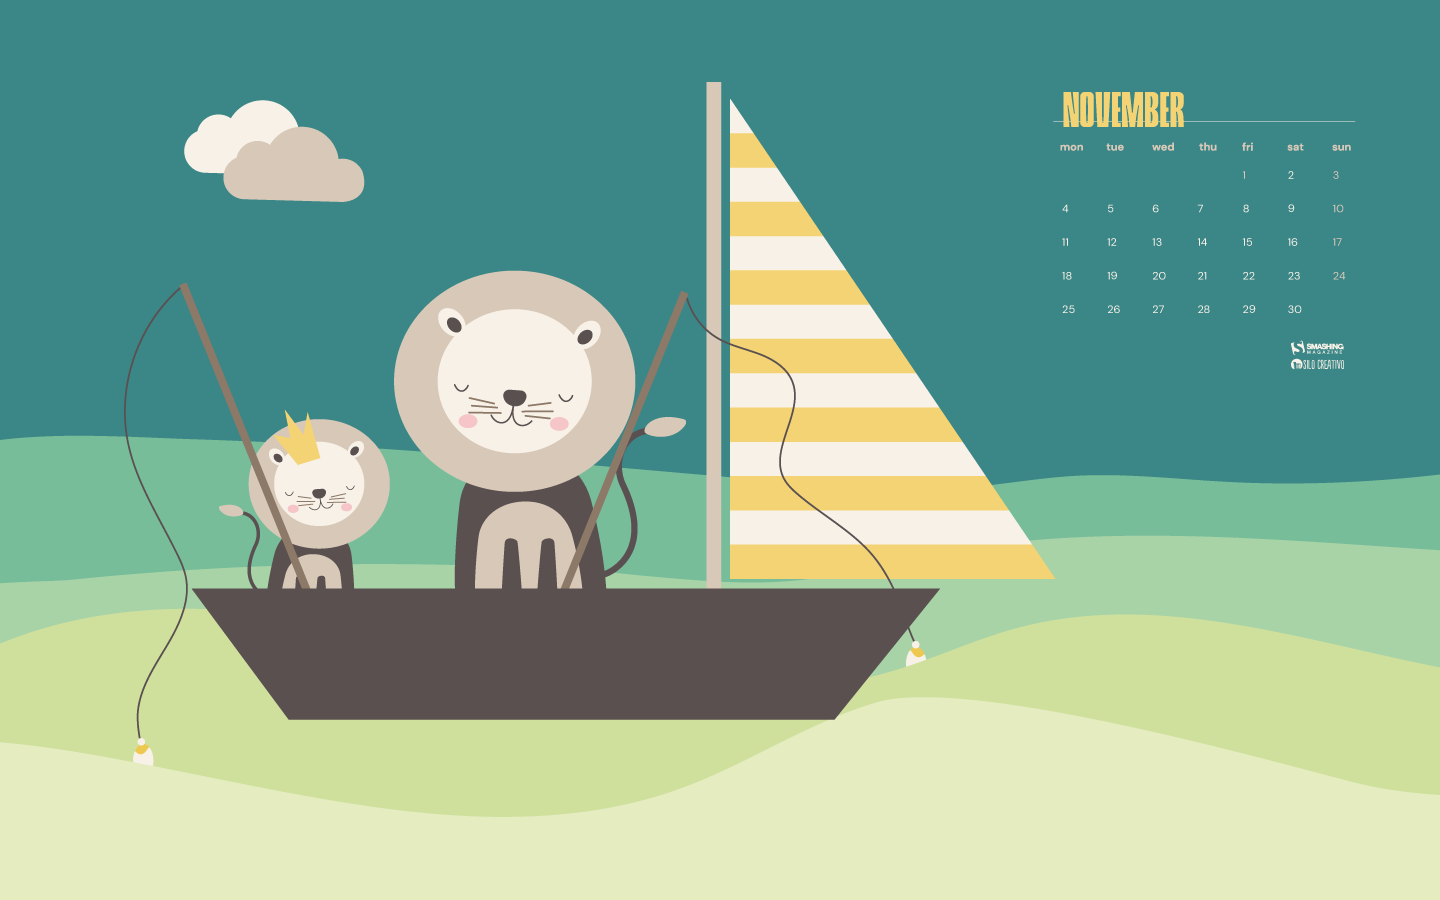
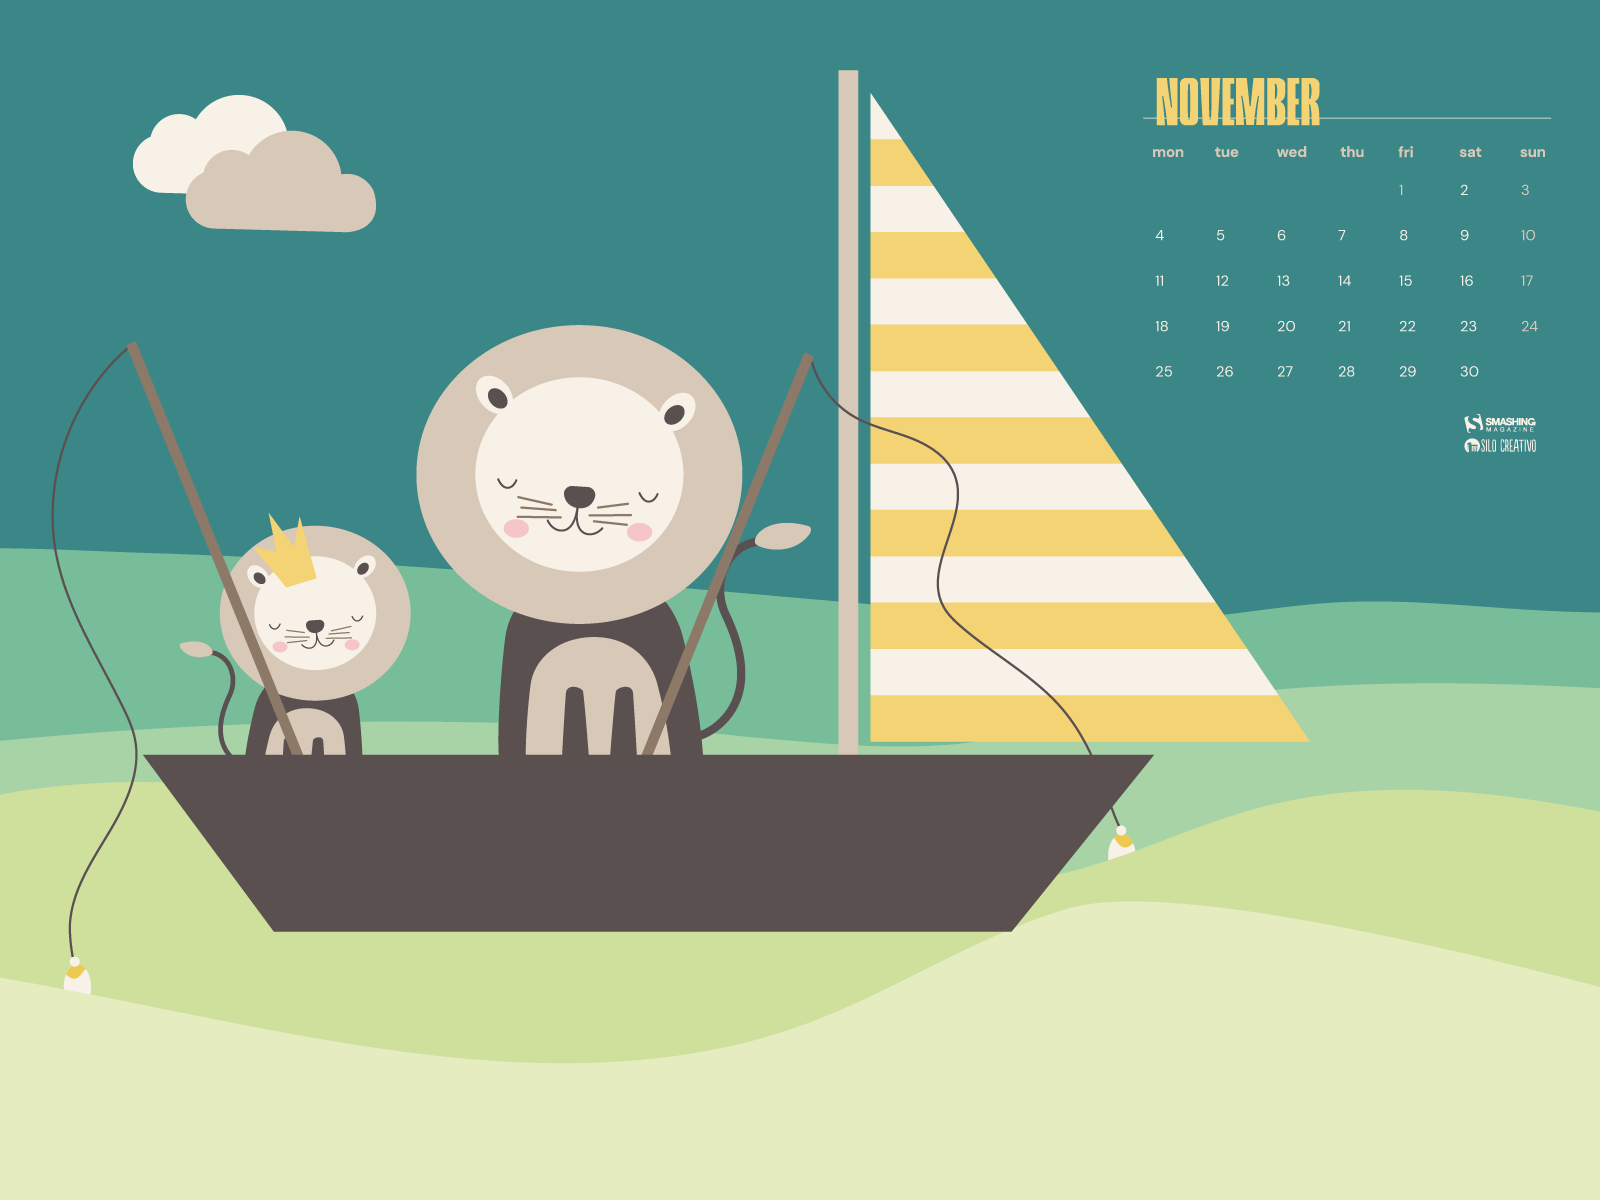
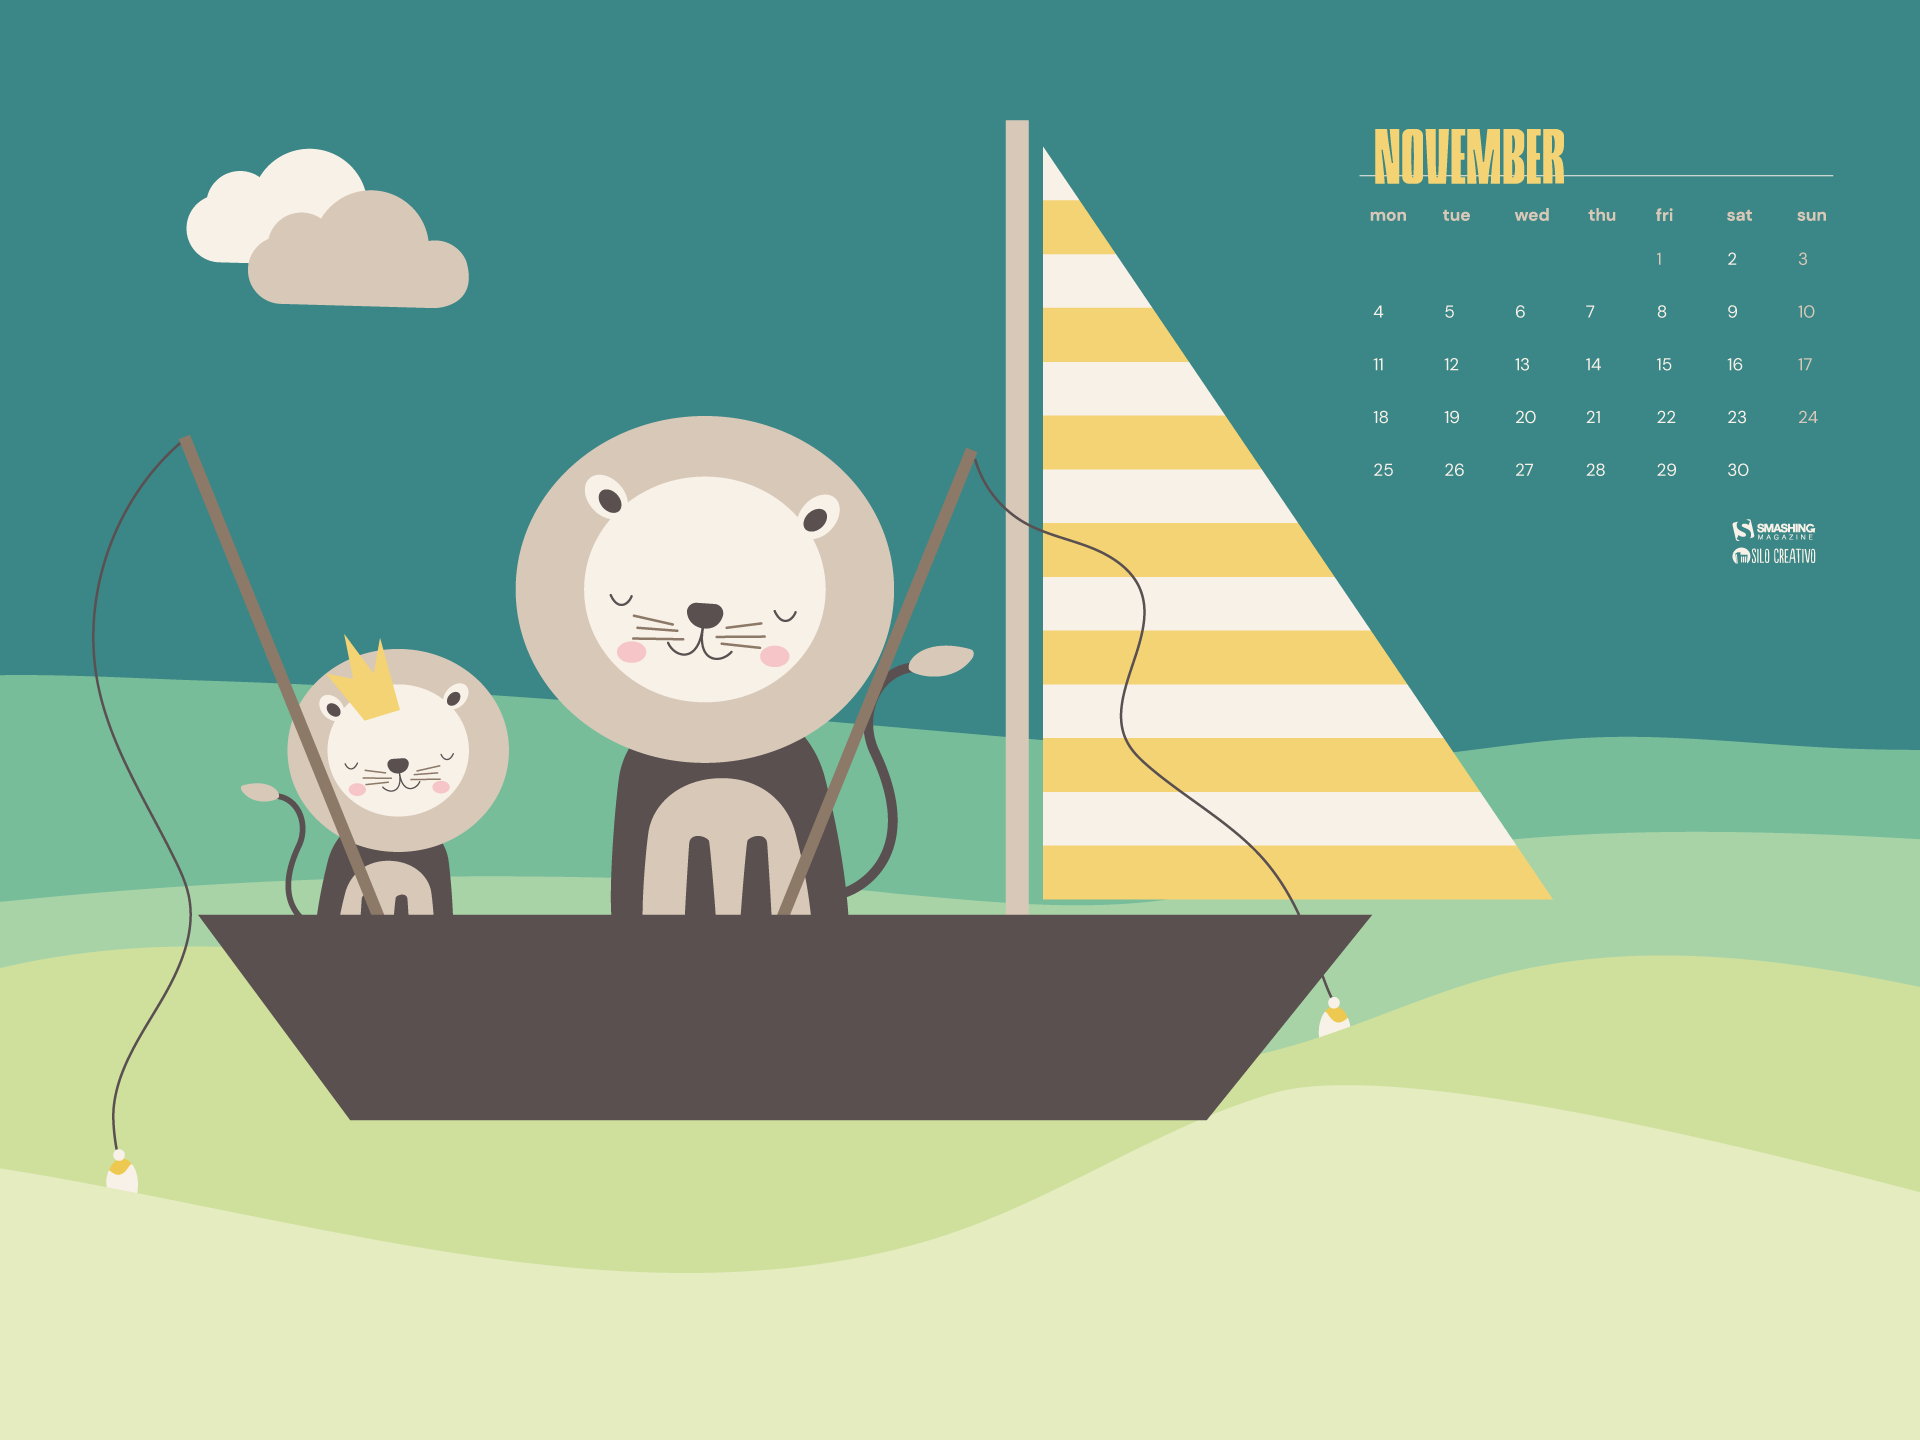
The fascinating world of aviation, classic movies, sweet childhood memories — these are just some of the things that inspired artists and designers from across the globe to participate in our wallpapers challenge this time around.
The monthly challenge has been going on for more than nine years already and we are very thankful to everyone who tickles their creativity each month anew to keep the steady stream of wallpapers flowing and caters for some colorful inspiration with their artwork — no matter how gray the weather outside might be.
The wallpapers in this collection come in versions with and without a calendar for November 2019, so it’s up to you to decide if you want to keep things minimalistic or have an overview of the month at a glance. As a bonus goodie, we also compiled a little best-of from past November editions at the end of the post. Maybe you’ll rediscover some long-forgotten favorites in there? Happy November!
Please note that:
All images can be clicked on and lead to the preview of the wallpaper,
We respect and carefully consider the ideas and motivation behind each and every artist’s work. This is why we give all artists the full freedom to explore their creativity and express emotions and experience through their works. This is also why the themes of the wallpapers weren’t anyhow influenced by us but rather designed from scratch by the artists themselves.
Submit your wallpaper
We are always looking for designers and artists to be featured in our wallpapers posts. So if you have an idea for a December wallpaper, please don’t hesitate to submit your design. We’d love to see what you’ll come up with. Join in! →
International Civil Aviation Day
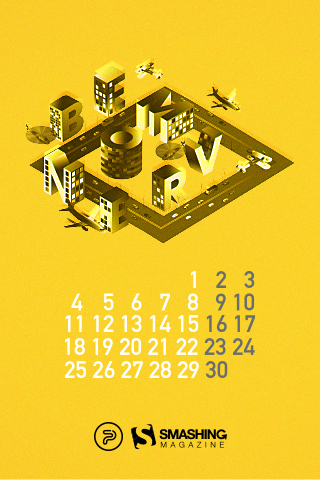
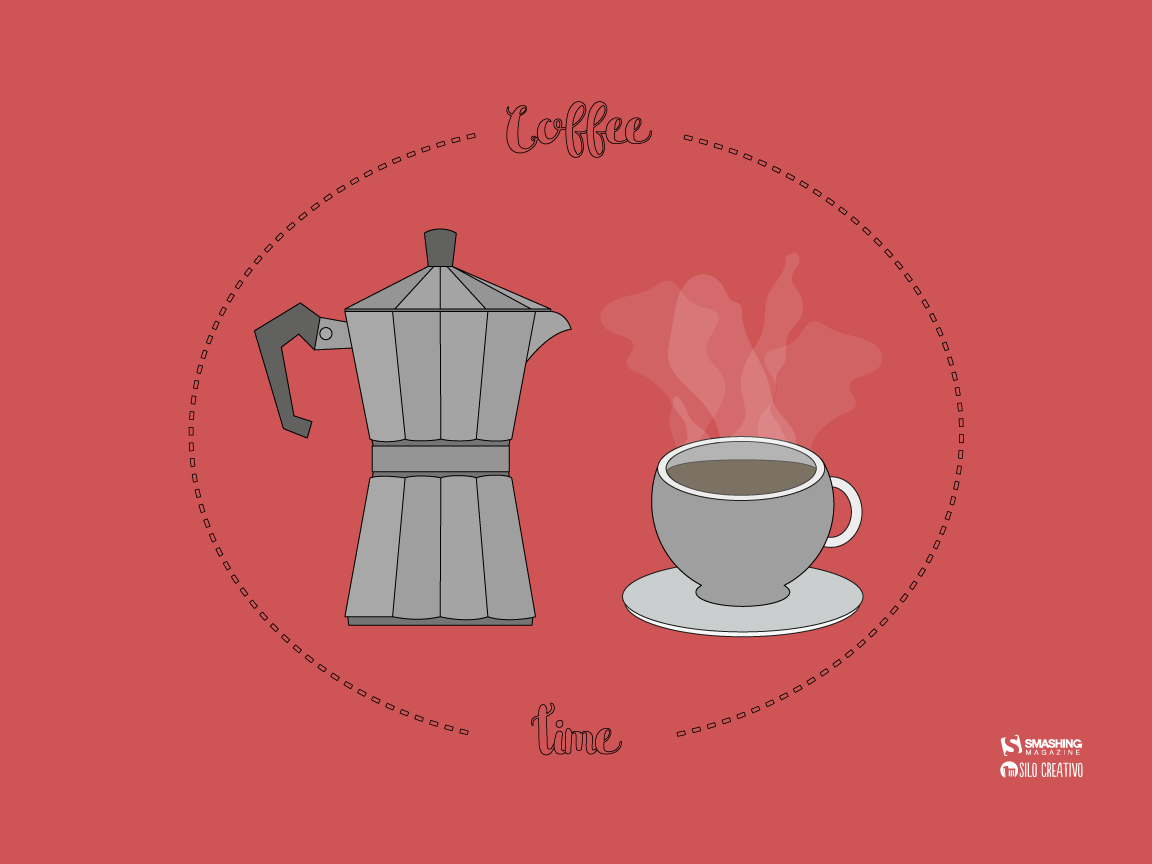
“On December 7, we mark International Civil Aviation Day, celebrating those who prove day by day that the sky really is the limit. As the engine of global connectivity, civil aviation is now, more than ever, a symbol of social and economic progress and a vehicle of international understanding. This monthly calendar is our sign of gratitude to those who dedicate their lives to enabling everyone to reach their dreams.” — Designed by PopArt Studio from Serbia.
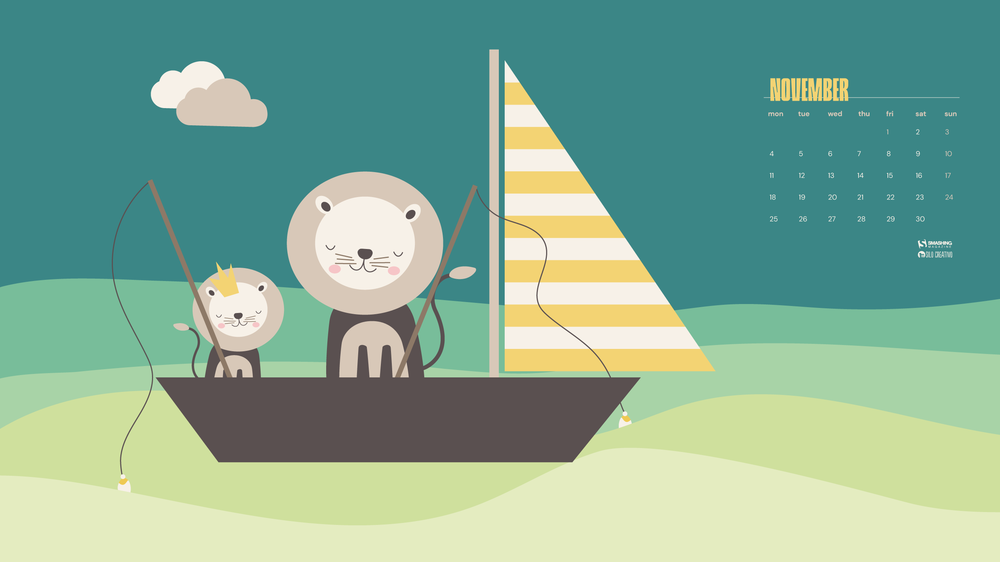
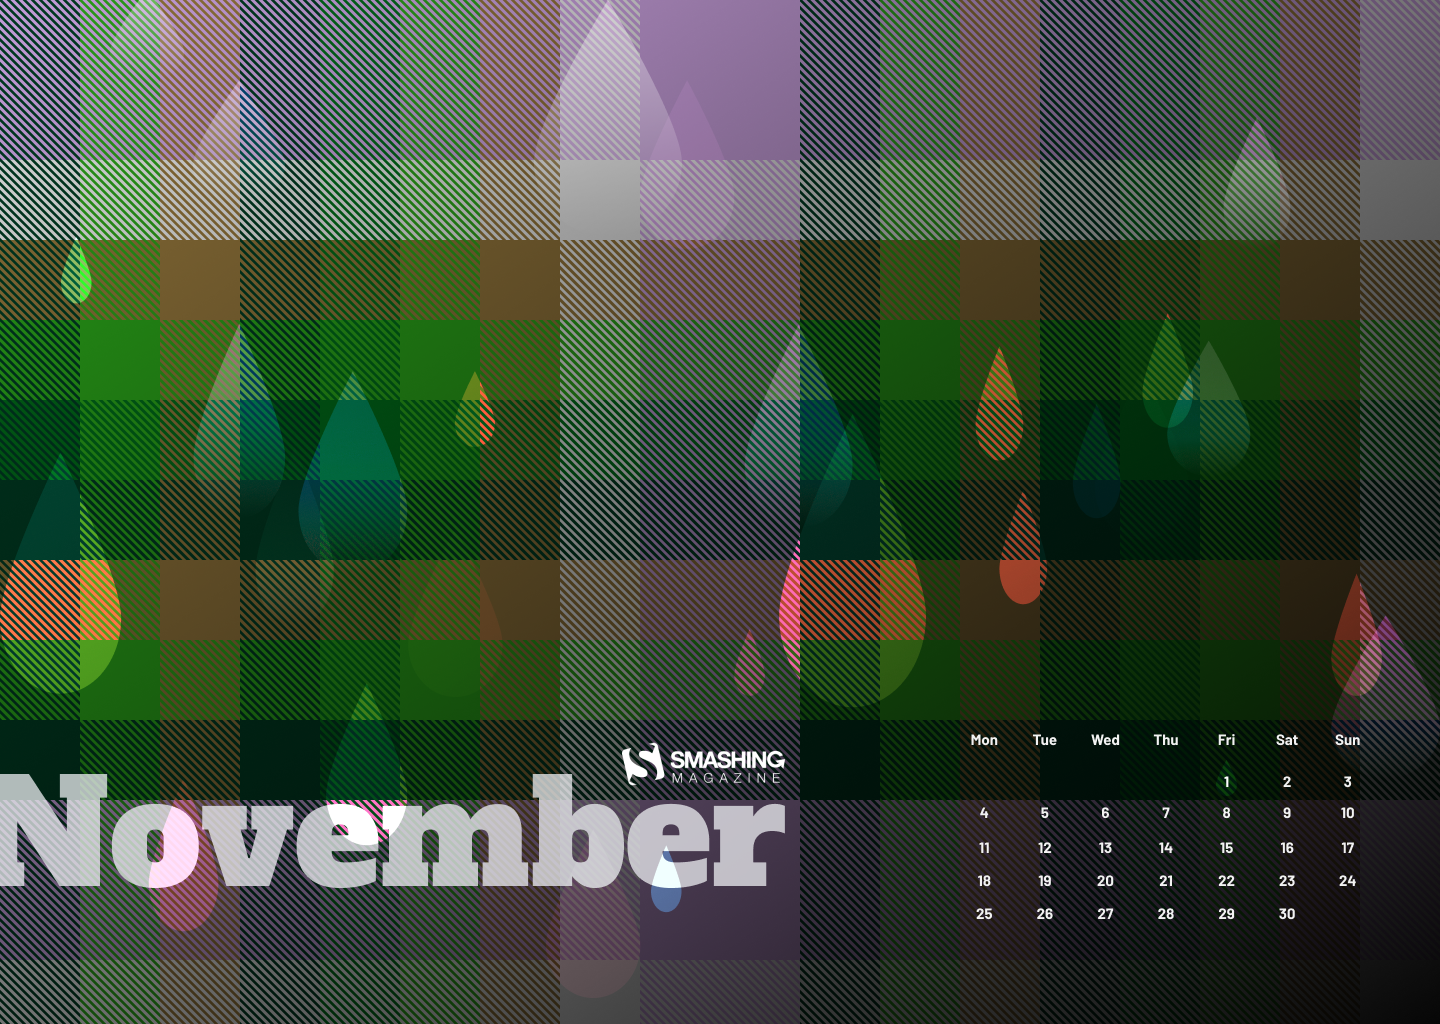
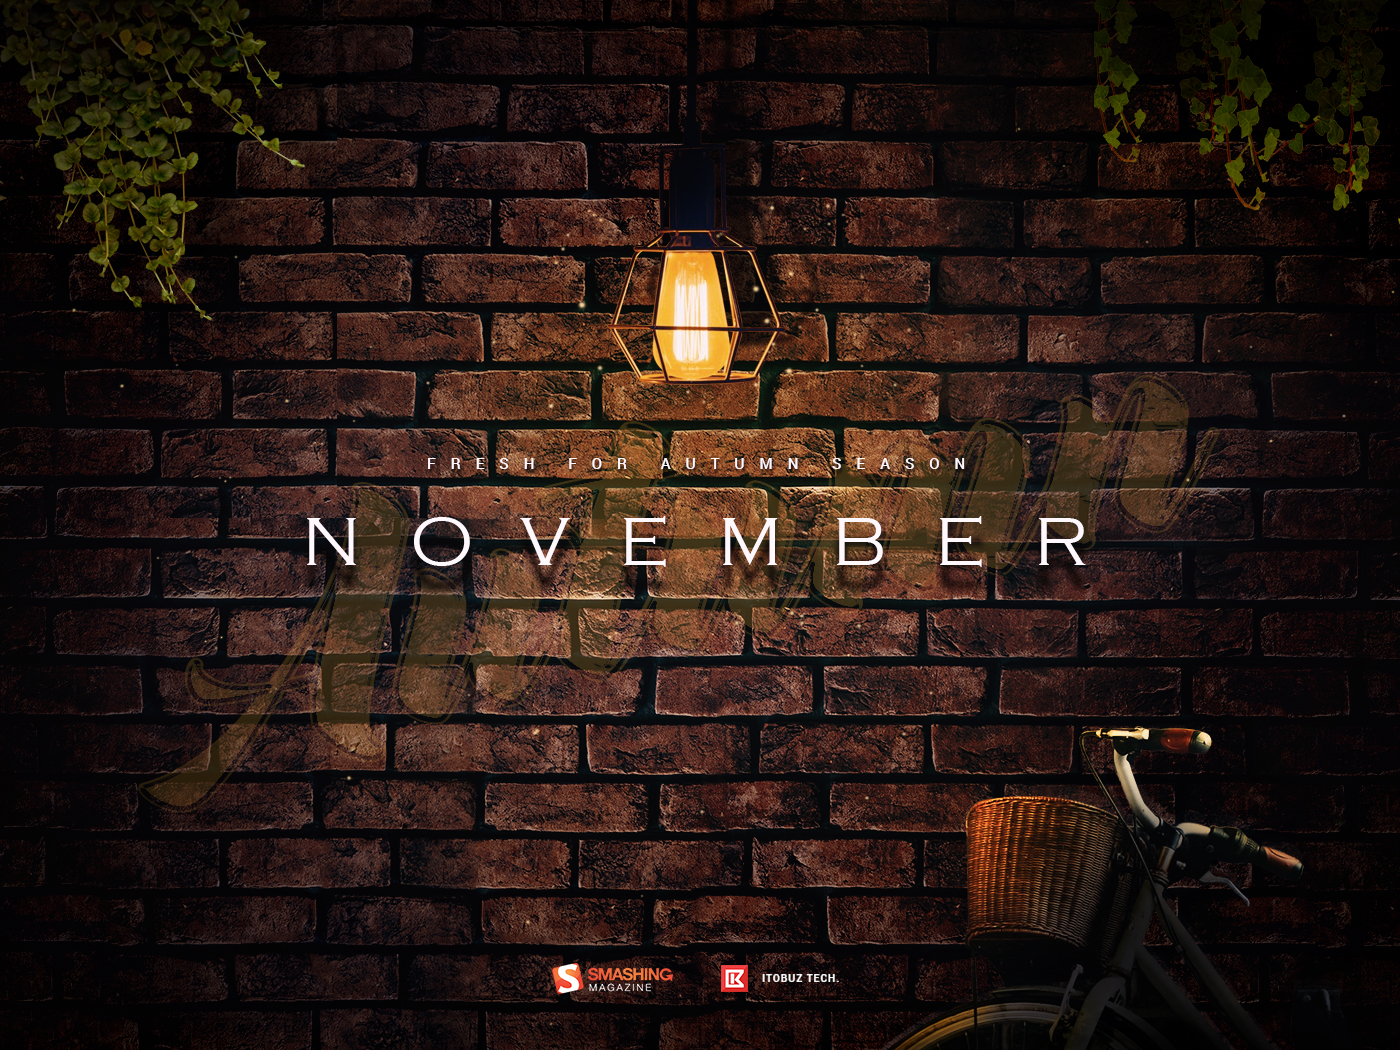
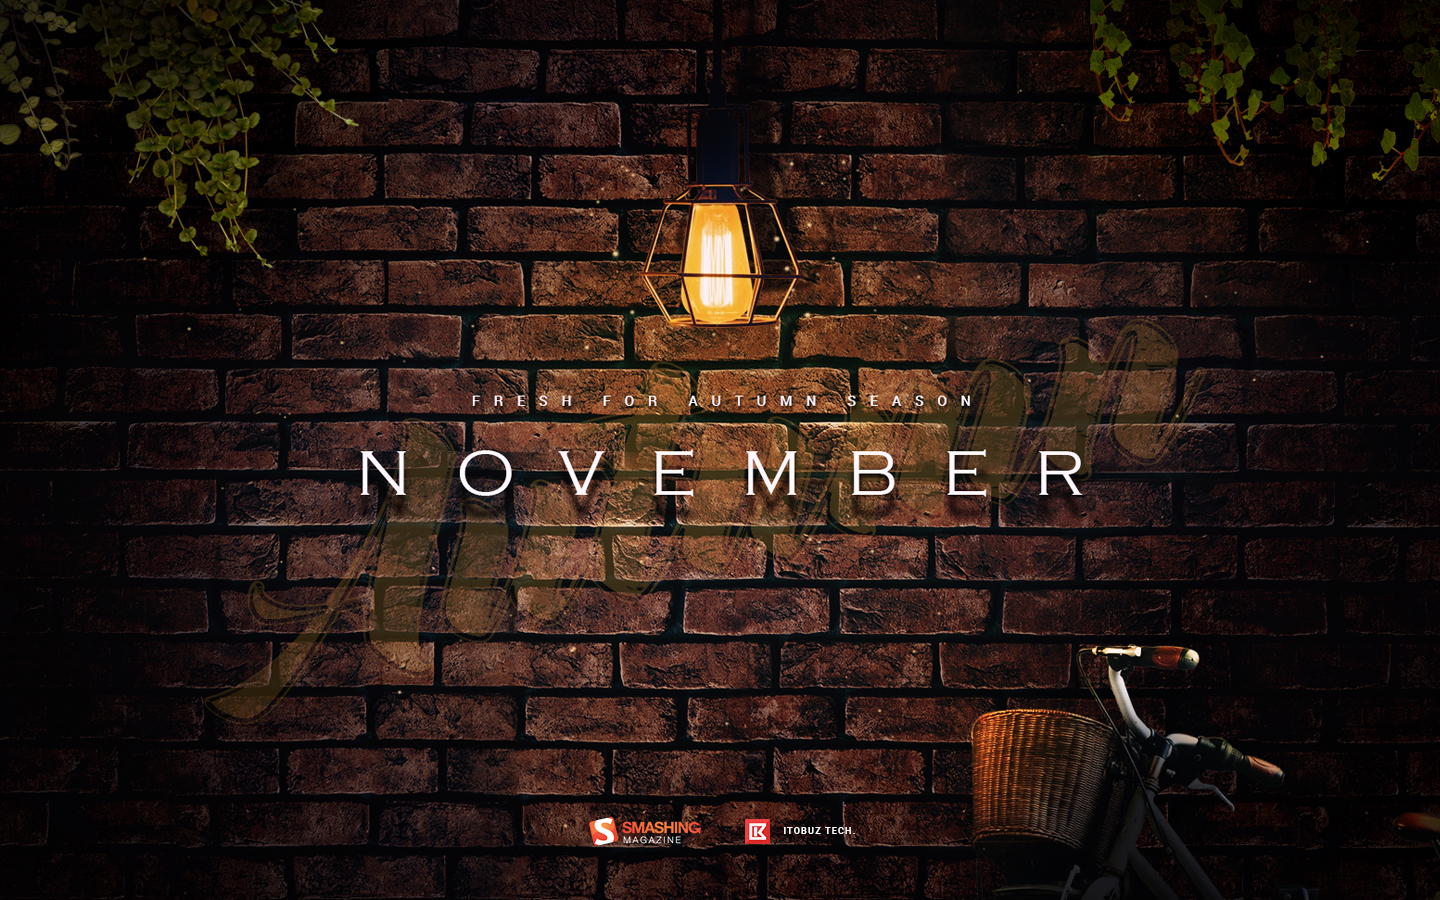
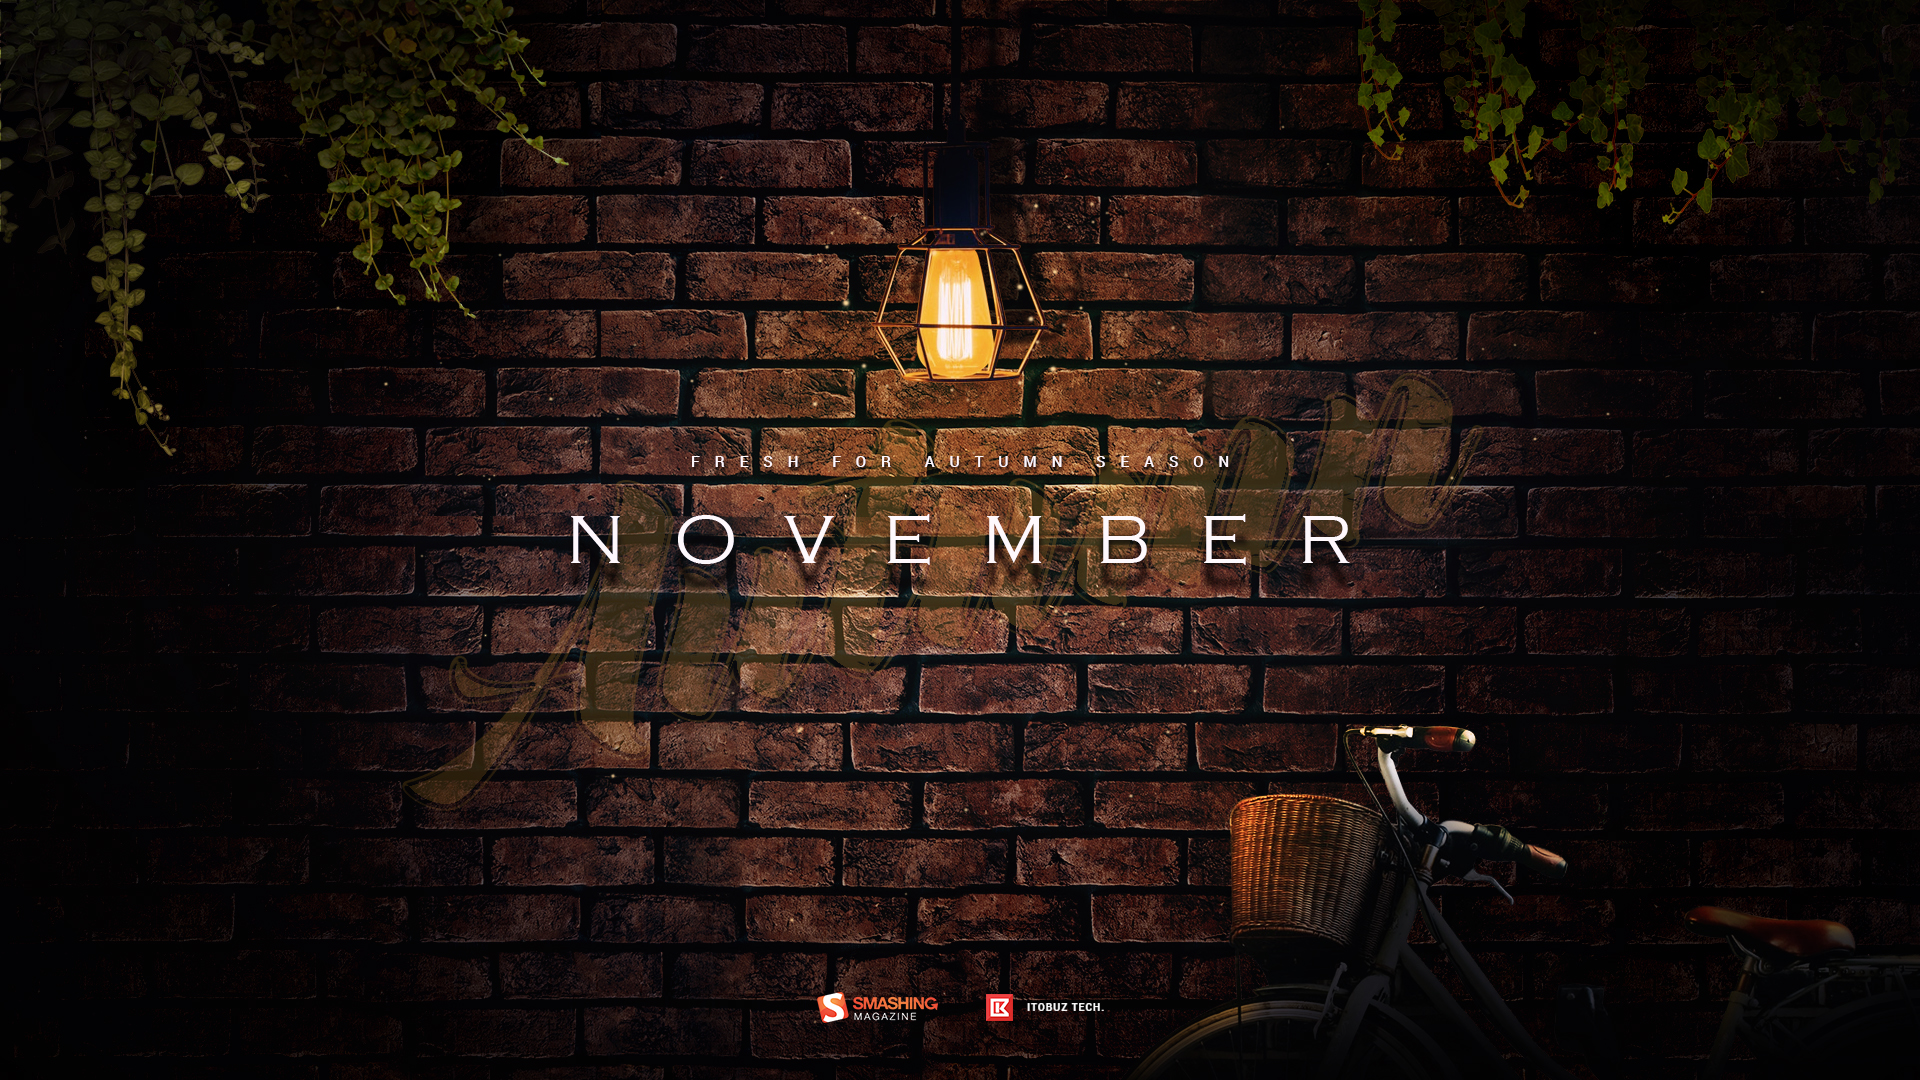
“Let’s take extra care of colors during the autumn months. November might be gray and rainy. Outside. Don’t let it inside. Take a good book, prepare a hot ginger tea, and cover your knees with a bright woolen plaid.” — Designed by Tartanify from France.
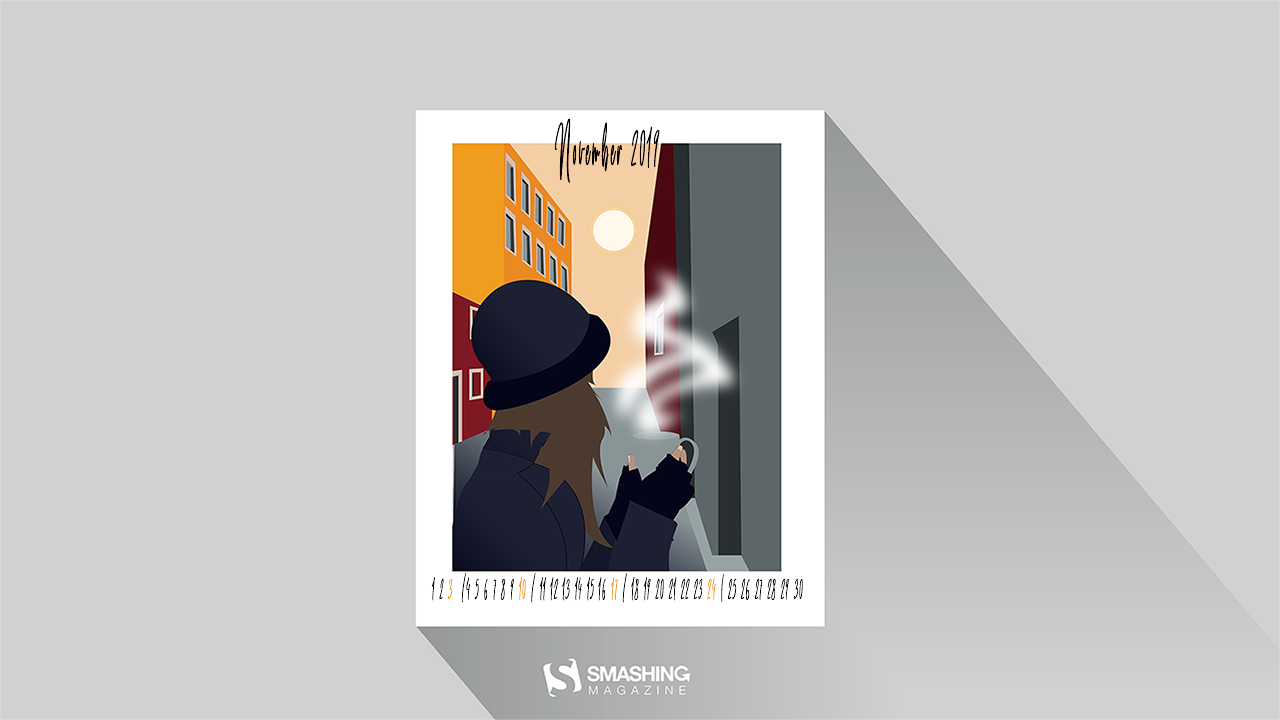
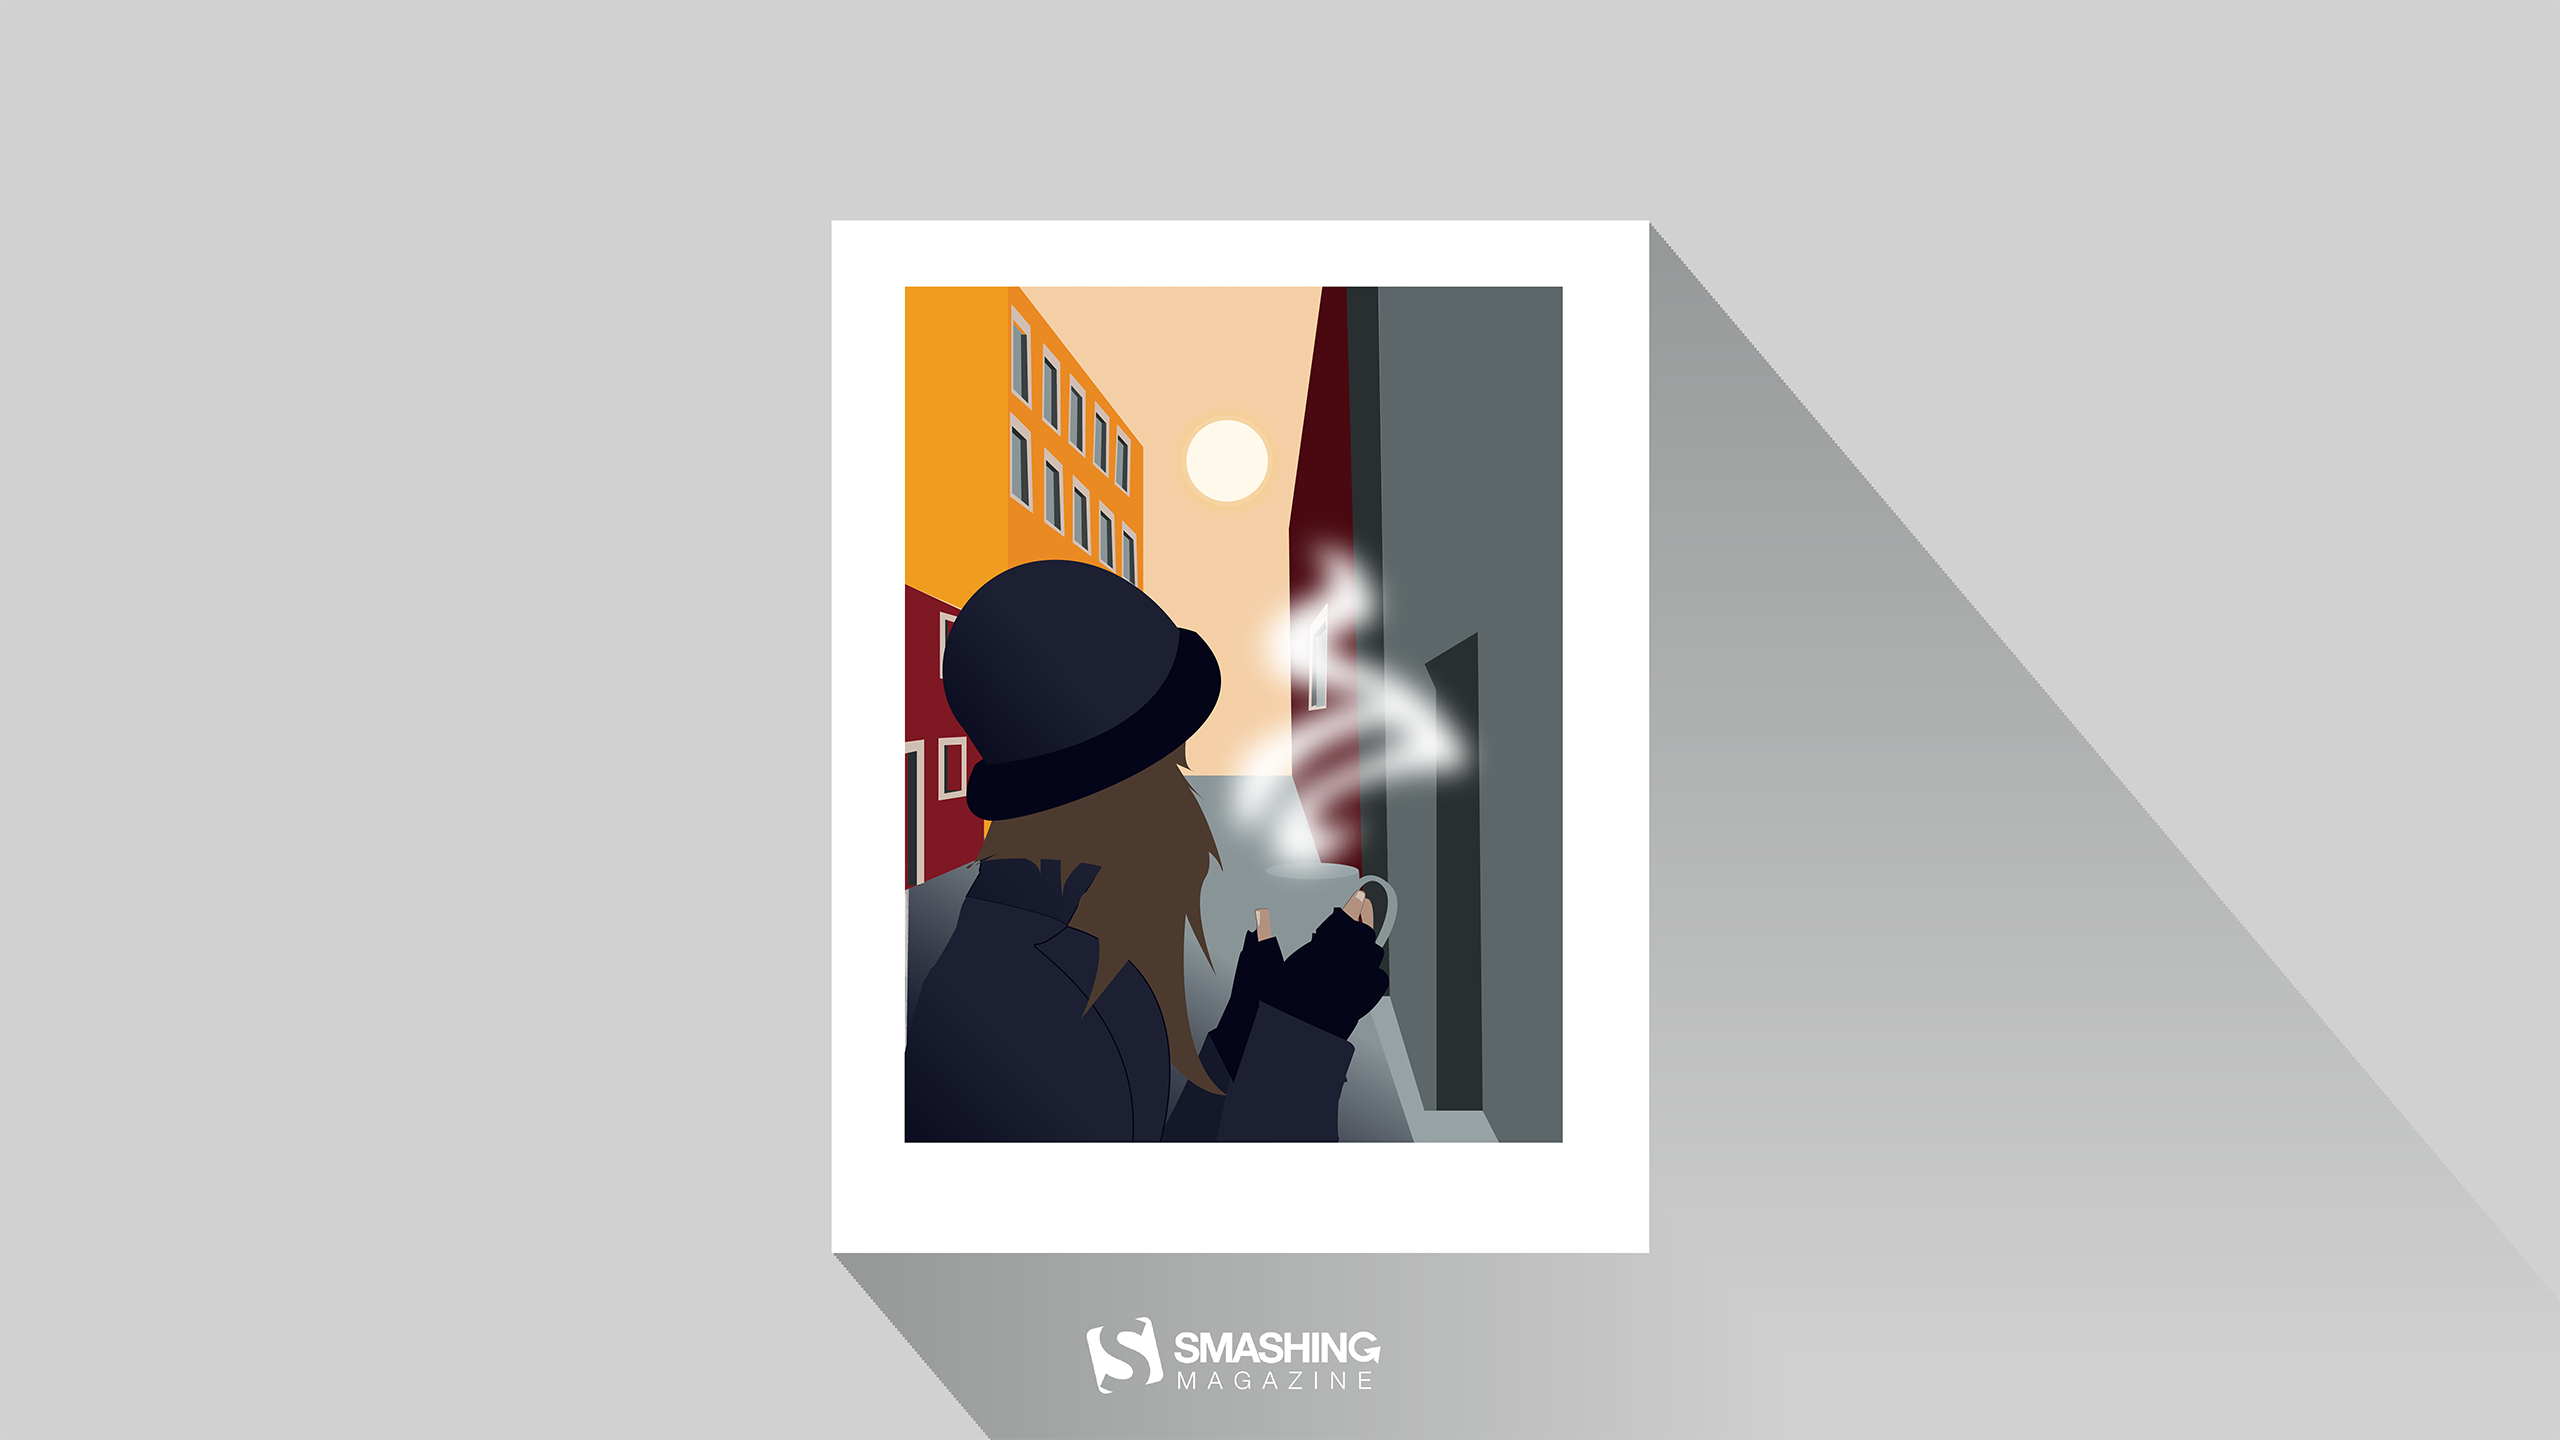
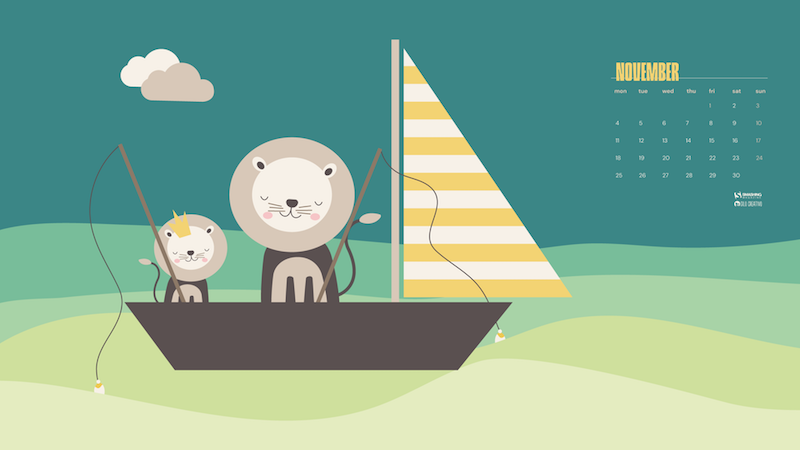
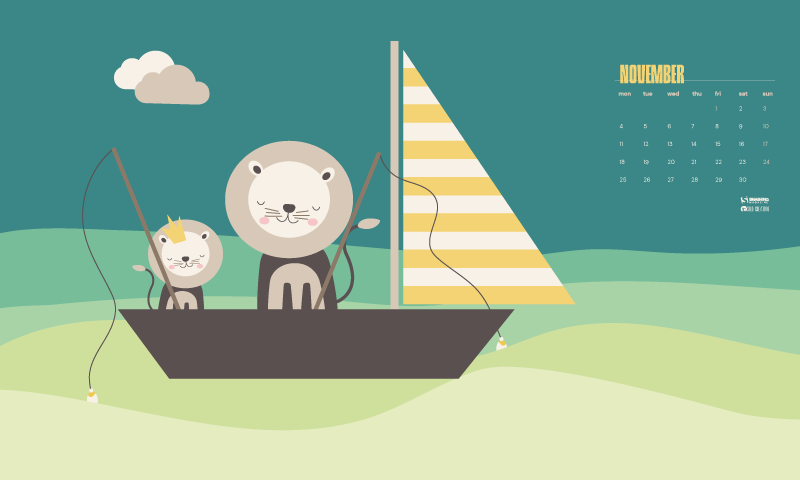
“The inspiration came from the movies of Woody Allen and his amazing cinematography, the framing idea came from the polaroid photos.” — Designed by João Pinto from Portugal.
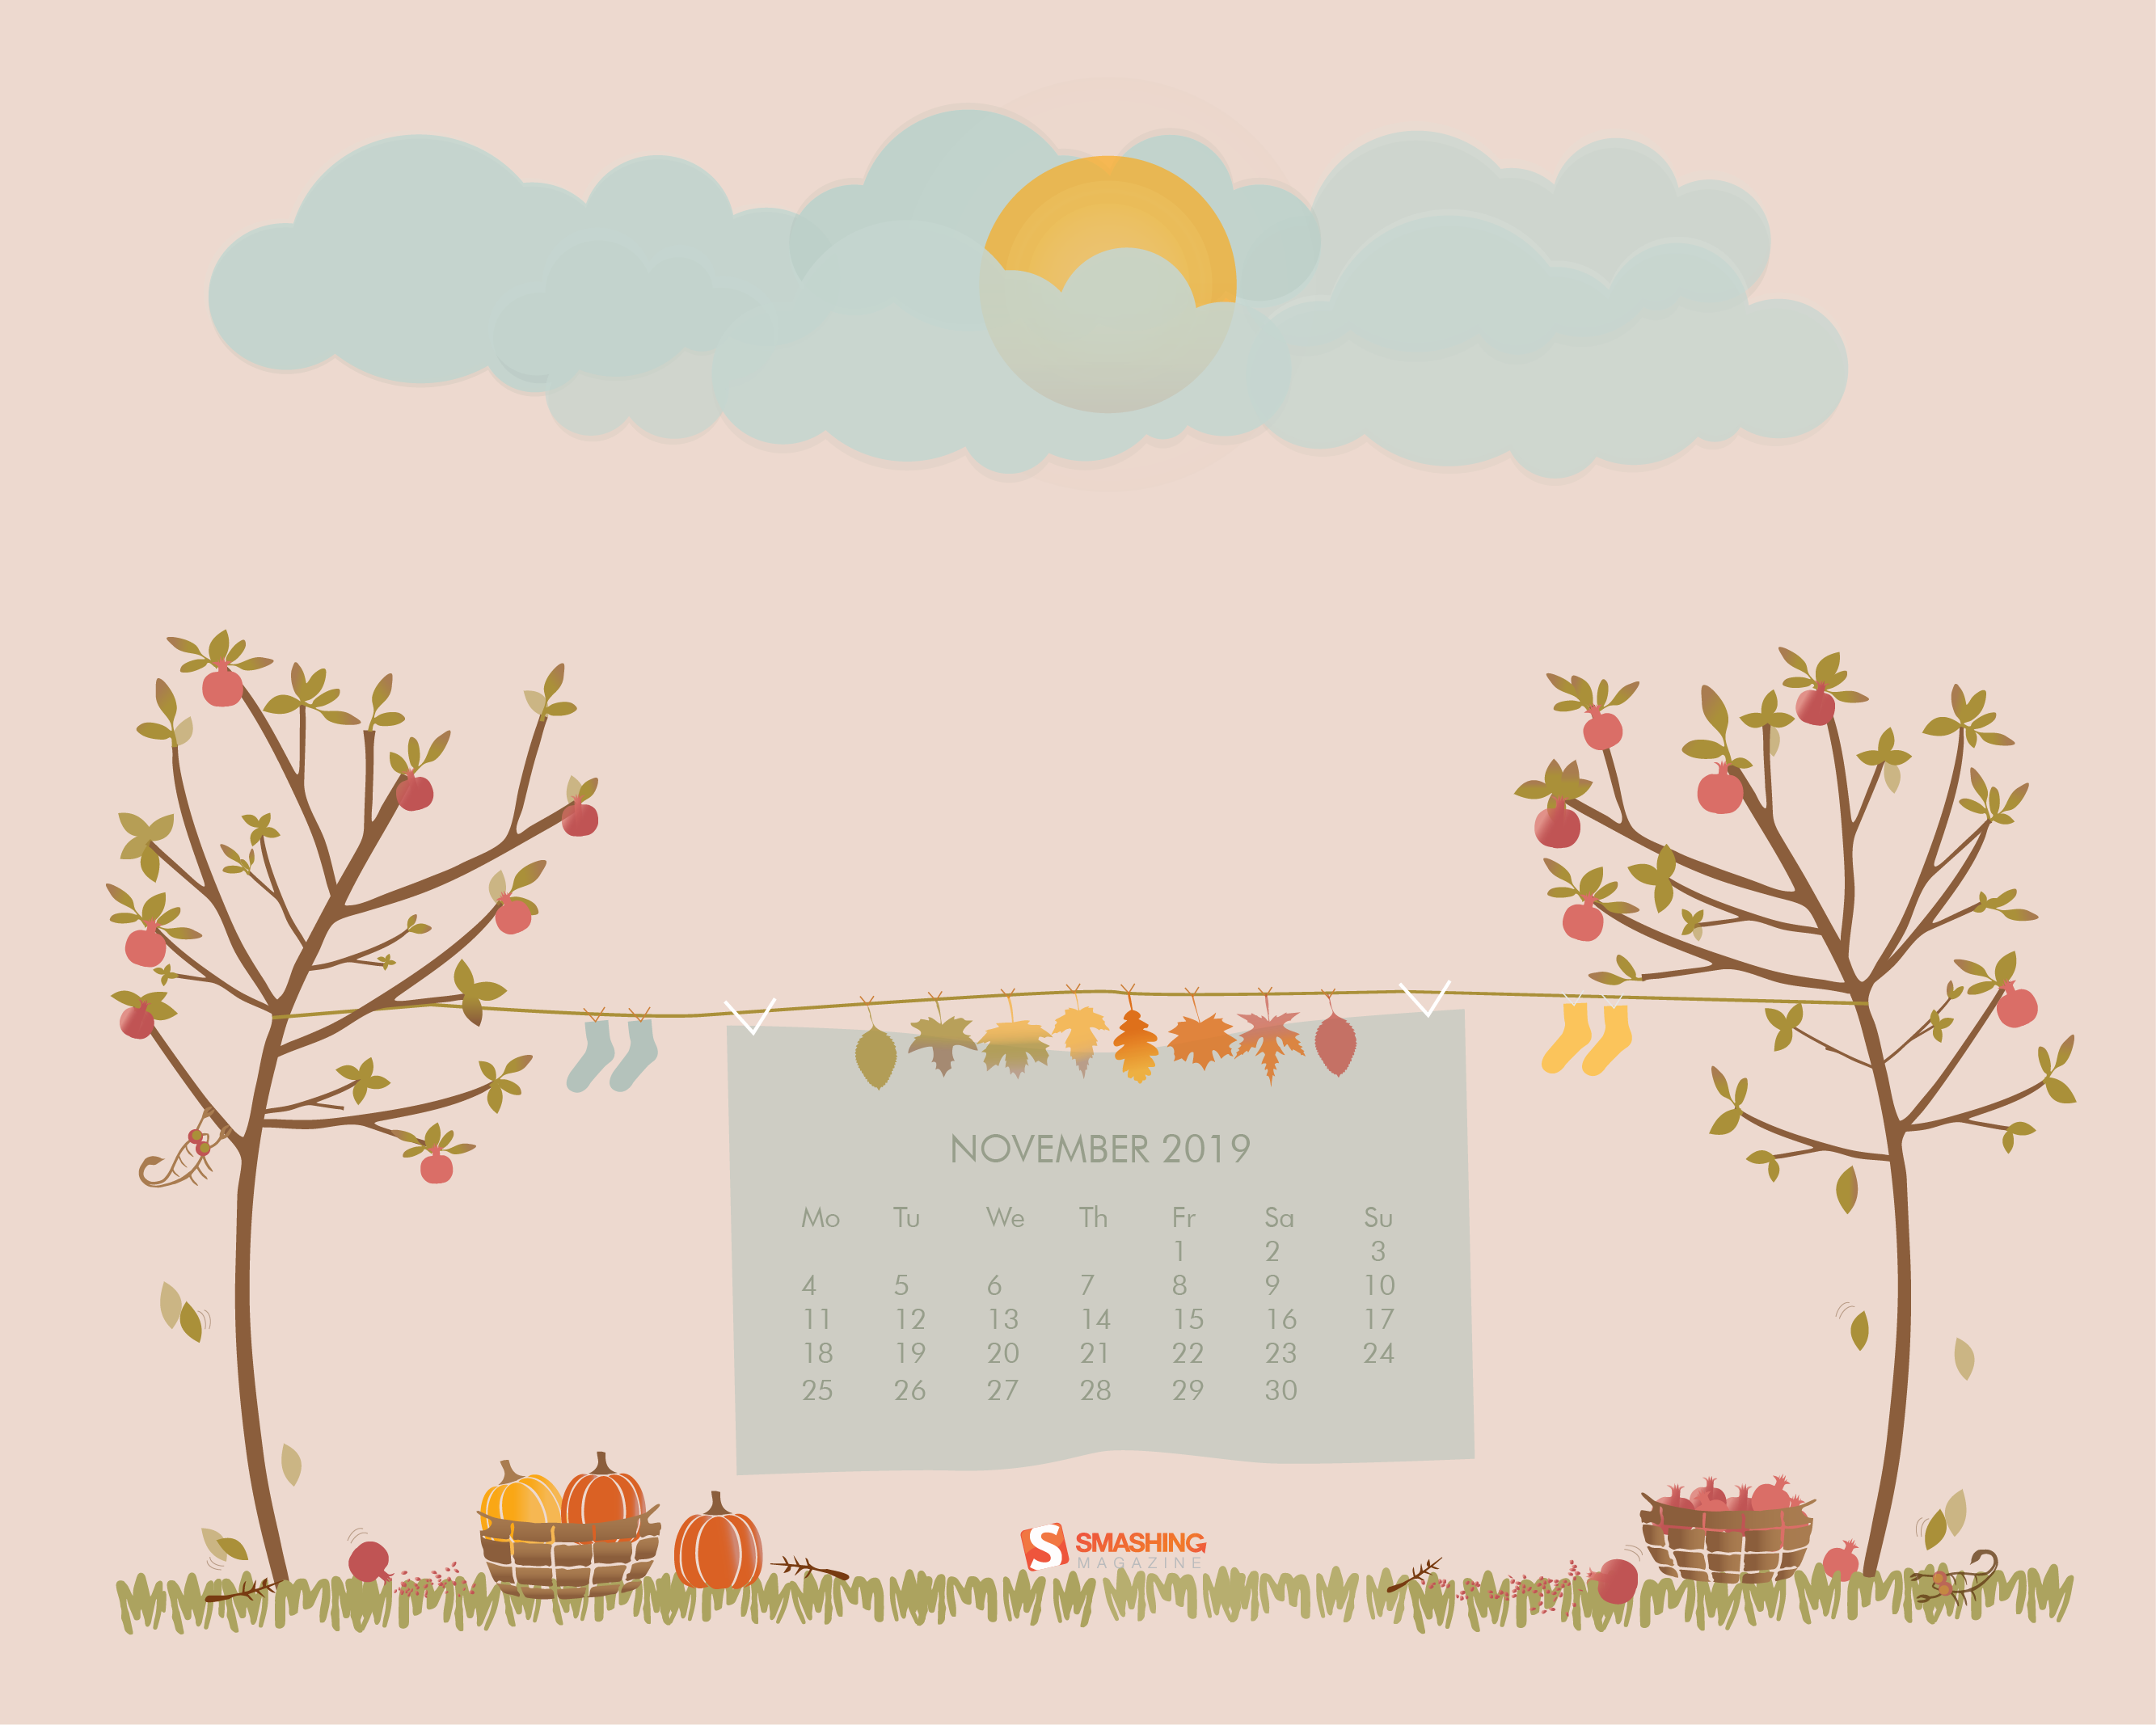
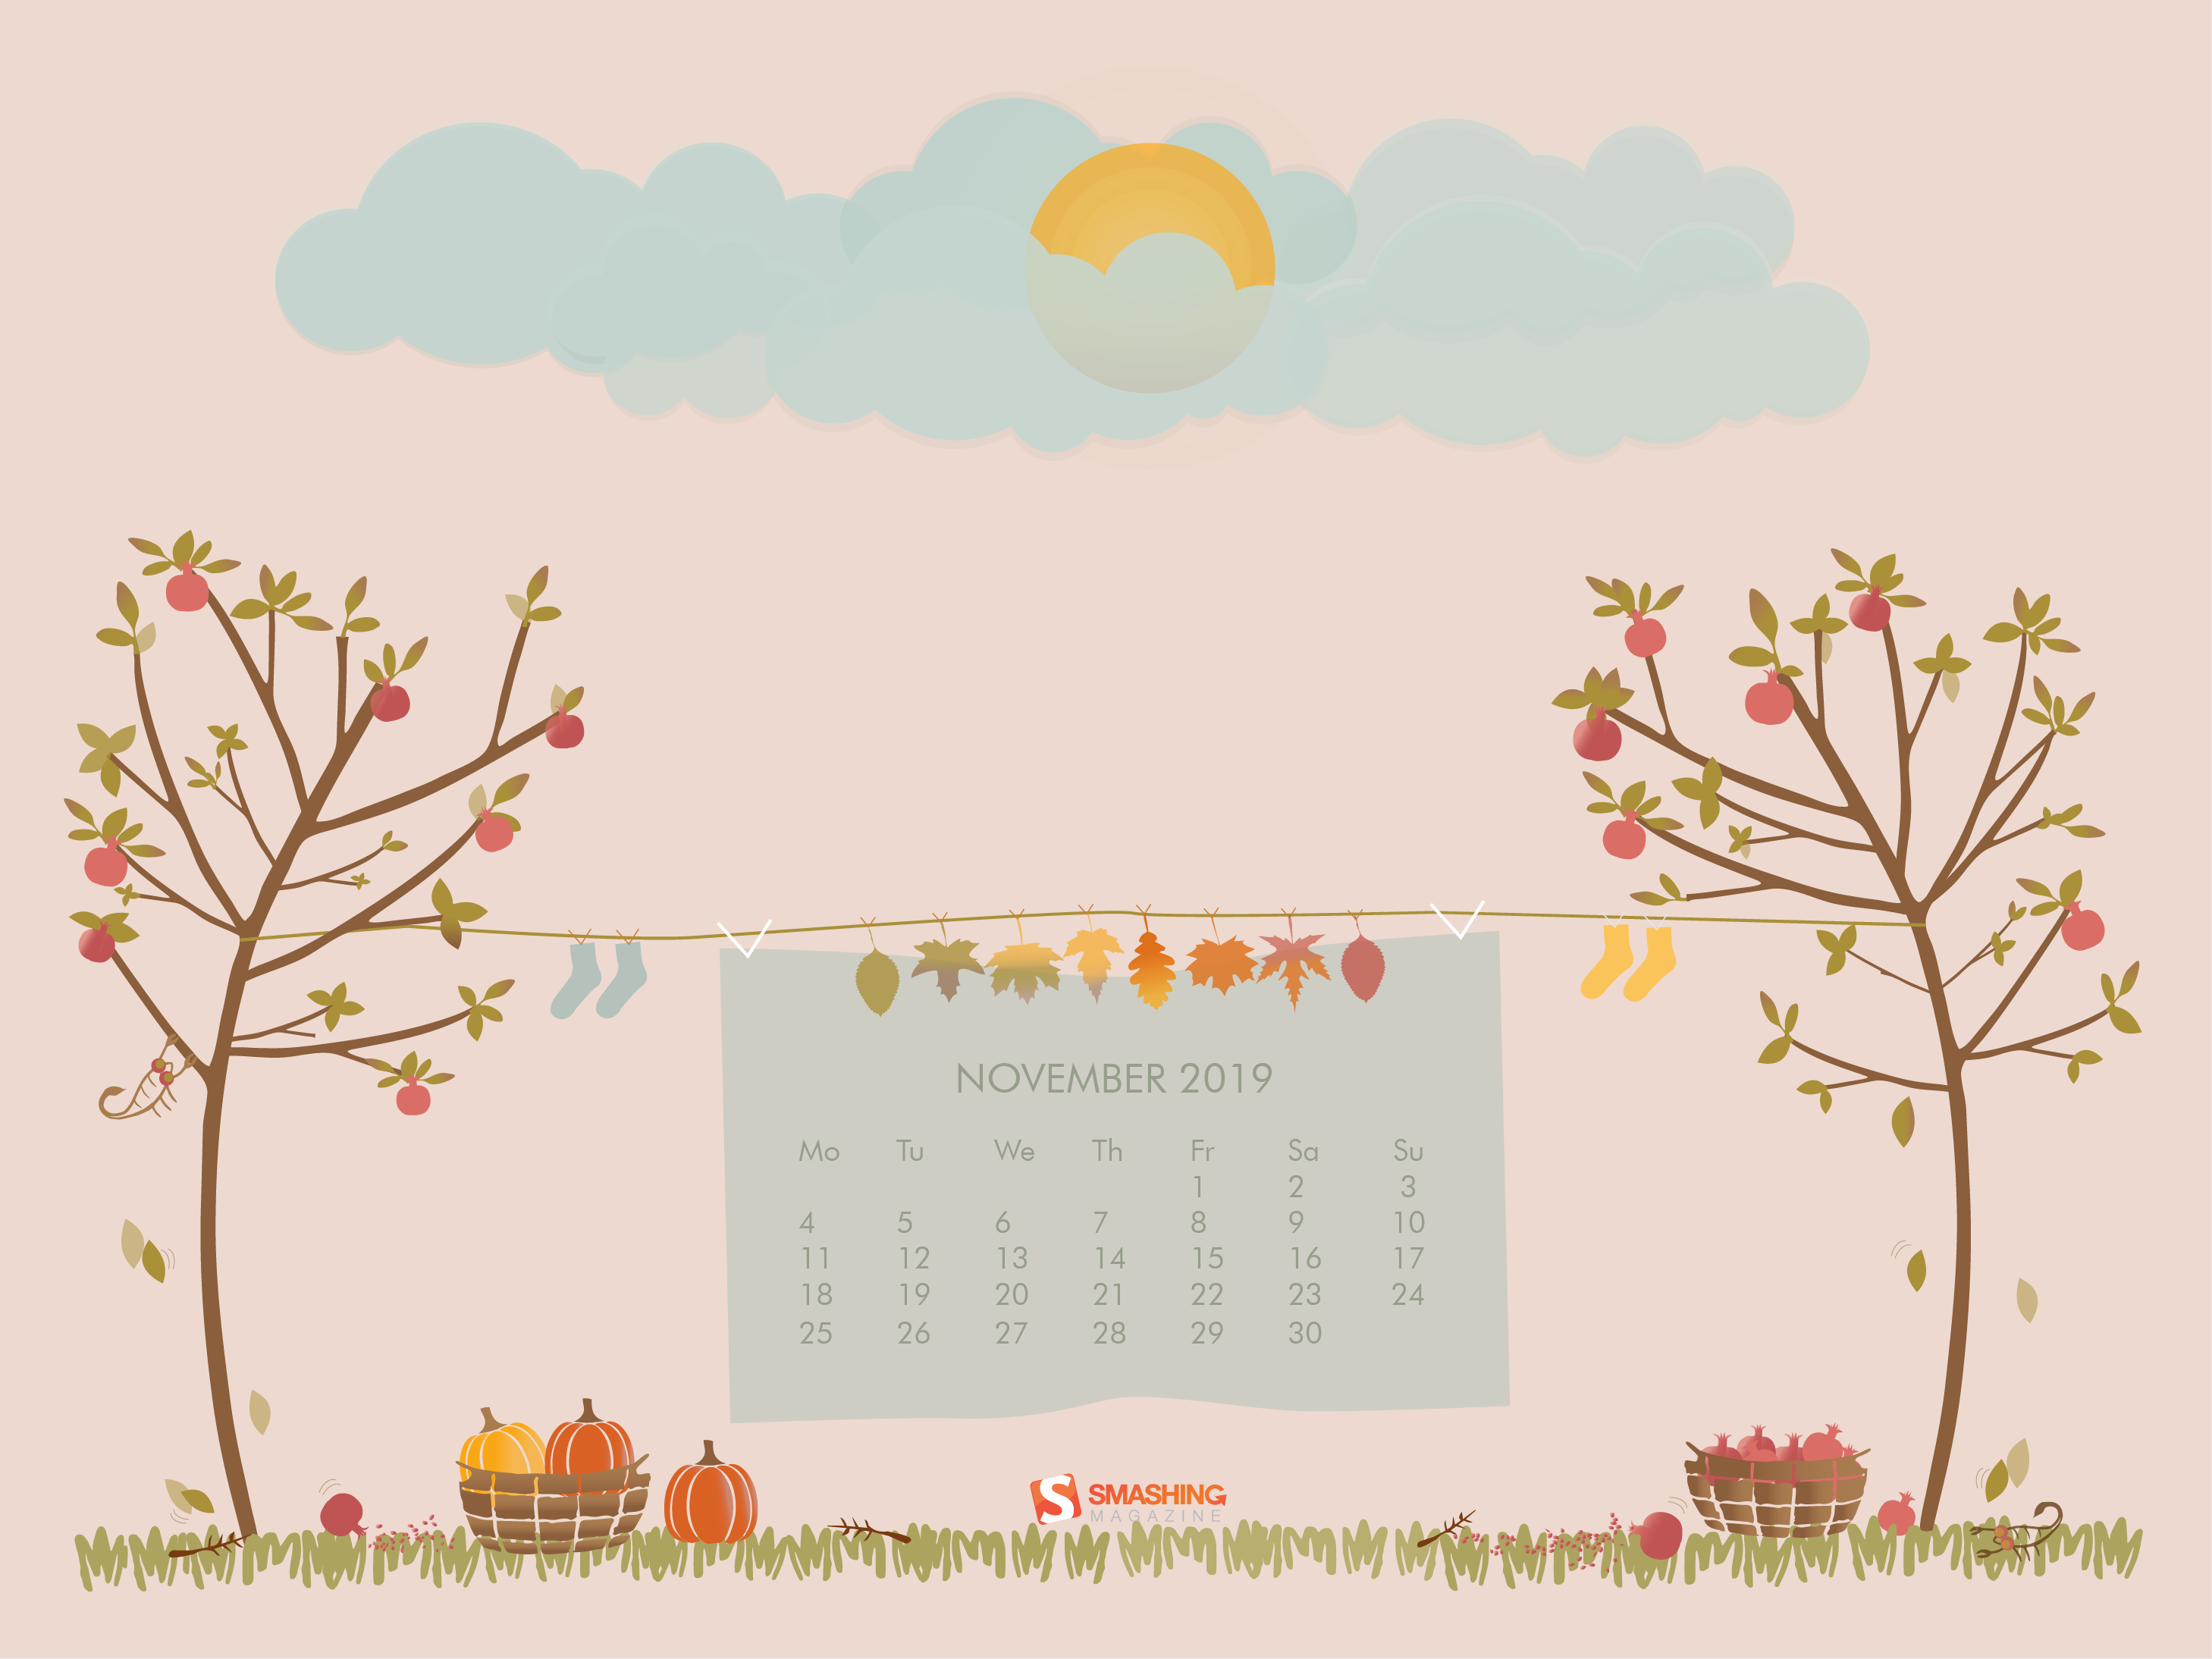
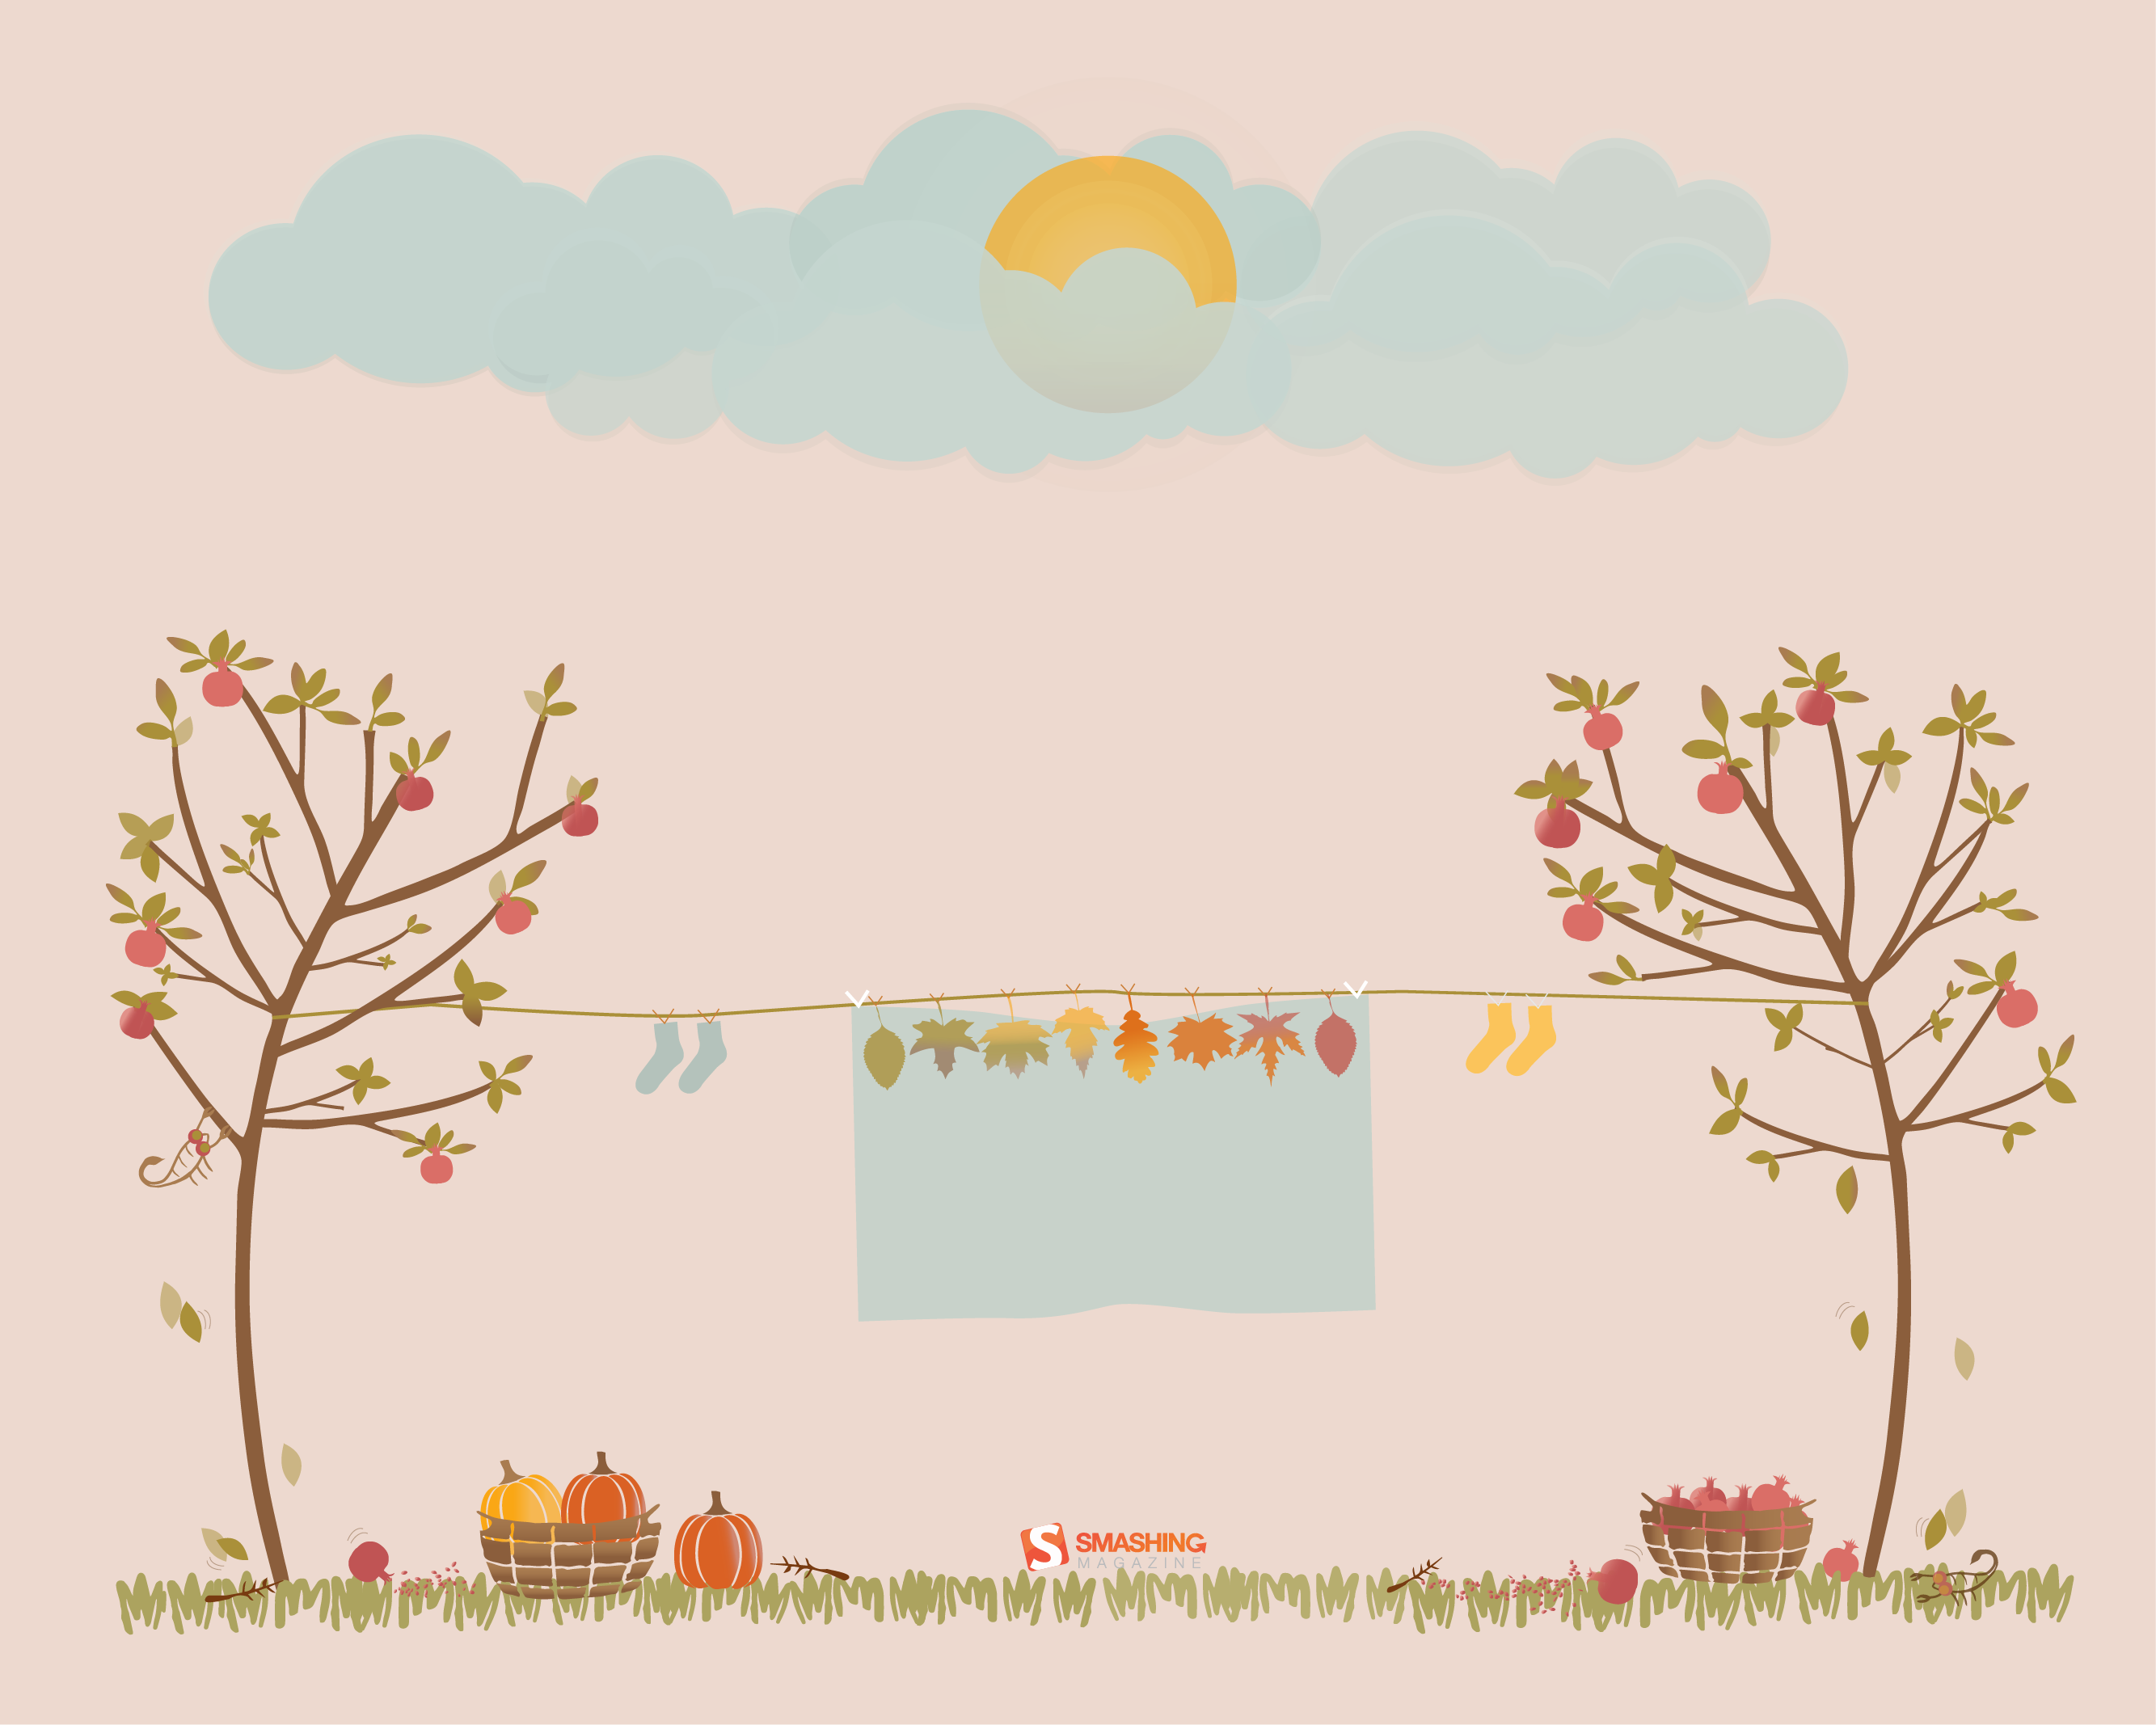
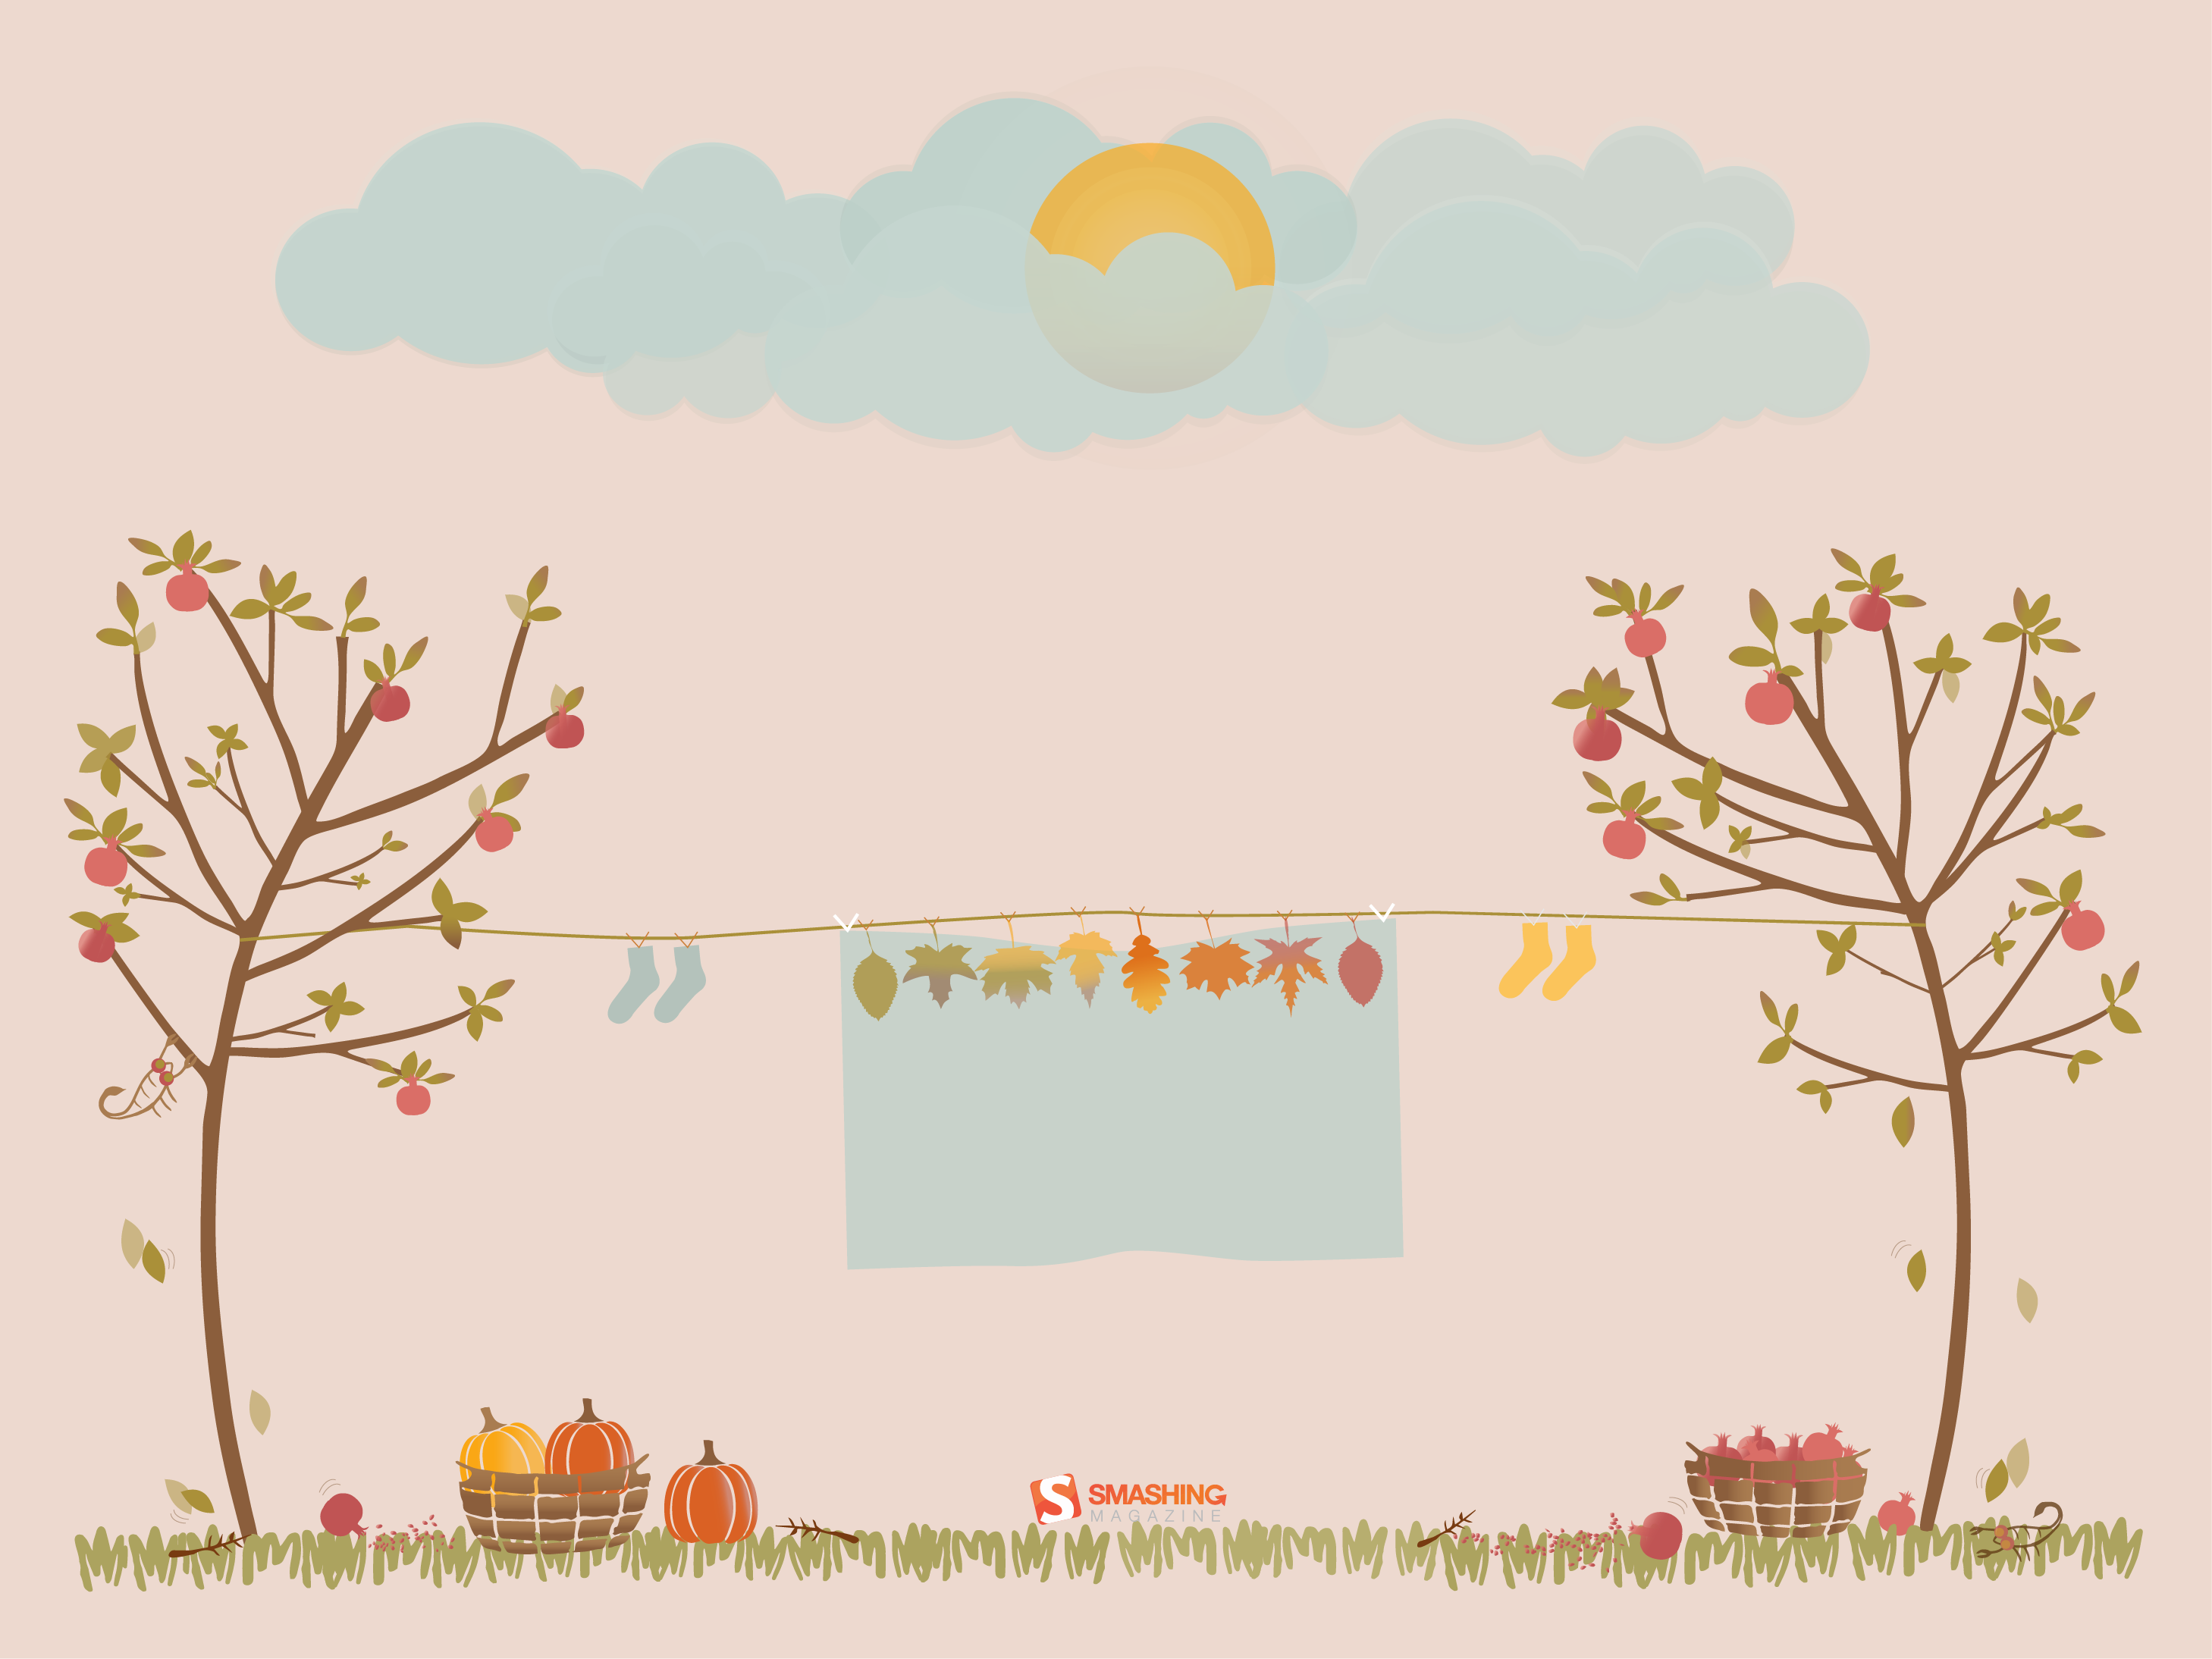
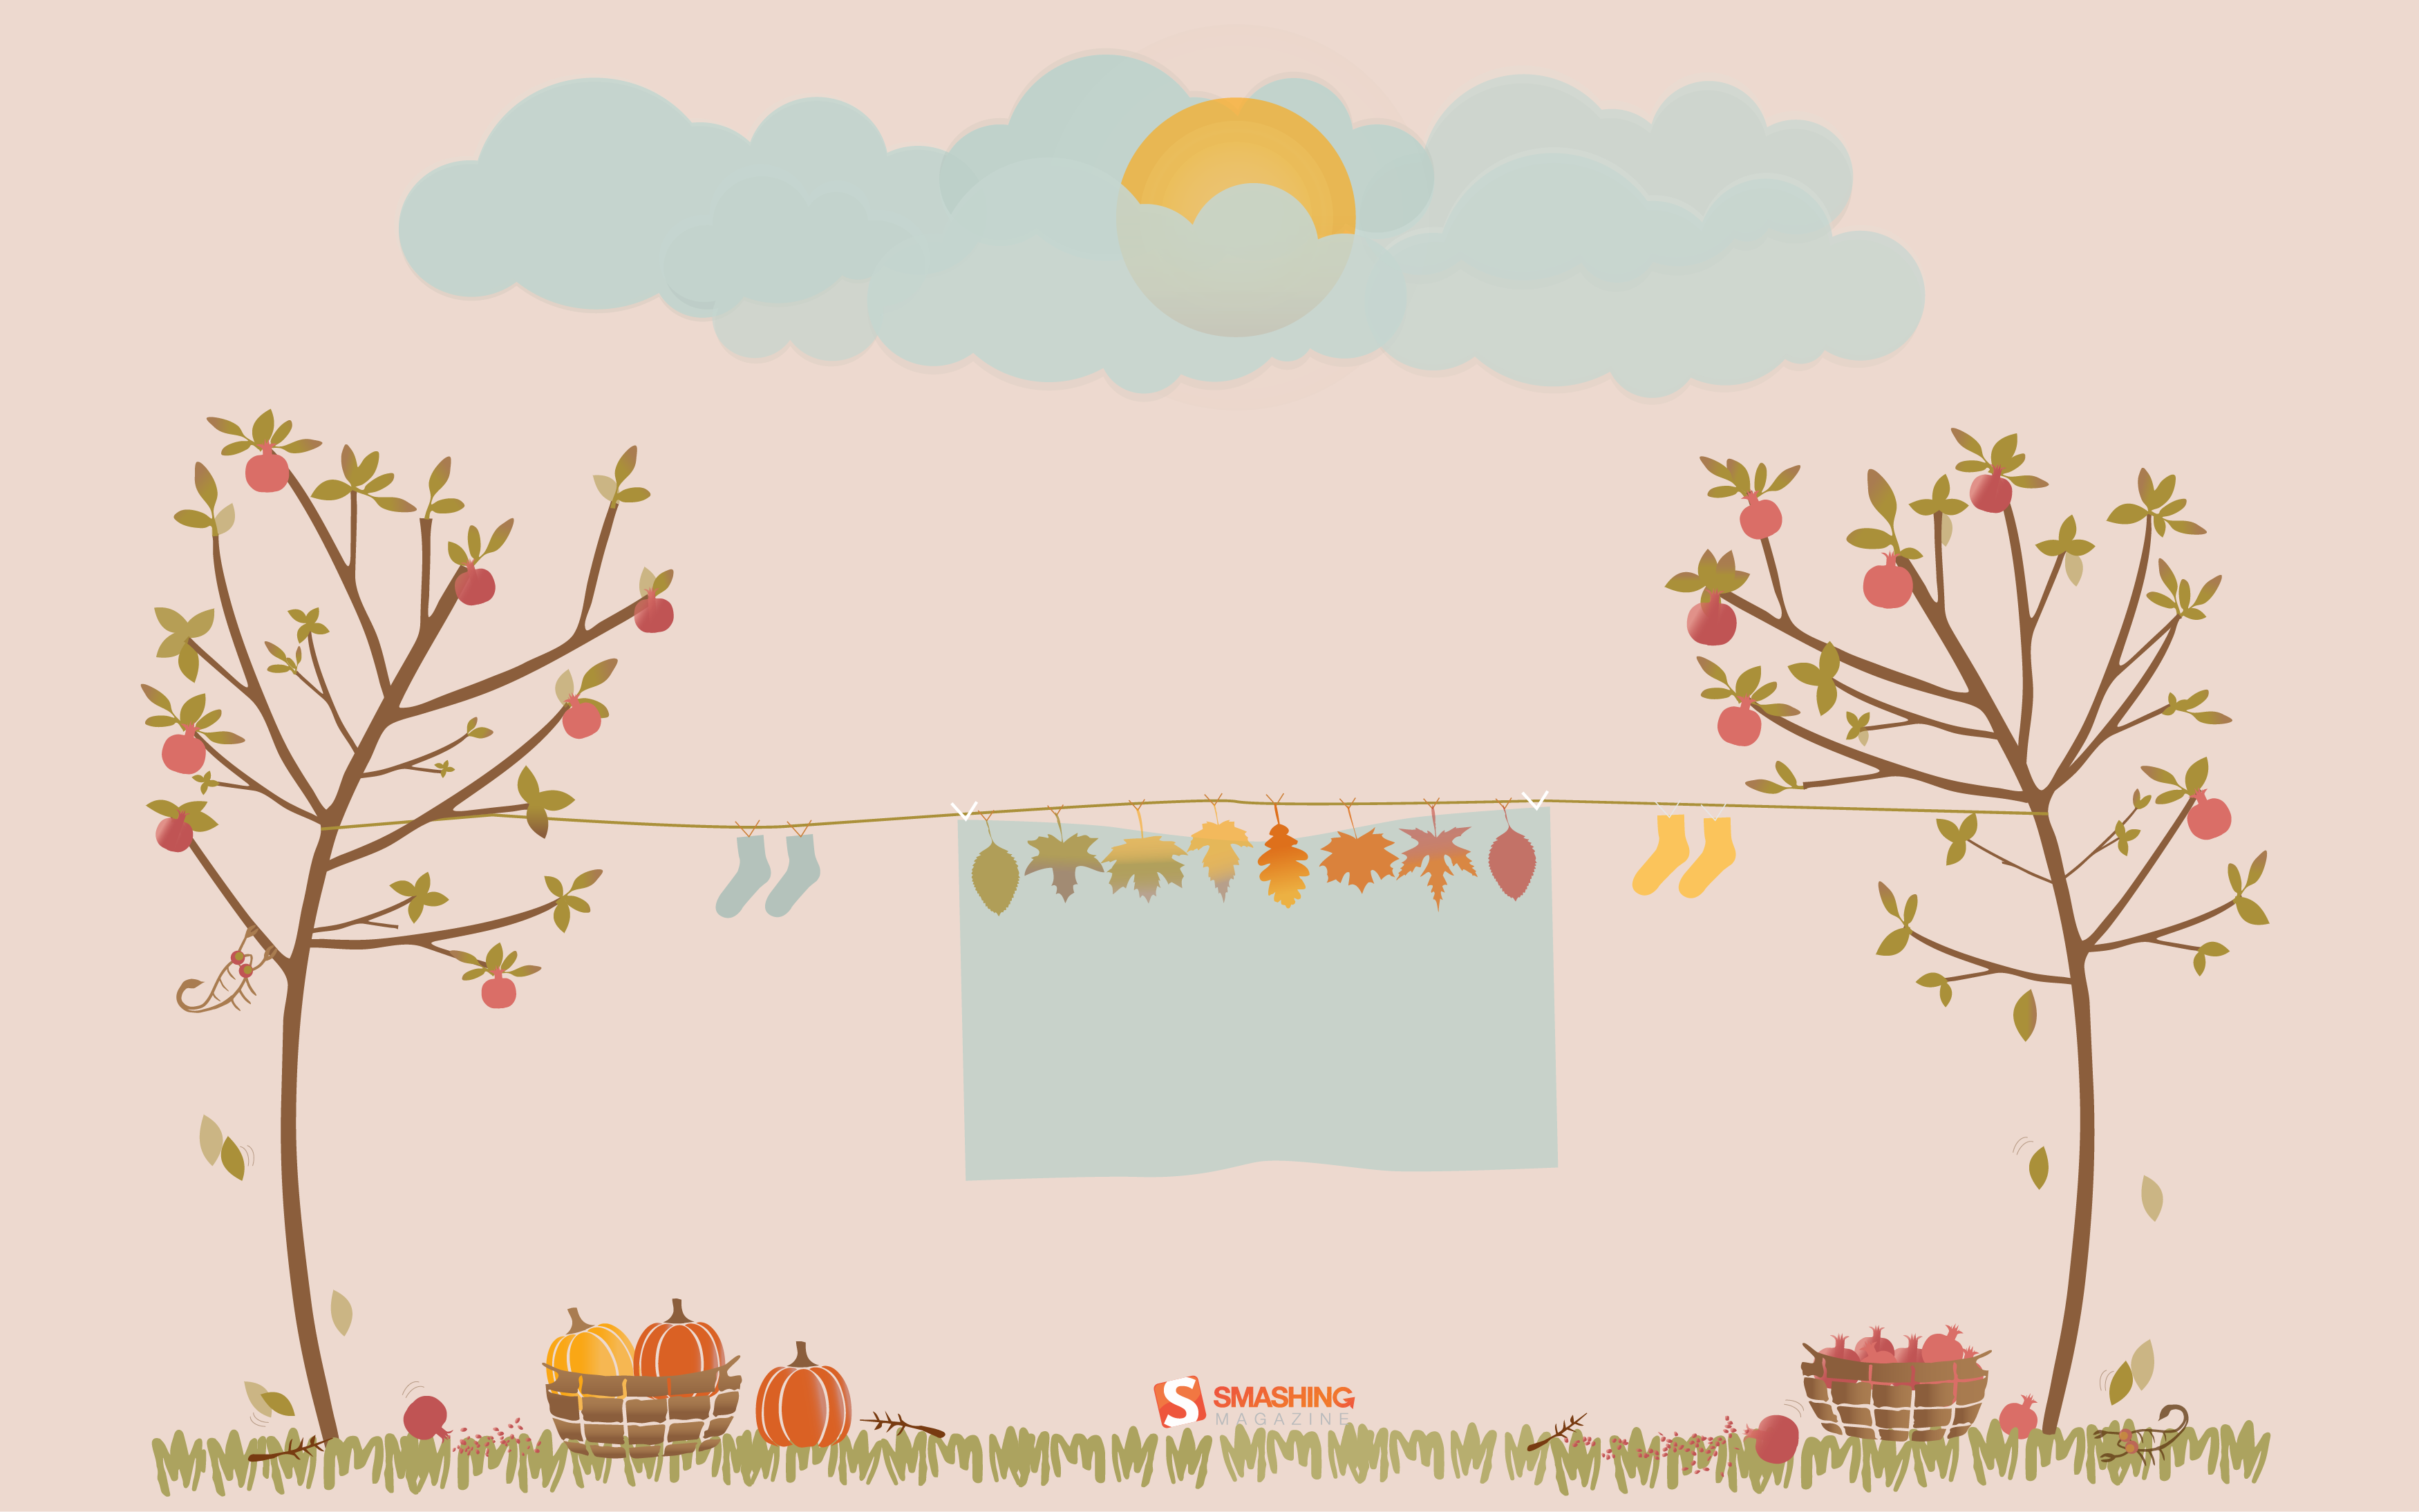
“November is the month of my birth so it reminds me of so many good things. The scent and the beautiful red colors of pomegranate seeds. The beauty of their trees with tiny leaves. The magical colors of autumn take me to the orchards on the farm and my family together under the sun and clouds. Laughings and pumpkins on the floor while the sheets were hung to dry on the clothesline. Cousins playing and collecting leaves. Sweet November.” — Designed by Carmen Navalhas from Portugal.
“Fall is such a beautiful time of year so I designed a wallpaper inspired by fall’s seasonal colors and amazing sunsets.” — Designed by Kassandra Escoe from Maryland.
“The goal of No-Shave November is to grow awareness by embracing our hair, which many cancer patients lose, and letting it grow wild and free. Donate the money you typically spend on shaving and grooming to educate about cancer prevention, save lives, and aid those fighting the battle.” — Designed by Tatiana Ignatieva from Portugal.
Some things are just too good to gather dust. Hidden in our wallpaper archives we rediscovered some November favorites from past years. Ready for a trip back in time? (Please note that these designs don’t come with a calendar.)
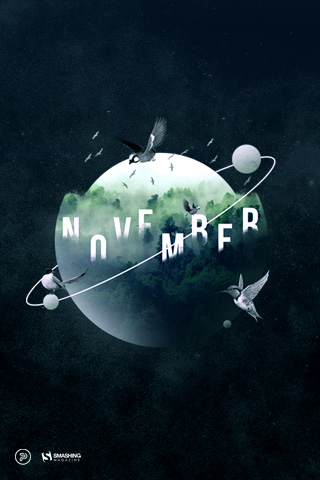
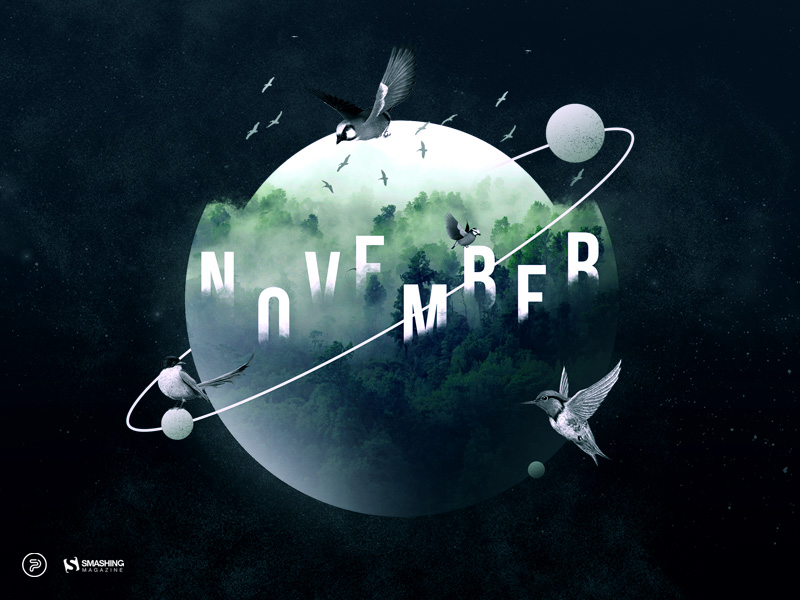
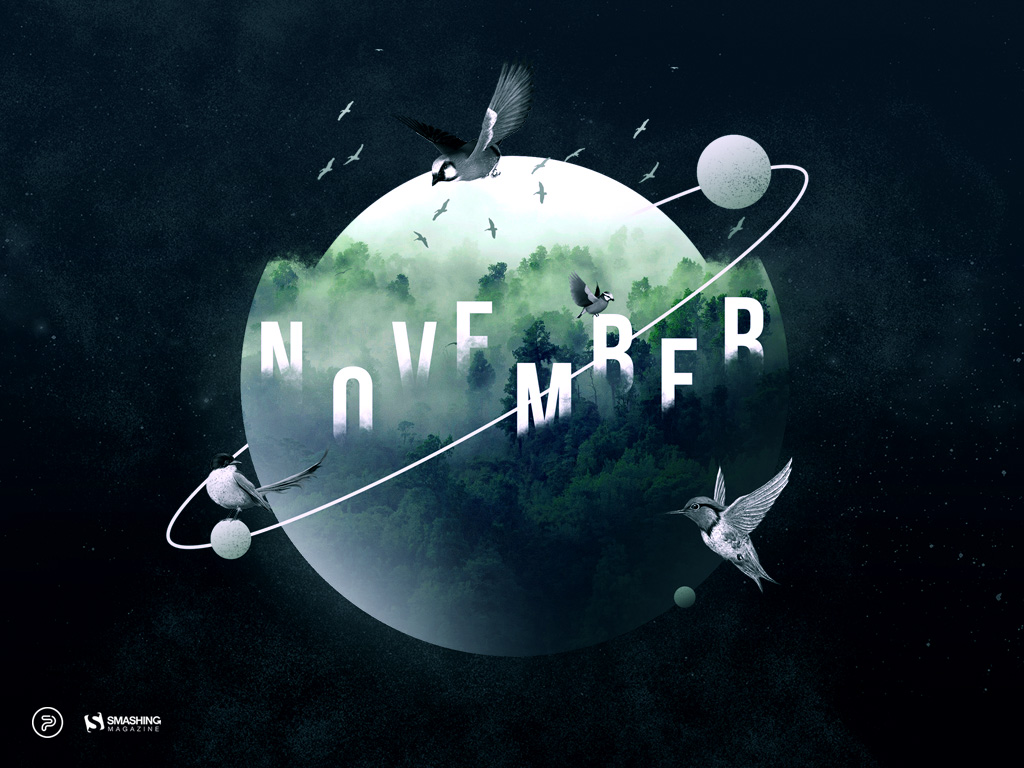
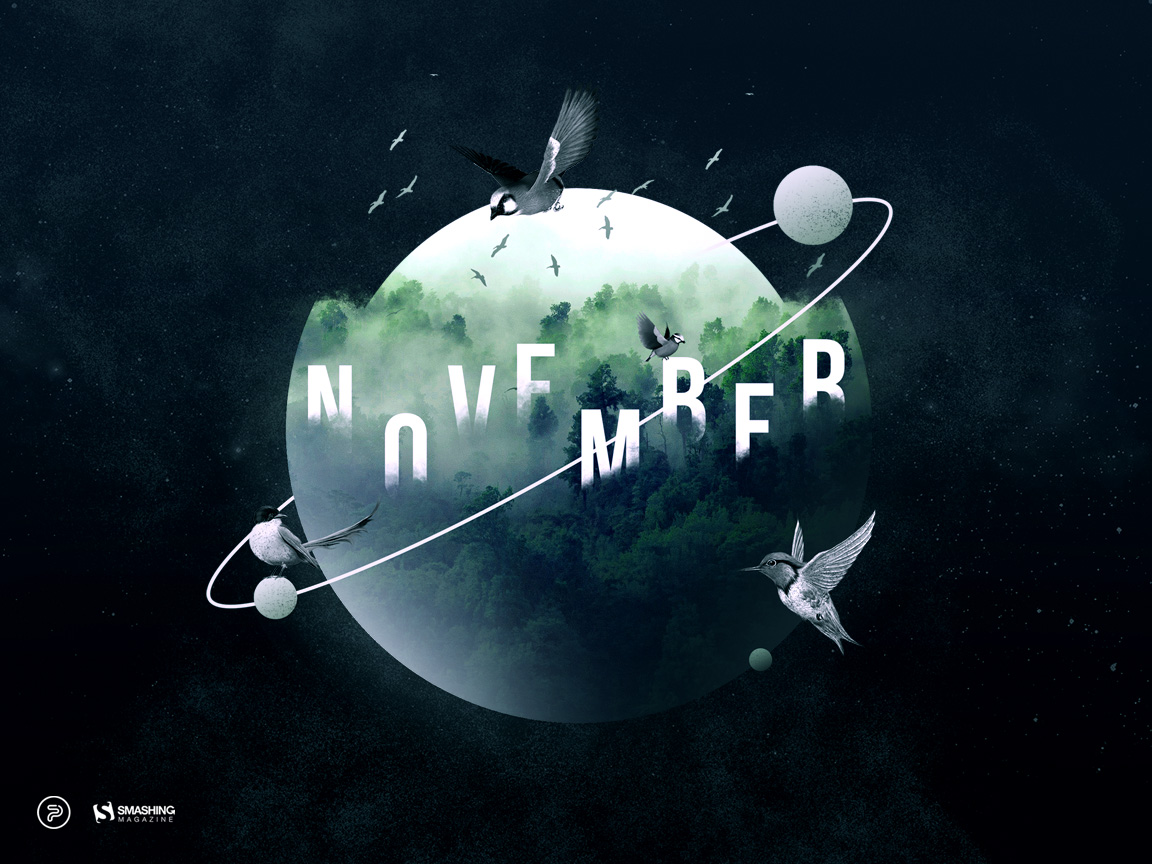
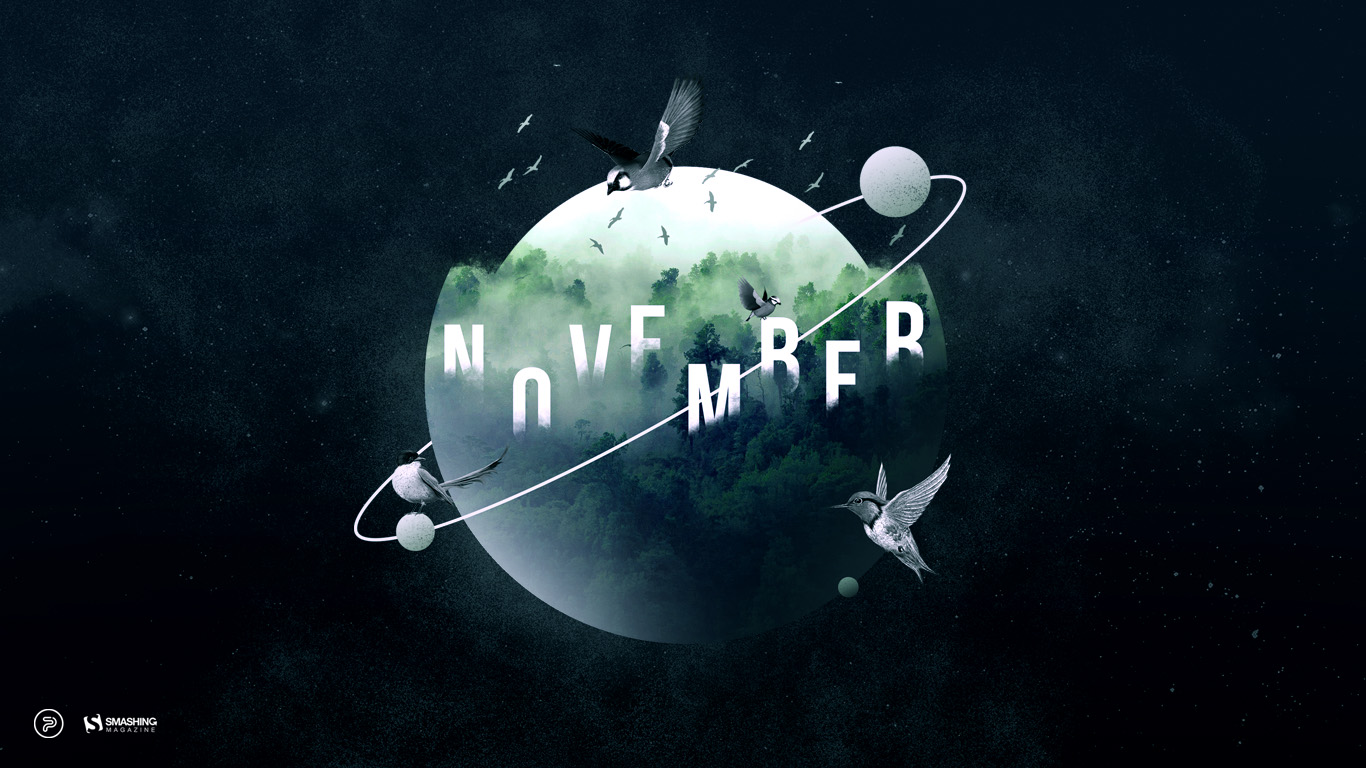
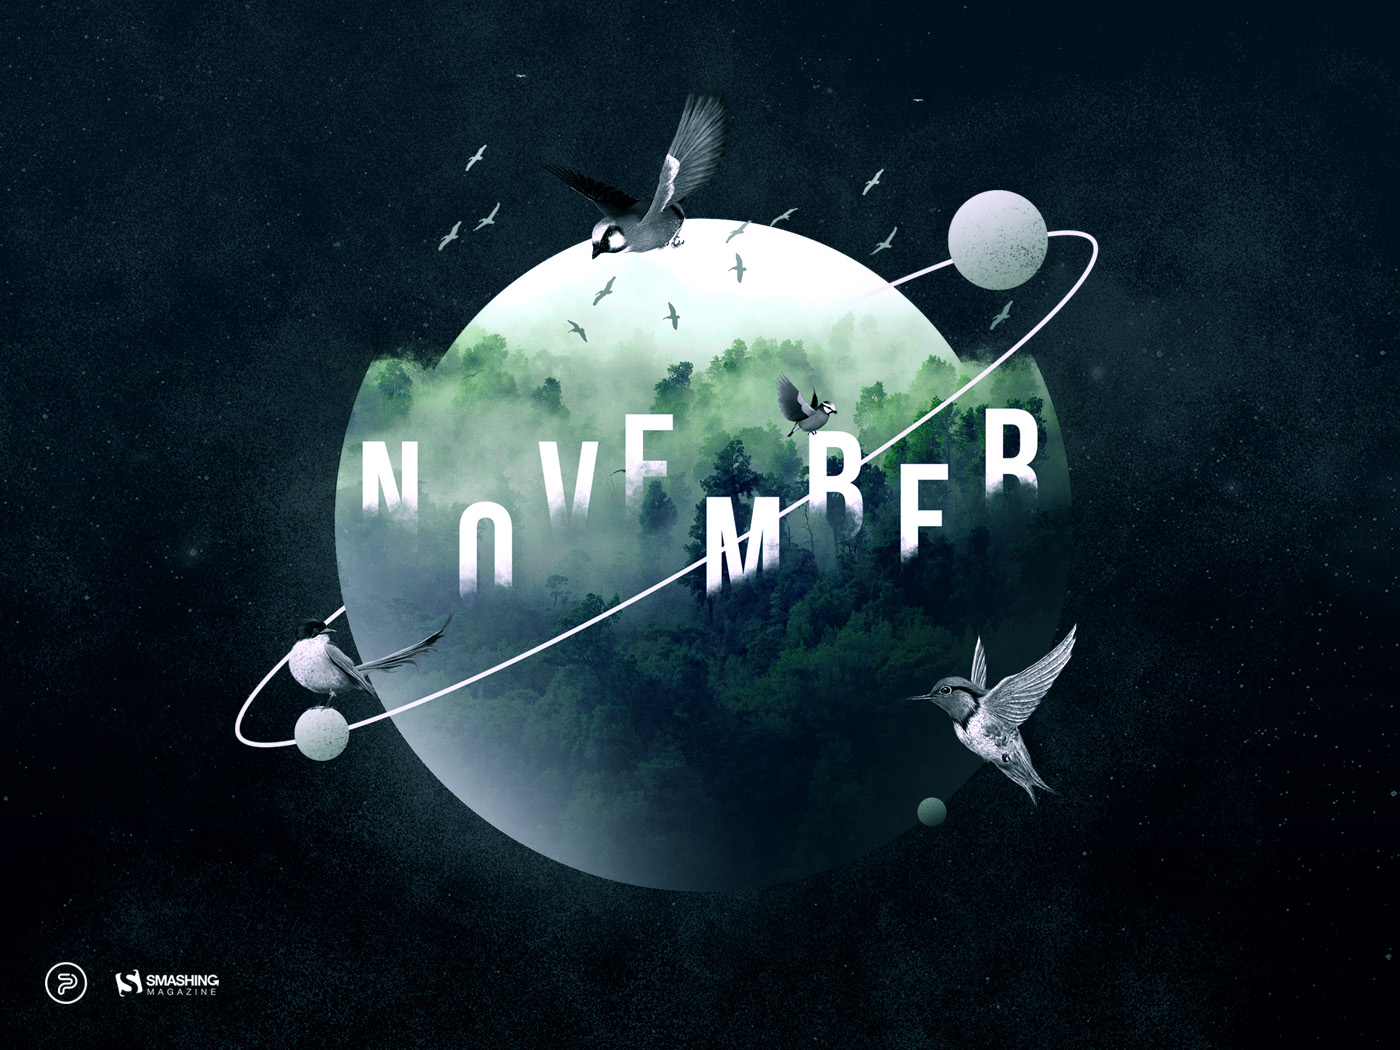
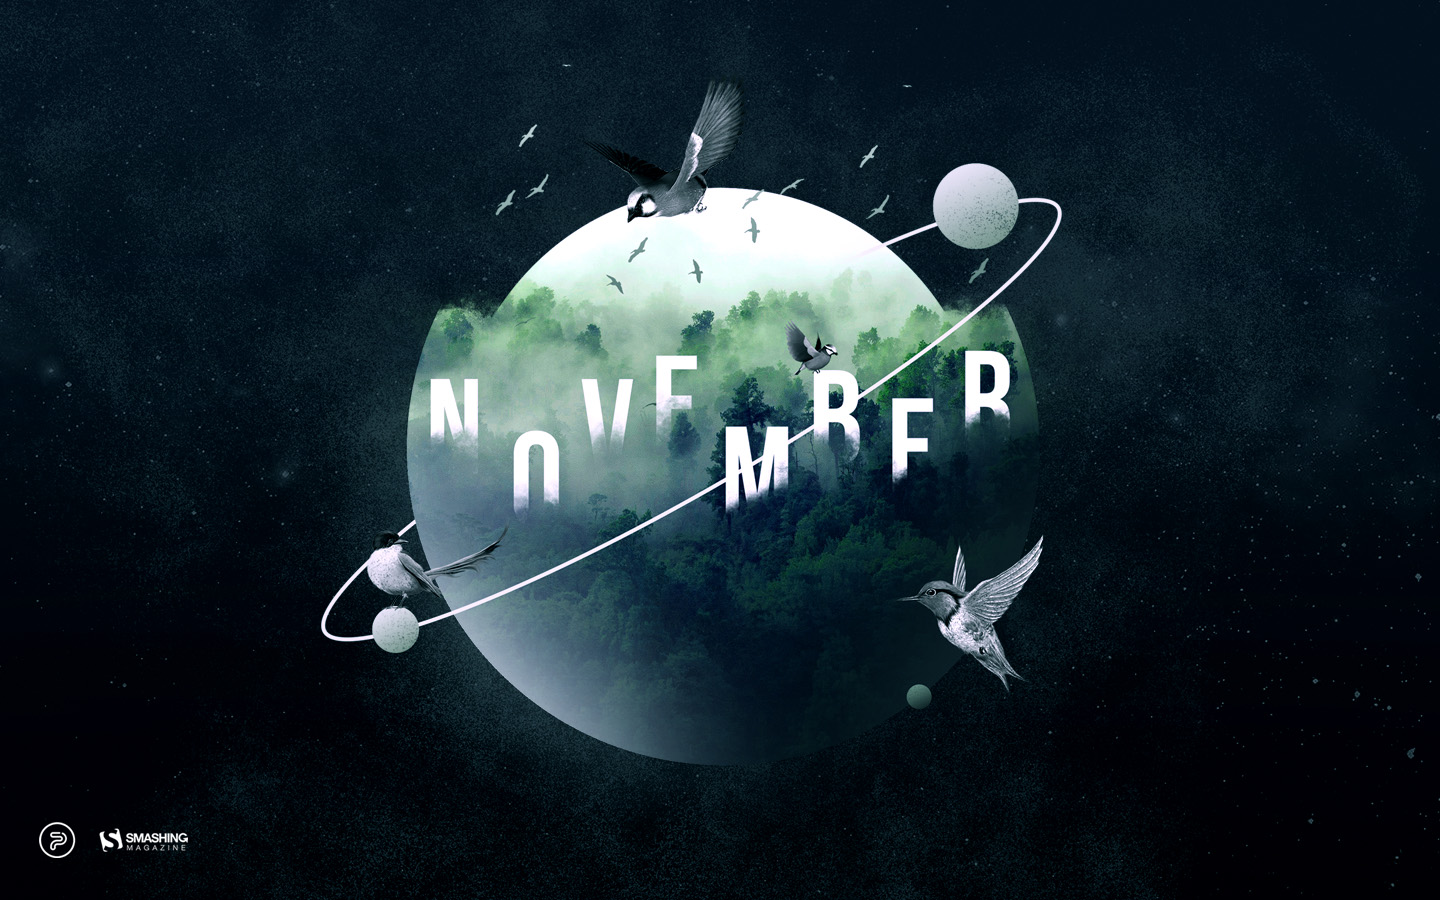
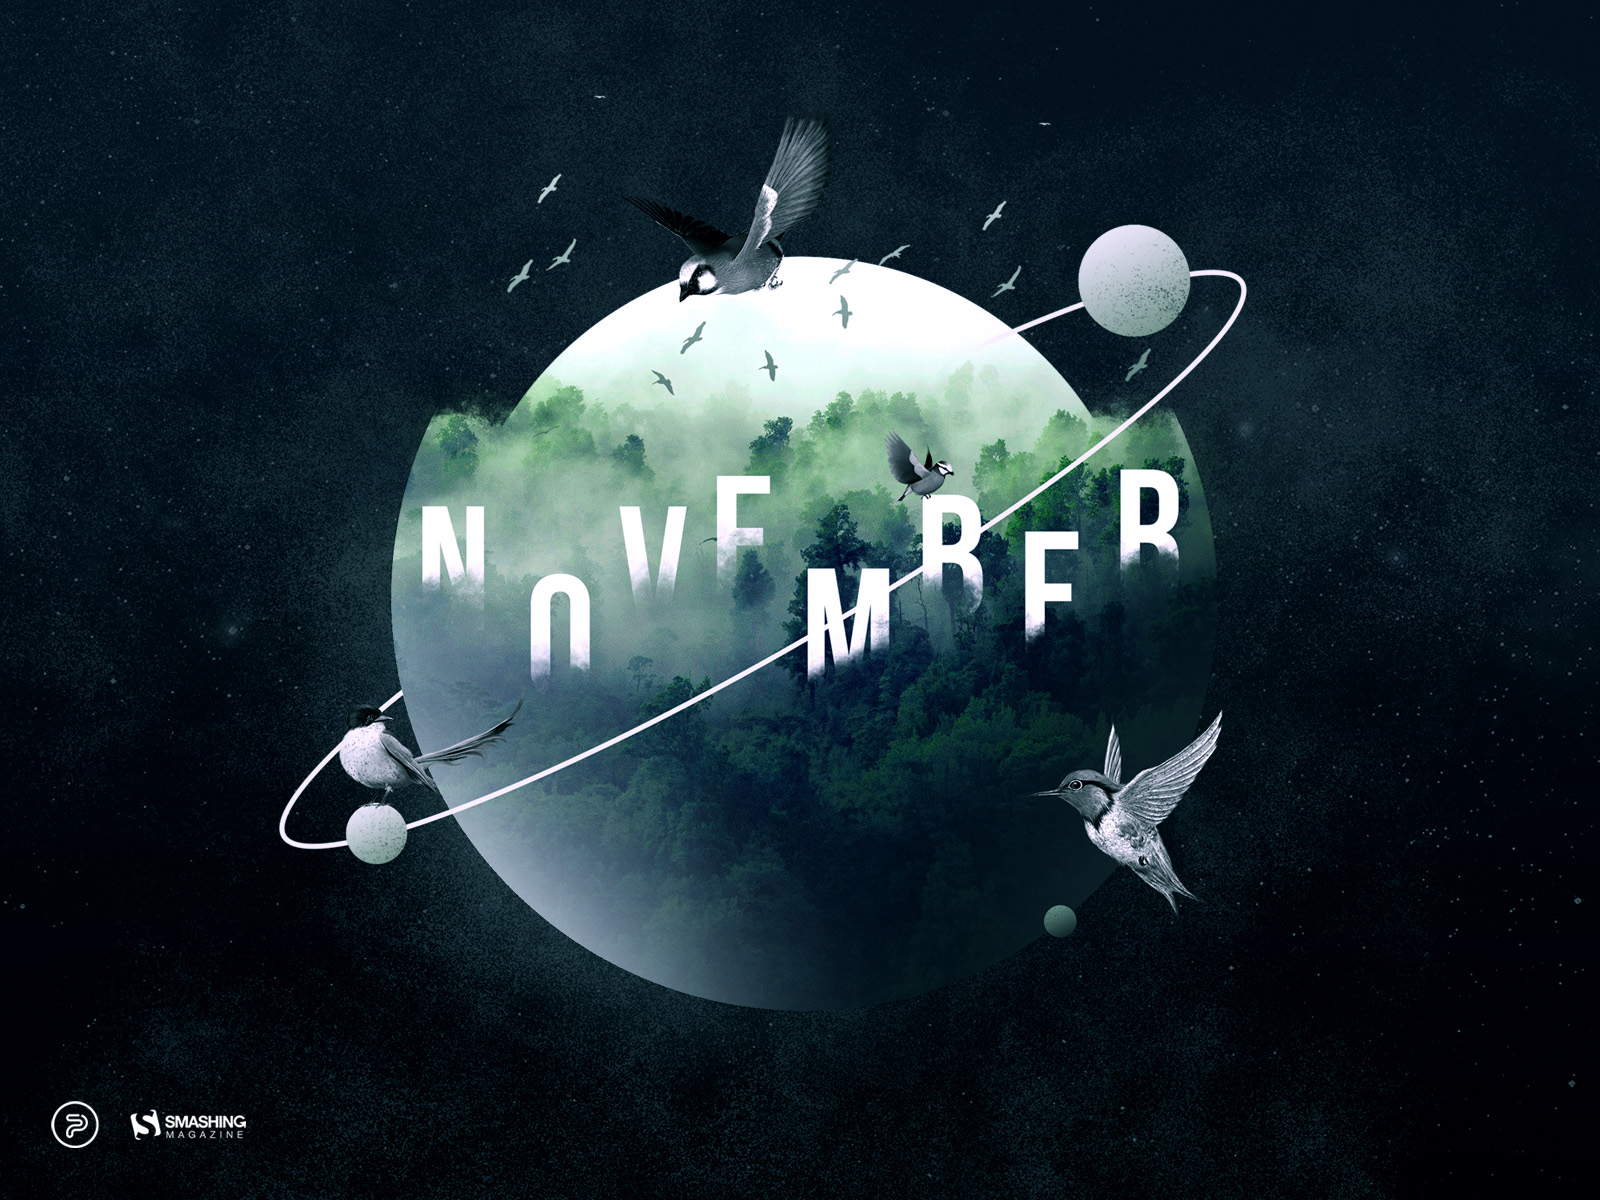
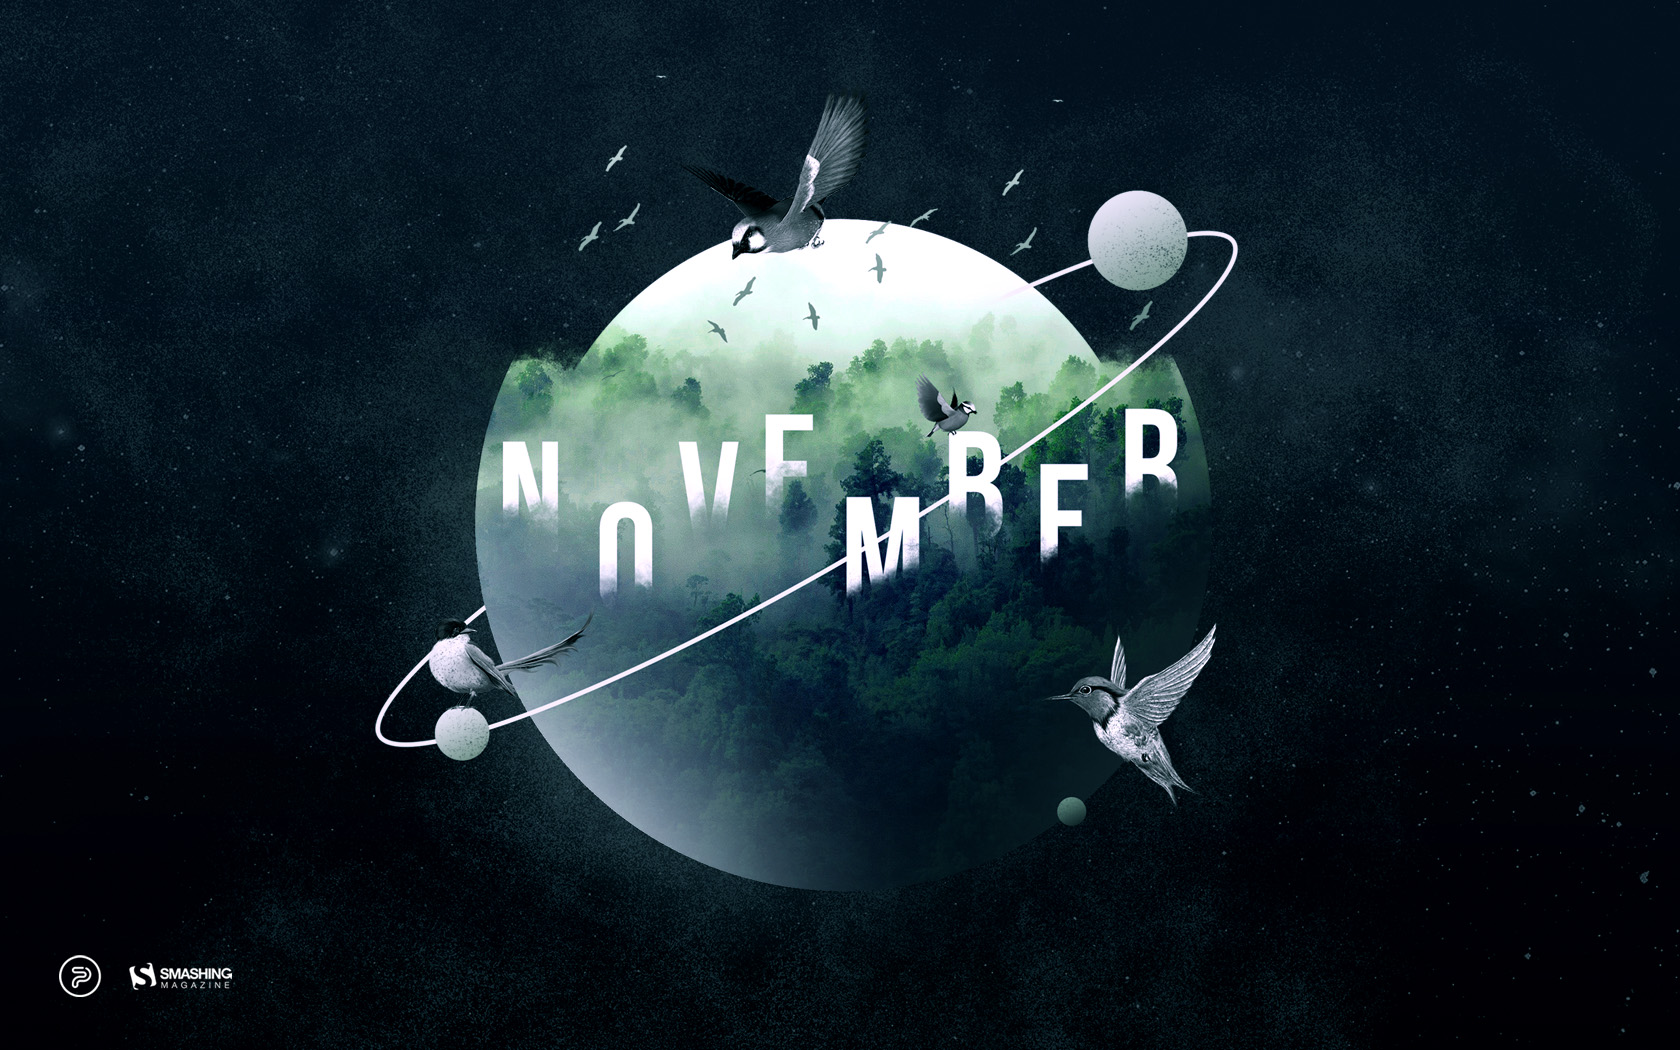
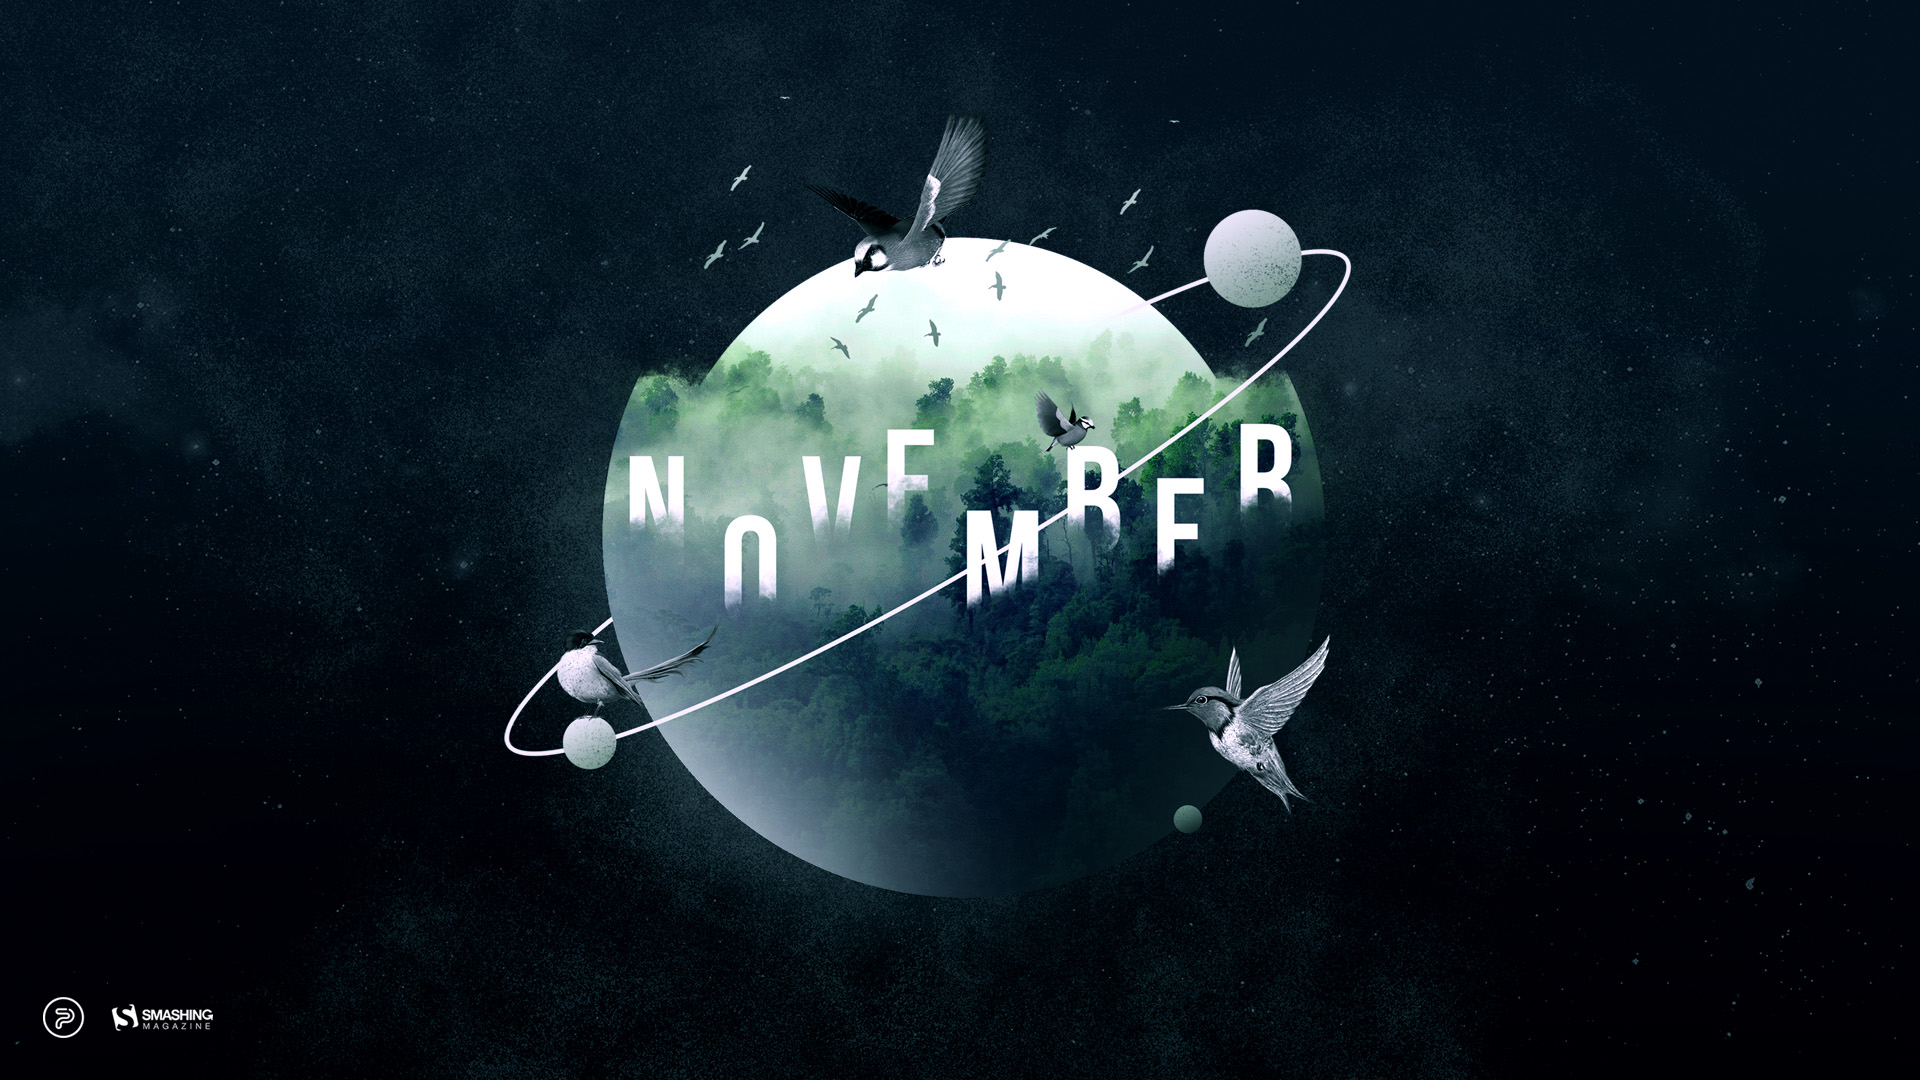
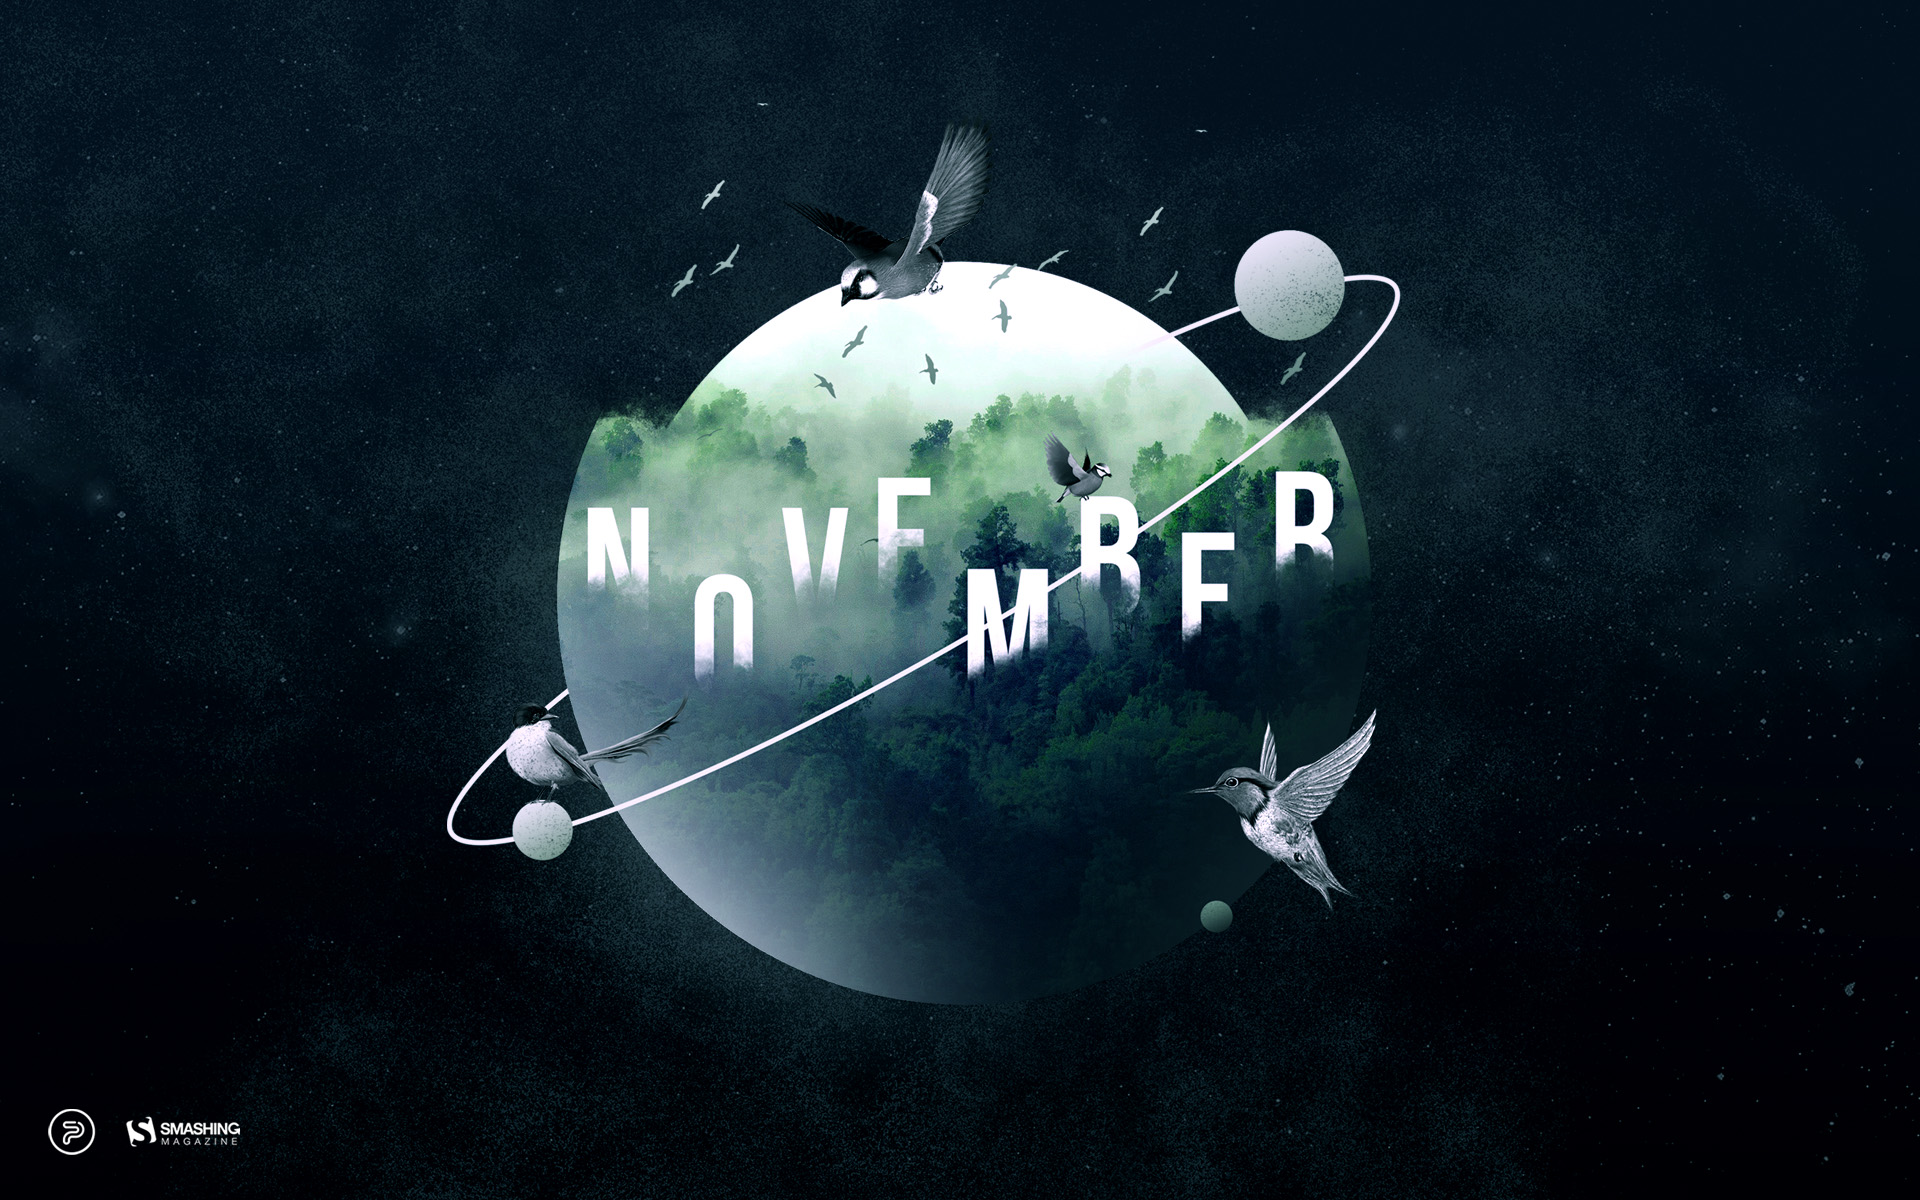
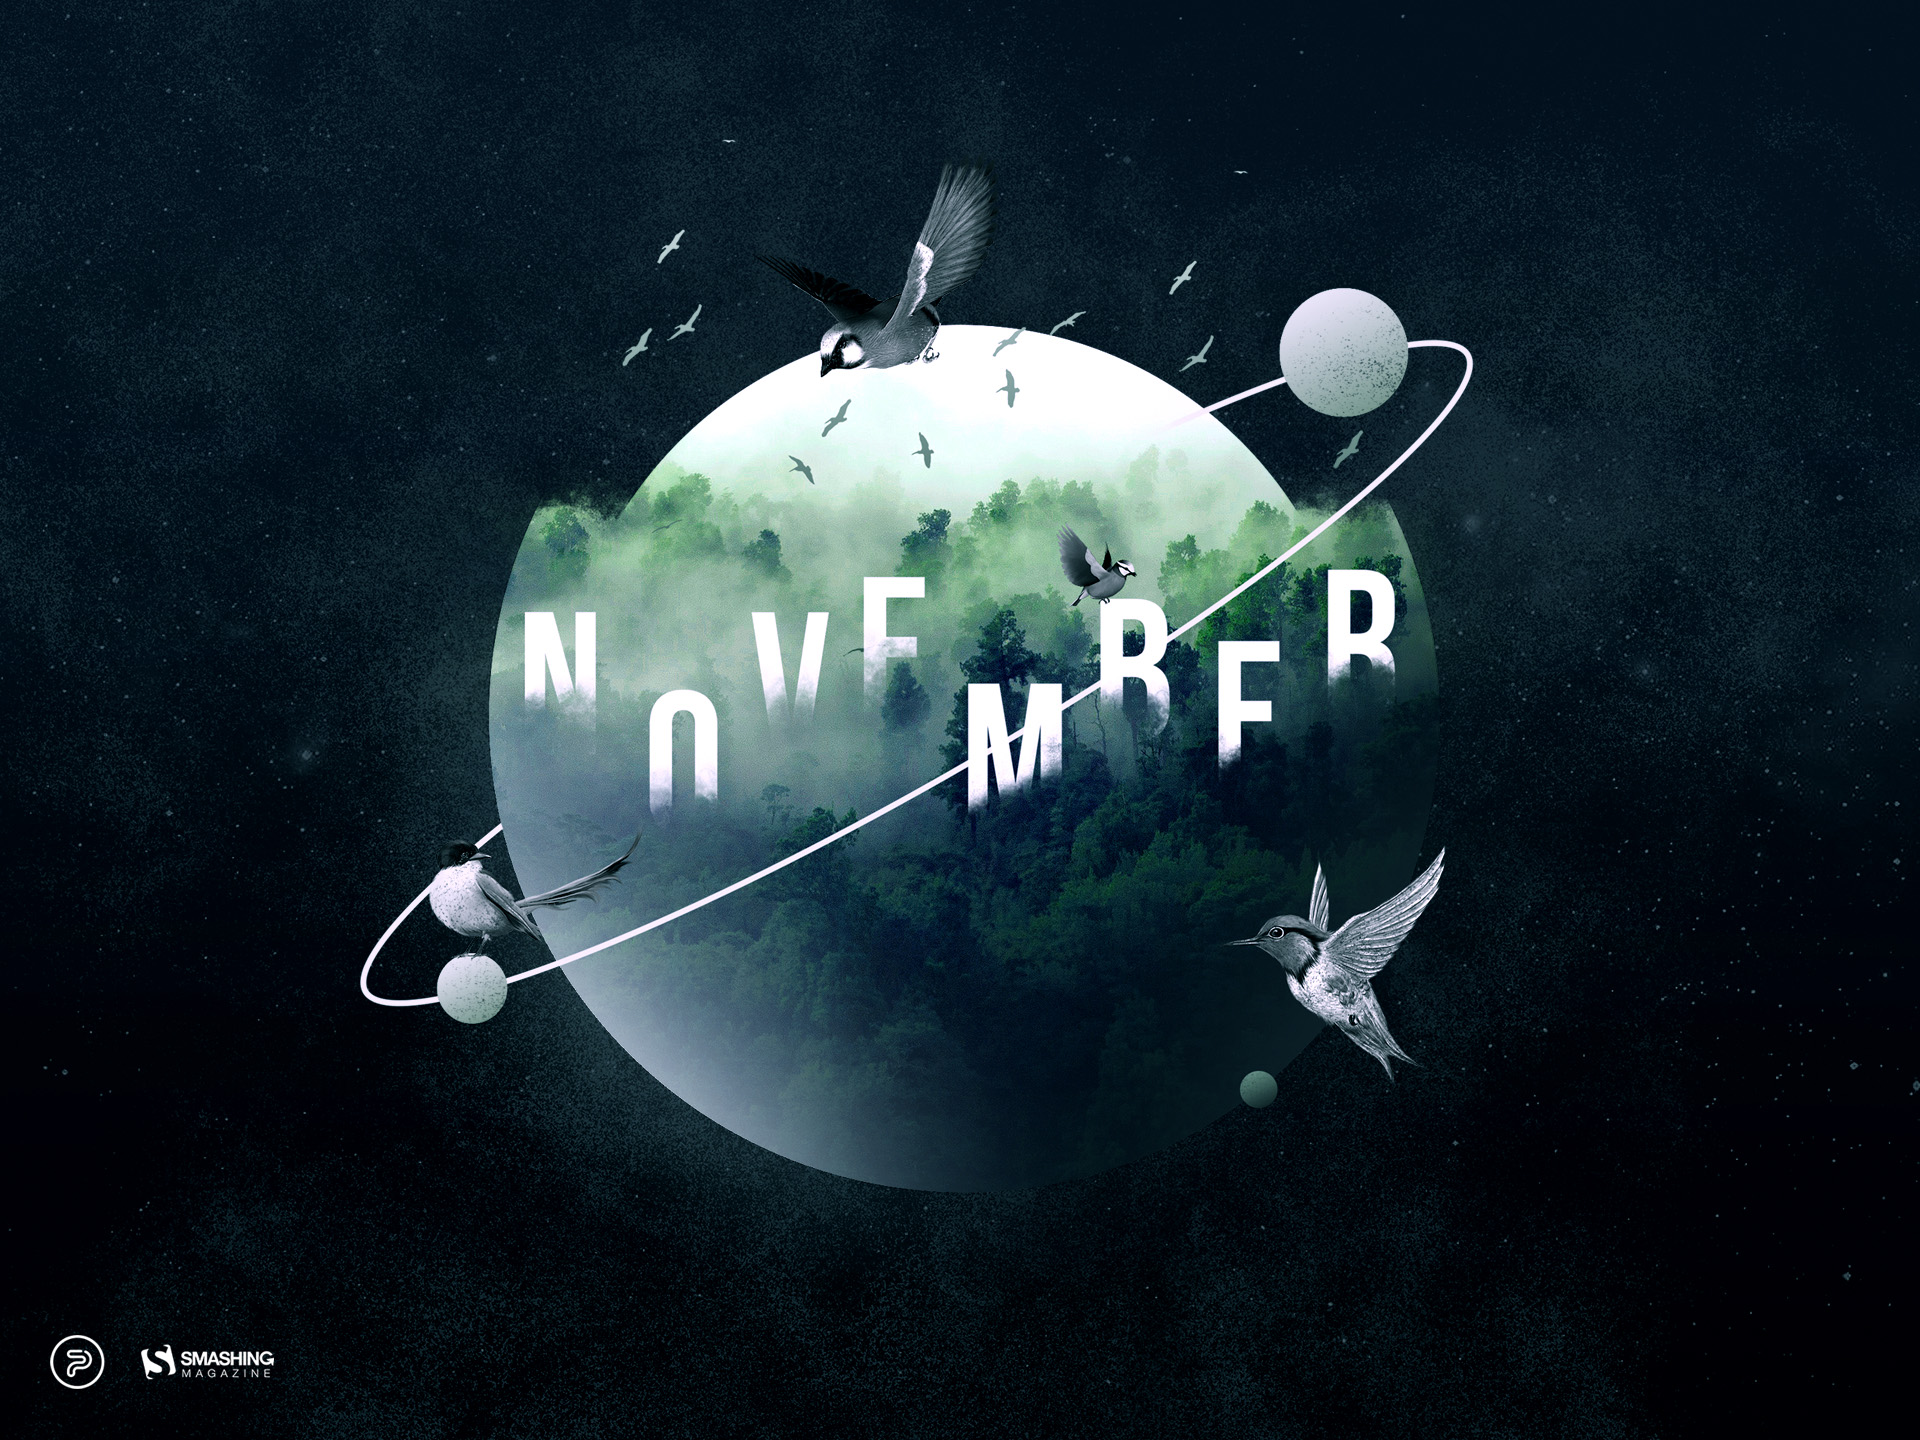
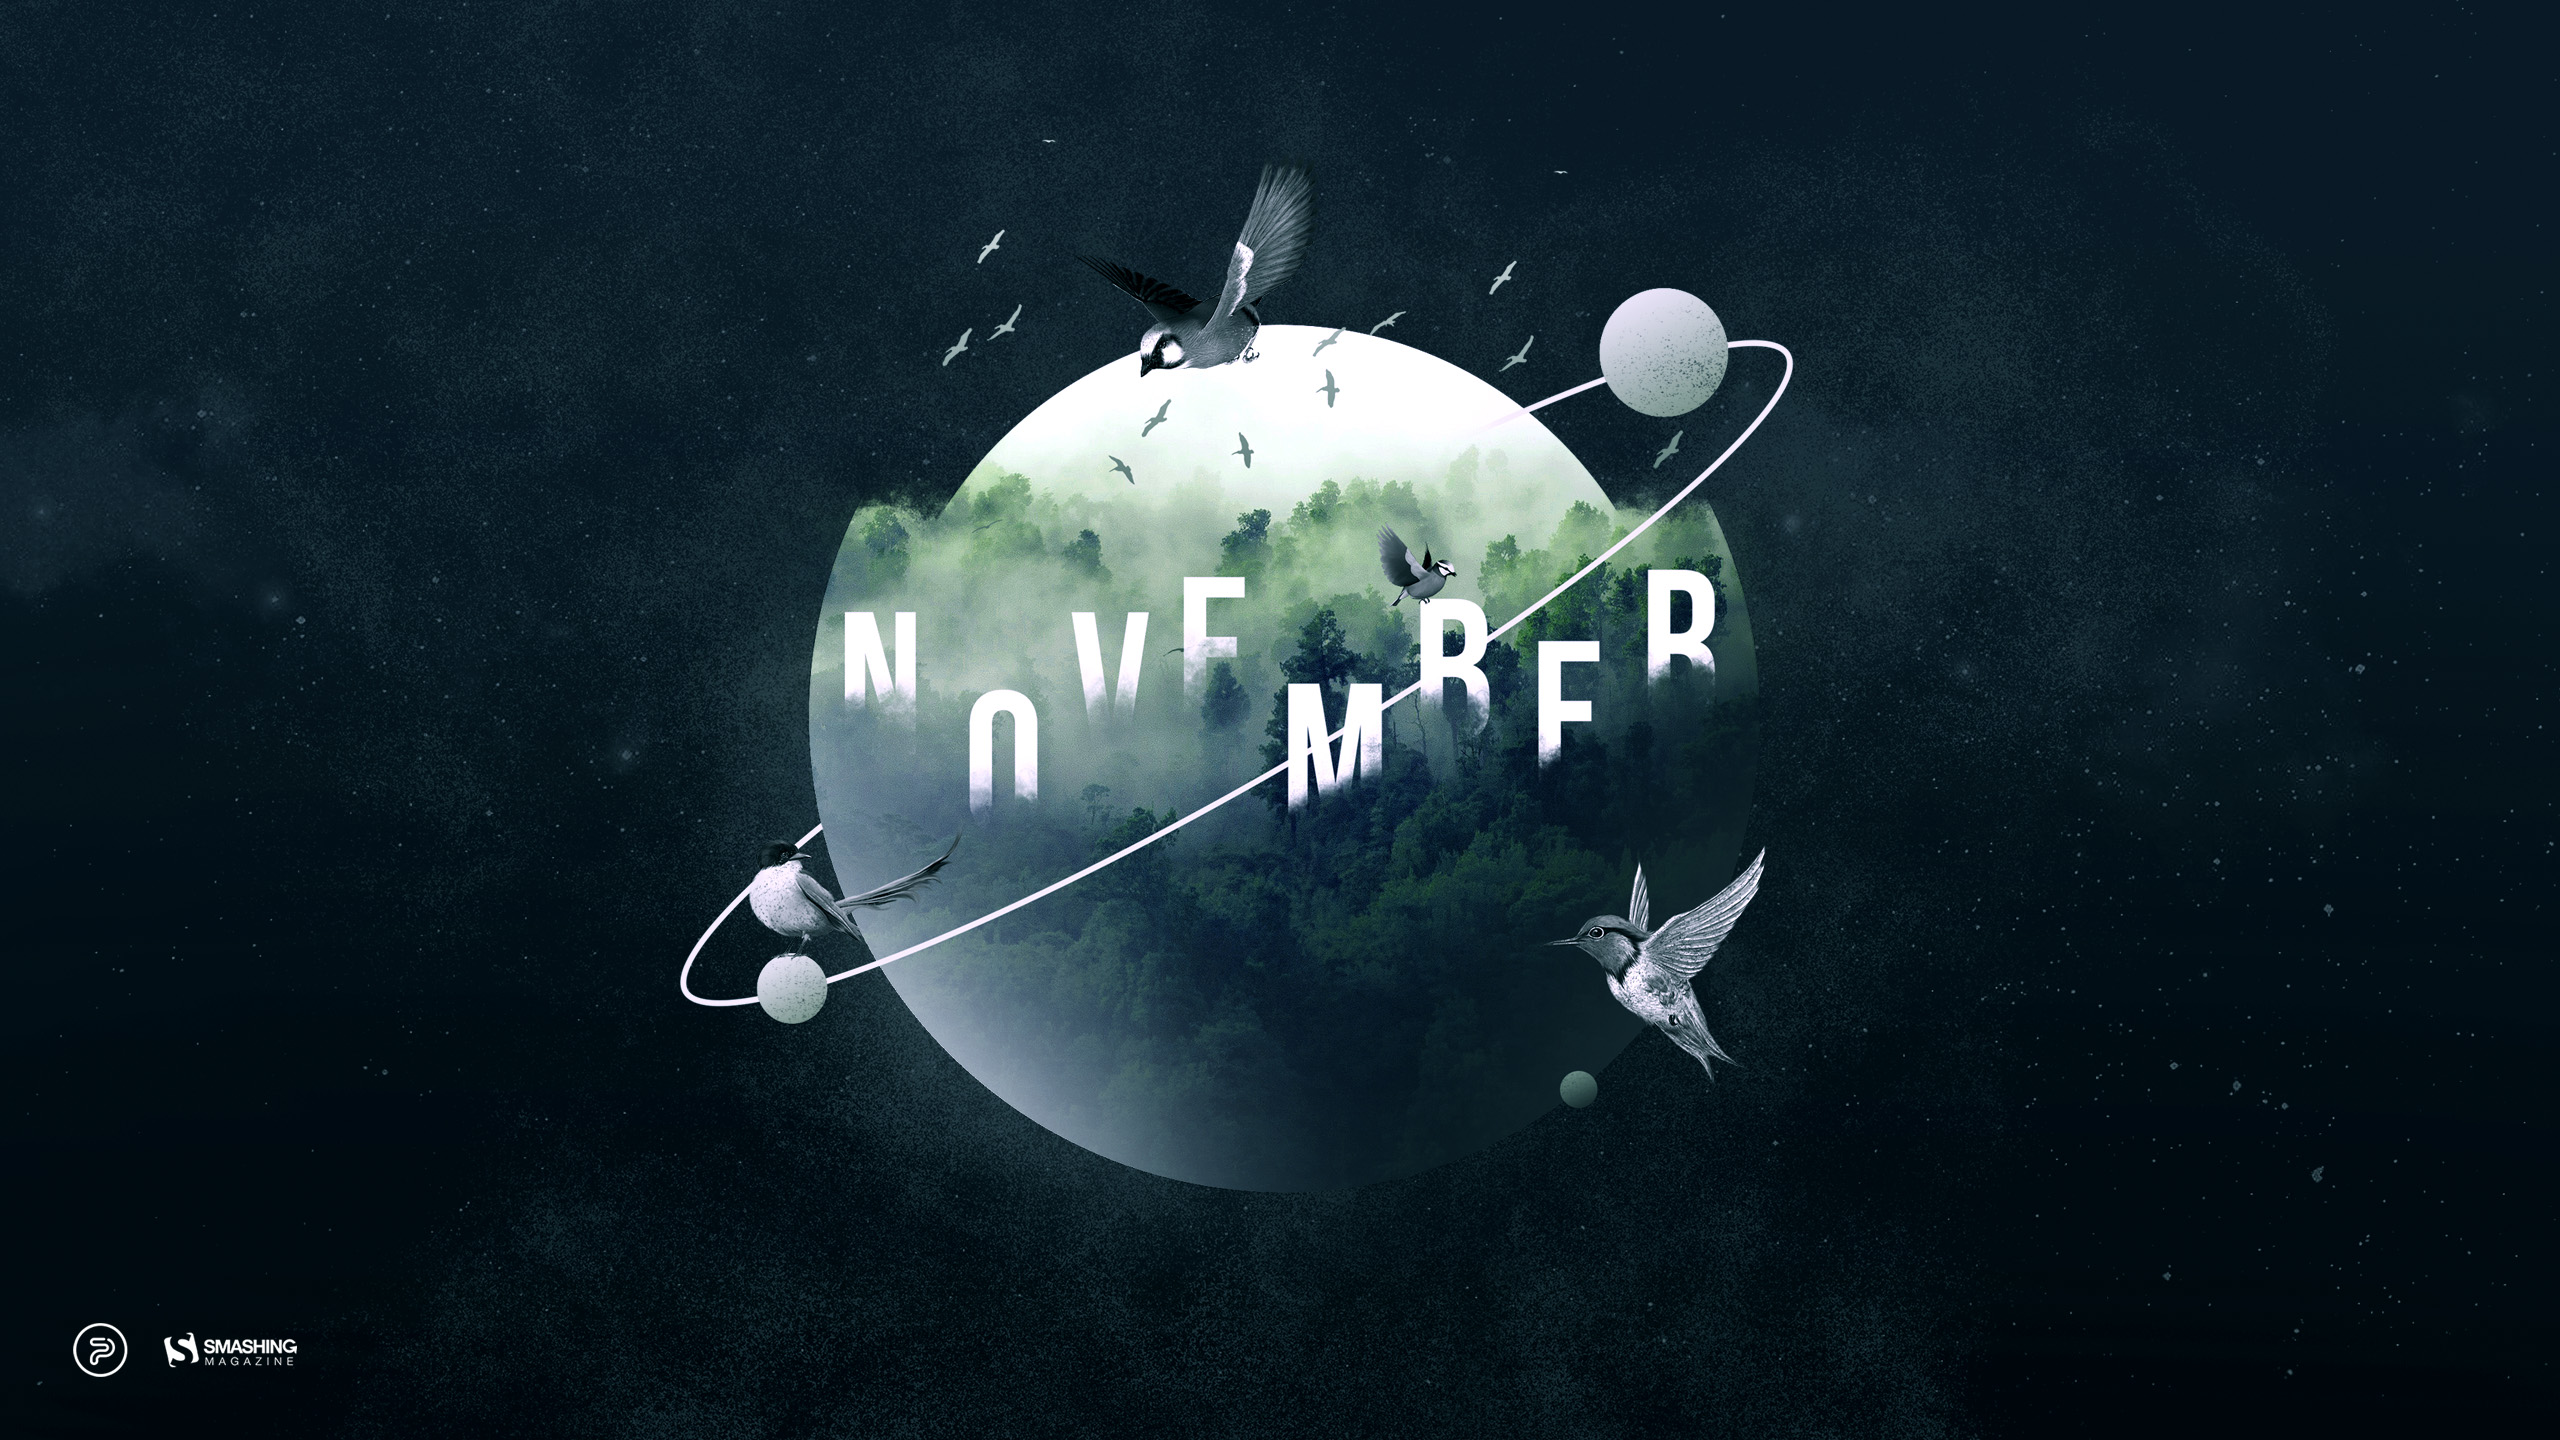
Outer Space
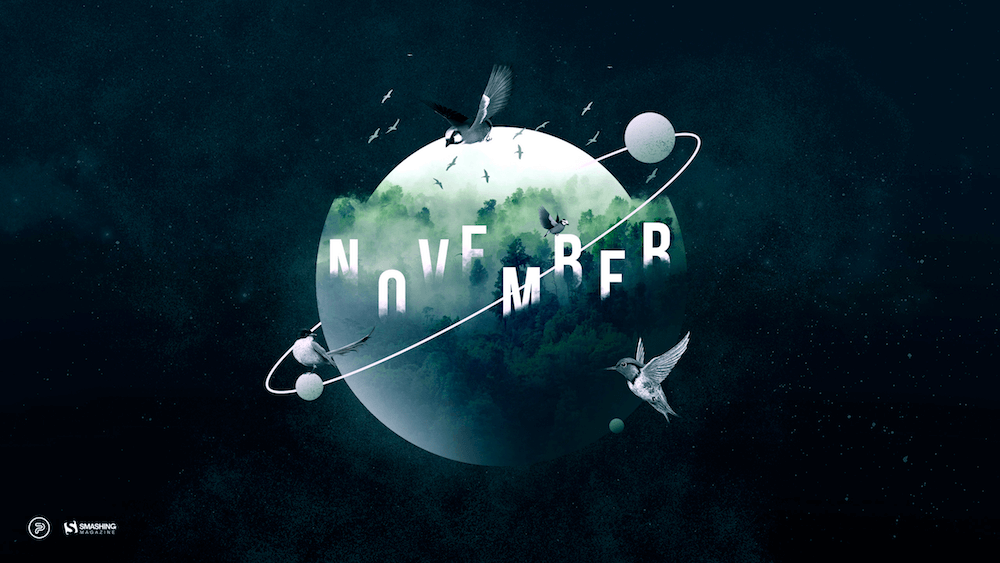
“This November, we are inspired by the nature around us and the universe above us, so we created an out-of-this-world calendar. Now, let us all stop for a second and contemplate on preserving our forests, let us send birds of passage off to warmer places, and let us think to ourselves — if not on Earth, could we find a home somewhere else in outer space?” — Designed by PopArt Studio from Serbia.
“‘When autumn darkness falls, what we will remember are the small acts of kindness: a cake, a hug, an invitation to talk, and every single rose. These are all expressions of a nation coming together and caring about its people.’ (Jens Stoltenberg)” — Designed by Dipanjan Karmakar from India.
“By the end of autumn, ferocious Poseidon will part from tinted clouds and timid breeze. After this uneven clash, the sky once more becomes pellucid just in time for imminent luminous snow.” — Designed by Ana Masnikosa from Belgrade, Serbia.
“November is the Peanut Butter Month so I decided to make a wallpaper around that. As everyone knows peanut butter goes really well with some jelly so I made two sandwiches, one with peanut butter and one with jelly. Together they make the best combination. I also think peanut butter tastes pretty good so that’s why I chose this for my wallpaper.” — Designed by Senne Mommens from Belgium.
“The colorful leaves and cool breeze that make you want to snuggle in your couch at home inspired me to create this fall design.” — Designed by Allison Coyle from the United States.
“World Kindness Day is November 13, and I wanted to share this saying to remind others to never underestimate the power of a kind word.” — Designed by Shawna Armstrong from the United States.
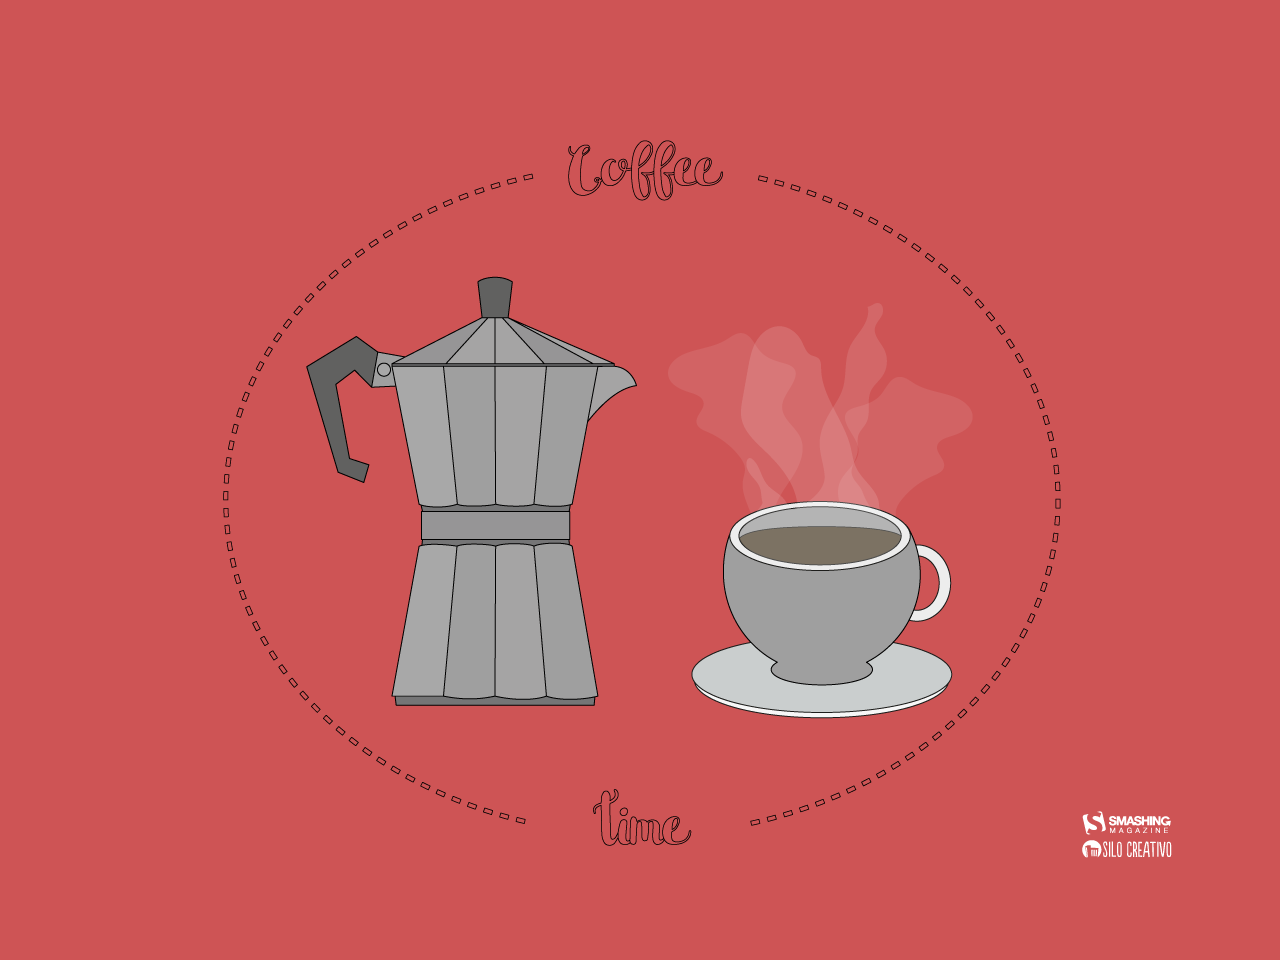
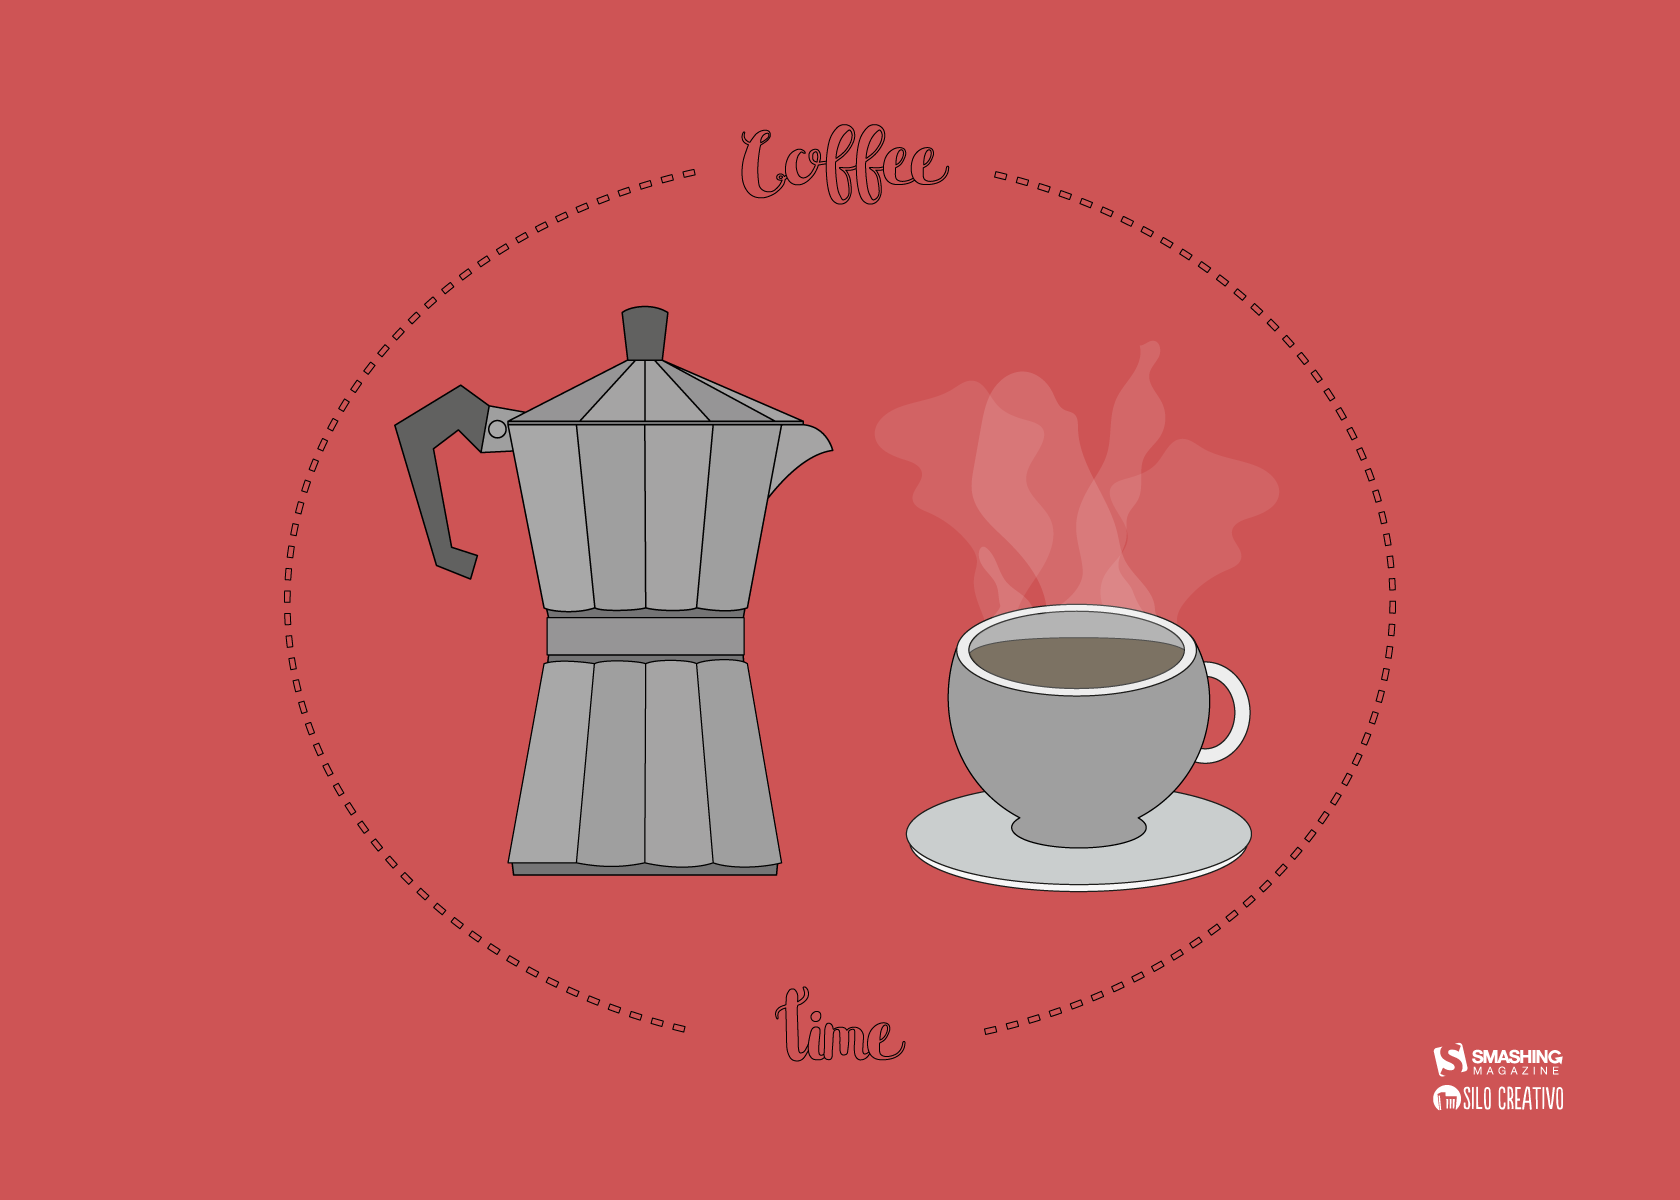
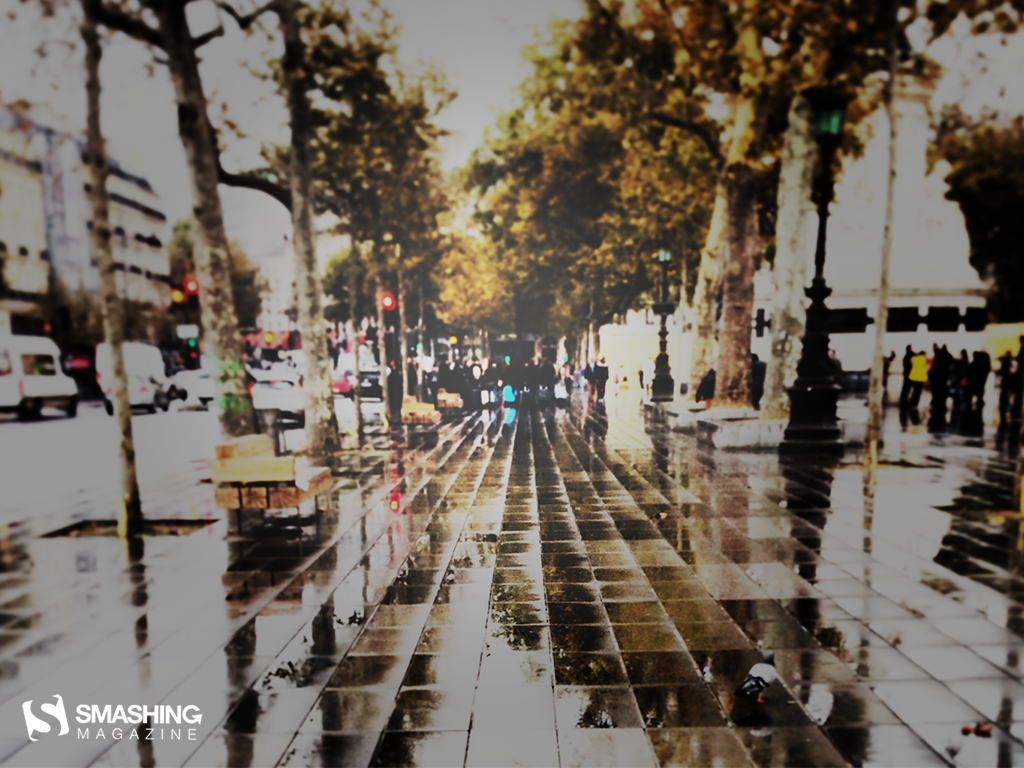
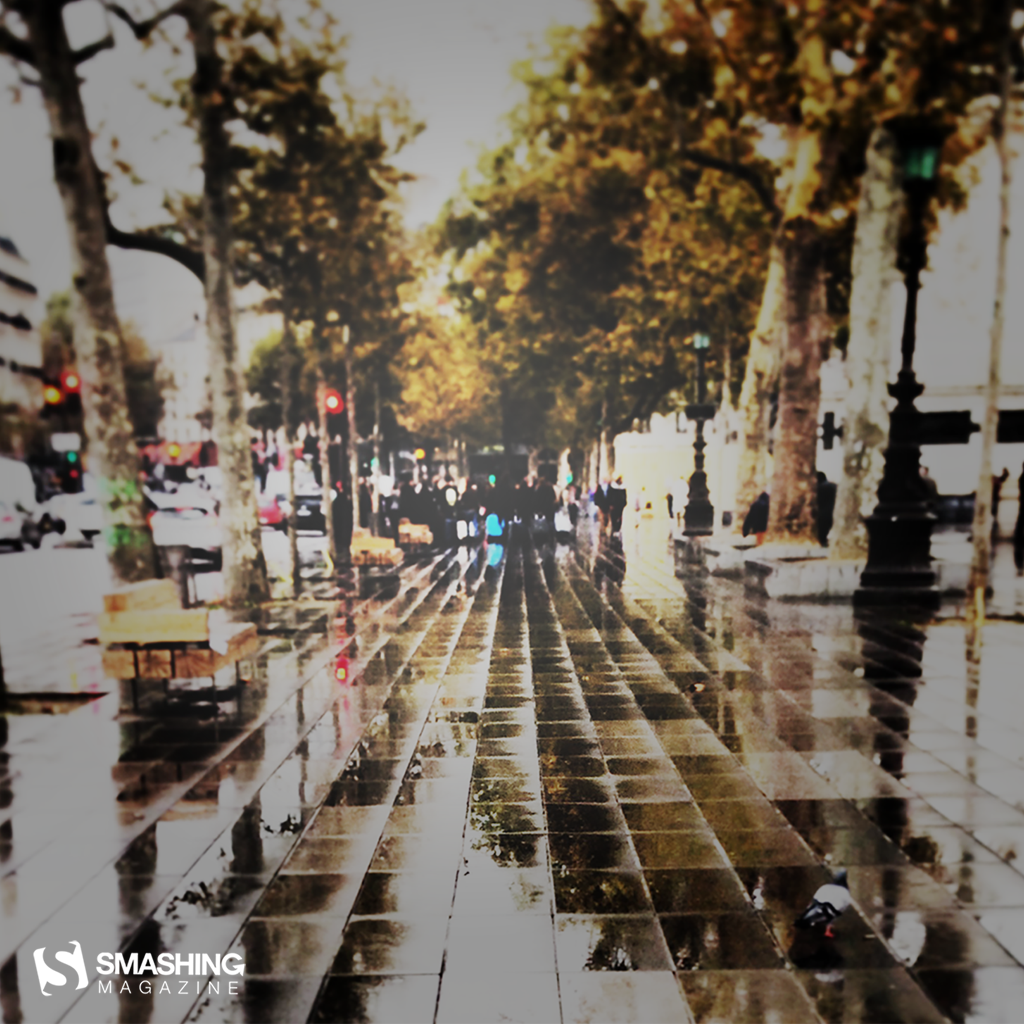
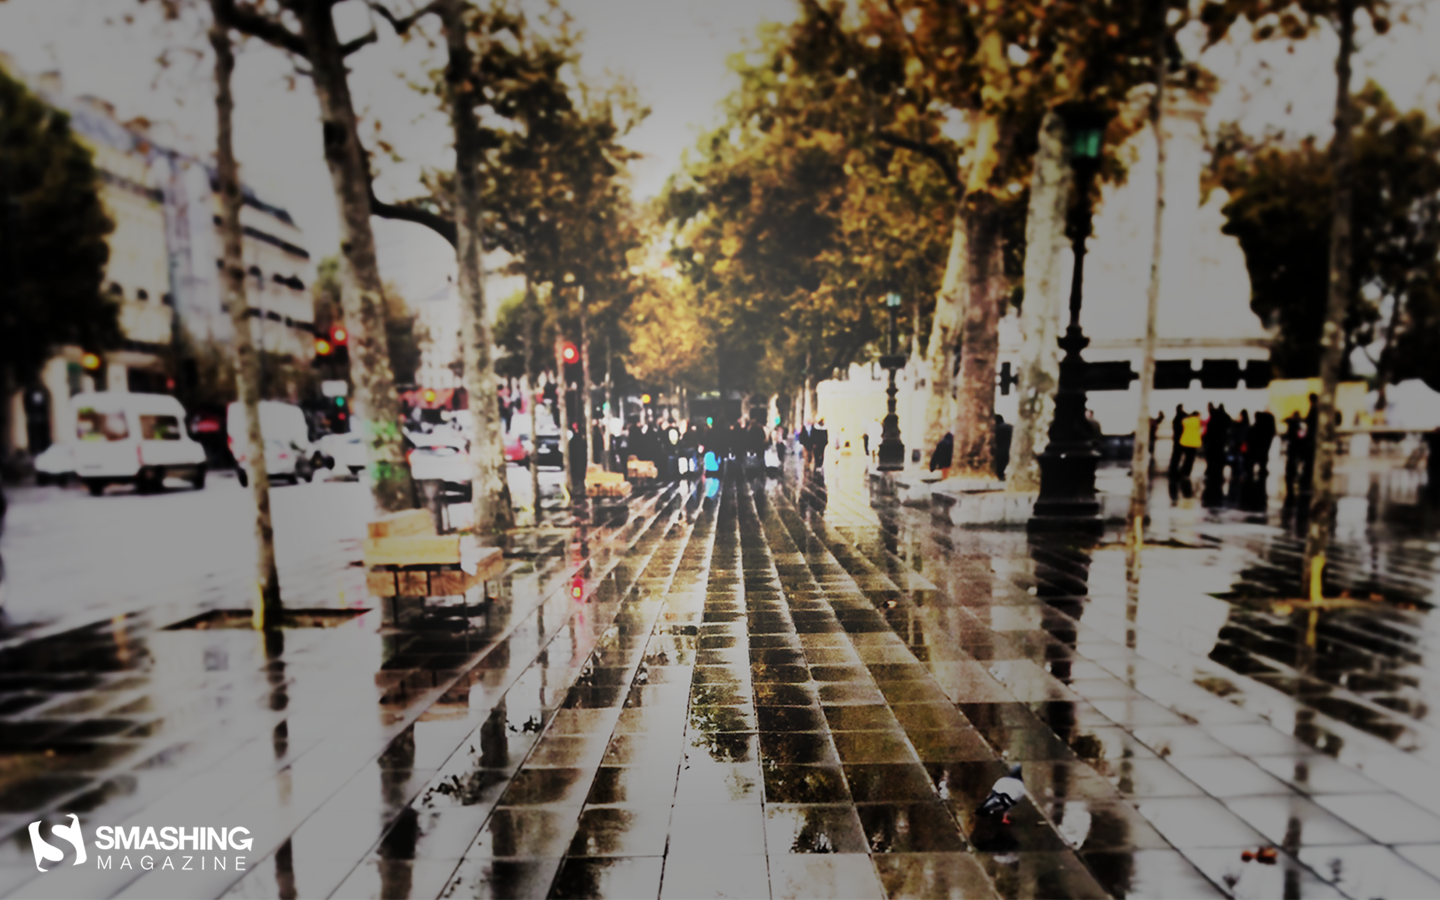
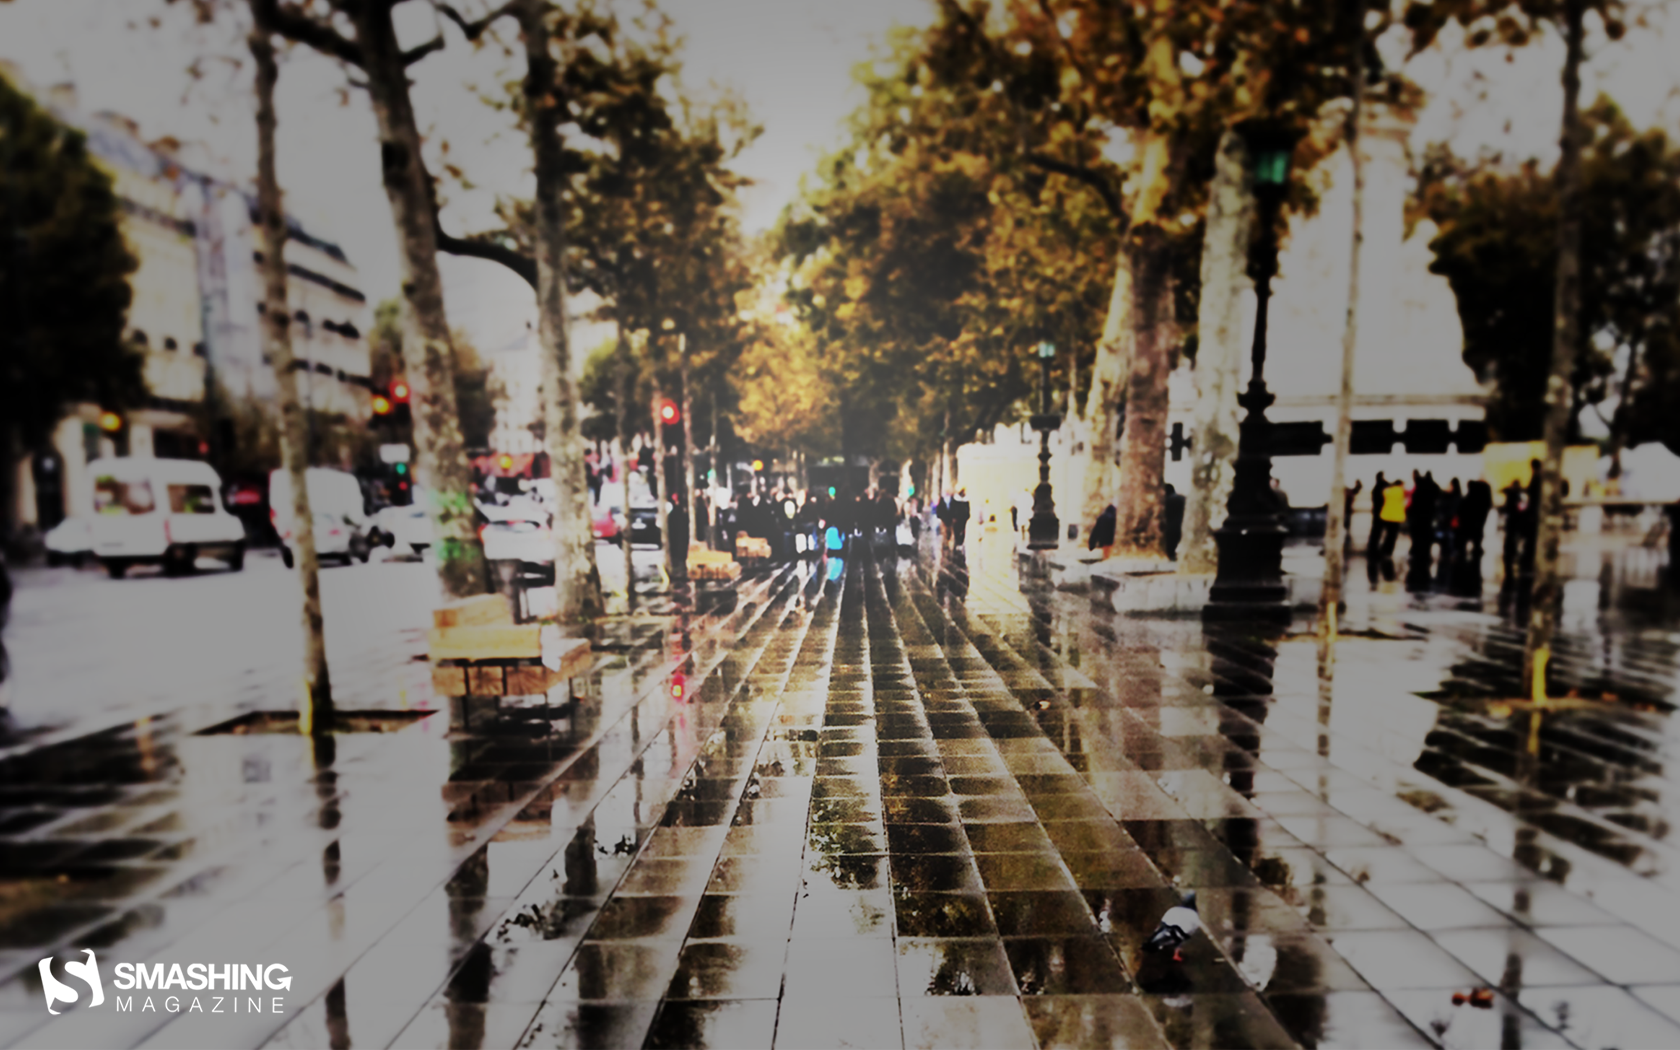
“It’s the time for being at home and enjoying the small things… I love having a coffee while watching the rain outside my window.” — Designed by Veronica Valenzuela from Spain.
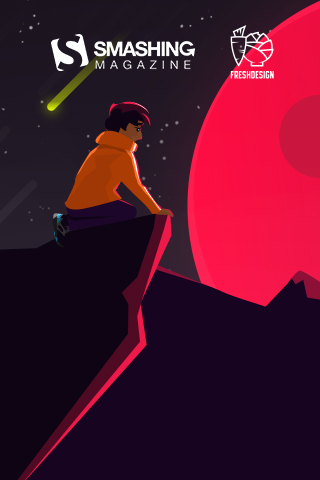
“November has always reminded me of the famous Guns N’ Roses song, so I’ve decided to look at its meaning from a different perspective. The story in my picture takes place somewhere in space, where a young guy beholds a majestic meteor shower and wonders about the mysteries of the universe.” — Designed by Aliona Voitenko from Ukraine.
“Whether or not you celebrate Thanksgiving, there’s certain things that always make the harvest season special. As a Floridian, I’m a big fan of any signs that the weather might be cooling down soon, too!” — Designed by Dorothy Timmer from the United States.
“November often means rain and cold temps, but there’s beauty to be found in that as I found in this moment — the wet lines lead the way.” — Designed by Aisha Souto-Maior, Paris-based, NY-bred.
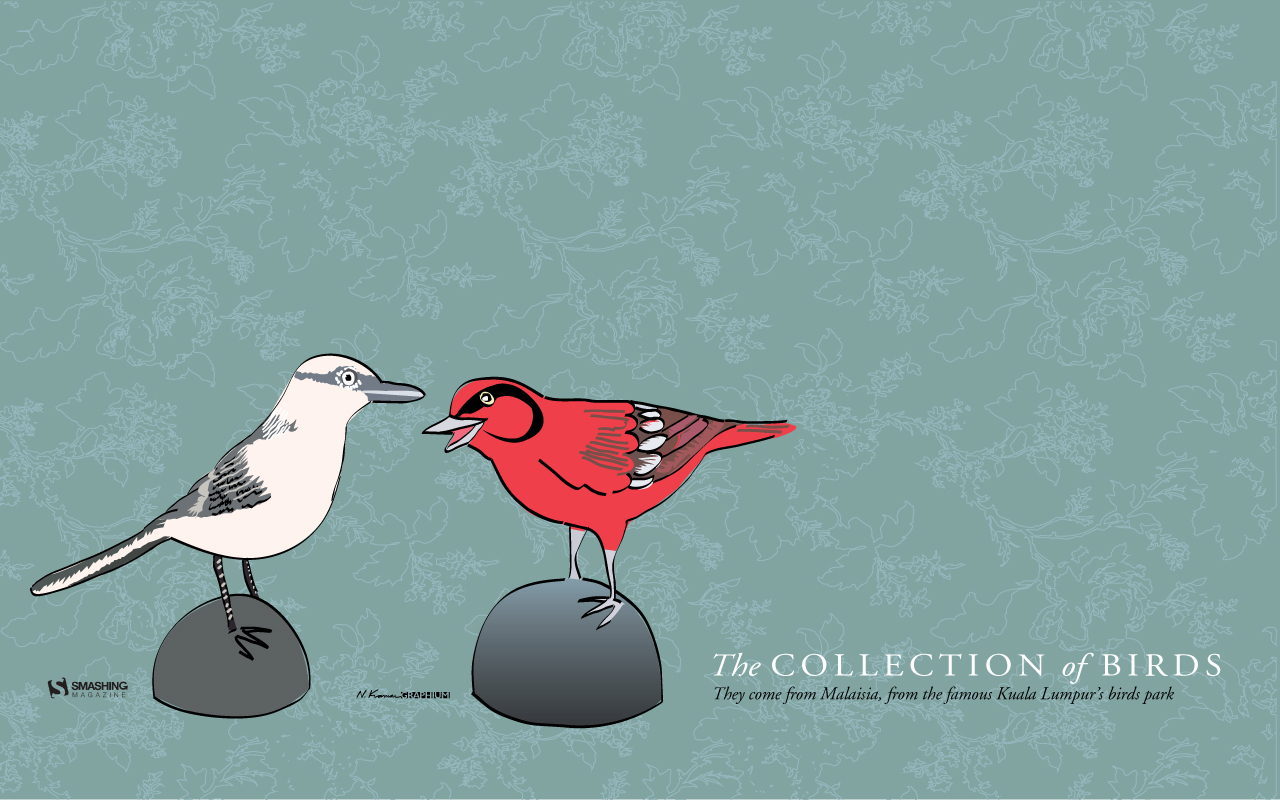
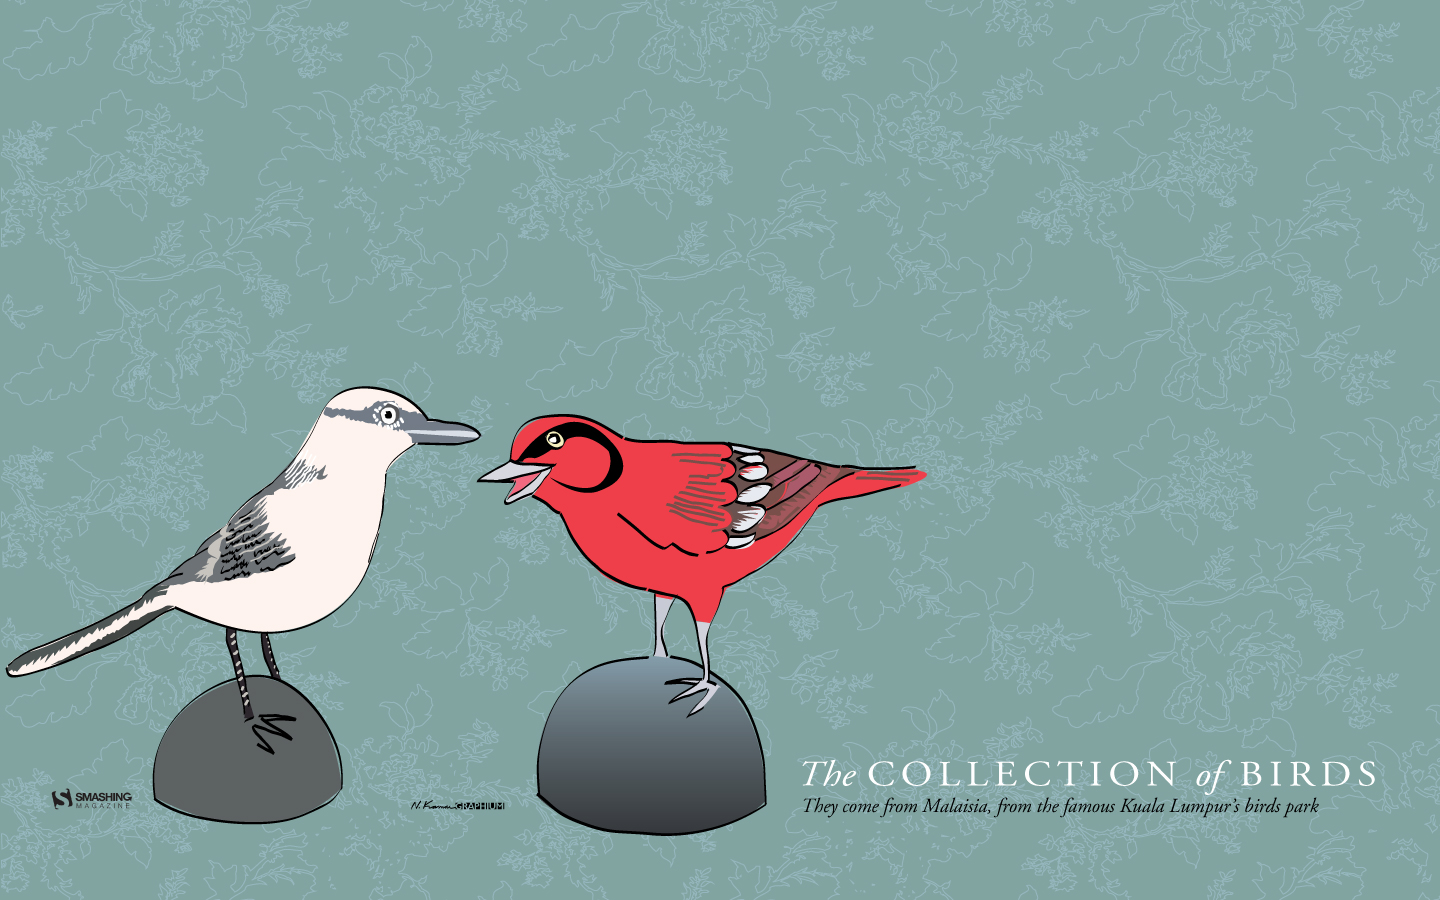
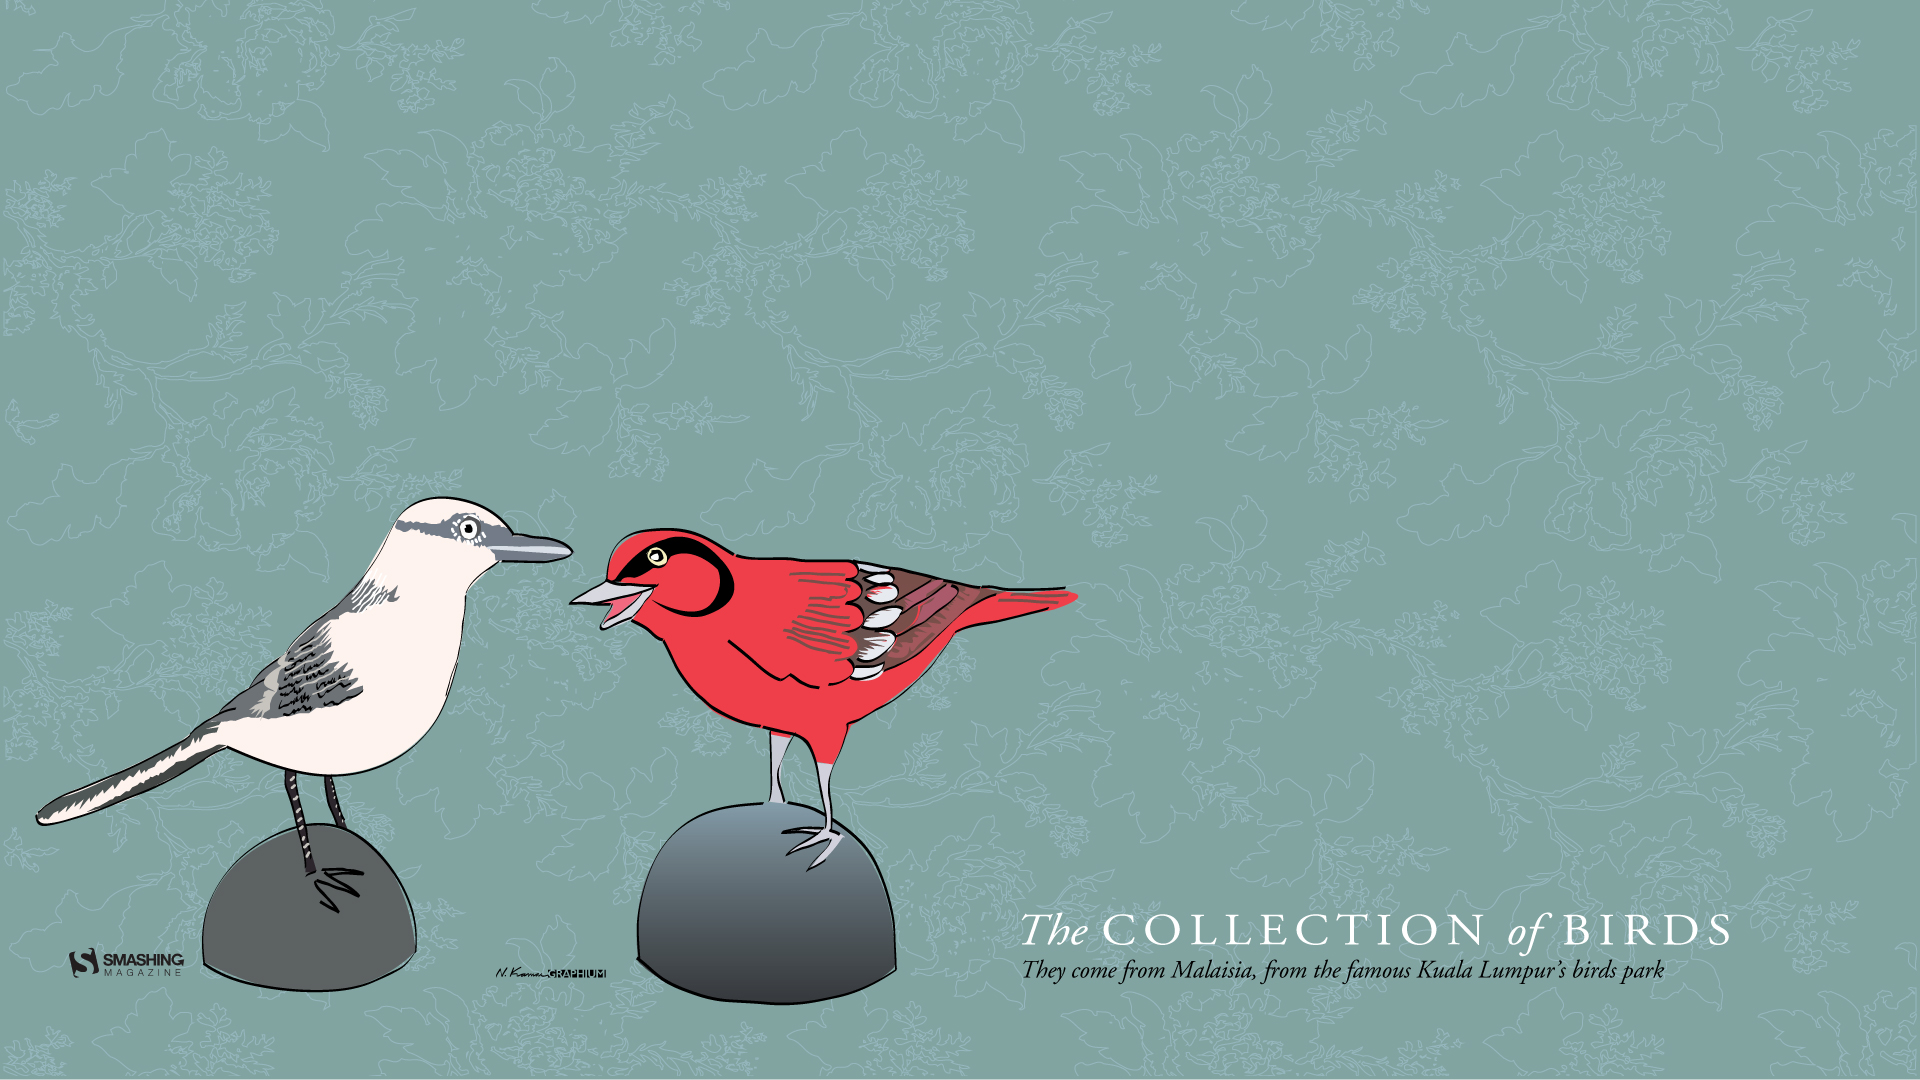
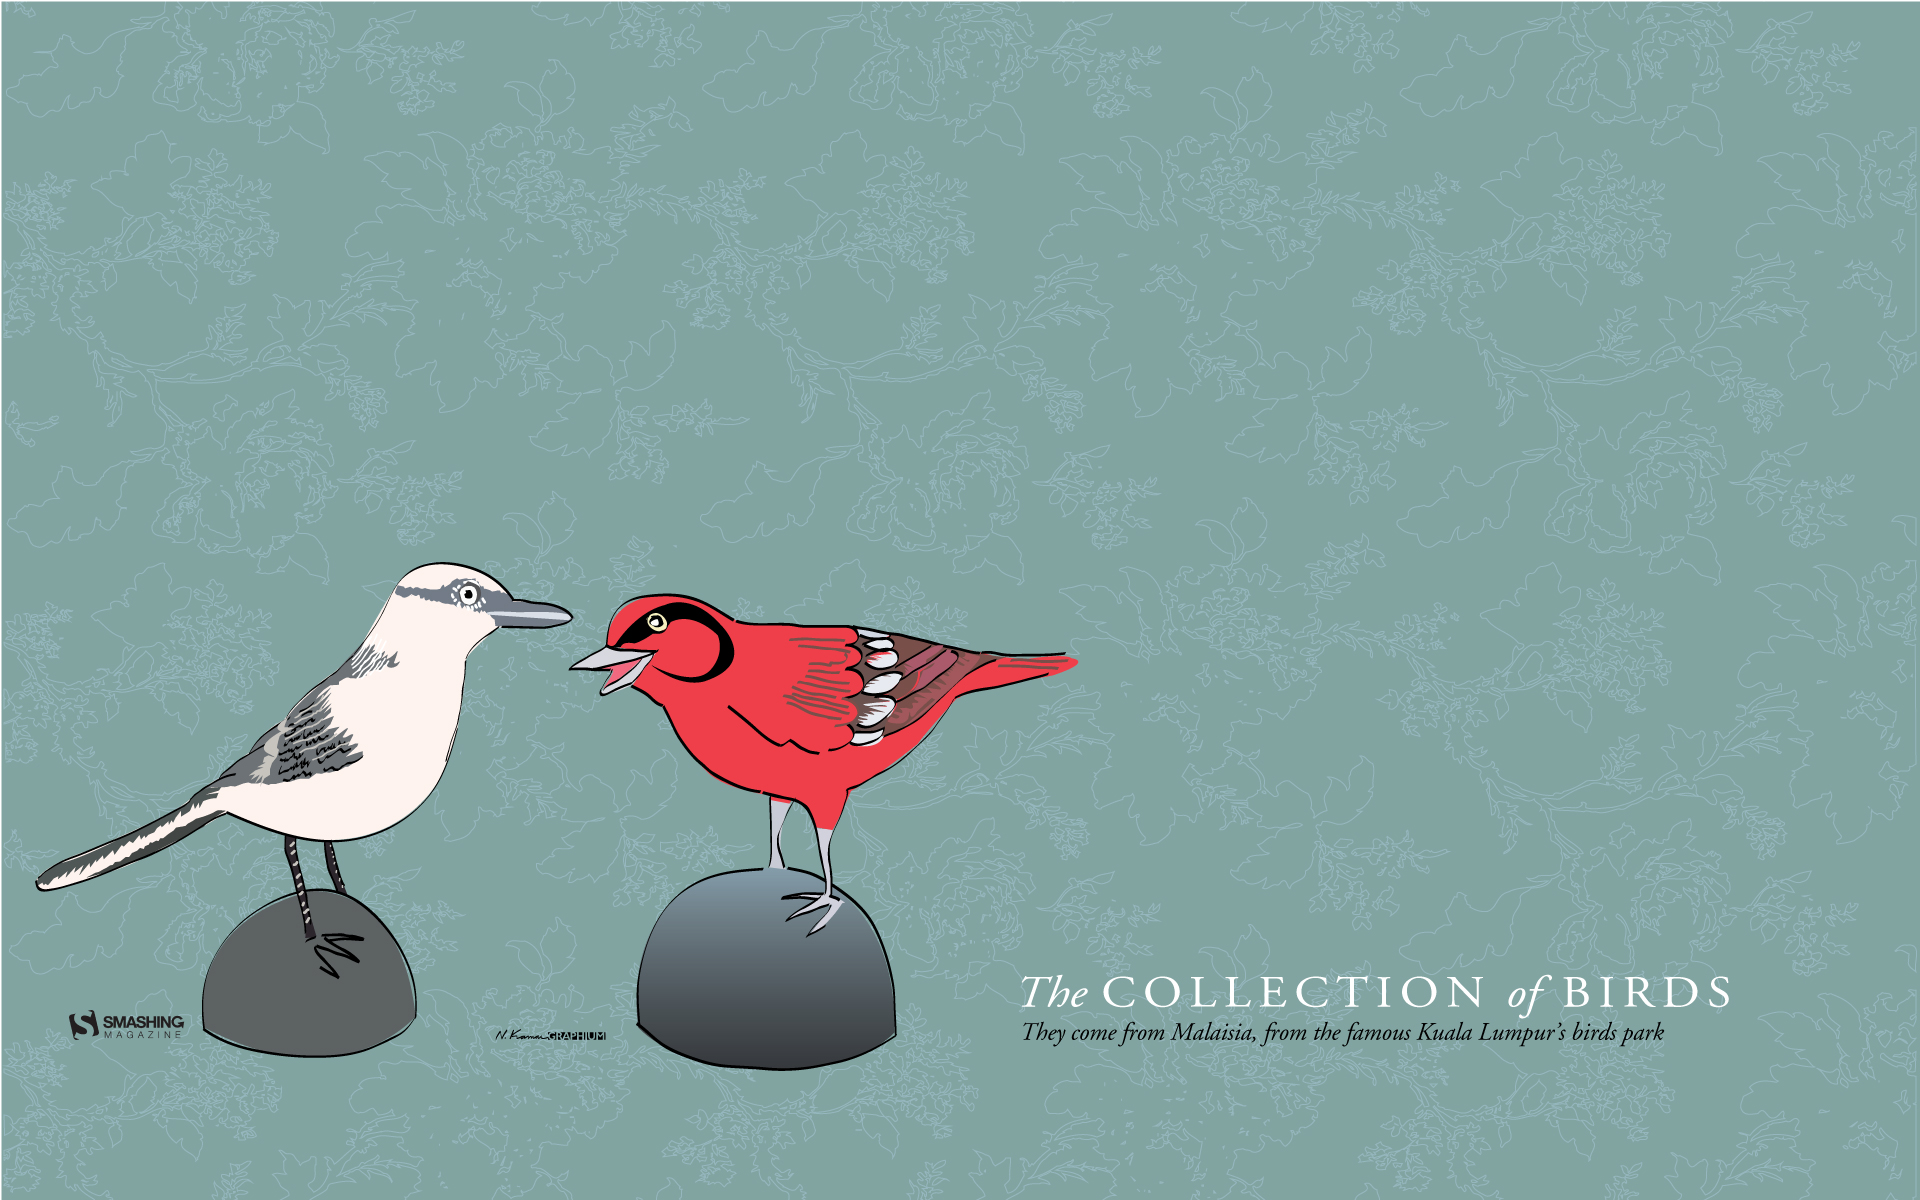
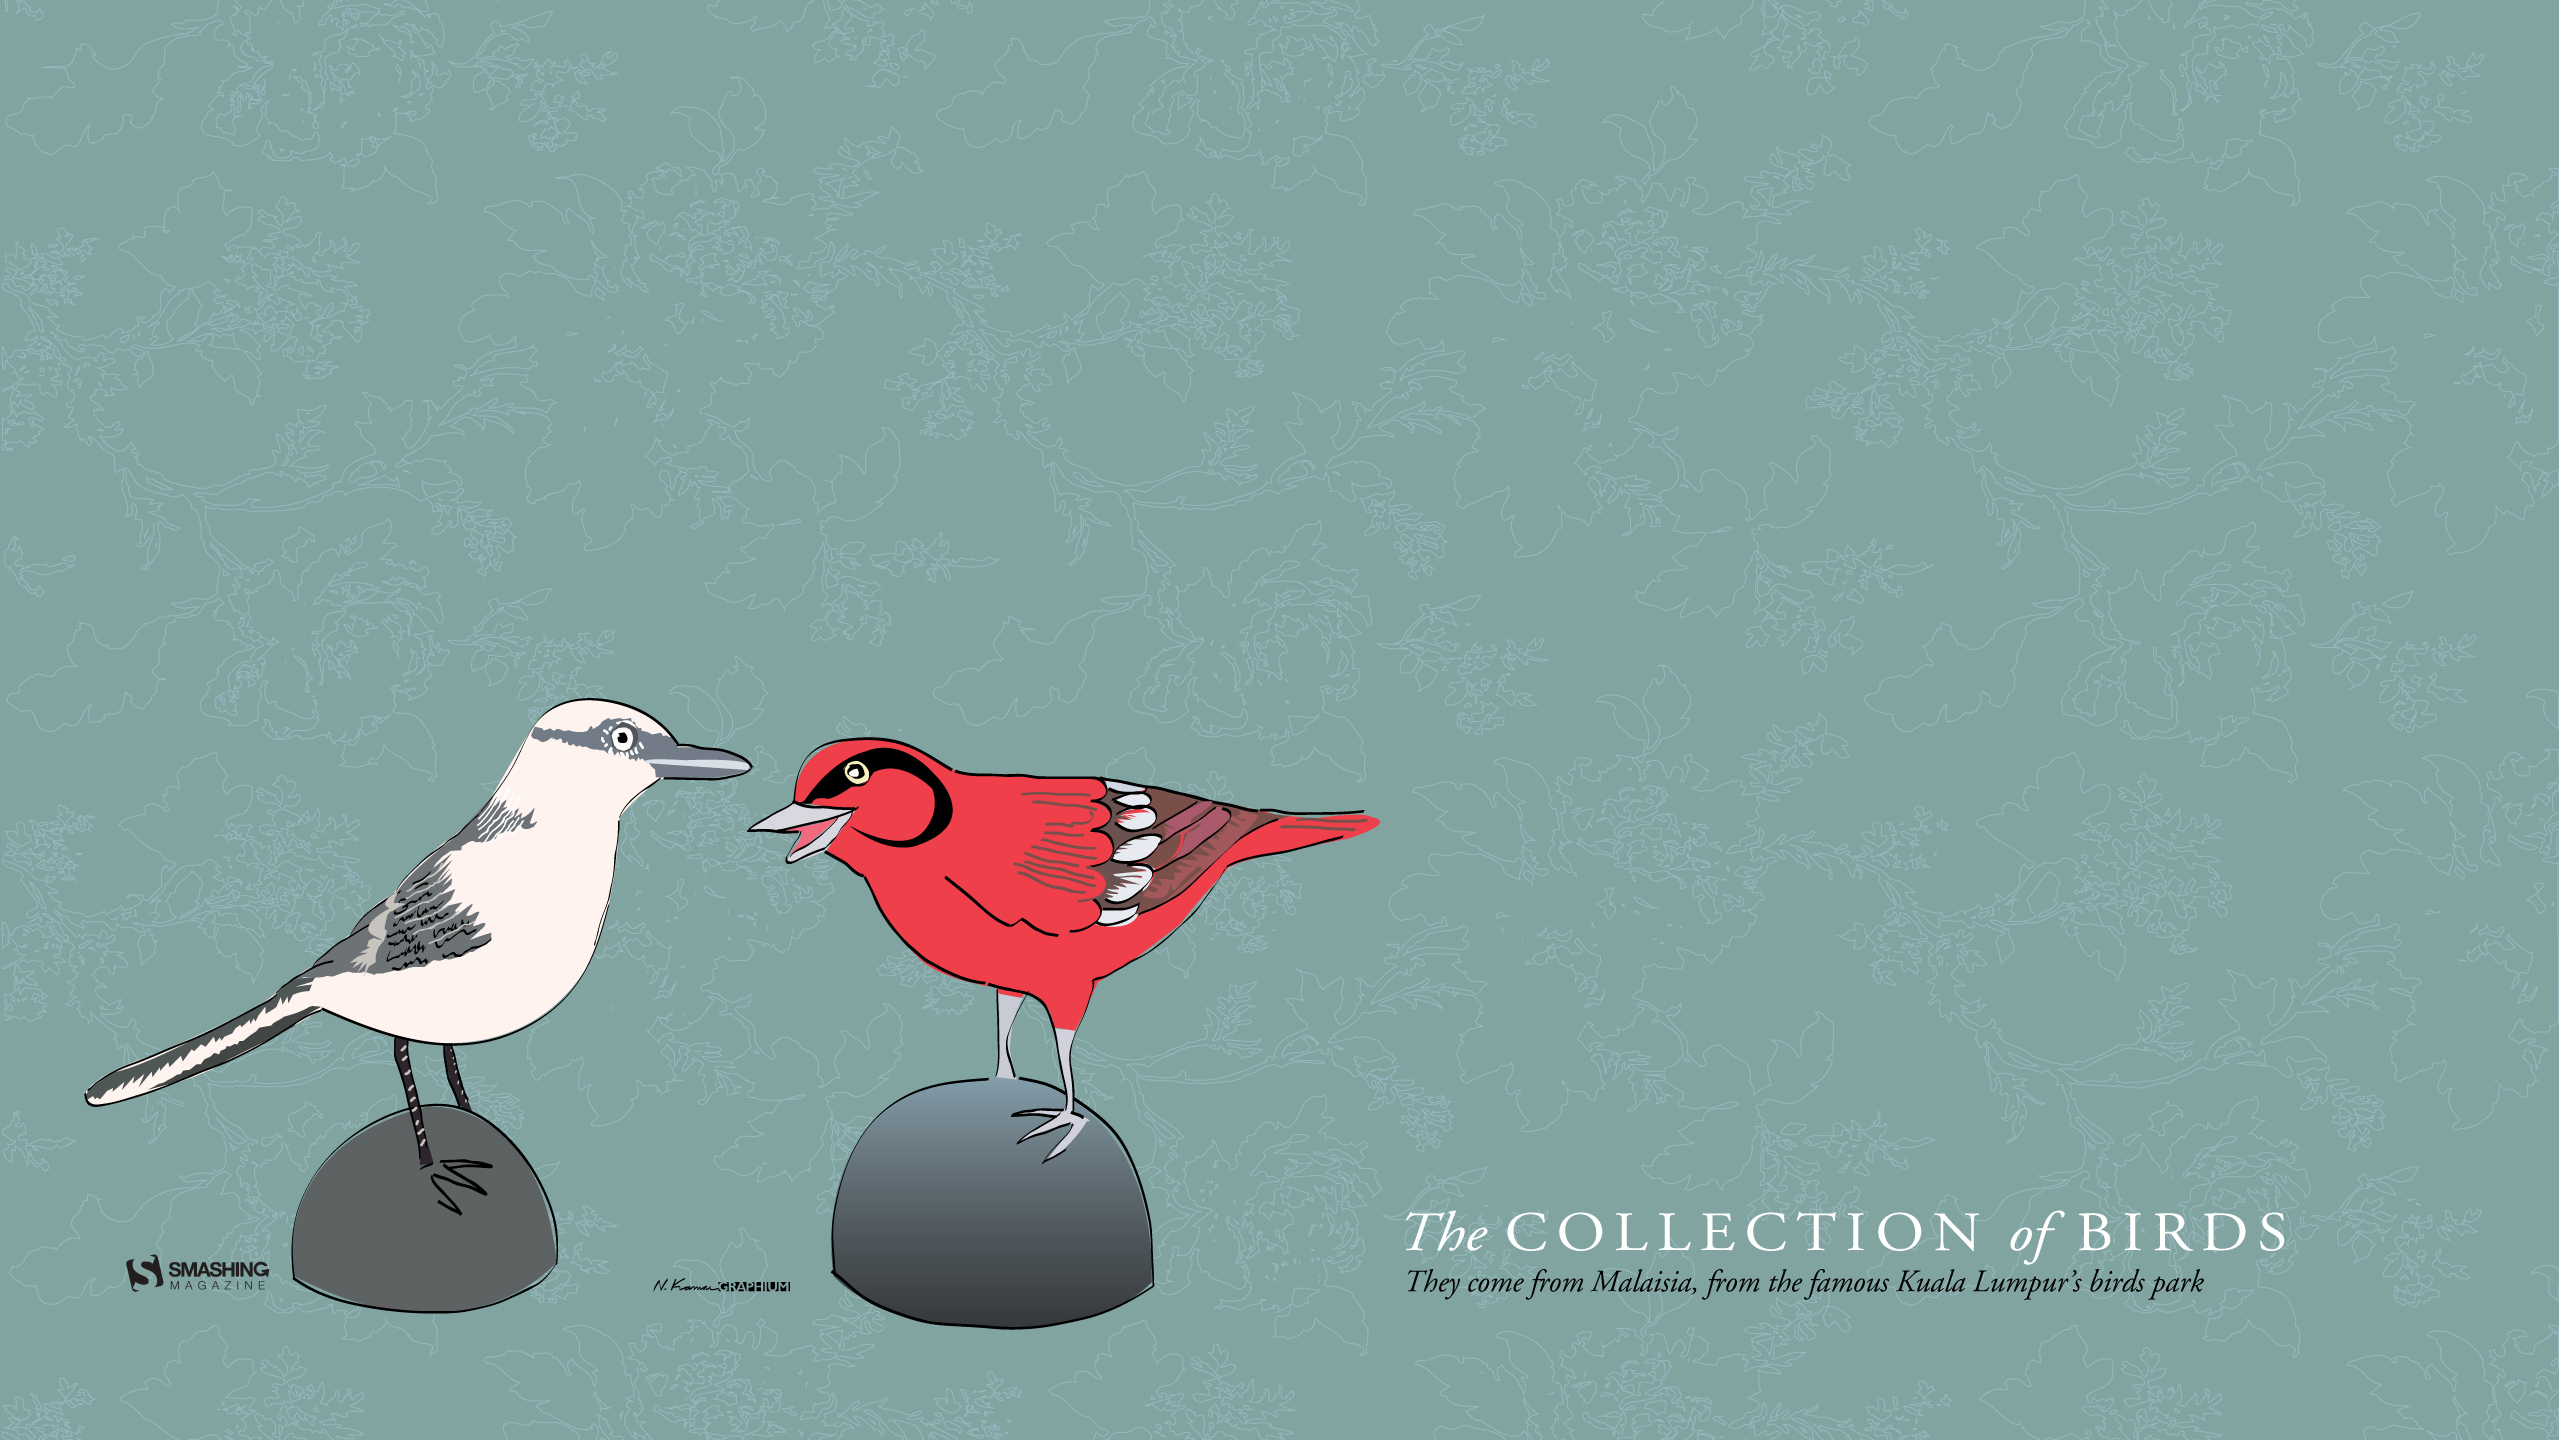
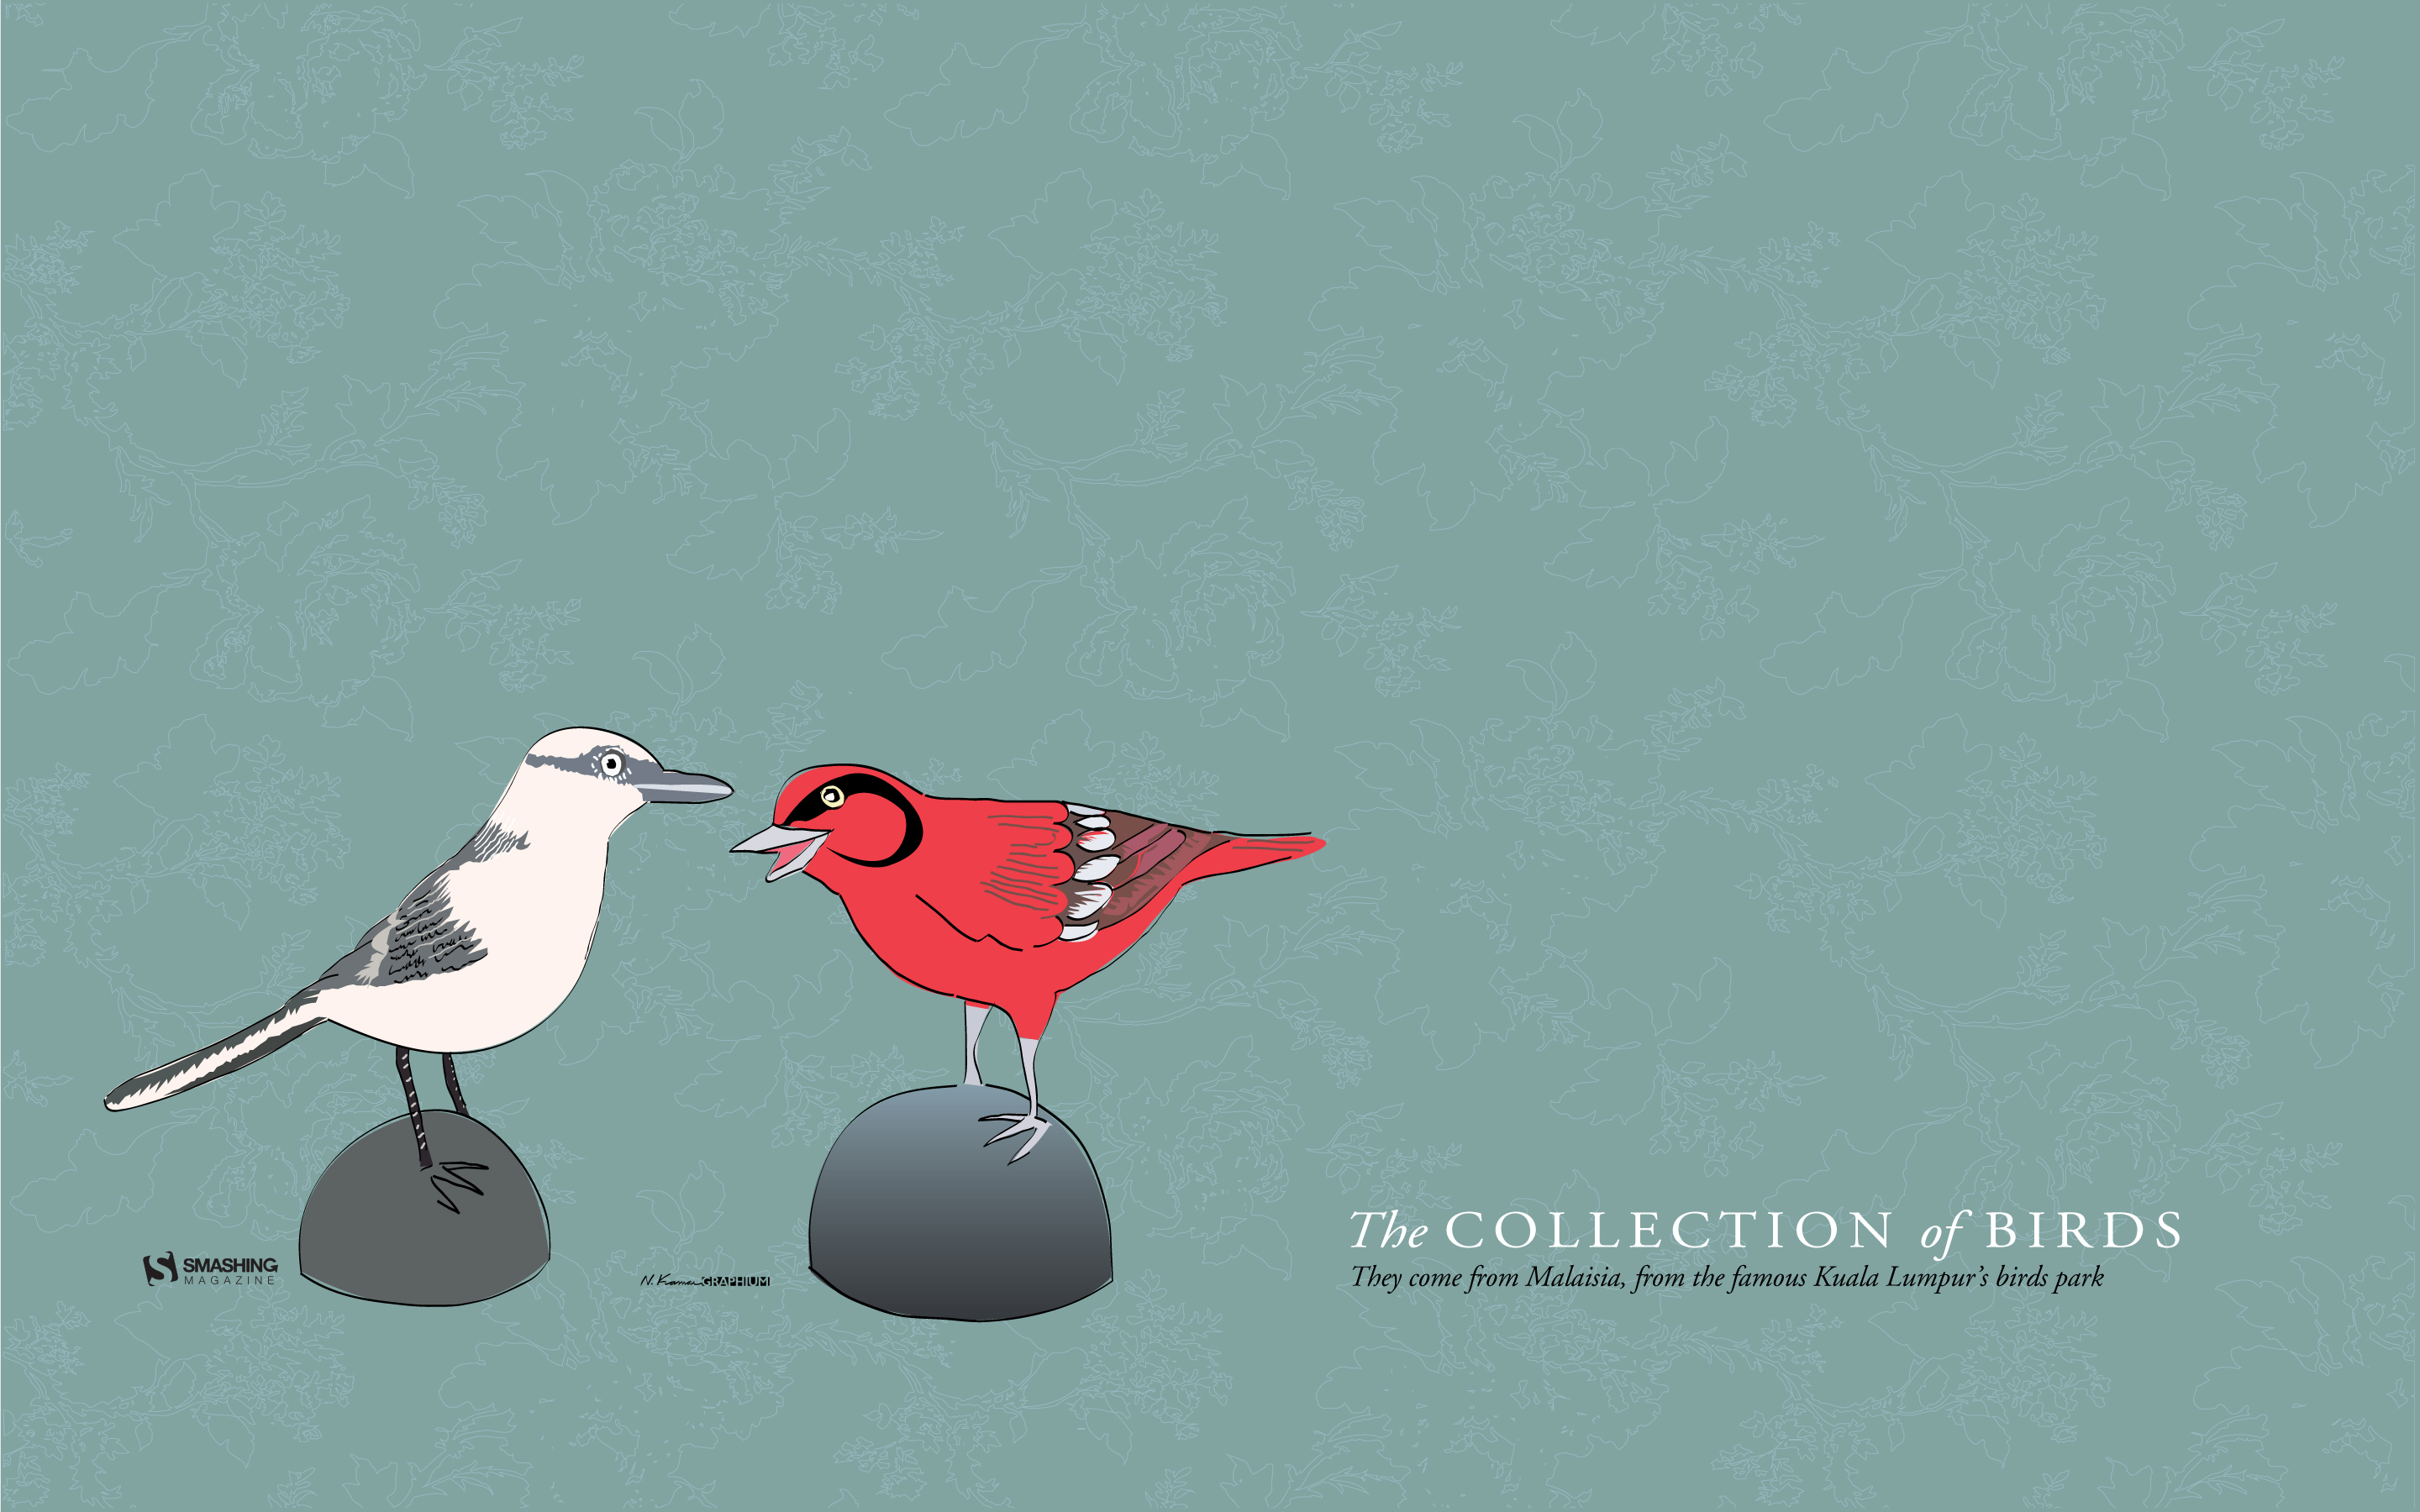
“The collection of birds are my travels. At each destination I buy a wood, bronze, stone bird, anything the local bazaars sell. I have all gathered at a modest vitrine in my house. I have so much loved my collection that, after taking pictures of them, I designed each one, then created a wallpaper and overdressed a wall of my living room. Now my thought is making them as a desktop wallpaper and give them to you as a gift.” — Designed by Natasha Kamou from Greece.
Scraping SERPs is hard for developers – proxy networks, captcha-solving, etc. You can’t afford to sit and do it manually. It will not only take a lot of time but it may also leave you irritated and frustrated. Fortunately, there …
Billions of people almost never part with their smartphones and tablets nowadays. And they don’t just carry gadgets with them as it has been earlier with ordinary mobile phones, but use them actively: they send...


