Over the past few weeks, I have had the GenerateBlocks plugin sitting in my test environment. I have built a few layouts with it, tinkering with the plugin between other projects. The one thing I kept thinking was that it had huge potential. Aside from a couple of issues, I began enjoying the plugin more and more as I played around with its options.
GenerateBlocks was created by Tom Usborne. It was built specifically to work along with his popular GeneratePress theme. However, the plugin claims to work with any WordPress theme.
GenerateBlocks is meant to be the block answer to the page builder question. It is meant to take those elements that make page builders so popular and boil them down to a handful of blocks. It is meant to simplify the process of building complex layouts without the need for heavier solutions. The question is whether it holds up — does it do the job it set out to do?
Overall, it works well, particularly in terms of giving more freedom with layout building. It will not likely eat into the market share of page builders any time soon. However, it may make for a few more converts to the block editor, especially with those who are not tied into an existing solution and are looking for something lightweight.
Watch a quick video on how GenerateBlocks works:
The Plugin’s Blocks

GenerateBlocks’ bread and butter is its Container block. It is the WordPress Cover and Group blocks rolled into one with a gluttonous amount of additional options that cover nearly every need.
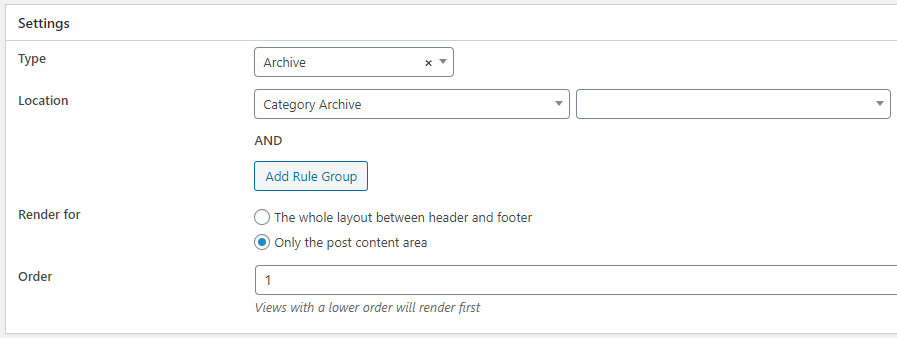
The one major area that the Container block falls short is with handling full-width sections. Instead of taking advantage of the standard full-width block alignment option that all themes can opt into, it goes with a custom solution. That solution is to provide a notice that the user’s theme must have some sort of full-width content option (likely via a page template). By choosing this route it means the majority of themes, including those built to style blocks, will not support the GenerateBlocks Container block when set to full width.
For end-users who are using a theme that supports the standard full-width block alignment, there are two tricks to bypass this limitation. The first solution is to enter alignfull into the CSS Classes field under the Advanced block options tab. The second solution is to wrap the Container block with the WordPress Group block and set it to full width. How these solutions work out will largely depend on how the theme handles those elements.
With all the flexibility of GenerateBlocks, this would be the reason that I would not recommend the plugin to users who want full-width layouts. The two tricks are not an ideal user experience. In design, the most important thing is for the user to not have to think. The provided solution should simply work.
If we gave that single element of the plugin a one-star rating, everything else would be an easy five stars.
The plugin’s four blocks can easily replace several other blocks. Instead of creating a library of dozens of one-off blocks, GenerateBlocks adds versatility without going overboard. It is easy to see why users have given it a perfect five-star rating (out of its current 34 reviews).
In total, the plugin adds four blocks to the editor:
- Container
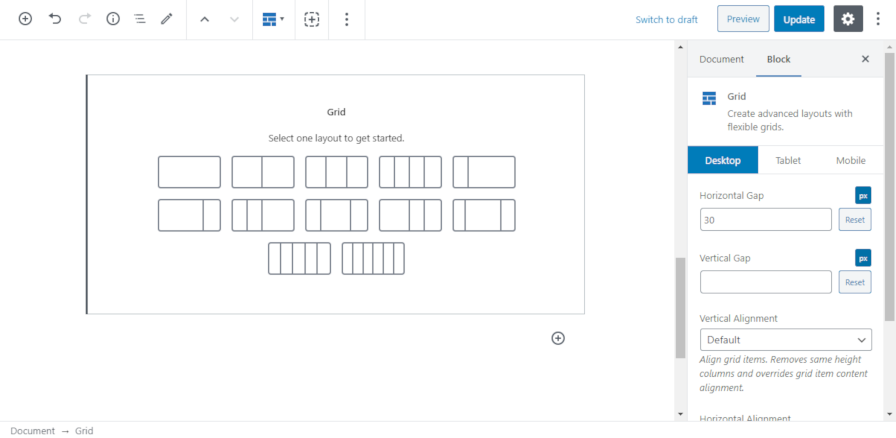
- Grid
- Headline
- Buttons
Admittedly, I am partial to Automattic’s Layout Grid plugin, primarily because I prefer the visualization of the grid in the background. It puts me at ease. However, the Grid block in GenerateBlocks runs a close second. In practice, it is more flexible, providing more layout options out of the box and fine-grained control. For those who need greater control over column widths and a host of color, typography, background, and spacing options, GenerateBlocks is a no-brainer.
The Headline and Buttons blocks are essentially recreations of the core Heading and Buttons blocks with all the options that make this plugin useful. Plus, the blocks have an extra icon option, which allows users to choose between entering custom SVG code or selecting from a predefined list of general and social icons. This is a nice touch that I would like to see in core WordPress.
The thing that makes the four plugin blocks so flexible is the bounty of block options. For every block, you will find most of the following options tabs with numerous fields under each:
- Typography
- Spacing
- Colors
- Background Image
- Background Gradient
- Advanced (extra options for the core tab)
- Icon
The plugin also provides options based on desktop, tablet, and mobile modes. This allows end-users to make changes based on the screen size of the website visitor.
If I had one other nit-pick about the plugin it would be that its color options do not take advantage of the theme-defined color palette. For design consistency, it would be nice to be able to use those without using a color picker or entering the hex code. Update: there is a “Show Color Palette” button that does this, but it was not apparent that it would provide access to my theme colors.
Final Thoughts
Would I recommend the plugin? Absolutely.
I would make sure to note the full-width Container block issue with that recommendation. If you are using this with a theme other than GeneratePress, you will need to have a solution for handling full-width sections. For me, this is the most vital piece of what is essentially a layout builder, and it failed to live up to that expectation.
However, one issue does not discount the usefulness of what the developer has built. It is a solid plugin. Under the hood, it is a well-coded and documented piece of software. I have no doubt that it will be serving many more users in the years to come and will only continue to improve.


 Abandoned carts are one of the worst problems you’ll have to deal with as an online store owner. And while you can’t completely eliminate the problem, the good news is that you can drastically reduce the number of abandoned carts you have to deal with. If you’re using WooCommerce to sell online, there are a […]


 In this review article we’ll compare Sendinblue vs Mailchimp – two popular email marketing and marketing automation platforms. Traditionally, both Sendinblue and Mailchimp started out as email marketing tools, and gradually evolved into holistic all-in-one marketing platforms. Today, both these platforms have a wide range of features including marketing automation, behavioral targeting and customer relationship […]
 Traffic is the lifeblood of a successful website. Without traffic, you have a good-for-nothing website, no matter how good your offer or product is. And it’s not just any traffic, but the right kind of traffic. In other words, you need targeted traffic to grow your website hence business. But to drive targeted traffic, you need […]

 When you sit down to watch a game of football, you can easily spot the superstars from a mile away. Their stylish and polished game sets them apart, and often change the outcome of the match. Fans and managers love them because when they play, they are at their absolute best. The same applies to […]
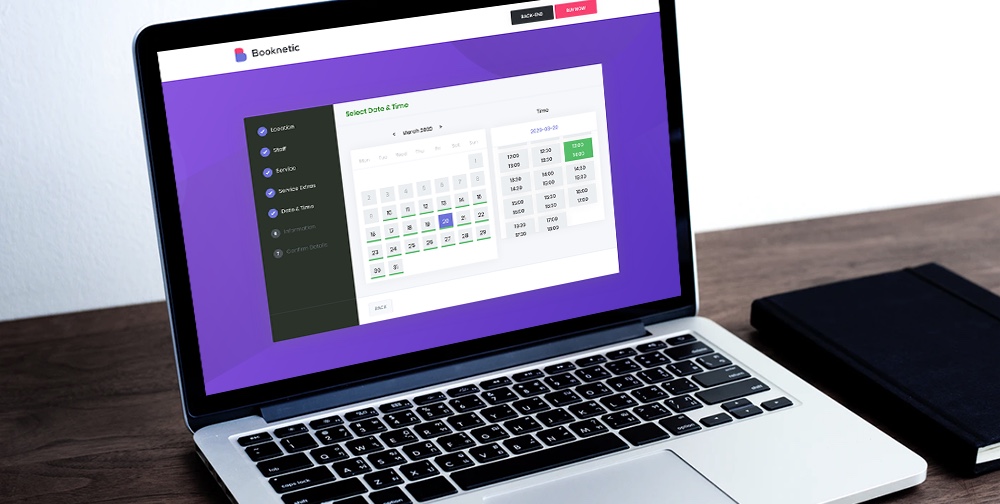 Adding a robust booking system to your WordPress site is arduous for beginners and pros alike. If you were to code a booking system from scratch, it would probably take months, if not years. And it would be an exercise in futility, especially when the wheel has already been invented, and there exist amazing plugins […]
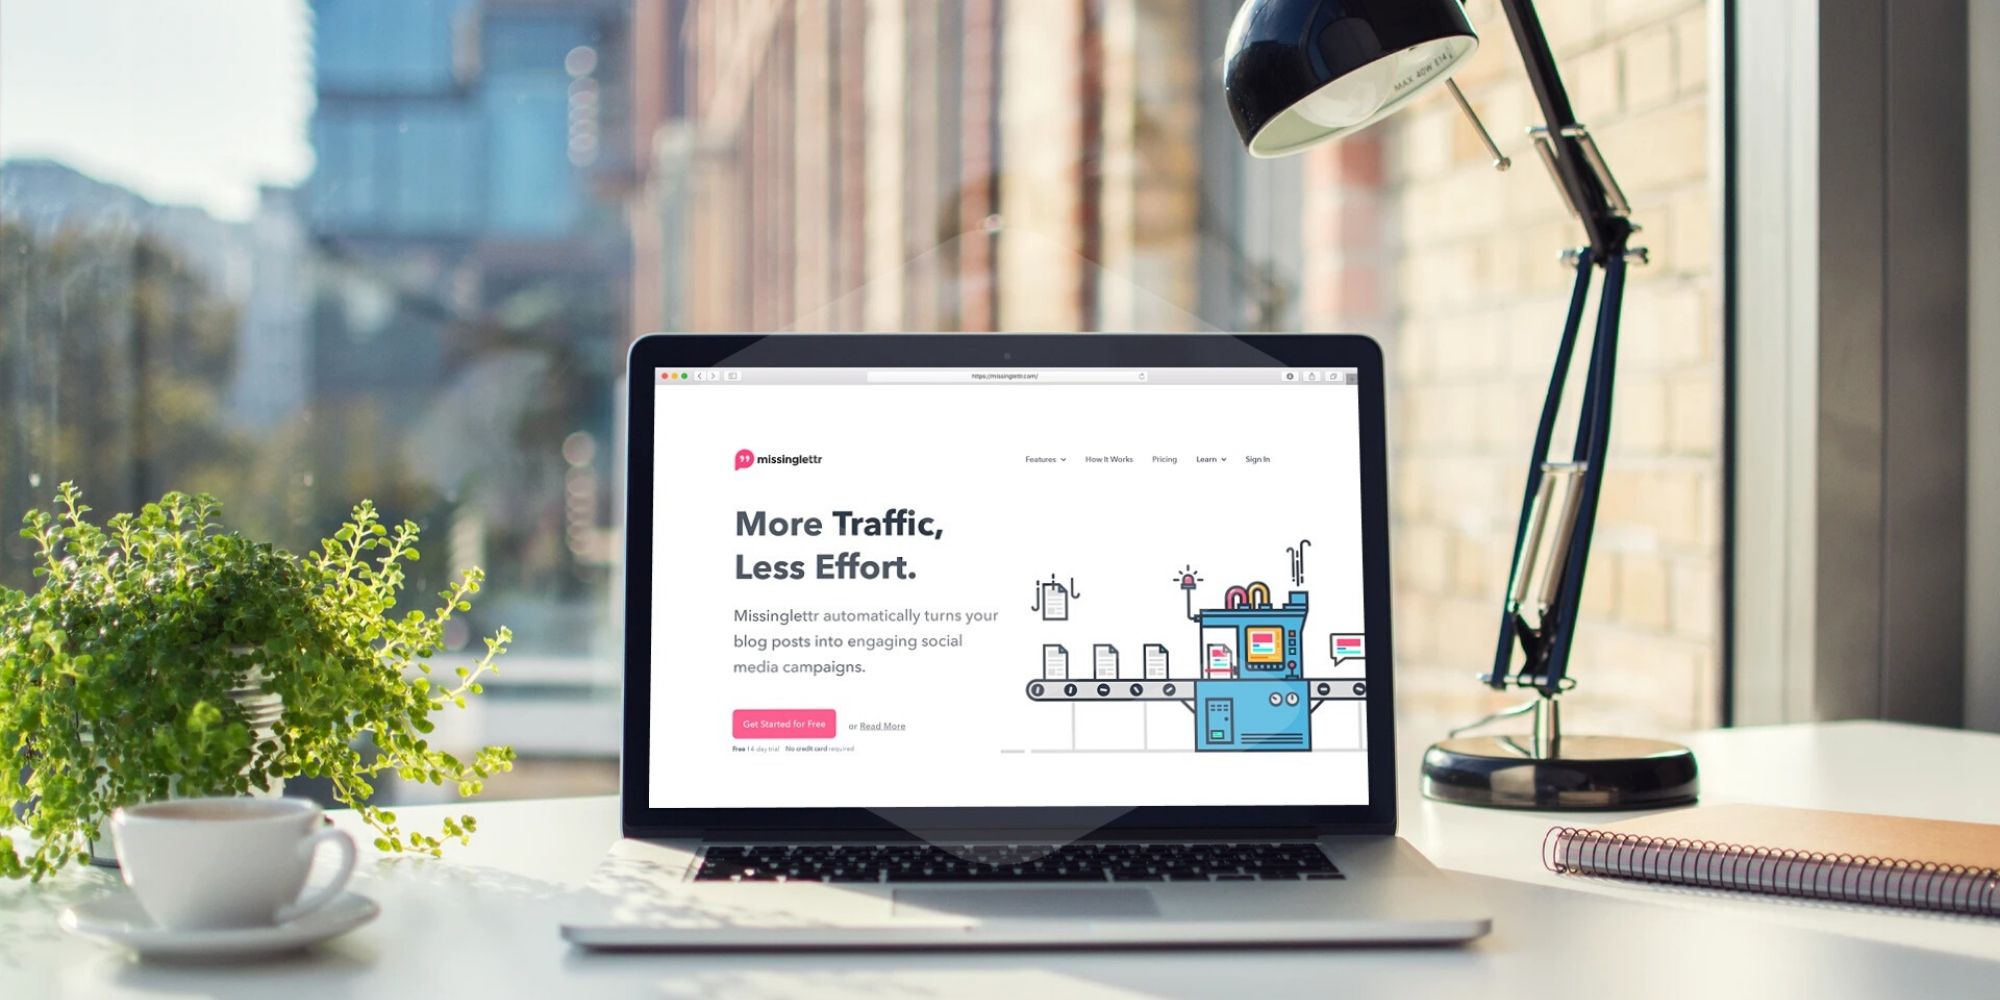 In this article we will review Missinglettr – an easy-to-use, fully automated, content repurposing tool for social media. Given that reach of organic social media posts are just around 1-2%, it only makes sense to periodically share your existing content on these platforms. However, re-creating social media posts from the same old content is a […]
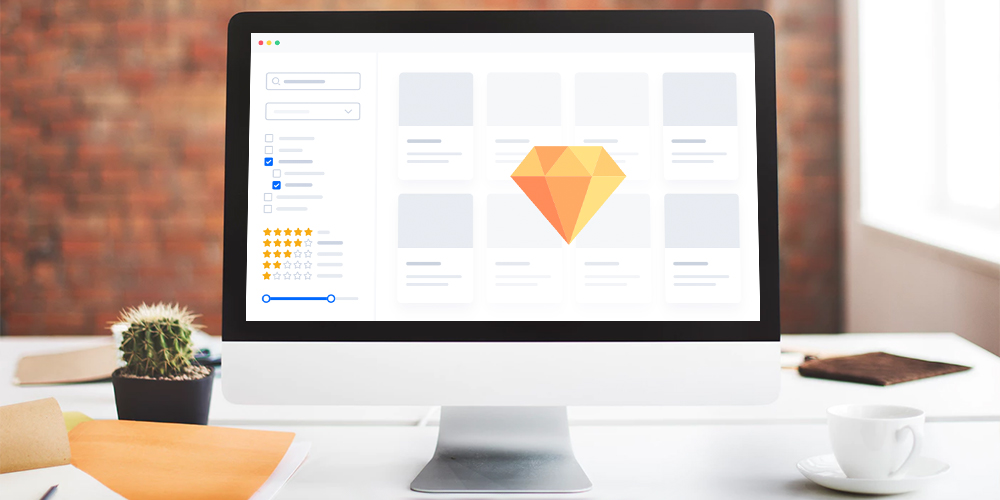
 For such a robust and popular WordPress gallery plugin, I was baffled to find only a few posts covering NextGEN Gallery. I mean, most of the articles were old and caught an era when the plugin was still in its infancy. Today, things are different. NextGEN Gallery has bloomed into a fully-fledged WordPress gallery plugin. […]