Better Collaboration With Pull Requests

This article is part of our “Advanced Git” series. Be sure to follow us on Twitter or sign up for our newsletter to hear about the next articles!

In this third installment of our “Advanced Git” series, we’ll look at pull requests — a great feature which helps both small and larger teams of developers. Pull requests not only improve the review and the feedback process, but they also help tracking and discussing code changes. Last, but not least, pull requests are the ideal way to contribute to other repositories you don’t have write access to.

Advanced Git series:

  • Part 1: Creating the Perfect Commit in Git
  • Part 2: Branching Strategies in Git
  • Part 3: Better Collaboration With Pull Requests
    You are here!
  • Part 4: Merge Conflicts
    Coming soon!
  • Part 5: Rebase vs. Merge
  • Part 6: Interactive Rebase
  • Part 7: Cherry-Picking Commits in Git
  • Part 8: Using the Reflog to Restore Lost Commits

What are pull requests?

First of all, it’s important to understand that pull requests are not a core Git feature. Instead, they are provided by the Git hosting platform you’re using: GitHub, GitLab, Bitbucket, AzureDevops and others all have such a functionality built into their platforms.

Why should I create a pull request?

Before we get into the details of how to create the perfect pull request, let’s talk about why you would want to use this feature at all.

Imagine you’ve just finished a new feature for your software. Maybe you’ve been working in a feature branch, so your next step would be merging it into the mainline branch (master or main). This is totally fine in some cases, for example, if you’re the only developer on the project or if you’re experienced enough and know for certain your team members will be happy about it.

By the way: If you want to know more about branches and typical branching workflows, have a look at our second article in our “Advanced Git” series: “Branching Strategies in Git.”

Without a pull request, you would jump right to merging your code.

However, what if your changes are a bit more complex and you’d like someone else to look at your work? This is what pull requests were made for. With pull requests you can invite other people to review your work and give you feedback. 

A pull request invites reviewers to provide feedback before merging.

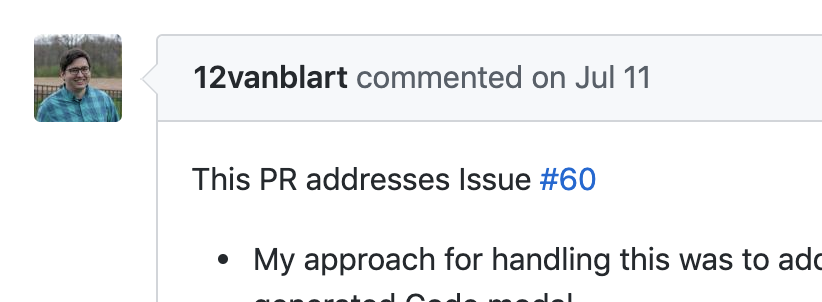
Once a pull request is open, you can discuss your code with other developers. Most Git hosting platforms allow other users to add comments and suggest changes during that process. After your reviewers have approved your work, it might be merged into another branch.

A pull request invites reviewers to provide feedback before merging.

Having a reviewing workflow is not the only reason for pull requests, though. They come in handy if you want to contribute to other repositories you don’t have write access to. Think of all the open source projects out there: if you have an idea for a new feature, or if you want to submit a patch, pull requests are a great way to present your ideas without having to join the project and become a main contributor.

This brings us to a topic that’s tightly connected to pull requests: forks.

Working with forks

A fork is your personal copy of an existing Git repository. Going back to our Open Source example: your first step is to create a fork of the original repository. After that, you can change code in your own, personal copy.

Creating a fork of the original respository is where you make changes.

After you’re done, you open a pull request to ask the owners of the original repository to include your changes. The owner or one of the other main contributors can review your code and then decide to include it (or not).

Two red database icons with gold arrows pointing at opposite directions between the database. The database on the left as a lock icon next to it that is circled in gold.

Important Note: Pull requests are always based on branches and not on individual commits! When you create a pull request, you base it on a certain branch and request that it gets included.

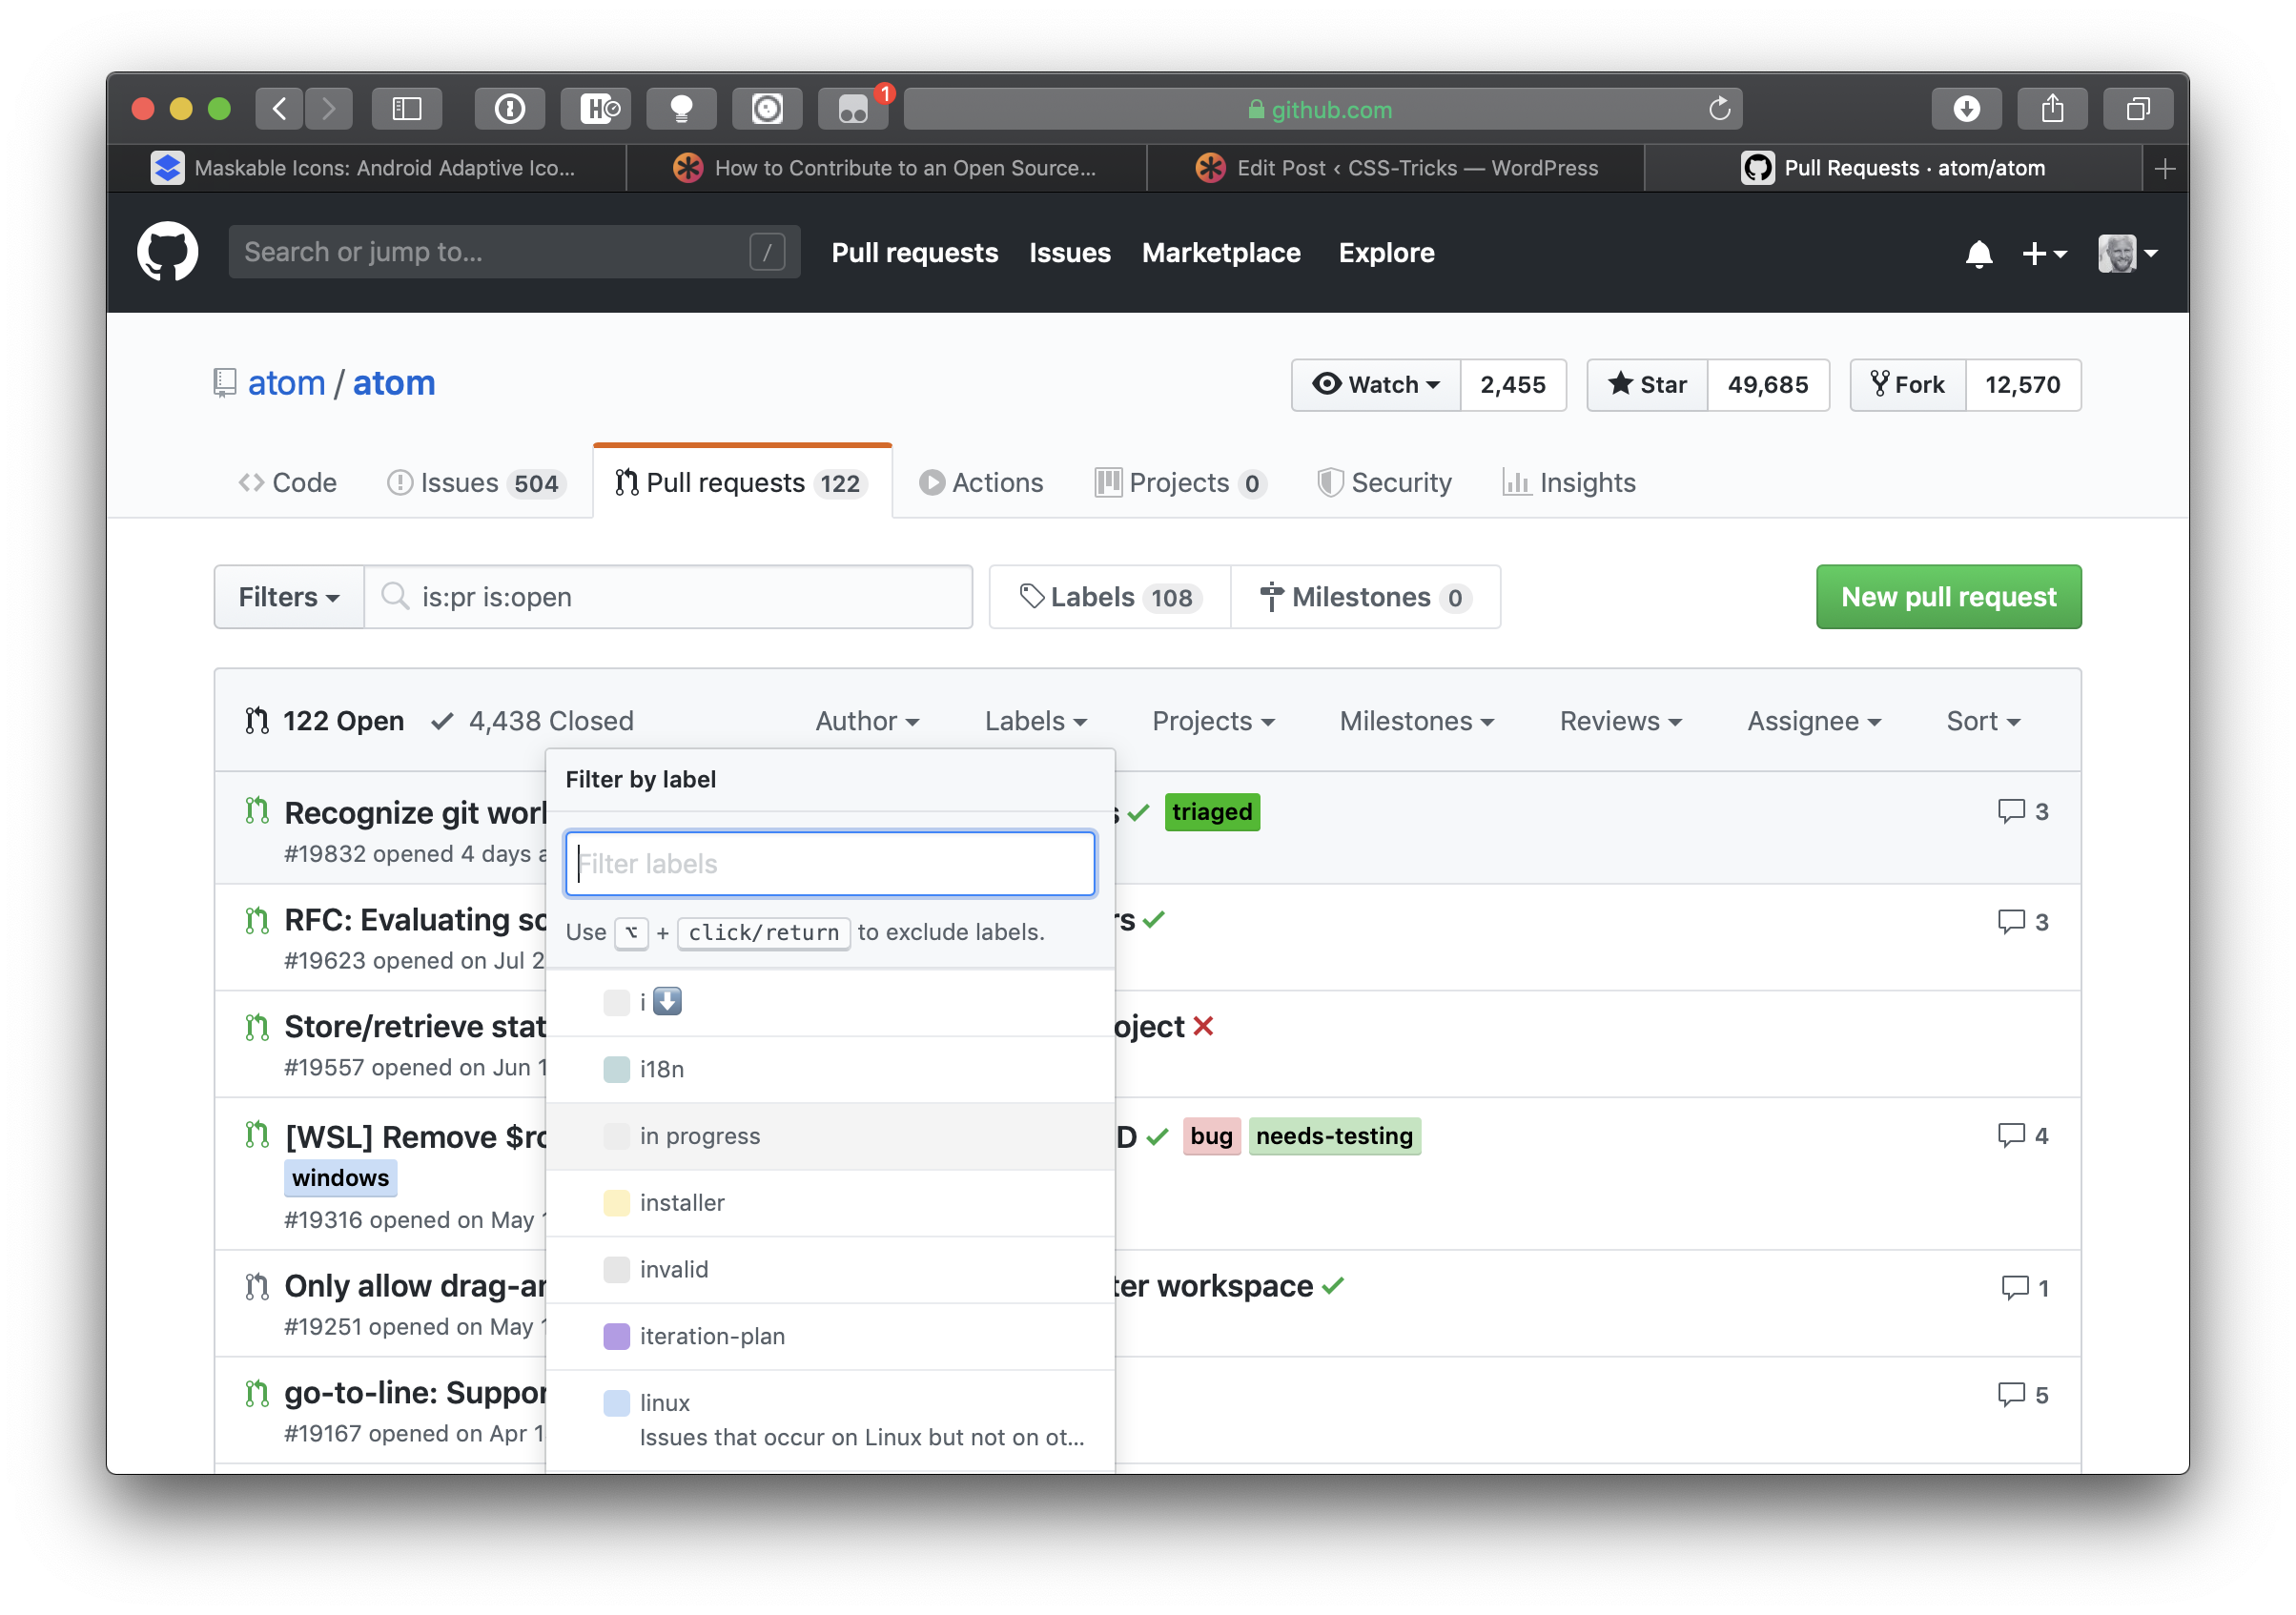
Making a reviewer’s life easier: How to create a great pull request

As mentioned earlier, pull requests are not a core Git feature. Instead, every Git platform has its own design and its own idea about how a pull request should work. They look different on GitLab, GitHub, Bitbucket, etc. Every platform has a slightly different workflow for tracking, discussing, and reviewing changes.

A layered collage of Git-based websites. Bitbucket is on top, followed by GitHub, then GitLab.

Desktop GUIs like the Tower Git client, for example, can make this easier: they provide a consistent user interface, no matter what code hosting service you’re using.

Animated screenshot of a pull request in the Tower application. A pull requests panel is open showing a pull request by the author that, when clicked, reveals information about that pull request on the right. The app has a dark interface.

Having said that, the general workflow is always the same and includes the following steps:

  1. If you don’t have write access to the repository in question, the first step is to create a fork, i.e. your personal version of the repository.
  2. Create a new local branch in your forked repository. (Reminder: pull requests are based on branches, not on commits!)
  3. Make some changes in your local branch and commit them.
  4. Push the changes to your own remote repository.
  5. Create a pull request with your changes and start the discussion with others.

Let’s look at the pull request itself and how to create one which makes another developer’s life easier. First of all, it should be short so it can be reviewed quickly. It’s harder to understand code when looking at 3,000 lines instead of 30 lines. 

Also, make sure to add a good and self-explanatory title and a meaningful description. Try to describe what you changed, why you opened the pull request, and how your changes affect the project. Most platforms allow you to add a screenshot which can help to demonstrate the changes.

Approve, merge, or decline?

Once your changes have been approved, you (or someone with write access) can merge the forked branch into the main branch. But what if the reviewer doesn’t want to merge the pull request in its current state? Well, you can always add new commits, and after pushing that branch, the existing pull request is updated.

Alternatively, the owner or someone else with write access can decline the pull request when they don’t want to merge the changes.

Safety net for developers

As you can see, pull requests are a great way to communicate and collaborate with your fellow developers. By asking others to review your work, you make sure that only high-quality code enters your codebase. 

If you want to dive deeper into advanced Git tools, feel free to check out my (free!) “Advanced Git Kit”: it’s a collection of short videos about topics like branching strategies, Interactive Rebase, Reflog, Submodules and much more.

Advanced Git series:

  • Part 1: Creating the Perfect Commit in Git
  • Part 2: Branching Strategies in Git
  • Part 3: Better Collaboration With Pull Requests
    You are here!
  • Part 4: Merge Conflicts
    Coming soon!
  • Part 5: Rebase vs. Merge
  • Part 6: Interactive Rebase
  • Part 7: Cherry-Picking Commits in Git
  • Part 8: Using the Reflog to Restore Lost Commits

The post Better Collaboration With Pull Requests appeared first on CSS-Tricks. You can support CSS-Tricks by being an MVP Supporter.

WorkerB Developer Automation From LinearB

“The most powerful tool we have as developers is automation.”
—Scott Hanselman

Developers automate everything about how we write, test and ship code. But when it comes to the process of how we work together as a team on projects, it’s highly manual.  

Those “Pesky” Pull Requests are Totally Worth It

Pretty much everyone does code reviews. They’ve been around a long time. I remember back in my Borland days when the Chief Scientist would come in every morning and review all the code that had been checked into the Subversion(!) repository the previous day and send emails out to folks whose code wasn’t up to snuff. That’s old school.

Slightly less old school? Saving all the check-ins up until Friday for the Dev Leads and/or Dev Managers to review and approve. Both of these techniques leave a lot to be desired -- the main thing being a complete lack of interaction between the developer, the code, and the reviewer. 

Why Code Reviews Should Be Your Favorite Activity

The code review process is an essential key to maintaining and improving product quality. But it can also be a bottleneck, an unnerving activity for your development team, and may reduce your development productivity. Therefore, you should care about the best practices of the code review process outlined in this article.

Why Should You Care About Code Reviews? 

Most development teams already know the importance of code review activity as practitioners. This section tells C-Levels, Product Managers, and Engineering Managers that investing in code review rewards you with better products and better development teams.

API Testing Using Python Script

Are you trying to test API in your project without a tool? Here comes the Requests library, one of the powerful and standard libraries in Python.

Overview:

In this article, we will understand how to do API testing using simple python scripts. We shall make use of the Requests library of python to handle HTTP requests. The simple import of this library and any IDE ( eclipse,pycharm, IntelliJ) would suffice, and there is no need for any specific tool to accomplish API testing.

How Are Your Pull Requests?

Pull requests shouldn't feel like pulling teeth

My college life started in the town of Boston, MA — about 950 miles from my hometown in the Midwest. Since I was living in a large city, paying for parking for my automobile was not an option. My sister and her friend drove me to Boston and helped get me unloaded before headed back to the Midwest. I was grateful.

This was the late 1980s.

How to Contribute to an Open Source Project

The following is going to get slightly opinionated and aims to guide someone on their journey into open source. As a prerequisite, you should have basic familiarity with the command line and Git. If you know the concepts and want to dive right into the step by step how-to guide, check out this part of the article.

Truly, there is no one way to contribute to an open source project, and to be involved often means more than code slinging. In this article, though, we’re going to focus on the nitty-gritty of contributing a pull request (PR) to someone else’s project on GitHub.

Let's set the stage...

You come across someone's project on Github and you love it! You may even decide to use it in your own project. But there’s one small thing you notice... it could be a bug. It could be an enhancement to what’s already there. Maybe you looked through the code and found a nice, optimized way of writing things that’s a little more legible, even as small as an extra indentation in the code.

Here are some initial suggestions and instructions on where to go from here.

Look for a CONTRIBUTING.md document or Contributing Guide in the documentation

Many open source projects know that other people might want to contribute. If they find themselves answering the same question again and again, this document intends to make it easier to get everyone on the same page.

Some things you might find in a Contributing guide:

  • Style guidelines
  • Prerequisites for submitting a PR
  • How to add your change to their documentation
  • A checklist for contribution
  • Explaining the project’s architecture and setup

This document can be as simple as a few notes, or it can be so robust that it takes you a little while to read through it all (like Atom’s Contributing guide, for example).

For larger projects, it makes sense to communicate contributing guidelines up front because PRs and issues can pile up and be a real drag on a maintainer's time, sorting through contributions that might be out of the project's scope. Make sure to take some of your own time reading through this guide if it exists because your PR will require some of the maintainer's time as well.

Look through the existing issues and PRs

Before adding a new issue or submitting a PR, it’s good to check what else is out there. You might find someone has already asked about the same thing, or submitted something similar. You can check in the project's search box — I usually search through issues that are both open and closed, as it’s important to know if someone already raised my concern and perhaps the maintainer decided to go in another direction. Again, it's about saving both you and the maintainer time.

Submit an issue

Submitting issues is a core part of the PR submission process. They provide an opportunity to articulate the situation, establish context around it, and provide a forum for discussion that can be attached to the PR itself.

When submitting an issue, I like to write out what my concern is and then re-read it as if I was on the receiving end. People are human — even if what you say is technically correct, you’re not likely to get buy-in for your idea if your tone is off-putting. Consider this: you may be asking for someone to do a lot of work in their spare time. If someone asks you to do work on a Saturday, are you more likely to do so if they ask respectfully with condescension? You get the picture.

When submitting an issue, make sure you give them all the details they need to get the work done. Some things you might note:

  • If it’s a bug, then what environment you’re seeing the problem in? Is it development or production? Perhaps somewhere else?
  • If it’s a feature request, then explain the problem. Sometimes framing this from the perspective of the end user in the form of user stories can be helpful, both to conceptualize the situation and abstract it from any personal feelings.
  • If it’s a general question, then state that up front so the maintainer can avoid spending time trying to figure out if you’re asking for a bug or a feature.
  • If you’d like to submit a PR to improve on the issue, mention that you’d like to do this, then ask permission to proceed (because sometimes maintainers have other items planned you may be unaware of).

Make considerations before starting work

You're probably eager to start working on your PR by this point. But first, there are still a few customary things to check off before you dig in.

Ask first

I’m a big fan of people asking in an issue if a PR makes sense before they work on one. I don’t hold it as a strict rule, but sometimes I can save them buckets of time and going in the wrong direction if we can clarify what we both want together first. It also helps others know to not implement the same thing (assuming they, too, look through open and closed PRs.

Use labels

If you do submit an issue and everyone agrees a PR is a good idea, then it’s nice for you (or the owner of the repo) to add the label in progress. You can search labels so it’s really clear to everyone you’re working on it.

Work in small chunks!

As a maintainer, it’s frustrating when someone put in a lot of work and submits a giant honking PR that does 10 different things. It’s really tough to review, and inevitably, they’re doing six things you want, and four things you don’t. Not only that, it’s usually spread out over multiple files which is difficult to untangle. I’ve definitely closed PRs with some high-quality code I would like just because it would take forever for to review and manage it. (I will communicate that this is the issue if they would like to resubmit the work as separate PRs, though.)

In my opinion, you have about 1,000% more chance of getting your PR merged and your time spent honored if you split things over multiple, smaller PRs. I love it when people submit a PR per topic. And it can be nice, not required, if each submission is a little spaced out as well to help with the cognitive overload.

Submit your PR

These are the steps I personally use to submit a PR. You can get this done other ways, of course, but I have found the following to be effective in my experiences. Also, anything in the commands that are written in ALL CAPS is information you will need to change for your use.

First off, go to the repo, and fork a copy of the project to your personal GitHub account. Clone it locally and change directory (cd) to where it's located. (I use HTTPS, but SSH is totally fine as well.)

git clone https://github.com/YOUR-USERNAME/YOUR-FORKED-REPO.git
cd into/cloned/fork-repo

Next up, add a remote upstream to the original branch. This means it will share a connection with that original branch so that you can keep in sync and pull down any updates to the project when they happen.

git remote add upstream https://github.com/ORIGINAL-DEV-USERNAME/REPO-YOU-FORKED-FROM.git
git fetch upstream

Now you can create a new branch and give it a name that relates to the PR topic. Note that a maintainer might have a specific naming convention in mind that is documented in the repo.

git checkout -b GOOD-FORKIN-NAME

Go forth and work on your changes. Be sure to make good commit messages along the way:

git add -A
git commit -m “ADDING IN A TACO DISPENSER”
git push origin GOOD-FORKIN-NAME

GitHub will see the new fork and prompt you to make the PR, which is a nice, helpful touch. You click the button and fill in details: what issue does it close? you can refer to them by their number and GitHub will automatically associate it:

On the PR:

Shows a referenced issue on a <abbr>PR</abbr>

In the Issue:

Shows what the reference looks like in the issue

What are some of the things to note in the PR? These details help the maintainer understand context. These can be all the changes you made, they can be larger strategy or context.

And you’re on your way! 🎉

You may find you need to keep your fork up-to-date with the remote, and pull their changes into yours. To do so, you would run this command:

git pull upstream master

Props to Christina Solana for her Gist which I’ve used as a reference for years and years now.

Always remember: maintainers are often swamped, sacrificing nights and weekends to keep open source projects active and updated. Being respectful, both in terms of their time, and in tone, can set you up for success in contributing.


Open source can be extremely rewarding! Knowing other people are benefitting and directly using something you contributed can be a great way to give back to the community and learn.

The post How to Contribute to an Open Source Project appeared first on CSS-Tricks.

GitHub Pull Request Integration With Glo Boards

Sometimes your pull requests just need a little extra oomph.

Since the inception of Glo Boards for task and issue tracking, the GitKraken team has continued to add robust features that allow developers to be more productive. And our latest addition is no different. GitKraken Glo Boards now supports linking GitHub pull requests with Glo cards.

You may also like:  Learning Git: What Is a Pull Request?

This feature will allow users to check the status of a pull request and automate moving a card into a new column based on whether a pull request has been opened, closed, or merged.