How To Migrate a WordPress Website

If you have a WordPress (or any other type of) website for any length of time, it’s likely you’ll run into the need to move it to a new host at some point. Figuring out how to migrate a WordPress website is one of those site maintenance tasks a lot of people would rather avoid as it can seem unruly, unpredictable, and time-consuming.

And sometimes, it really is all of those things. However, if you plan ahead and have a good set of instructions to walk you through the process, you should be good to go.

2100+ WordPress Themes, Plugins, Templates: ONLY $16.50 per Month
WordPress Themes

WP Themes
1,200+ Themes

WordPress Plugins

WP Plugins
500+ Plugins

WP Template Kits

WP Template Kits
250+ Template Kits

DOWNLOAD NOW
Envato Elements

Why Migrate?

Site owners find they need to migrate WordPress sites for a number of different reasons. A lot of the time, it’s a matter of finding a better hosting deal elsewhere. The promise of saving money is always enticing. Another common reason to migrate your site is due to a lack of satisfaction with your current service provider. Whether they offer poor customer service or slow server response times, there are many reasons to switch.

Here are a few more common reasons people decide to migrate a WordPress website:

  • Seeking better site performance. If your site is currently too slow, an upgrade to a new host might be the right call.
  • A need for greater bandwidth. If your site is growing rapidly, migrating to a host that can handle your increased traffic needs is a must.
  • A need for more storage space. If your site is multimedia-heavy, migrating to a host with greater storage capacity might be the right choice for you.
  • More hands-on customer support. If you run an extensive website with a lot of moving parts (customers, clients, accounts, etc), the need for a more responsive customer support team might be more pronounced and necessary.
  • Better pricing. Sometimes, the price tag tells the whole story. If you find a better hosting deal elsewhere, migrating your WordPress site might be your best bet.
  • Expanded feature set. If your current host is lacking in features, you may find you need to migrate to one that offers more.

With the “why” spelled out, let’s move onto the “how.” We’ll cover how to manually migrate WordPress, along with some plugins that will do the hard work for you.

A truck on a street.

How to Manually Migrate a WordPress Site

You will need an FTP client to complete this process. A few options include:

Step 1: Backup Your Site

Before you can move your site anywhere, you need to back it up. This means going through the process of downloading every single file of your WordPress site from a remote location. You will need an FTP client for this. Though I typically use FileZilla for this process, I’ll keep the steps fairly generic. Apply as needed to your chosen FTP client:

  1. Connect to your old site’s server.
  2. Go to the public_html folder.
  3. Select all files in this folder.
  4. Download the files.

Next, you’ll need to create and download a backup of your site’s MySQL database as well. To do this, you’ll need to go to the control panel of your web host. Most of the time, this will be cPanel. Go to phpMyAdmin and select the database associated with your WordPress site. Click Export and the database will be downloaded to your computer.

If you’d rather have this process be somewhat automated, go to cPanel (if your host supports it) and access the File Manager. In here, you can create a .zip file that contains all of your site’s files and its database for easy downloading. If you’re not super familiar with FTP, this might be the preferred method to use.

Step 2: Upload Your Files to the New WordPress Host

The next step to migrate a WordPress website is to upload your site’s files to the new host. You’ll need your trusty FTP client again. Once connected, you’ll need to go to the public_html folder on this new hosting account. Next, you’ll need to upload all the files from your site – make sure to decompress them first!

Step 3: Upload Your WordPress Database to the New Host

Once the files are uploaded, you’ll need to upload your WordPress MySQL database, too.

To do this, go to the cPanel or other control panel connected to your new hosting account. There should be a section specifically for MySQL databases. From there you’ll need to:

  1. Create a new database. Make note in a safe place of the database name, username, and password associated with this new database.
  2. Go to phpMyAdmin. The new database should be listed. Select it.
  3. Click Import. Then, select the MySQL database file you’d previously downloaded. Upload it and save your settings.

Step 4: Edit the wp-config.php File

Now that everything has been uploaded to the new host, you’ll need to do some fine-tuning to ensure all of the new host’s settings work with your site. This will require using your FTP client again, but this time, find the wp-config.php file.

Once you’ve located this file, you’ll need to modify some code. According to SiteGround, you need to locate this section of code within the file:

/** The name of the database for WordPress */
define('DB_NAME', 'user_wrdp1');

/** MySQL database username */
define('DB_USER', 'user_wrdp1');

/** MySQL database password */
define('DB_PASSWORD', 'password');

/** MySQL hostname */
define('DB_HOST', 'hostname');

Once you’ve located this section of code, you need to replace bits of it with information about the WordPress database you created. Here’s what you need to replace:

  1. Change the database name, if necessary
  2. Set username to your database’s username
  3. Set password to your database’s password
  4. Swap out hostname for localhost or a custom name provided by your host

Save the changes you made. In a lot of cases, this will be the last step you need to take. Your site should now be up and running on the new host.

Step 5: Update the DNS

In some cases, you’ll need to update Domain Name Server or DNS information on your new host. This will ensure that when someone types in your site’s URL, they wind up on your actual site and not a blank page. This is common practice when you’re switching domain servers, hosting plans, and hosting companies.

According to WPEngine, you’ll need DNS info about your new host and access to the registrar from whom you bought your domain name in the first place. Specifically, you’ll need:

  1. CNAME record
  2. A NAME for your site.

Input this info in your domain registrar account. This can sometimes take up to a few days to complete processing.

11,000+
Icons
20,000+
Illustrations
Envato Elements

DOWNLOAD NOW
14,000+
UI & UX Kits
16,000+
Web Templates

Plugins for Migrating WordPress Sites

If all of the above sounds like a lot of work, you can rely on plugin-based solutions to do the heavy lifting for you. These plugins are sometimes referred to as “cloning” plugins but for our purposes, we’re considering them all methods of migrating WordPress websites.

Now, you will still likely need to adjust a few settings on your new site server manually, but these plugins will definitely take care of the backing up, exporting, and importing processes.

Duplicator

Duplicator WordPress Plugin

The Duplicator plugin makes it much easier to migrate WordPress by streamlining the process. It works by making click-of-a-button copies of your site’s files and database. Then you can download all of this information in a handy .zip file with minimal effort.

All-in-One WP Migration

All-in-One WP Migration WordPress Plugin

Another great option is the All-in-One WP Migration plugin. This one allows you to make backups of your site’s content and database as well and import this information over to your new host, all from within the plugin.

WP Engine Automated Migration

WP Engine Automated Migration WordPress Plugin

Our last recommendation is the WP Engine Automated Migration plugin. This one copies your files and WordPress database and allows you to upload them to your new site server with ease. So long as you have your hosting account details on hand, the plugin will handle much of the site migration process for you. Just note that this plugin only works with the WP Engine hosting provider.

Migrate Your Site Now

Whether you decide to migrate a WordPress site manually or you opt for the plugin route, you hopefully now have a stronger understanding of what the process entails, how it works, and what you need to do to prepare. Again, it might seem like a lot of work on the surface but the end result is often well worth it when you end up with a better home for your website.

Best of luck!

Pure CSS Animation of Blog Post Excerpt on Hover

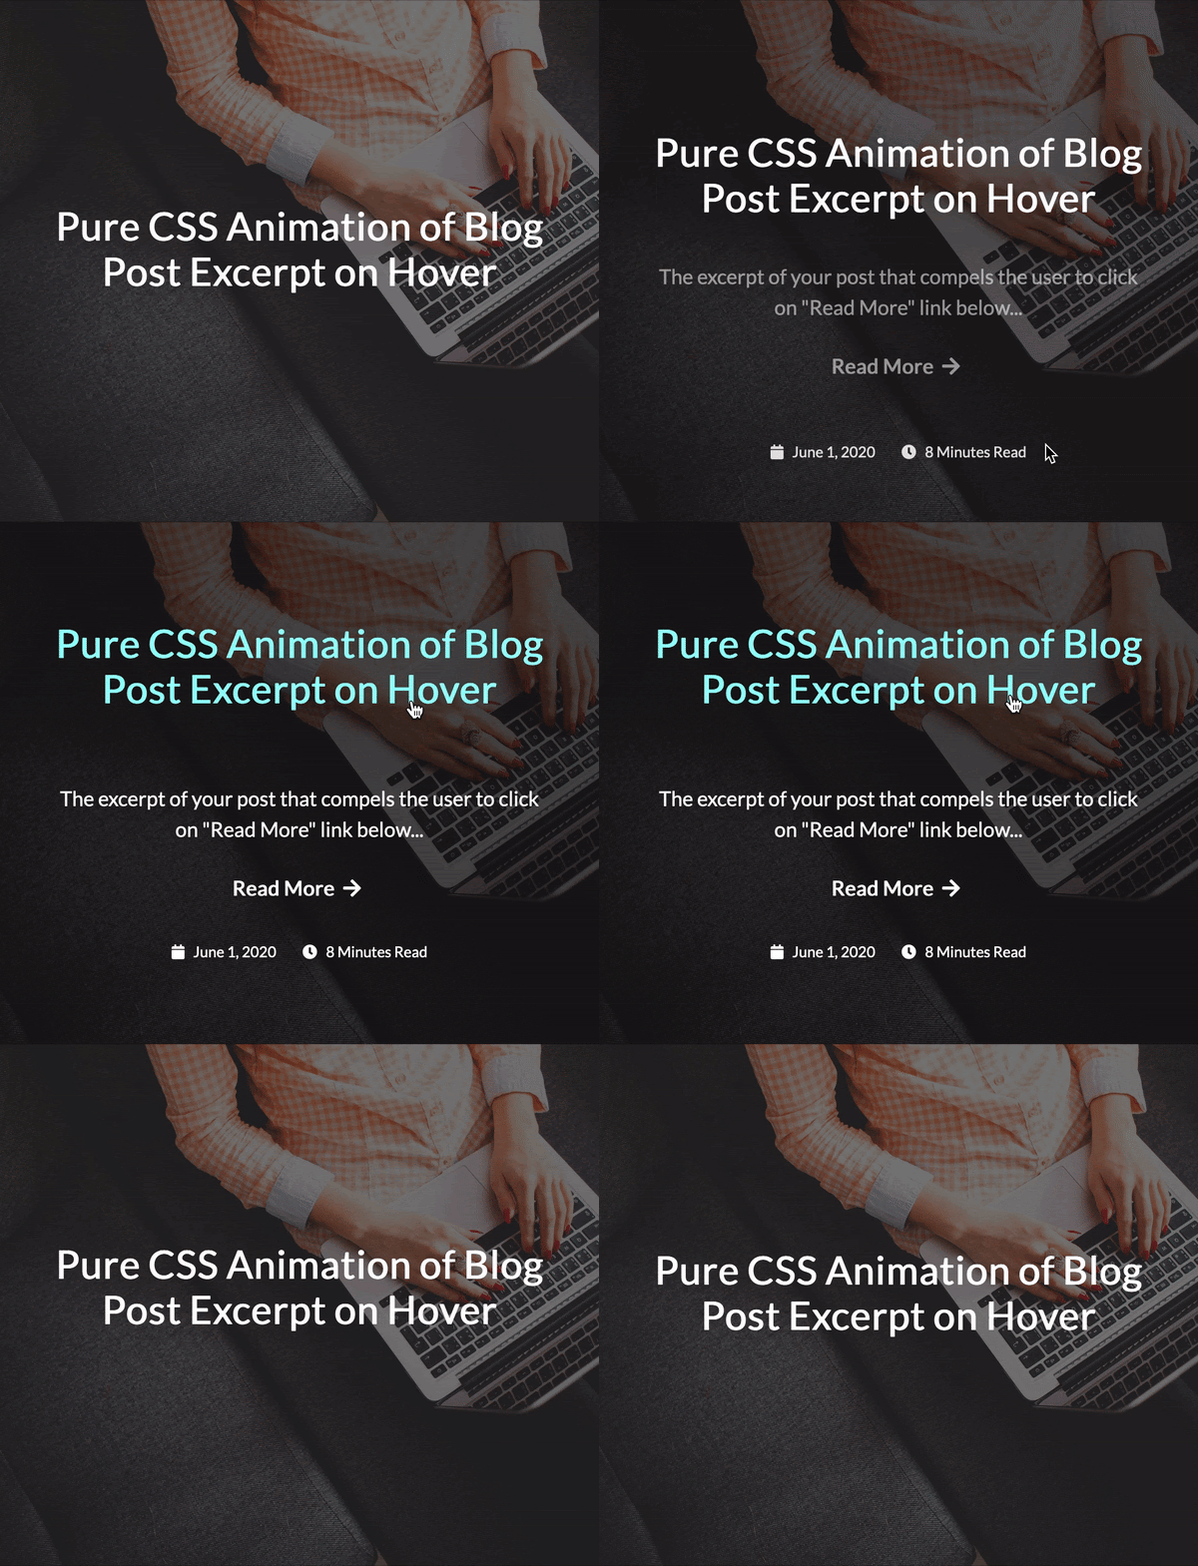
In this tutorial, we’ll make this cool animation of revealing the blog post excerpt on hover using pure CSS and no JavaScript. The GIF below shows what you will be able to create by the end of this. You should have basic knowledge of HTML and CSS to follow the tutorial.


Pure CSS Animation


This is a simple and neat animation that can be used on a page that lists blog posts. Each post on the list (or grid) shows only the featured image with the title at first. When you hover anywhere on the image, the background zooms in and the title slowly moves up revealing the excerpt, a “read more” link, the published date and time to read. Let’s get started!

Your Web Designer Toolbox

Unlimited Downloads: 500,000+ Web Templates, Icon Sets, Themes & Design Assets
Starting at only $16.50/month!


Setting up

Create a blank HTML document and name it index.html. Add the basic HTML skeleton. If you use Visual Studio Code, all you need to do is type “!” and hit enter. You will end up with this.

<!DOCTYPE html>
<html lang="en">
<head>
   <meta charset="UTF-8">
   <meta name="viewport" content="width=device-width, initial-scale=1.0">
   <title>Document</title>
</head>
<body>
  
</body>
</html>

Create your stylesheet and name it styles.css. Link the stylesheet to your HTML document below the <title> tag using

<link rel="stylesheet" href="styles.css" type="text/css">

I have used ‘Lato’ font for the text and ‘Font Awesome’ for the icons. So add the following two lines below the title tag, before your stylesheet line to be able to use these fonts.

<link href="https://fonts.googleapis.com/css2?family=Lato&display=swap" rel="stylesheet">
<link href="https://cdnjs.cloudflare.com/ajax/libs/font-awesome/5.12.0-2/css/all.min.css" rel="stylesheet">

HTML & CSS

Each developer has a different way of working. Some developers create the complete HTML first and then get started with CSS. However I prefer to do both simultaneously because it helps me see the result taking shape bit by bit. To make it easier for you, I’ve split the next process into two parts.

Part 1

In the first part, we will achieve these:

  1. Create a blog post item
  2. Set the background image
  3. Zoom the image on hover
  4. Add a dark background overlay on the image which darkens more on hover

HTML

First add a div within the opening and closing body tags with a class "wrapper". This acts as a container. Within that comes a single blog post item in an article tag. Give it a class name "post".

<div class="wrapper">
   <article class="post">
      
   </article>
</div>

The background image cannot be added to this article element directly because we need to apply the zoom effect. Hence let’s create an empty div inside the article just for this.

<div class="post-bg"></div>

If you open this up on your browser, you will see nothing yet! So, it’s time for some CSS.

CSS

Add these basic styles into styles.css:

body{
   font-family: 'Lato',sans-serif;
   line-height: 1.5;
}
a{
   color: #fff;
   text-decoration: none;
}
a:hover{
   color: #b1fffa; /* A bright green color */
}
.wrapper{
   margin: auto; /* This is to center the content on page */
   width: 1100px; /* You can change this value for smaller screens using media queries */
   padding: 40px;
}

Next, add styles to the article element:

article.post{
   position: relative;
   width: 515px; /* You can change this value for smaller screens using media queries */
   height: 450px; /* Height is required */
   overflow: hidden;
}

The position property needs to be set because we will be absolutely positioning its child elements – the title, excerpt and other text. overflow: hidden is to make sure that this block doesn’t expand when the child background div is transformed to give the zoom effect. You will understand this in just a minute.

We need to now add styles to the div we placed for our background image.

.post-bg{
   width: 100%;
   height: 100%;
   background-image: url('https://images.pexels.com/photos/267569/pexels-photo-267569.jpeg?auto=compress&cs=tinysrgb&dpr=2&h=750&w=1260');
   background-position: center;
   background-size: cover;
   transition: all .7s;
}

I have used a direct link of an image from pexels.com. You can use your own image. The CSS transition property is used to set the properties that need to animate (in our case it is all) and the time for transition ( we have set it to 0.7 seconds). Refer to CSS transitions on w3schools.com for a more detailed explanation.

Here comes the code snippet used for the zoom effect:

.post:hover .post-bg,
.post:focus .post-bg {
   transform: scale(1.1);
}

Now check your browser. And if you got everything right, you will see the blog post image and when you take your mouse on it, the image zooms.

Pure CSS Animation of Blog Post Excerpt on Hover

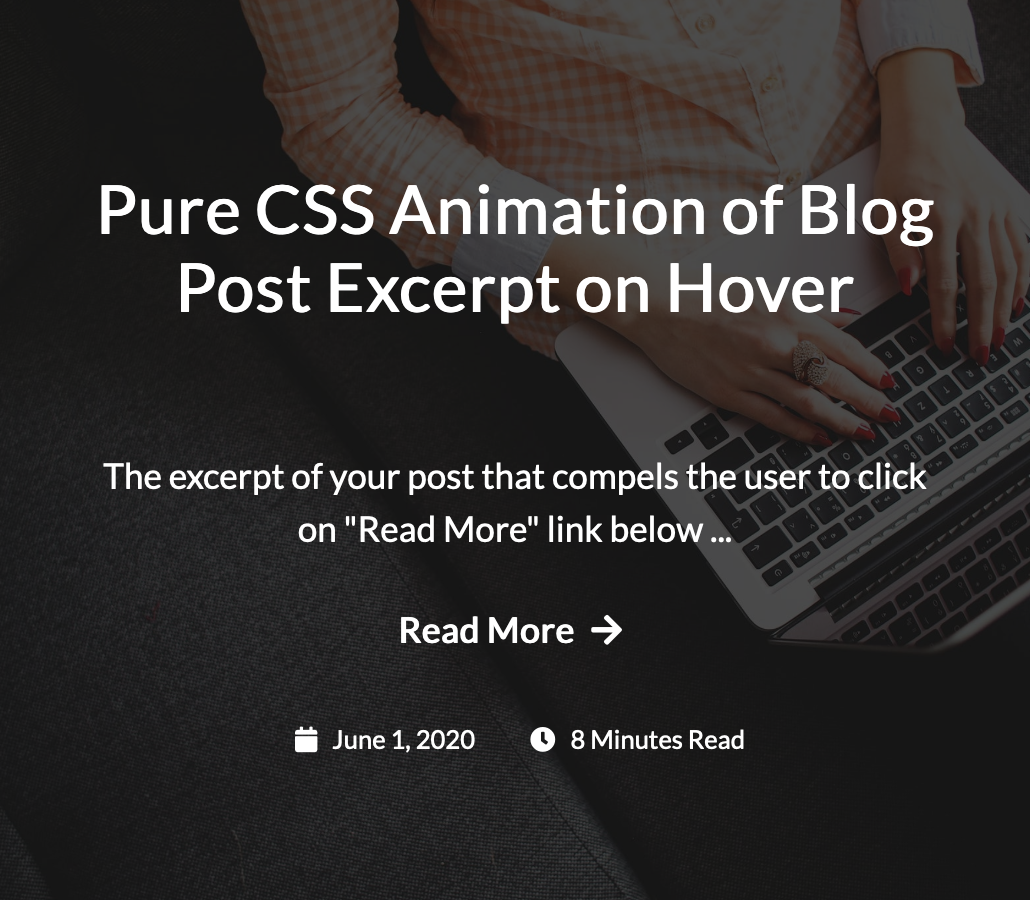
As you can see in the CSS above, we are actually just increasing the size (using transform) of .post-bg div by 1.1 times when it’s parent element is hovered/focused. But since the parent’s overflow property is set to hidden, you feel the image is being zoomed.

Next, if you observe carefully, there’s a dark background overlay over this image. And on mouse hover, the overlay darkens further. To add this overlay, we need to use ::after to create a pseudo element and give styles as follows.

.post-bg::after {
   content: '';
   background: rgba(0, 0, 0, 0.5);
   width: 100%;
   height: 100%;
   position: absolute;
   top: 0;
   left: 0;
   transition: all .7s;
}

The position:absolute along with width and height of 100% makes this pseudo element cover the image completely. The background color is black with 0.5 opacity. Again, the transition property is for animation.

Add the below code to increase the opacity when the parent element .post is hovered/focused.

.post:hover .post-bg::after,
.post:focus .post-bg::after {
   background: rgba(0, 0, 0, 0.7);
}

Opacity of 0.5 is changed to 0.7. This works!

Part 2

We have our background all set. Now let’s achieve the following:

Add the title, excerpt, read more link, published date and time to read

Place the above elements in their respective positions

Display only the title in the center at first (Hide the other elements)

Animate the title and reveal the other elements simultaneously

HTML

After the .post-bg div, let’s add all the required elements. The HTML part is mostly self-explanatory.

<h2 class="post-title">
   <a href="#">Pure CSS Animation of Blog Post Excerpt on Hover</a>
</h2>
<p class="post-excerpt">
   The excerpt of your post that compels the user to click on "Read More" link below
</p>
<a class="post-read-more" href="#">
Read More
<i class="fa fa-arrow-right"></i>
</a>
<div class="post-date-time">
   <span class="post-icon-text">
      <i class="fa fa-calendar"></i>
      June 1, 2020
   </span>
   <span class="post-icon-text">
      <i class="fa fa-clock"></i>
      8 Minutes Read
   </span>
</div>

If you check your browser now, you cannot see any changes at all. Where have all the elements gone? You can use the inspector tool of your browser and check. They have been pushed down by the .post-bg div and are not visible because the overflow property of .post is set to hidden. Let’s work on the CSS.

CSS

The best way to get each of these in place is by setting position property to absolute and using the top, left and right properties for alignment.

.post-title, .post-excerpt, .post-read-more, .post-date-time {
   position: absolute;
   top: 20%;
   left: 8%;
   right: 8%;
   text-align: center;
   overflow: hidden;
}

Of course, now you will see that everything overlaps. Let’s give different values to top property and space them out correctly – the way we want to see them once revealed.

.post-title{
   top: 15%;
}
.post-excerpt{
   top: 46%;
}
.post-read-more{
   top: 67%;
}
.post-date-time{
   top: 80%;
}

This sets the position of elements, but we need some additional styling to get the font sizes and spacing right. Replace the above code with this:

.post-title{
   top: 15%;
   max-height: 120px; /* This is to make sure that longer titles are truncated */
}
.post-title a{
   font-size: 1.4em;
   line-height: 1;
}
.post-excerpt{
   top: 46%;
   max-height: 82px; /* This is to make sure that longer excerpts are truncated */
   font-size: 1.1em;
}
.post-excerpt:after{
   content: '...';
}
.post-read-more{
   top:67%;
   font-weight: bold;
   font-size: 1.1em;
}
.post-date-time{
   top: 80%;
   font-size: 0.8em;
}
.post-icon-text {
   padding: 0 10px;
}
i.fa{
   padding: 0 5px;
}

This looks perfect!

Pure CSS Animation of Blog Post Excerpt on Hover

Let’s hide all the elements except for the title, simply by setting the opacity to 0.

.post-excerpt, .post-read-more, .post-date-time {
   opacity: 0;
}

Change the top value of .post-title to 35% – to make it appear in the center. Also, the top value of .post-date-time to 90% because the date and time slide up from bottom.

You have come really far! The only part remaining now is the actual animation – which is simple. First, set the transition property to all the four elements:

.post-title, .post-excerpt, .post-read-more, .post-date-time {
   transition: all 0.5s;
}

Now let’s set the properties of each element on hover.

The top property of .post-title on .post hover

.post:hover .post-title{
   top: 15%;
}

The opacity of .post-excerpt and .post-read-more

.post:hover .post-excerpt, .post:hover .post-read-more{
   opacity: 1;
}

The top and opacity properties of .post-date-time

.post:hover .post-date-time{
   top: 80%;
   opacity: 1;
}

And there you go! You did it.

You now know how to create a zoom effect on a background image, how to add an overlay on a background image, and how to animate various elements using pure CSS animation. Just in case you didn’t get the expected output, I’ve got you covered. Download the full source code here and compare yours with this one.

Source Code


Techdegree for Teams

Every company is a tech company. As we settle into a new holding pattern while the global community fights COVID-19, many teams now find themselves working remotely, and adapting to new roles with new responsibilities. This is an excellent time...

The post Techdegree for Teams appeared first on Treehouse Blog.

Stop Outsmarting Yourself: Simplify WordPress Development

The great thing about web development is that there is always more than one way to accomplish something. And WordPress development in particular is a shining example of this.

Need to create a contact form? There are plenty of plugins to do the job, all taking different approaches to the same challenge. And that’s only one common illustration.

Plugins, themes and the custom code you write yourself can take you in any number of directions. There are advantages to this.

For one, you can take whatever approach makes the most sense for you. If it doesn’t work out, you can always switch gears. There is plenty of room to form a strategy and see it through.

However, there are situations where you can think a little too much. Times when you develop a complex plan, only to have overlooked a much simpler solution. It happens to every developer at some point.

So, how can you avoid this virtual minefield? By simplifying! Here are some tips for doing so.

UNLIMITED DOWNLOADS: 500,000+ WordPress & Design Assets

Sign up for Envato Elements and get unlimited downloads starting at only $16.50 per month!


List Your Project Requirements

The first step in decluttering your approach is to make a list. Think about what you ultimately want to accomplish. From there, think about the steps it will take to make it happen.

Perhaps this sounds a bit obvious – but that’s the point. In development, it’s easy to get caught up in just that desired outcome. When that happens, you may well ignore the details of how you’ll get there.

In my own experience, I’ve found that skipping the details leads to a seemingly-endless search. I’ll look through support forums, trying every answer I can find – regardless of whether or not it’s accurate. More often than not, it requires a trip back to the drawing board to think and plan.

As mentioned earlier, there’s more than one way to get where you want to go. So, think about the most likely steps that will put you on the right path.

You might find that the solution was easier than you initially thought.

A person writing in a journal - WordPress development

Look for Existing Solutions

There’s no need to reinvent the wheel. Once you’ve figured out what you need and how to get there, you’ll want to look for existing solutions that follow suit.

The solutions themselves can range from a code snippet you found on GitHub to a niche plugin. And, since the WordPress development community is massive, the odds are you’ll find more than one potential option.

Not all options are created equal, however. Therefore, it takes a little research to determine which is the best fit for your project.

This isn’t necessarily going to be easy. Plugins can be difficult to judge until you dive in and start using them. And, if it’s a commercial plugin, it may take a financial commitment to fully test the software out.

Code you find from tutorials or support sites are also a challenge. Once in a while you’ll get lucky and find something that does exactly what you want. More often, there will be bits and pieces that will get you only part of the way to your goal. Be prepared to experiment.

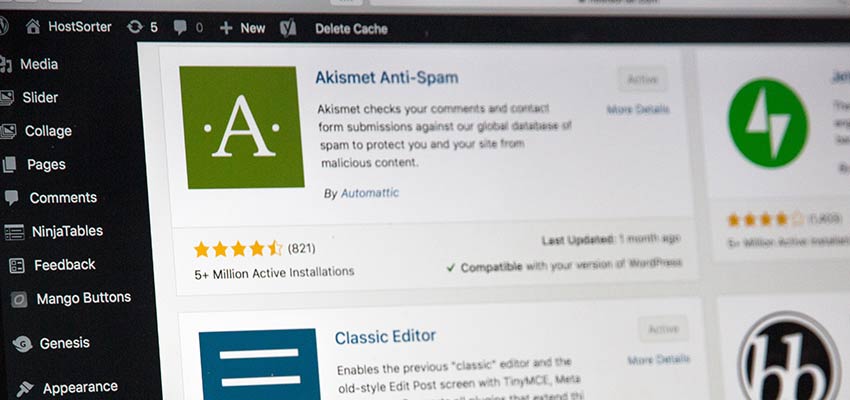
The WordPress plugin screen - WordPress development

Need Something Custom? Start Small.

There are situations where there just isn’t an existing solution that fits your needs. That’s when custom code comes into play.

Writing code is a challenge, even for seasoned developers. But it seems like half the work is in figuring out exactly what needs done. Because, without a clear vision of its scope, you may find yourself doing much more than is necessary.

Thinking about the requirements list we mentioned earlier, this same method can be applied to code. Go into the process with eye towards determining the bare minimum your script needs to accomplish. Once you have that figured out, look at ways you can improve upon it.

Those of us who started out utilizing WordPress plugins for all of our site’s functionality may find this difficult. Why? Because, generally speaking, plugins are fully-formed products. As such, it can distort your thinking a bit when trying to build something from scratch.

Writing code often means building from the ground up. Plugins, on the contrary, are like dropping a pre-fabricated skyscraper into a city. The expectations, especially as you start the development process, should be different.

Remember, there’s nothing wrong with starting small and expanding later on.

PHP code - WordPress development

Ignore the Noise

We often associate trends with design – but they do show up in development as well. Therefore, you’re likely to be inundated with buzzwords as you research how to build or implement a particular feature. The WordPress development community isn’t immune to such hyperbole.

You’ll undoubtedly run into articles telling you to dump one language for another or go all-in on a JavaScript framework. There are plenty of opinions on which tools you should use and how you should use them. It requires a keen eye to figure out what is legitimate and what is noise.

The problem is that, if we took everyone’s advice, we’d spend our entire life shifting gears instead of getting things done. So, pick and choose the methods and techniques that make the most sense for you.

Maybe it turns out that a new technology is the best option. If not, it’s never a bad idea to stick with what you know.

A person covering their ears - WordPress development

Keep it Slow and Simple

The web moves quickly, and developers are often compelled to do the same. Yet, all of that rushing around can lead to a lack of critical thinking. In my own journey, that may be the top reason for the struggles I’ve had in WordPress development.

So, instead of jumping from place to place looking for answers, take a little time to think about your options. This, as much as anything, will help you both simplify the process and achieve better results.

5 Essential Skills for Web Developers Today

Let’s pretend for a moment that you’re mentoring someone who is new to web development. They want to learn the necessary skills for becoming a professional, but aren’t sure where to focus. What would you tell them?

Now, whether you’re a newbie or a veteran of the industry, the skills you need to succeed are always evolving. Yet, there are still some foundational things that everyone should know – regardless of specialty.

Today, we’ll train our focus on a bit of both the new and traditional. Let’s take a look at the five essential skills for web developers in the present day.

Your Web Designer Toolbox

Unlimited Downloads: 500,000+ Web Templates, Icon Sets, Themes & Design Assets
Starting at only $16.50/month!


HTML and CSS

Surprised to see these two on the list? That’s understandable to some degree, as there are certainly more “exciting” technologies out there. But that doesn’t mean we should dismiss them.

To the contrary, both HTML and CSS continue to be the building blocks of the web. HTML is as important as ever, even if you’re using more robust languages such as PHP or JavaScript. Its role has evolved from something we used to style or lay out a page (though it was never intended for that purpose) to helping us build a semantic and accessible web.

CSS has also seen quite the evolution in its own right. The rise of CSS Grid and Flexbox have transformed how we create layouts. And it has also become a staple of animation, along with responsive design and advanced styling techniques. In some cases, it even serves as a solid replacement for JavaScript.

So, just like a house needs a solid foundation, web developers need to understand HTML and CSS inside-out. It would be difficult to accomplish other advanced functionalities without them.

HTML Code

JavaScript

JavaScript has also seen its own evolution. It started as a language that was often used to manipulate DOM elements and add a bit of functionality to websites. And it’s still quite adept for this purpose.

However, we’re now seeing entire interfaces being built with JavaScript as the main ingredient. This has a lot to do with some powerful frameworks that have come along in recent years. React and Vue, in particular, have led the way in this area.

While we haven’t seen these UIs take over the web just yet, it’s a segment that should continue to grow. That alone makes it worth digging into a framework or two.

Another area of growth is coming from WordPress and its Gutenberg block editor. It makes heavy use of React, which also happens to be a requirement for creating custom blocks natively.

Put it all together and you have lots of valid reasons for focusing on your JavaScript skills.

A man reading a JavaScript book.

The Command Line

Everyone loves a good GUI. It just seems more comforting to point-and-click or drag-and-drop your way to accomplishing your goals. Still, the command line remains very relevant.

The funny thing is that even the latest buzzworthy technologies rely on the command line, or at least recommend its use. Take GatsbyJS, for example. The static site generator is all the rage these days and requires the command line to both build and maintain websites.

WordPress is the world’s most popular CMS and also has a wonderful CLI tool. It’s not required, but can perform the same functions as the visually-oriented Dashboard. And it also does some things the Dashboard can’t do, like large-scale search and replace, which makes it perfect for multisite installations and enterprise-level usage.

If you’re getting into version control, Git is another tool where the command line is recommended. There are some visual tools as well, but commands generally allow for more advanced usage.

Even if you don’t feel giddy at the sight of a terminal window, it’s still important that you know your way around one. Otherwise, you may not be able to accomplish everything your projects require.

A woman sitting at a computer.

How to Work with APIs

These days, websites don’t just depend on local files or databases. They often pull data from a number of outside sources. Providers such as social media platforms, cloud services and content delivery networks (CDNs) are powering a lot of essential functionality.

In many cases, websites interface with these outside sources via an API (Application Programming Interface). This allows for accessing a service or application’s data and features through a specific set of procedures – usually via code.

APIs are not one-size-fits-all, however. They can be proprietary – so what works for one service probably won’t work for others. Tapping into one usually requires digging into a particular API’s documentation.

Therefore, it’s important to learn the details behind whichever APIs you want to work with. Whether that’s Twitter, Amazon AWS or Google Maps, you’ll have to study up to get the most out of them.

Sometimes we can get lucky and the API functionality we need is already there for us. Often, you’ll find it in something like a WordPress plugin. But there will be times when you have to work directly with a provider to accomplish what you need.

A woman using a laptop computer, standing near servers - Web Developer Skills

The Ability to Adapt

It seems like there is always some new tool, technique or code breakthrough looking for our attention. So, our last essential skill in this roundup is all about adapting to an ever-changing web.

One of the biggest fears in web design and development is that of falling behind. You don’t want to be left holding the bag while others seize on the latest and greatest trends.

That’s why it’s vitally important to adapt to new ways of doing things and seeing how they fit into your workflow. This will enable you to stay relevant in the marketplace and potentially book some exciting projects.

There’s a catch, though. Not every new thing is going to be worth your time. The challenge is in finding skills to add to your repertoire that fit the types of projects you want to work on.

Perhaps the best thing to do is keep an eye on industry trends. If you see something that can benefit your career (or looks interesting), take time to learn more about it. Once you determine it’s a good fit, you can dig deeper.

A desk with design books and a laptop computer - Web Developer Skills

Learn the Basics, Then Move Forward

There is a lot of pressure on developers to absorb libraries worth of knowledge. But the truth is that you don’t need to know every detail.

Each one of the skills mentioned here are vast. And it’s unlikely that any living soul knows everything there is to know about them. The key is in learning the foundational aspects first and foremost.

By familiarizing yourself with the basics, you will have the opportunity to add depth to your knowledge over time. Quite often, we learn how to do x, y and z because we’re working on a project that requires it. That’s a natural benefit of experience.

So, if there are some areas on this list you don’t know much about – don’t worry. Start small and work your way up. Eventually, you’ll have the skills necessary to succeed.

What is PHP?

Some programming languages have been around a while—PHP is one of them. It’s been around since 1994! But, just because PHP has been around the block doesn’t mean it’s not useful today. In fact, PHP has made a comeback in...

The post What is PHP? appeared first on Treehouse Blog.

10 Online Courses To Become A Better Web Designer

Whether you’re first entering the world of web design or own a well-established agency, one thing applies to all: you can always learn more. That’s what makes online courses so fabulous. You can learn at your own pace and pick and choose the topics you want to delve deeper into.

Instead of having to hunt around for great web design courses to take, we’ve put together a list of some of our favorite online courses. Each of the following will help you to become a more solid web designer, expand your skill set, and/or improve your business direction.

Your Web Designer Toolbox

Unlimited Downloads: 500,000+ Web Templates, Icon Sets, Themes & Design Assets


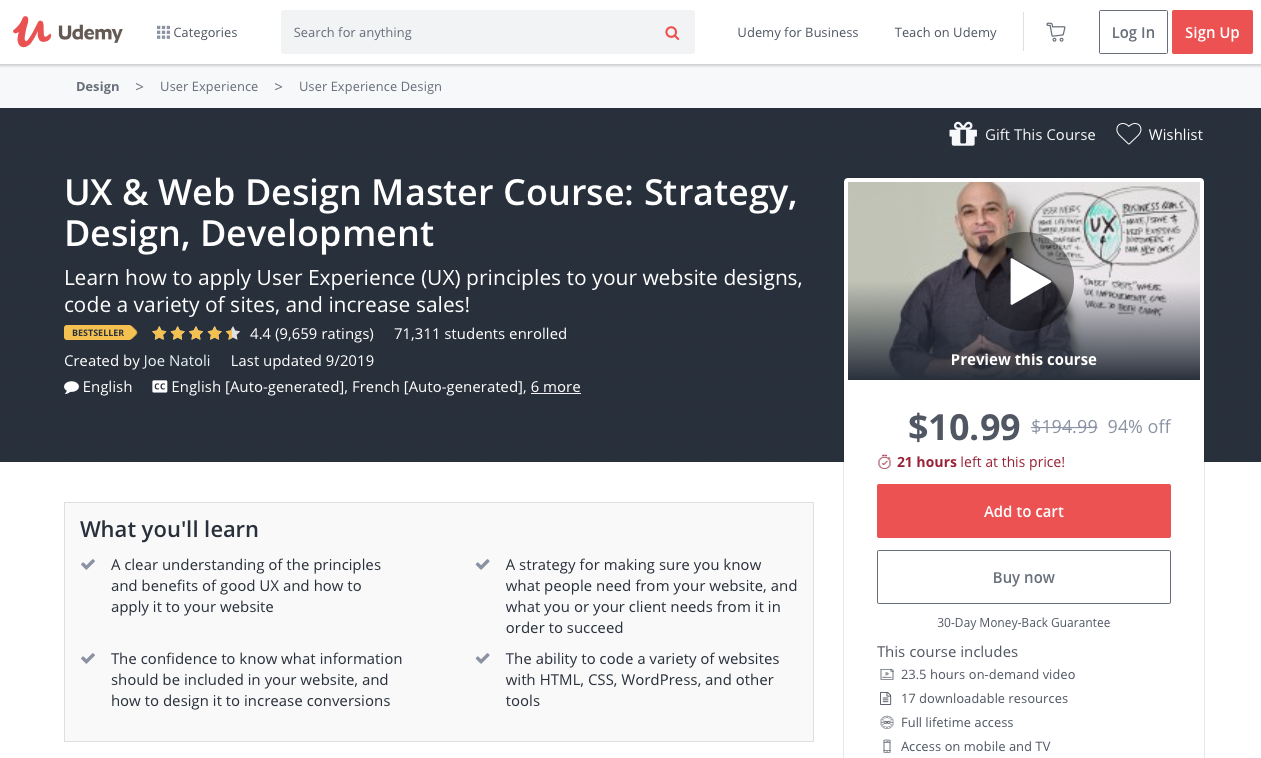
UX & Web Design Master Course: Strategy, Design, Development

UX & Web Design Master Course: Strategy, Design, Development - online courses

Become a real expert in web design by taking this master course on Udemy. Instructor Joe Natoli walks you through UX principles for creating better web designs that work for visitors and customers.

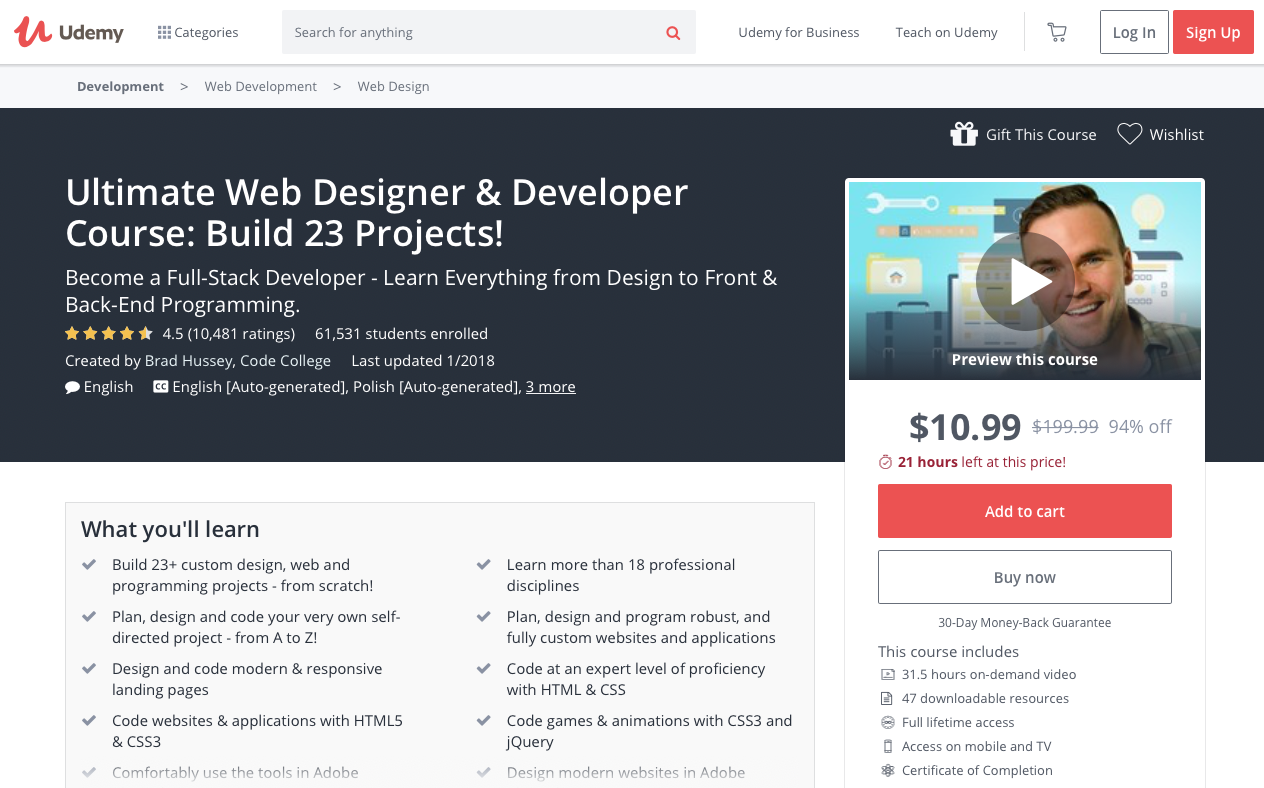
Ultimate Web Designer & Developer Course: Build 23 Projects!

Ultimate Web Designer & Developer Course: Build 23 Projects! - online courses

Here’s another great course on Udemy. The instructor this time is Brad Hussey and he breaks down all the details of what it takes to become a full-stack developer. This covers it all from front-end design to back-end programming.

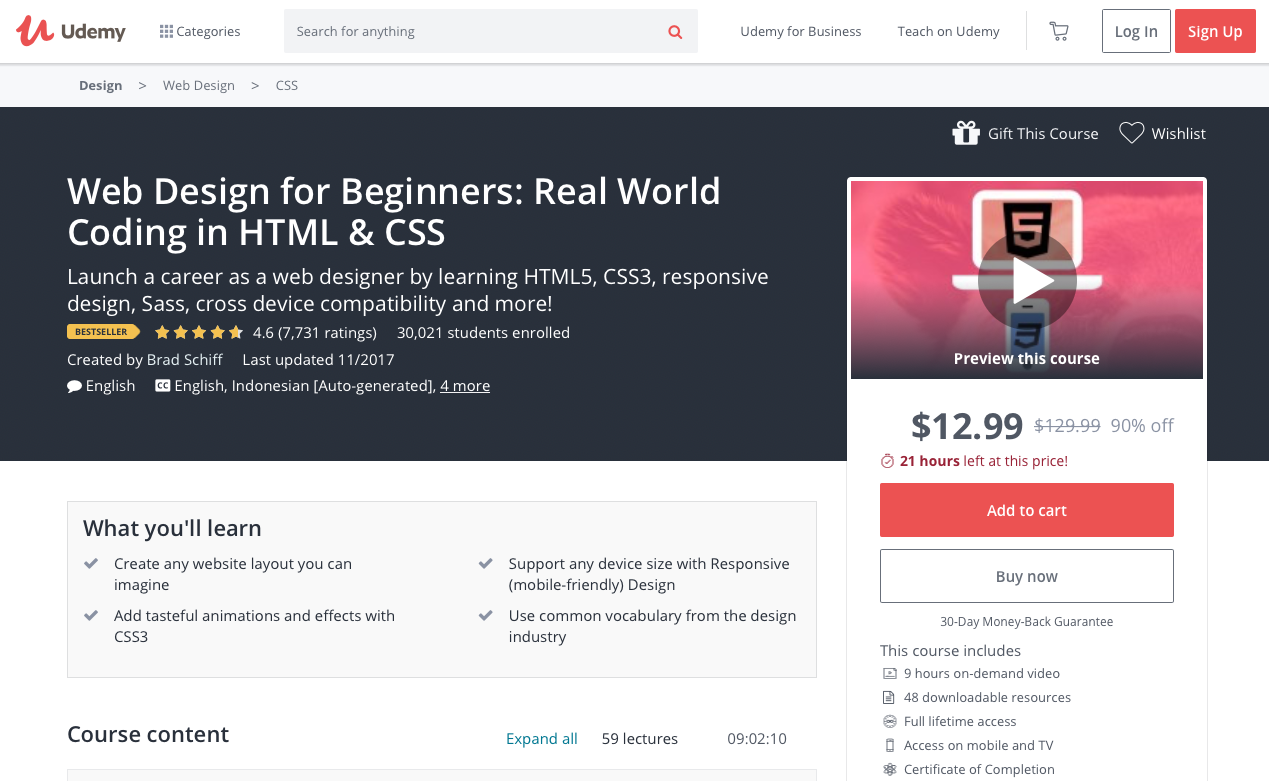
Web Design for Beginners: Real World Coding in HTML & CSS

Web Design for Beginners: Real World Coding in HTML & CSS - online courses

If you’re new to the world of web design, you’ll greatly benefit from this web design for beginners course by Brad Schiff. It shows you how to create HTML5, CSS3, and responsive design in real-world examples.

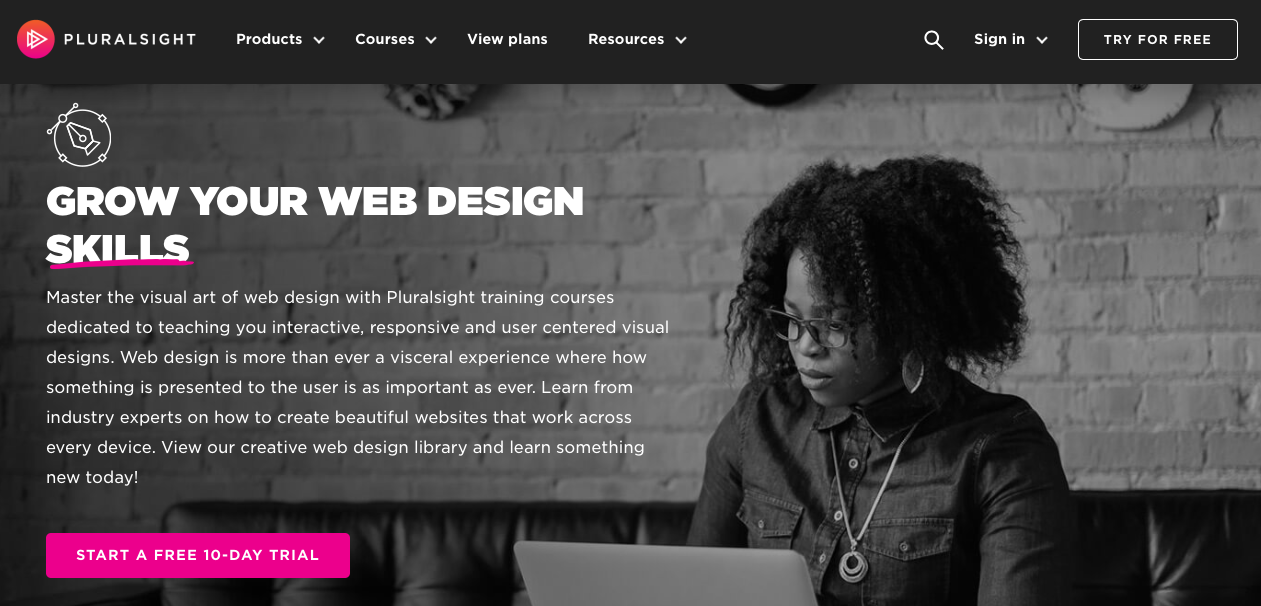
Grow Your Web Design Skills

Grow Your Web Design Skills - online courses

This fantastic online course on Pluralsight is an obvious choice for expanding your web design skills.

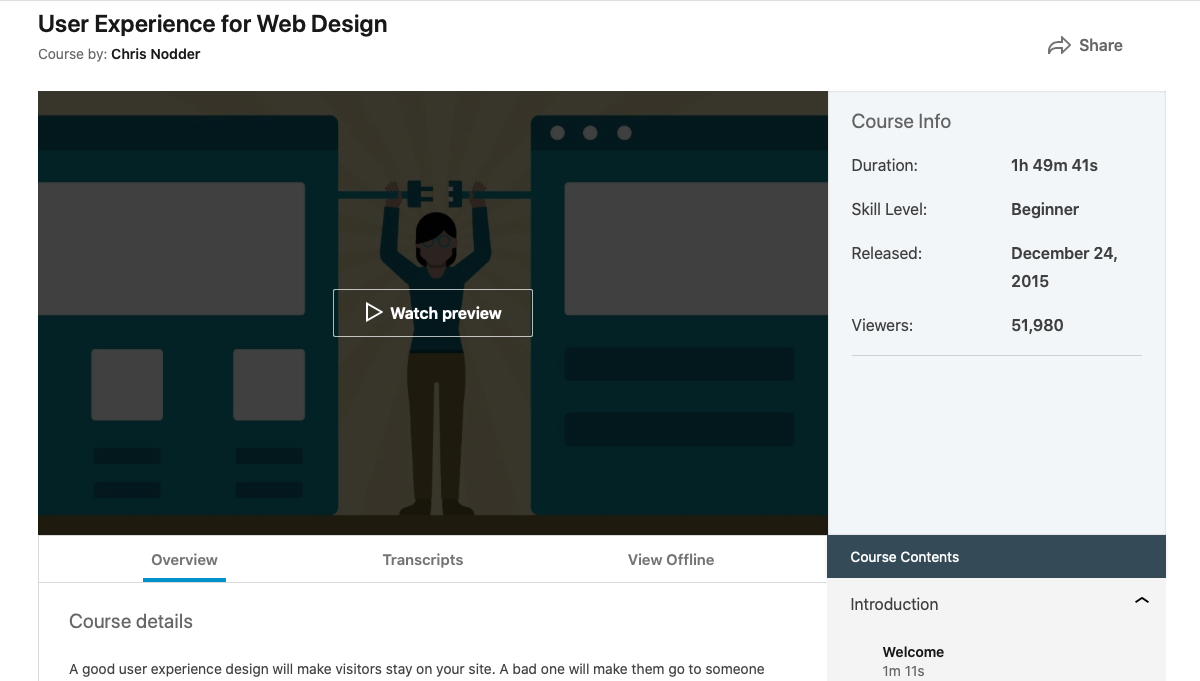
User Experience for Web Design

User Experience for Web Design - online courses

Another course you might want to consider is this breakdown of user experience in web design put together by Chris Nodder. It’s just under two hours long and aimed at beginners, but even pros could use a refresher now and then.

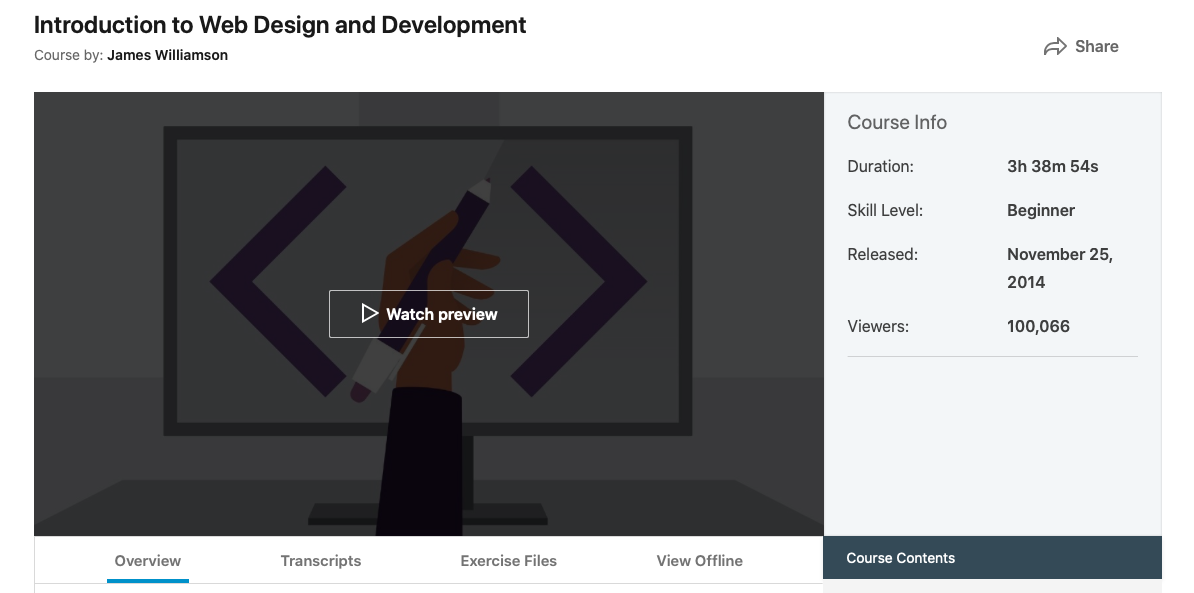
Introduction to Web Design and Development

Introduction to Web Design and Development - online courses

Here’s another beginner-level course, this time a full intro to web design and development. It consists of about three and a half hours of instruction that offer in-depth exploration of topics you need to know to advance your skills.

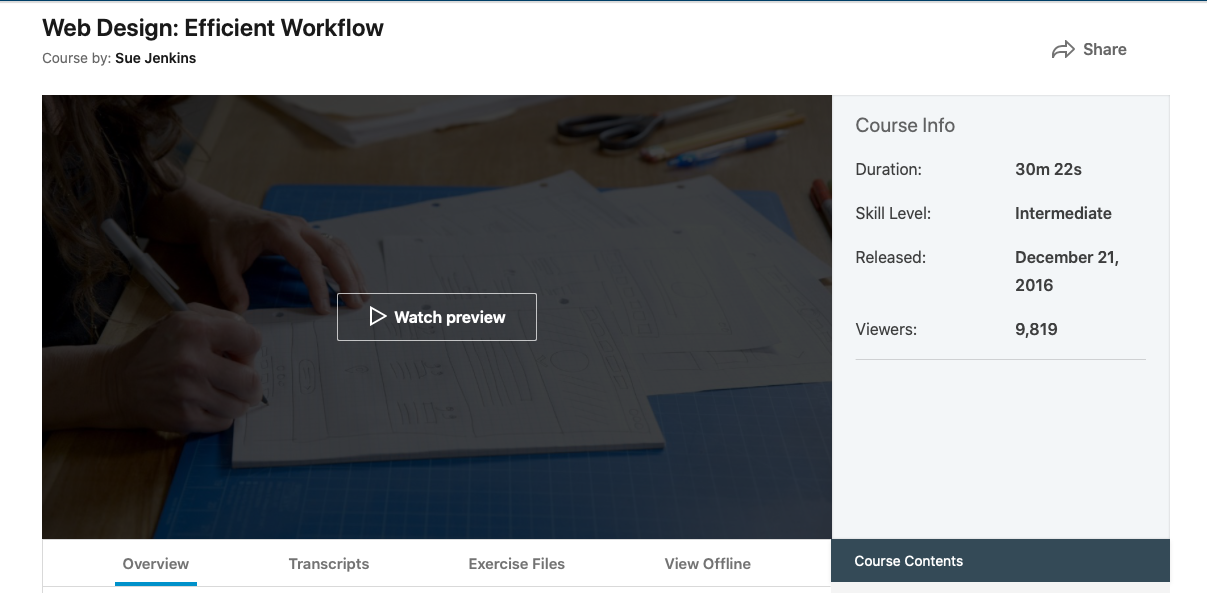
Web Design: Efficient Workflow

Web Design: Efficient Workflow

For creating a better workflow for running a web design agency or business, this mini-course is a sure bet.

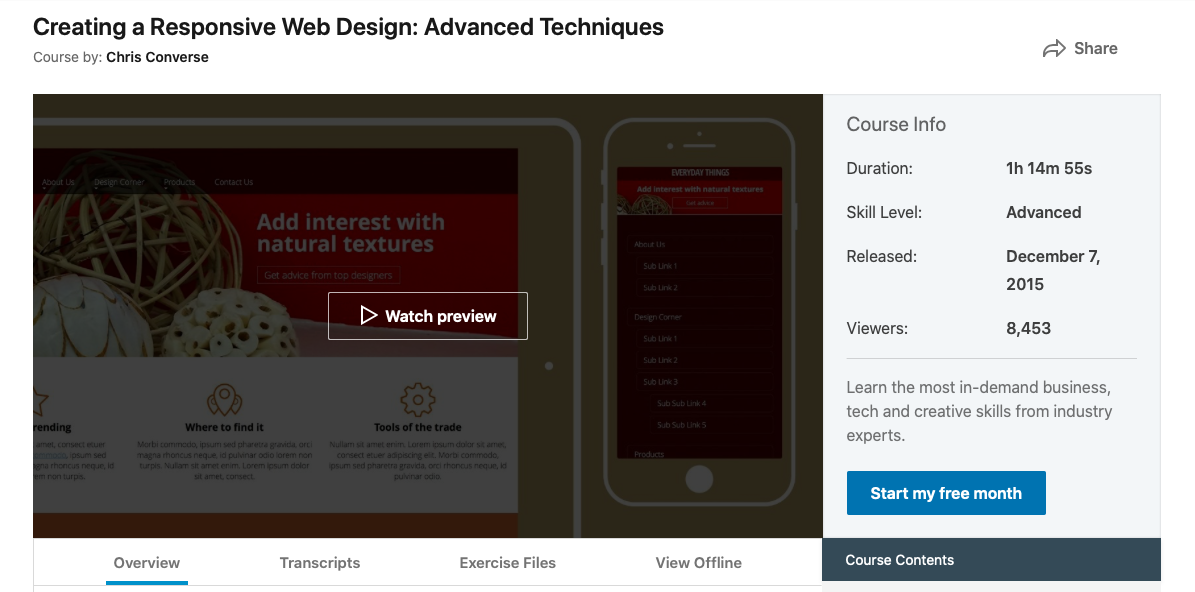
Creating a Responsive Web Design: Advanced Techniques

Creating a Responsive Web Design: Advanced Techniques

Responsive design is a must nowadays. Learn more than just the basics here in this just-over-an-hour long advanced course.

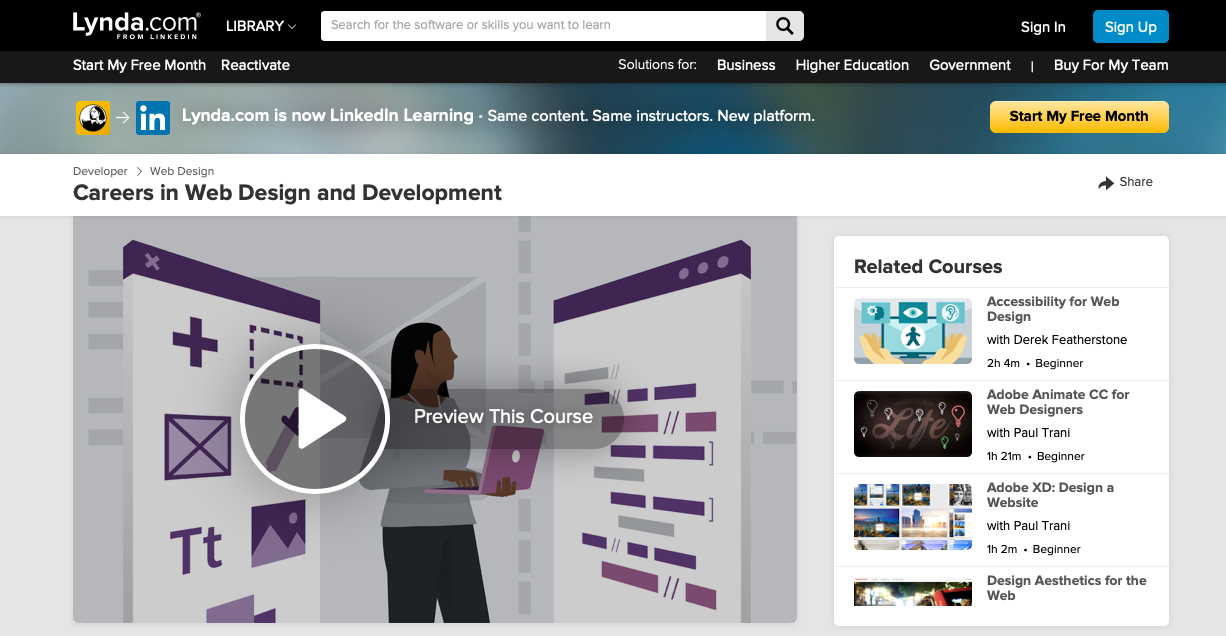
Careers in Web Design and Development

Careers in Web Design and Development

If you’re interested in the business side of things, you won’t want to miss this course all about careers in web design and development.

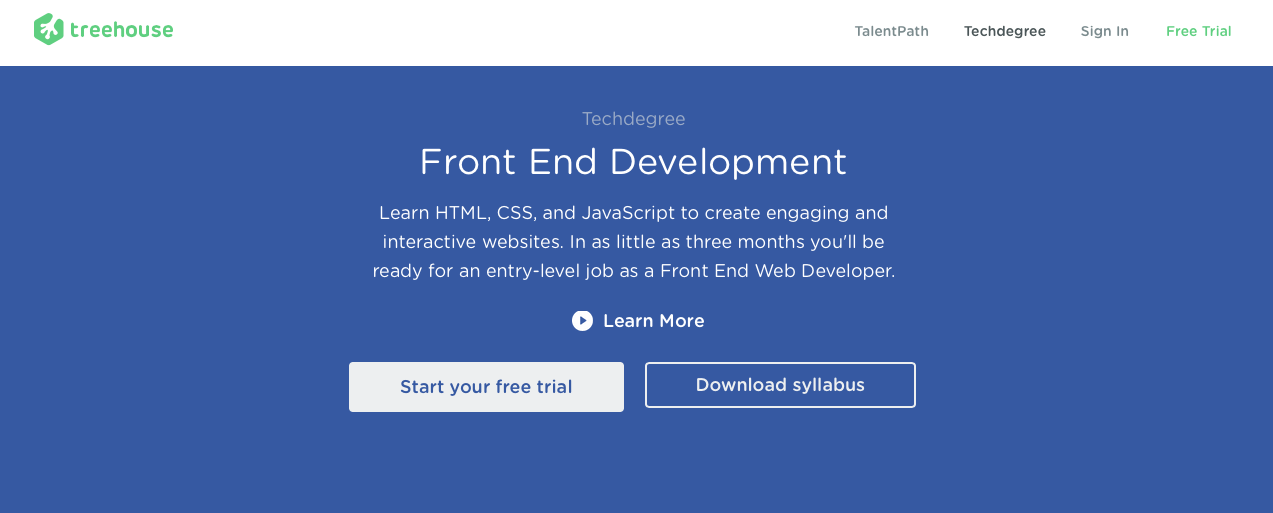
Treehouse: Front End Web Development

Treehouse: Front End Web Development

The last course on this list is one from Treehouse. It focuses exclusively on front-end web development and covers HTML, CSS, Javascript, and more.

Expand Your Web Design Education

Hopefully you now have the tools at your disposal to further your web design education. Completing the above ten online courses will further your skills and help you take the next step in your career. Be sure to also check out our extensive library of tutorials to add to your toolbox. Best of luck in the effort!

Cover photo courtesy of ShotStash

How To A Hire A Web Designer

Unless you’ve been through the process before, understanding how to hire a web designer can be an intimidating task. There are so many things about the process that most people unfamiliar with it do not know, nor should they be expected to consider. Although there are industry standards, almost every web designer has their own unique perspective or preference on how things should be done. This can leave you frozen like a deer in the headlights if you are not properly equipped with the right knowledge, questions, and desired answers.

Fortunately we have put together a list of recommendations and suggestions that should assist you in making a more informed decision when you are looking to hire a web designer. While not exhaustive, these tips should ease your fears of making the mistakes often made throughout this process and steer you in the right direction before you begin.

Your Web Designer Toolbox
Unlimited Downloads: 500,000+ Web Templates, Icon Sets, Themes & Design Assets


Understand The Differences Between A Web Designer and A Web Developer

Hire A Web Designer - Compass

In years past, the term “web designer” has been defined several ways, but primarily as someone who not only designs but also builds (develops or codes) a website. In more recent years there has been a line drawn between web designers, who are actually responsible for creating the look and style of the website, or how it appears in your browser, and web developers, who are responsible for writing the code that brings that design to life, makes it look the way it was designed, and creates the functionality and user experience. There are still plenty of qualified people who perform both tasks – design and development – but it’s important to know what you are getting when you hire someone, so starting with the correct terminology is critical.

Seldom are you going to want someone to only design or only develop your website. You will want both. So you will need to make sure the candidates you are considering are going to deliver in both departments. Many agencies who offer design and development services have separate departments or employees responsible for each of the two, while freelancers often provide both services from one person. Keep in mind that it is somewhat unusual – but not impossible – to find a single person who is highly talented in both areas. This may make their services more affordable, but you could find yourself sacrificing quality for the lower price.

Define Your Website’s Goals

Hire A Web Designer - List Goals

As with any project, it is important to possess a clear understanding of what you want your website to accomplish before you hire a web designer. Are you trying to create an online shop that sells and ships products? Do you have an offline (brick and mortar) business that just needs an online presence where people can find you in search engines, learn more about your business, and contact you? Do you want to allow visitors to your website to book appointments for services you offer? These are just some of the questions you should answer for yourself so that when your potential web designer asks you have the answers already prepared.

We recommend coming up with a single primary goal of the website, then a subset list of smaller goals that will support and aid in the achievement of the primary goal. For example:

  • PRIMARY GOAL: to create an online presence for my business that will be easily found in search engines so that potential customers can get their questions answered about what we offer before they contact us.
    • Home page that correctly represents the branding and culture of our business
    • About page that tells the story of who we are and what we do
    • Services page that clearly explains the services we offer
    • Contact information prominently displayed throughout the site
    • Map with location and driving directions
    • Contact form that can be submitted online and sent to me via email

In most cases, as you make this list you will find that the ideas for what you want to be included in your site will come to you rather quickly, and you can continue to add to the list as more ideas develop over time. Having these goals as a starting point will help in the next steps you take to hire a web designer.

Research Other Websites You Like (Or Don’t Like) In A Variety Of Industries

Hire A Web Designer - Research Websites

One of the most common questions web designers ask is regarding what other websites or elements of other websites you like or don’t like. It is a great idea to keep a running list of some of your favorite and least favorite websites you come across when browsing the internet. Be specific and include what or why you like or don’t like them. This can be anything from colors, style, functionality, usability, large fonts, navigation, etc.

People who are looking to hire a web designer often answer this question with a list of their competitors’ websites. While this is helpful, it is important to look outside of your own industry. There are a multitude of websites that have nothing in common with what you are trying to accomplish but still may have elements that would work well in your context.

You can also find inspiration and ideas by looking at websites that showcase web designs, such as design blogs or awards websites. Here are some examples of these:

Obviously, awards sites like these showcase the best of the best, and your budget may not allow this kind of quality work, but why not see what the best are doing and communicate to your potential hire the things you’ve seen that really capture what you want your website to do or how you want it to look?

Understand and Determine Your Preferred Framework

Hire A Web Designer - Coding laptop

Do you want to be able to easily edit the content (text, images, etc.) on your website at any given time once it’s live? Then you will probably want to utilize a content management system (CMS), such as WordPress. Would you rather pay for someone to update your website whenever you need to make changes? Then you may be able to go without a CMS, possibly saving some money on the design and development of it, but probably paying more over time with each edit that arises.

Knowing or at least having a minimal understanding of which you prefer could narrow the field in which you are looking. If you decide to use a CMS, you will also want to decide if you would prefer to hire a web designer who will design and develop something unique and completely custom for you, or if you are fine potentially paying less to hire someone who will just purchase a theme (or skin) for the CMS and make adjustments to it so it looks and functions as desired. Be forewarned: there are plenty of freelancers and agencies that perform the latter service while charging as much or even more than a custom website would cost. Be sure to ask potential candidates which path they will be taking with your project.

Treat Your Search Like What It Is: You Are Hiring An Employee

Hire A Web Designer - Job Interview

Don’t make the mistake of bypassing what should be the obvious: when you hire a web designer you hire an employee. The process should resemble this exactly. Ask for resumes, examples of work, references, and all of the other fun items included in a typical hiring process. If posting your project on job boards, be specific about what you need for your website as well as expected qualifications of the right hire. Take them through the interview process and make sure you are confident in your final decision. If possible, seek recommendations for web designers from friends, colleagues, on social media, or any other outlet you deem trustworthy.

Some Other Quick Considerations

Hire A Web Designer - Timelapse Photo

As previously stated, the points above are not exhaustive for your quest to hire a web designer, but they will prove helpful. Here are some other considerations you should note in your search. We hope these recommendations will help make the process easier for everyone involved!

  • Have a realistic idea of your budget for the project and be transparent about it up front. Be prepared to be quoted dependent on the size of the project, its requirements, and the quality of your web designer’s work.
  • Know your timeline or deadline and communicate it clearly, ensuring that potential candidates will be able to commit to completing your project in the time desired.
  • Prepare your content as much in advance as possible. Have all text, headings, images, etc. ready to hand over to your web designer. This will enable the project to move along smoothly and also give them the ability to better estimate the time involved.
  • Ask potential candidates to provide a detailed, step by step explanation of their process. This will enable you to better know what to expect, as well as determine if they are the right fit for you.