

Are you looking for ways to encourage customers to spend more money in your online store? You should immediately start tracking the average order value (AOV) metric.
Focusing on AOV is an effective way to grow a business, especially if you are running an eCommerce store. While working closely with numerous online stores over the last decade, I have tested a ton of strategies to see what increases AOV and what doesn’t.
From this experience, I can show you 14 ways that are sure to increase average order value with WordPress to improve your bottom line.
Note: This is a guest post by Chris Klosowski, the president of Easy Digital Downloads, the best digital eCommerce plugin for WordPress. This is an expert column that we publish every other Thursday, where we invite a WordPress expert to share their experiences with our readers.
What Is Average Order Value (AOV)?
Running an online store is all about meeting the needs of your customers while covering your costs and making a profit. Luckily, there are quite a few ways you can increase your bottom line.
For example, you can try to increase the amount of traffic coming to your website or encourage more of your visitors to make a purchase. This will increase the number of conversions or transactions in your store, leading to more revenue.
A different approach is to try to increase the amount of money you make from each individual transaction. This is known as ‘average order value’ or AOV and is the topic of this article.
AOV is all about how much your customers are spending per order. You can calculate it by dividing your total revenue by the number of orders you received.
Here’s the formula for calculating AOV:
AOV = Total Revenue / Number of Orders
For example, let’s say your online store generated a total revenue of $10,000 from 200 orders in a month. Your AOV would be:
AOV = $10,000 / 200 orders = $50 per order
Understanding and analyzing your AOV can help you gain valuable insights into your eCommerce business. You can then use these insights to make data-driven decisions that improve your profitability and overall success.
Overall, if you sell multiple digital products, then focusing on increasing your average order value can be an easy way to grow your business.
With that being said, to increase your store’s average order value, you simply need to give your customers a reason to spend more.
Let’s take a look at 14 ways you can increase average order value with WordPress.
1. Track the Average Order Value (AOV) Metric on Your Online Store
Your first step is to start tracking AOV on your WordPress website. You can use this data to learn which strategies are working and which aren’t.
My team makes this simple in Easy Digital Downloads by offering built-in reporting so that you don’t have to set up separate tracking software and analytics solutions. All you have to do is go to Downloads » Reports in your WordPress dashboard.
WooCommerce also lets you easily find AOV within their dashboard.
For eCommerce tracking, I highly recommend setting up eCommerce tracking using Google Analytics on your WordPress site.
2. Get Your Pricing Structure Right
Finding the right pricing structure for your products is crucial. It needs to cover your costs and let you make a profit while also offering fair prices that encourage customers to make a purchase.
There’s a lot to consider here. So, my team created a detailed guide on the Easy Digital Downloads blog that will help you structure your digital product pricing for success.
Optimizing your pricing structure may involve some experimentation. Sometimes, you might find that lowering your price raises your AOV because it makes it easier for your customers to purchase more products.
But you won’t know what is working if you don’t measure it. Tracking your store’s AOV metric is a great way to discover what is working and what isn’t.
3. Offer Product Bundles
When considering the pricing structure of your store, don’t limit your thinking to individual products. Bundling different combinations of products can help your customers feel they are getting extra value.
In my last expert column, I mentioned that product bundling makes it easier for customers to make a purchasing decision. Better still, it can encourage them to purchase more, increasing your average order value.
For example, one of our customers, SmashBalloon successfully uses bundling to encourage their customers to try their products in a bundle for a heavily discounted price.
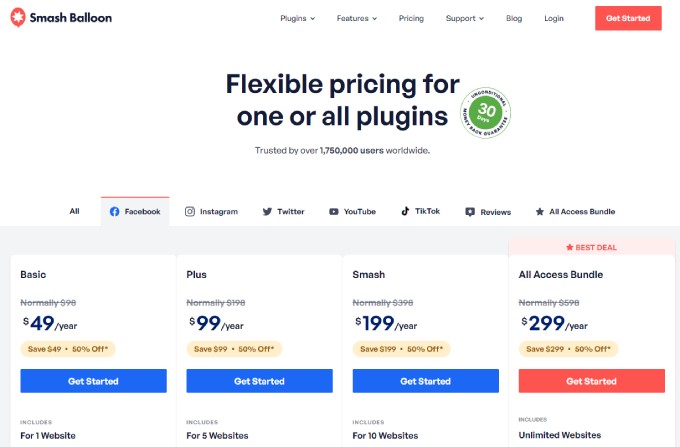
Bundles offer your customers a bulk discount that typically costs 60-80% of the total value of those products. The right combinations of products will cater to the user’s tastes, needs, and budget.
For instance, you could bundle products that are often purchased together. A gaming store might bundle a console together with a game and controller, or you could bundle an eBook with its audiobook version.
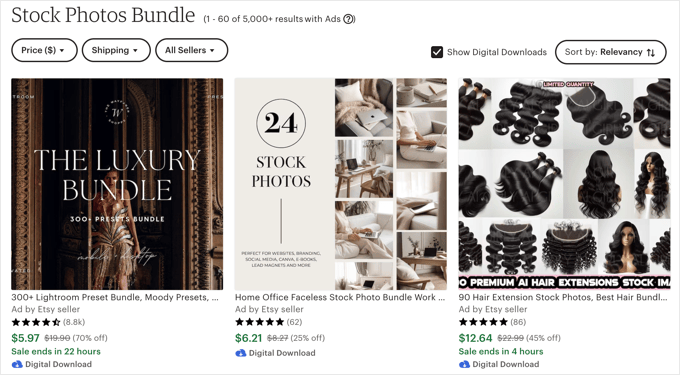
Bundles can also encourage customers to purchase more products than they were planning. Someone who just wants to purchase a few stock photos of home offices may be tempted by an affordable ‘Home Office Bundle’.
4. Offer Payment Plans
Sometimes, your customers can only make a small purchase simply because they don’t have enough money to buy more right now.
’Buy Now Pay Later’ payment plans allow users to make the purchase now and pay for it over time. At the same time, your store will receive the full amount right away.
Currently, 35% of consumers use pay-later plans for most of their purchases.
Because they make it easier for your customers to make a purchase, these plans help improve conversions and your store’s AOV.
If you’re selling digital downloads, you can use payment options like Klarna and Afterpay to set up Buy Now Pay Later with Easy Digital Downloads. Alternatively, you could use the WP Simple Pay plugin to offer a pay-later payment option with other eCommerce solutions.
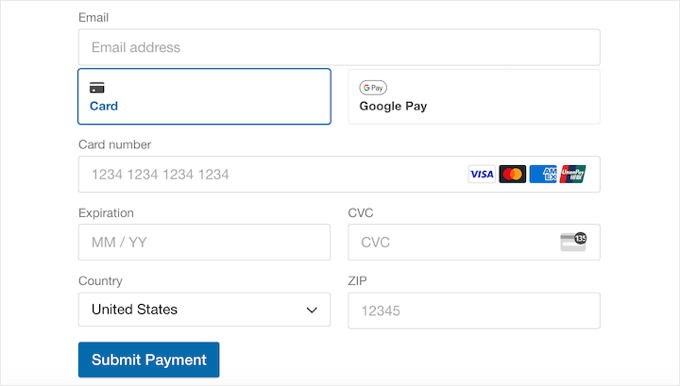
5. Make It Easy to Check Out
A lengthy or confusing checkout process can overwhelm customers, meaning they spend less time and effort on their purchases or even quit before completing the payment. An easy checkout process encourages customers to spend more.
Simplifying the process reduces the cognitive load on customers by reducing the amount of brainpower needed. It lets buyers focus on completing the purchase without feeling overwhelmed, which may lead to them adding more items to their cart.
You can reduce friction by offering multiple payment options in various currencies, allowing your customers to check out as guests without needing to create an account, and including clear instructions.
EDD includes these options on its fast-loading checkout page. You can choose an extension to add the payment methods you wish to use, including Stripe, PayPal, and many others.
You can also customize the checkout page in WooCommerce and other eCommerce plugins to optimize it for conversions and increased AOV.
6. Offer Upsells and Cross-Sells
In my experience, one of the most effective ways to encourage customers to spend more money when making a purchase is using order bumps. This is when you offer the buyer extra products or deals during checkout.
Industry reports estimate that order bumps contribute to 35% of Amazon’s total revenue. They do it well, and it pays off.
Take a look at a screenshot of how a WordPress theme company can upsell a related product.
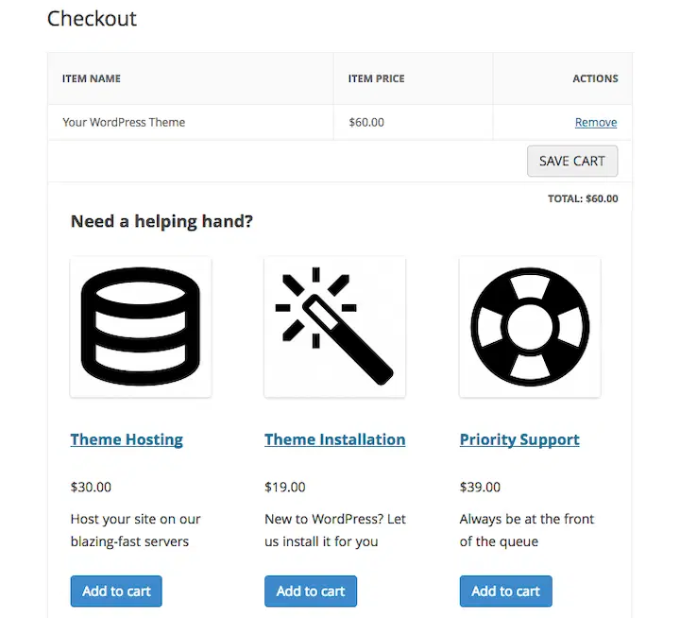
The main types of order bumps are upsells and cross-sells. Here are some examples to help you see the difference:
- In a paint shop, an upsell would be to encourage a customer to buy UV-resistant paint instead of normal paint. It costs more initially, but lasts much longer, offering better value and saving money in the long term.
- A cross-sell would be to offer the customer other products they will need while painting their house. These might include paint brushes, rollers, drop sheets, paint trays, and more.
This is simply good customer service. You are making sure the customer purchases the product they actually need, and they have everything they require to do the job. They appreciate it.
It also helps you increase the visibility of products that aren’t purchased frequently. And because the customer spends more money on the order, it increases your AOV.
It’s easy to add order bumps to your online store using the Easy Digital Downloads cross-sell and upsell extension, which is available for paid members.
It lets you add other digital products to your product pages and checkout page. This can generate some impulse purchases, allowing you to boost the average order value.
This is also super easy to set up in WooCommerce stores with a plugin like FunnelKit. For more details, just see the WPBeginner guide on how to create an order bump for WooCommerce.
7. Promote Products With High Margins
While you are recommending products to your customers, it helps to showcase and promote items with higher profit margins.
Compared to your other products, high-margin products will generate more profit per unit sold.
By promoting them strategically, you can increase your overall profit even if the sales volume remains the same or even decreases slightly. This can lead to a higher AOV without requiring an increase in the number of orders.
If you have a digital product store, then you can use the EDD Recommended Products extension to prominently display your high-margin products on your downloads and checkout pages.
Amazon does something like this on its product pages by displaying ‘People who viewed this also viewed’ and ‘People who bought this also bought’ recommendations. These can encourage customers to purchase additional products they are interested in.

Another approach is to bundle high-margin products with related lower-margin ones. This can incentivize customers to purchase the bundle and potentially increase their overall spending.
8. Offer Smart Coupons
Smart coupons are a great way to get more sales, keep your customers happy, and encourage brand loyalty. They can motivate your customers to add more items to their cart so that they qualify for a discount.
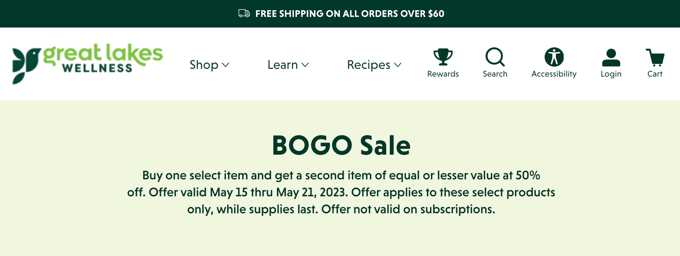
For example, you could encourage customers to spend more by offering a free gift or free shipping when their cart total reaches a certain amount.
Or you can create ‘buy one get one’ (BOGO) coupons to convince shoppers to add more items to their cart. Or when they buy a certain item, you can offer them a second item at a discounted price instead of free.
The EDD Discounts Pro extension lets you create advanced discounts that are automatically applied to the checkout screen based on specific conditions.
Alternatively, if you have a WooCommerce store, then you can create smart coupons with the Advanced Coupons plugin. It lets you create all kinds of coupons, rewards, and discounts to get more sales and grow your business.
9. Optimize the User Journey
I have already touched on improving the checkout experience in your online store, but there are plenty of other ways you can optimize the user journey to improve customer experience.
A smooth and positive customer journey fosters a sense of trust and satisfaction. This can encourage customers to spend more and return for future purchases.
FunnelKit, formerly WooFunnels, is a WordPress sales funnel builder that lets you optimize the path users take on your website to become customers. It lets you improve your checkout, offer one-click upsells, use beautiful page layouts, and much more.

Customers have a positive experience on a website that’s easy to navigate and find the products they need. This helps them feel more confident about their purchases and complete larger orders.
10. Use of the Fear of Missing Out (FOMO) to Create Urgency
Creating a sense of urgency and excitement can encourage customers to purchase immediately to avoid missing out on a valuable opportunity. This is known as FOMO, or the fear of missing out, and is a well-known sales tactic.
When using FOMO strategies, you need to be genuine and transparent. If your customers sense that you are trying to manipulate them by creating a false sense of urgency, then you may lose their trust.
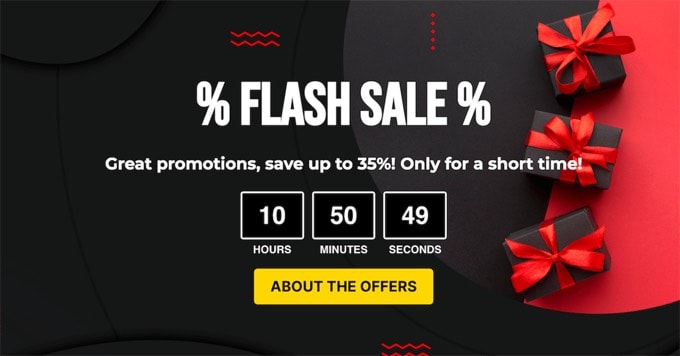
Urgency is typically created by running a limited-time holiday sale, such as on Black Friday. The customer needs to make a purchase before the sale is over to get the discount.
When running a limited-time discount, I recommend displaying a countdown timer to make sure customers act before the offer expires.
Scarcity is another way to create a sense of urgency. For example, you can inform customers when stock is low or offer exclusive limited edition products.
11. Use Social Proof to Earn Trust
New customers may be reluctant to spend much money in your online store. They simply don’t have a reason to trust you yet.
In fact, 92% of consumers are hesitant to make a purchase when there are no customer reviews available.
This is the power of social proof, where potential customers can be strongly influenced by the experiences of people who already made a purchase and had a good experience with your store.
This means that you can earn the trust of new customers by displaying product reviews and testimonials on your website from genuine customers. Once you gain the trust of new visitors, they will be much more confident about adding items to their carts.

EDD users can do this using the Reviews extension. This lets you enable customer reviews with star ratings on the products you choose.
Alternatively, you can use other leading WordPress social proof plugins like Smash Balloon Reviews Feed Pro and TrustPulse.
12. Create Loyalty Programs
Many of my customers successfully use loyalty programs to encourage shoppers to spend more. When you award extra points for orders over a certain amount, you can increase the average order value just as effectively as cross-selling and upselling.
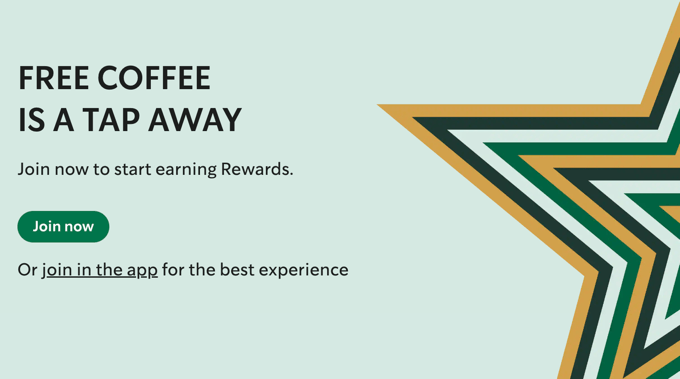
Think of a Starbucks Rewards card. Every time you buy a drink, you are closer to a free coffee.
EDD offers several extensions that can help you create a loyalty program, such as the Purchase Rewards extension.
This lets you reward customers with a discount code after making a purchase. You can set a minimum purchase amount that will encourage them to add more to their cart.
On the other hand, WooCommerce users can easily create a loyalty program with the Advanced Coupons Loyalty Program plugin.
13. Recover Abandoned Carts
Most online stores have huge numbers of users leaving their sites from the checkout page. On average, a massive 69% of shoppers are abandoning their carts. Why not try to get some of them back and recover those lost sales?
These customers showed genuine interest in your products, which makes them valuable leads. Remind them of their abandoned cart and offer some incentives to complete the purchase. You might successfully convert them into paying customers, and this can contribute to your AOV.
You may be able to catch them just before they leave your site. OptinMonster’s exit-intent technology studies mouse movements to know when someone is about to leave your site, and shows a popup at that exact moment.

If an abandoning visitor has already left your site, then you can send them a push notification using PushEngage. Or you can send an automated email using EDD’s Recapture extension to regain their attention.
You can offer the customers an incentive to complete the purchase and present them with relevant upsell or cross-sell options, such as adding complementary products to their cart or offering a bundle discount. This is particularly effective if you use a personalized approach.
These targeted suggestions can encourage them to spend more, potentially increasing the overall order value.
For more details, you can see these guides on how to reduce cart abandonment in WordPress and how to send abandoned cart emails.
14. Test Multiple Strategies
Now that you’ve seen my list of ways to increase your store’s AOV, you can get to work and start testing multiple strategies.
But don’t try them all at once.
It’s better to make one change at a time and measure the effect it has on the value of your orders. This will let you see which approaches work and which don’t so that you can make data-driven decisions for your business.
Remember, increasing AOV is an ongoing process. By using a combination of these strategies and continuously monitoring and analyzing the results, you can effectively raise your average order value and boost the overall revenue in your online store.
I hope these tips help you grow your online business by increasing the average order value (AOV) in your store. You may also want to see these guides on how to create a landing page with WordPress or the best WordPress giveaway and contest plugins.
If you liked this article, then please subscribe to our YouTube Channel for WordPress video tutorials. You can also find us on Twitter and Facebook.
The post 14 Ways to Increase Average Order Value With WordPress first appeared on WPBeginner.


