

If you are searching for an alternative bundler to webpack, you might want to take a look at FuseBox. It builds on what webpack offers — code-splitting, hot module reloading, dynamic imports, etc. — but code-splitting in FuseBox requires zero configuration by default (although webpack will offer the same as of version 4.0).
Instead, FuseBox is built for simplicity (in the form of less complicated configuration) and performance (by including aggressive caching methods). Plus, it can be extended to use tons of plugins that can handle anything you need above and beyond the defaults.
Oh yeah, and if you are a fan of TypeScript, you might be interested in knowing that FuseBox makes it a first-class citizen. That means you can write an application in Typescript — with no configuration! — and it will use the Typescript transpiler to compile scripts by default. Don’t plan on using Typescript? No worries, the transpiler will handle any JavaScript. Yet another bonus!
To illustrate just how fast it is to to get up and running, let’s build the bones of a sample application that's usually scaffolded with create-react-app. Everything we’re doing will be on GitHub if you want to follow along.
FuseBox is not the only alternative to webpack, of course. There are plenty and, in fact, Maks Akymenko has a great write-up on Parcel which is another great alternative worth looking into.
The basic setup
Start by creating a new project directory and initializing it with npm:
## Create the directory
mkdir csstricks-fusebox-react && $_
## Initialize with npm default options
npm init -y
Now we can install some dependencies. We’re going to build the app in React, so we’ll need that as well as react-dom.
npm install --save react react-domNext, we’ll install FuseBox and Typescript as dependencies. We’ll toss Uglify in there as well for help minifying our scripts and add support for writing styles in Sass.
npm install --save-dev fuse-box typescript uglify-js node-sassAlright, now let’s create a src folder in the root of the project directory (which can be done manually). Add the following files (`app.js and index.js) in there, including the contents:
// App.js

import * as React from "react";
import * as logo from "./logo.svg";

const App = () => {
  return (
    <div className="App">
      <header className="App-header">
        <img src={logo} className="App-logo" alt="logo" />
        <h1 className="App-title">Welcome to React</h1>
      </header>
      <p className="App-intro">
        To get started, edit `src/App.js` and save to reload.
      </p>
    </div>
  )
};

export default App;
You may have noticed that we’re importing an SVG file. You can download it directly from the GitHub repo.
// index.js

import * as React from "react";
import * as ReactDOM from "react-dom";
import App from "./App"

ReactDOM.render(
  <App />, document.getElementById('root')
);
You can see that the way we handle importing files is a little different than a typical React app. That’s because FuseBox does not polyfill imports by default.
So, instead of doing this:
import React from "react";...we’re doing this:
import * as React from "react";<!-- ./src/index.html -->
<!DOCTYPE html>
<html lang="en">
<head>
<title>CSSTricks Fusebox React</title>
$css
</head>
<body>
<noscript>
You need to enable JavaScript to run this app.
</noscript>
<div id="root"></div>
$bundles
</body>
</html>Styling isn’t really the point of this post, but let’s drop some in there to dress things up a bit. We’ll have two stylesheets. The first is for the App component and saved as App.css.
/* App.css */

.App {
  text-align: center;
}

.App-logo {
  animation: App-logo-spin infinite 20s linear;
  height: 80px;
}

.App-header {
  background-color: #222;
  height: 150px;
  padding: 20px;
  color: white;
}

.App-intro {
  font-size: large;
}

@keyframes App-logo-spin {
  from {
    transform: rotate(0deg);
  }
  to {
    transform:
        rotate(360deg);
  }
}
The second stylesheet is for index.js and should be saved as index.css:
/* index.css */
body {
  margin: 0;
  padding: 0;
  font-family: sans-serif;
}
OK, we’re all done with the initial housekeeping. On to extending FuseBox with some goodies!
Plugins and configuration
We said earlier that configuring FuseBox is designed to be way less complex than the likes of webpack — and that’s true! Create a file called fuse.js in the root directory of the application.
We start with importing the plugins we’ll be making use of, all the plugins come from the FuseBox package we installed.
const { FuseBox, CSSPlugin, SVGPlugin, WebIndexPlugin } = require("fuse-box");Next, we’ll initialize a FuseBox instance and tell it what we’re using as the home directory and where to put compiled assets:
const fuse = FuseBox.init({
  homeDir: "src",
  output: "dist/$name.js"
});
We’ll let FuseBox know that we intend to use the TypeScript compiler:
const fuse = FuseBox.init({
  homeDir: "src",
  output: "dist/$name.js",
  useTypescriptCompiler: true,
});
We identified plugins in the first line of the configuration file, but now we’ve got to call them. We’re using the plugins pretty much as-is, but definitely check out what the CSSPlugin, SVGPlugin and WebIndexPlugin have to offer if you want more fine-grained control over the options.
const fuse = FuseBox.init({
  homeDir: "src",
  output: "dist/$name.js",
  useTypescriptCompiler: true,
  plugins: [ // HIGHLIGHT
    CSSPlugin(),
    SVGPlugin(),
    WebIndexPlugin({
      template: "src/index.html"
    })
  ]
});

const { FuseBox, CSSPlugin, SVGPlugin, WebIndexPlugin } = require("fuse-box");

const fuse = FuseBox.init({
  homeDir: "src",
  output: "dist/$name.js",
  useTypescriptCompiler: true,
  plugins: [
    CSSPlugin(),
    SVGPlugin(),
    WebIndexPlugin({
      template: "src/index.html"
    })
  ]
});
fuse.dev();
fuse
  .bundle("app")
  .instructions(`>index.js`)
  .hmr()
  .watch()

fuse.run();
FuseBox lets us configure a development server. We can define ports, SSL certificates, and even open the application in a browser on build.
We’ll simply use the default environment for this example:
fuse.dev();It is important to define the development environment *before* the bundle instructions that come next:
fuse
  .bundle("app")
  .instructions(`>index.js`)
  .hmr()
  .watch().
What the heck is this? When we initialized the FuseBox instance, we specified an output using dist/$name.js. The value for $name is provided by the bundle() method. In our case, we set the value as app. That means that when the application is bundled, the output destination will be dist/app.js.
The instructions() method defines how FuseBox should deal with the code. In our case, we’re telling it to start with index.js and to execute it after it’s loaded.
The hmr() method is used for cases where we want to update the user when a file changes, this usually involves updating the browser when a file changes. Meanwhile, watch() re-bundles the bundled code after every saved change.
With that, we’ll cap it off by launching the build process with fuse.run() at the end of the configuration file. Here’s everything we just covered put together:
const { FuseBox, CSSPlugin, SVGPlugin, WebIndexPlugin } = require("fuse-box");
const fuse = FuseBox.init({
homeDir: "src",
output: "dist/$name.js",
useTypescriptCompiler: true,
plugins: [
CSSPlugin(),
SVGPlugin(),
WebIndexPlugin({
template: "src/index.html"
})
]
});
fuse.dev();
fuse
.bundle("app")
.instructions(`>index.js`)
.hmr()
.watch()
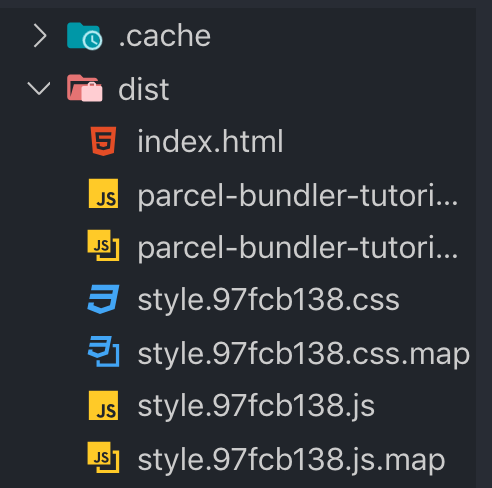
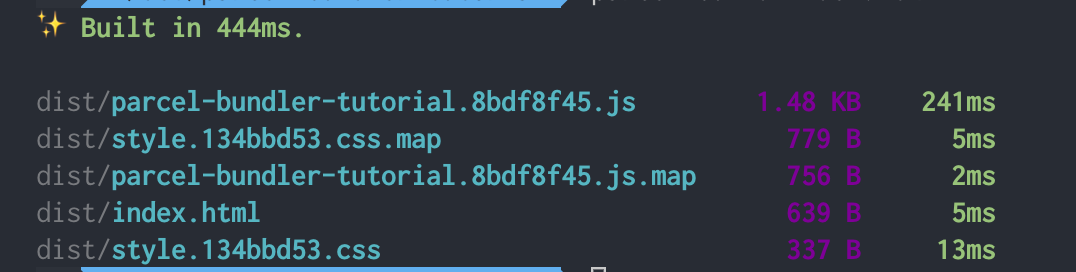
fuse.run();Now we can run the application from the terminal by running node fuse. This will start the build process which creates the dist folder that contains the bundled code and the template we specified in the configuration. After the build process is done, we can point the browser to http://localhost:4444/ to see our app.
Running tasks with Sparky
FuseBox includes a task runner that can be used to automate a build process. It's called Sparky and you can think of it as sorta like Grunt and Gulp, the difference being that it is built on top of FuseBox with built-in access to FuseBox plugins and the FuseBox API.
We don’t have to use it, but task runners make development a lot easier by automating things we’d otherwise have to do manually and it makes sense to use what’s specifically designed for FuseBox.
To use it, we’ll update the configuration we have in fuse.js, starting with some imports that go at the top of the file:
const { src, task, context } = require("fuse-box/sparky");Next, we’ll define a context, which will look similar to what we already have. We’re basically wrapping what we did in a context and setConfig(), then initializing FuseBox in the return:
context({
  setConfig() {
    return FuseBox.init({
      homeDir: "src",
      output: "dist/$name.js",
      useTypescriptCompiler: true,
      plugins: [
        CSSPlugin(),
        SVGPlugin(),
        WebIndexPlugin({
          template: "src/index.html"
        })
      ]
    });
  },
  createBundle(fuse) {
    return fuse
      .bundle("app")
      .instructions(`> index.js`)
      .hmr();
  }
});
It’s possible to pass a class, function or plain object to a context. In the above scenario, we’re passing functions, specifically setConfig() and createBundle(). setConfig() initializes FuseBox and sets up the plugins. createBundle() does what you might expect by the name, which is bundling the code. Again, the difference from what we did before is that we’re embedding both functionalities into different functions which are contained in the context object.
We want our task runner to run tasks, right? Here are a few examples we can define:
task("clean", () => src("dist").clean("dist").exec());
task("default", ["clean"], async (context) => {
  const fuse = context.setConfig();
  fuse.dev();
  context.createBundle(fuse);
  await fuse.run()
});
The first task will be responsible for cleaning the dist directory. The first argument is the name of the task, while the second is the function that gets called when the task runs.
To call the first task, we can do node fuse clean from the terminal.
When a task is named default (which is the first argument as in the second task), that task will be the one that gets called by default when running node fuse — in this case, that’s the second task in our configuration. Other tasks need to be will need to be called explicitly in terminal, like node fuse <task_name>.
So, our second task is the default and three arguments are passed into it. The first is the name of the task (`default`), the second (["clean"]) is an array of dependencies that should be called before the task itself is executed, and the third is a function (fuse.dev()) that gets the initialized FuseBox instance and begins the bundling and build process.
Now we can run things with node fuse in the terminal. You have the option to add these to your package.json file if that’s more comfortable and familiar to you. The script section would look like this:
"scripts": {
  "start": "node fuse",
  "clean": "node fuse clean"
},
That’s a wrap!
All in all, FuseBox is an interesting alternative to webpack for all your application bundling needs. As we saw, it offers the same sort of power that we all tend to like about webpack, but with a way less complicated configuration process that makes it much easier to get up and running, thanks to built-in Typescript support, performance considerations, and a task runner that’s designed to take advantage of the FuseBox API.
What we look at was a pretty simple example. In practice, you’re likely going to be working with more complex applications, but the concepts and principles are the same. It’s nice to know that FuseBox is capable of handling more than what’s baked into it, but that the initial setup is still super streamlined.
If you’re looking for more information about FuseBox, it’s site and documentation are obviously great starting point. the following links are also super helpful to get more perspective on how others are setting it up and using it on projects.
- Introducing FuseBox, an alternative to Webpack
- WebPack is not the only way
- Introduction to FuseBox (YouTube)
The post Working with Fusebox and React appeared first on CSS-Tricks.

