How to Upload Photos from Adobe Lightroom to WordPress

Do you want to add photos from Adobe Lightroom to your WordPress website?

Many photographers use Adobe Lightroom to edit photos before uploading them to WordPress. While editing photos is essential, manually uploading them to WordPress can be a time drain.

In this article, we will show you how to easily upload photos from Adobe Lightroom to WordPress with just one click.

How to upload photos from Adobe Lightroom to WordPress

What is Adobe Lightroom?

Adobe Lightroom is a photo editing suite that helps you make basic changes and adjustments to your images. It is part of Adobe’s Creative Cloud and includes other tools like Photoshop and Illustrator.

Adobe Lightroom lets you manage your pictures and make finishing touches, like adjusting the exposure, contrast, cropping, and more. It is different from Adobe Photoshop, as you don’t get a wide range of editing capabilities and features in Lightroom as you’d get in Photoshop.

Adobe Lightroom is more suitable for professional photographers who want to create a collection and do basic editing.

With the right WordPress plugin, you can connect your Lightroom account to your site and easily upload pictures from your collection.

Let’s see how you can get started.

Requirements for Uploading from Adobe Lightroom to WordPress

First, you will need Adobe Lightroom Classic installed on your computer. Any version after Lightroom 6 or Creative Suite would work. For this, you’ll need to visit the Adobe Creative Cloud website and sign up for an account.

Sign up for adobe creative cloud

Secondly, we will be using Envira Gallery, which is the best gallery plugin for WordPress. It allows you to create beautiful responsive image galleries in WordPress.

Envira Gallery offers a Lightroom Addon, which is available with their Gold, Platinum, Agency, and Pro licenses. This addon provides seamless integration between Adobe Lightroom and your WordPress site.

Let’s take a look at how you can integrate Adobe Lightroom into WordPress.

Setting Up Envira Gallery in WordPress

The first thing you will need to do is install and activate the Envira Gallery plugin. For more details, see our step-by-step guide on how to install a WordPress plugin.

Upon activation, you need to go to the Envira Gallery » Settings page from your WordPress dashboard. You will then need to provide your license key, which can be found on your accounts page on the Envira Gallery website.

Activating the Envira Gallery WordPress plugin

Go ahead and click the ‘Verify Key’ button.

After verifying your license key, you need to go to Envira Gallery » Addons and scroll down to locate the Lightroom Addon.

Next, you can click on the ‘Install’ button.

Install Lightroom addon

Envira Gallery will install the Lightroom addon, and then you need to click on the activate button to enable it.

Next, you will need to go to the Envira Gallery » Settings page and click the ‘Lightroom’ tab.

Lightroom settings in Envira

Here, you will see two options. First, you need to choose the user account you want to use for publishing images from Lightroom. Second, you need to generate an access token.

Simply click on the ‘Generate New Access Token’ button and copy the token as you will need it in the next step.

Don’t forget to click on the Save button to store your settings.

Setting Up Adobe Lightroom Classic on Your Computer

Next, you’ll need to install and set up the Adobe Lightroom Classic app on your computer.

To start, simply visit the Adobe Creative Cloud website and click the ‘Your Creative Cloud’ button at the top. Make sure you’re signed in to your Adobe account.

Go to your creative cloud app

After that, you’ll see your Creative Cloud homepage.

Go ahead and click the ‘Install Creative Cloud app’ option in the right corner under your user name.

Click install creative cloud app

Next, you can save the download file on your computer and install it.

Upon installation, open the Creative Cloud app on your computer. From here, you can go to the ‘Apps’ section and then navigate to Lightroom Classic.

Try Lightroom classic

Go ahead and click the ‘Try’ button under Lightroom Classic.

Next, you’ll need to select a subscription plan. Adobe offers a 7-day free trial, so you can pick a plan and click the ‘Continue’ button.

Select billing for Lightroom classic

After completing the subscription process, Lightroom Classic will start to install on your computer.

Connect Adobe Lightroom Classic to Envira Gallery

Next, you need to install the Envira Gallery addon for Adobe Lightroom.

You can do this by visiting your Envira account area and switching to the ‘Downloads’ tab.

Go to Envira downloads tab

From here, you’ll need to scroll down and navigate to the ‘Lightroom Addon (Adobe)’ option.

Go ahead and click the download icon under the addon.

Download the Lightroom addon

Next, you can save the zip file for the addon on your computer.

In your computer’s downloads folder, you should now see a file enviralrplugin.zip. You need to extract this file because it contains a file named envira.lrplugin.

Mac users can simply double-click the file to unzip it. Windows users can right-click the file and extract its content.

Next, you need to open Adobe Lightroom and click on File » Plugin Manager in the toolbar.

Go to plugin manager

This will bring up the plugin manager window.

Go ahead and click on the Add button and select the ‘envira.lrplugin’ file from your computer.

Add new plugin addon to Lightroom

When you’ve added Enivra addon folder, simply click ‘Done’ to close the plugin manager window.

You should now see Envira Gallery in Adobe Lightroom Classic under the Publish Services section.

View Envira under publish services

You have successfully added Envira Gallery as a publishing service to Adobe Lightroom.

Now that we have setup both Envira Gallery and Lightroom, the next step is to allow Lightroom to speak with Envira Gallery on your WordPress site.

Simply open Adobe Lightroom Classic app and click on the ‘Set Up’ link next to Envira Gallery under the Publish Services panel.

Set up Envira in Lightroom

This will bring up the publishing services manager window.

You will need to provide the address of your WordPress website and the access token you generated earlier.

Enter WordPress access token in Lightroom

Once you do that, click on the ‘Authenticate’ button.

Lightroom will now connect to your WordPress site, and you will see a success message when it has connected to your website successfully.

Successfully connect Envira

Go ahead and click the ‘OK’ button on the success message and then click on the Save button in the publishing services manager window.

Uploading Photos From Lightroom to WordPress

Now you can easily upload photos from Adobe Lightroom Classic to WordPress using Envira Gallery.

Simply start by going into Adobe Lightroom and then right-clicking on Envira under the Publish Services panel. After that click on the ‘Create Published Collection’ option from the menu.

Click create published collection

This will bring up a popup window where you need to provide a name for your collection.

It is important to note that this name will also become the name of your image gallery on your WordPress site.

Enter name of image collection

Once you have chosen the name, click on the Create button to continue. Lightroom will now create an empty collection for you. You can drag and drop images from your library into your new collection.

As soon as you add, remove, or edit images in a collection, you will see a Publish button appear below it. Clicking on the Publish button will upload your photos to WordPress and store them in your Envira Gallery.

Publish your Lightroom collection

You can continue editing your images in Lightroom, make changes, add or remove images, and do anything you want. You can always click on the publish button and your Envira Gallery will get updated because this addon keeps Lightroom synchronized with WordPress.

You can visit your WordPress admin area and go to Envira Gallery to see your Lightroom collection added as a gallery.

View Lightroom collection in Envira

For more details, please see our guide on how to create image galleries with Envira Gallery

We hope this article helped you learn how to upload photos from Adobe Lightroom to WordPress. You may also want to see our guide on image SEO and how to choose the best design software.

If you liked this article, then please subscribe to our YouTube Channel for WordPress video tutorials. You can also find us on Twitter and Facebook.

The post How to Upload Photos from Adobe Lightroom to WordPress first appeared on WPBeginner.

Digging Out Data With Adobe PDF Extract API

There is an untold amount of scientific data in the millions of reports and scientific studies over the past few centuries. While much is digitized into easy-to-use PDF formats, the information inside may still be locked away so that it isn’t as easy as it could be to work with it in an aggregate manner. Our recently released PDF Extract API provides a powerful way to get the raw text of a document and intelligently understand the content within. This article will demonstrate how t use this API to gather and aggregate an extensive data set into a unified whole.
Our Data

For this hypothetical example, I imagine an astronomy organization (aptly named Department of Star Light) that examines the luminosity of stars. Before I say anything more, please note I am not an astronomer nor a scientist. Please remember this is all a hypothetical example. Anyway, the DSL (a government agency, so of course, it goes by an acronym) studies the brightness of a set of stairs. Every year, it creates a multipage report on these stars. The report contains a cover page and then twelve pages of tables representing each month of the year.

Using PDFs With the Jamstack: Adding Search With Text Extraction

A few weeks ago, I shared a couple of blog posts describing how to add PDFs to your Jamstack site. The first talked about using the Adobe PDF Embed API to give you more control over viewing PDFs on an Eleventy site. The second example took it a bit further by using Adobe's PDF Services API to generate thumbnails of the PDFs when the Eleventy site was developed. Since I wrote those posts, we released a new service, the PDF Extraction API.

This API extracts information from your PDF, including:

Using Adobe PDF Services With Amazon Lambda

This article was originally published in September 2021.

Serverless has been one of the hottest trends for many years now and it’s easy to see why. If I could try to encapsulate a huge topic in one nugget, serverless lets developers focus on code and not infrastructure. Of course, there are a heck of a lot of caveats to that statement, but in general, it’s incredibly freeing as a developer to be able to focus on features and not servers.

Use a Chatbot To Generate Documents and E-Sign

Very recently, I was taking a flight and had to change my flight to the following day. Instead of jumping onto a phone call, I was able to work with a chatbot to reschedule. The bot was able to look up my information and saved me a lot of time, and saved me the hassle of listening to muzak waiting on hold.

These days, chatbots are all over the place. They are on websites, built into apps, and even built into intranets and communication tools like Microsoft Teams. According to IBM, chatbots can reduce customer service costs by 30% because they save on expensive call center calls, get answers more quickly for users who prefer to text rather than talk, and give you much more reliable data to improve customer experiences.

Improving the Reader Experience With Adobe Embed API

The Adobe PDF Embed API provides a simple way for web developers to display PDFs on their web pages. While browsers provide good support for rendering PDFs, they do so in an "out of context" manner that takes over the entire screen. The PDF Embed API however lets you place a PDF within your site's layout, providing much better control over the position and size of the rendered document. This improved experience also provides deeper integration into the PDF viewer, letting developers listen for events and perform operations on the document. In this article, I'm going to demonstrate a simple, but hopefully really useful example of this.

Imagine a large document covering many pages, for example, a textbook. Your website users, potentially students, could work with the document over many weeks while school is in session. If the document is a few hundred pages long, it would be incredibly useful to remember where they were in the document when they start reading again. While a large PDF may have bookmarks, even then they could only be for chapters or other sections, not the exact page the user last read. Luckily, the Embed API provides a method to help with this. Let's take a look!

Why You Should Use Adobe Document Generation API With Adobe Sign

Adobe Sign, our cloud-based e-signature service, is used by over 50% of the Fortune 500 and is used for contracts, forms, and all sorts of other use-cases. However, there are also areas where Adobe Sign has some limits, and there are excellent reasons why Adobe Sign, combined with Adobe Document Generation API, makes a fantastic combo.

Adobe Document Generation API is a service included in Adobe PDF Services API that allows you to take your Microsoft Word-based templates and JSON data to merge them into one document with conditional logic, dynamic tables, and other features. In the end, you get a Word or PDF document that can be Adobe Sign-ready. There is even a playground where you can play with Adobe Document Generation API and see how it works.

Creating Your Own Schema With the Adobe Document Generation Word Add-in

When Document Generation API launched a few months ago, we included a Microsoft Word add-in to make it simpler for folks to design their Word templates for use within the API. To use the add-in, you needed to provide data in JSON format, either pasted in or uploaded via an existing file:

This worked perfectly fine if you had your data ready to go, but that wouldn’t always be possible, especially if you’re starting a new project and need to start prototyping quickly. Luckily, our latest update adds a few features to simplify this. Let’s take a quick look at what’s changed. Note — for folks who’ve already installed the Word add-in, it should update automatically for you. Suppose you haven’t installed this add-in yet; head over to our documentation for instructions on how to do it. 

Hands-On With Adobe Document Generation in Microsoft Power Automate

These days, people are looking to automate many everyday actions within their organization. In a world where people are more commonly having smart homes, people get more used to having the bots do much of the tedious work. By becoming more comfortable in this venue, people are expecting more ways to automate tasks at work.

One of the everyday tasks that people need to get done in their work is generating documents. Whether this is contracts, employee on-boarding paperwork, brochures, statements, or invoices, creating documents using Adobe Document Generation can save a considerable amount of time copying and pasting content into Word documents. What’s more, it can also ensure that things are on-brand and consistent.

7 Best Applications for Making Geographical Maps

Maps are used to depict the relationship between key elements. This might include objects, space, an area, etc. Spatial information has long been interpreted using cartography since at least 7 BC. However, it isn’t known when the concept might have originally taken root.

Geographical maps in the modern era are a key aspect for understanding spatial information to collect digital data for commercial reasons associated with places, people, and activities, and educational and scientific purposes. This spatial information can be best mapped using many handy applications. Below is our pick of the 7 best applications for making geographical maps. This list covers both basic and advanced applications, catering to different types of users and applications of geographical maps.

Wrangling Control Over PDFs with the Adobe PDF Embed API

By our last estimate, there are now more PDFs in the world than atoms in the universe (not verified by outside sources) so chances are, from time to time, you’re going to run into a PDF document or two. Browsers do a reasonably good job of handling PDFs. Typically, clicking a link to a PDF will open a new tab in your browser with custom UI and rendering per browser. Here’s the same PDF opened in Edge, Chrome, Firefox, and Safari, respectively:

As expected, each browser puts its own spin on things but one thing is consistent — all of them take over the entire viewport to render the PDF. While this is useful for giving the reader as much real estate to consume the PDF as possible, it would sometimes be desirable to have more control over the PDF experience. This is where the Adobe PDF Embed API comes in. The PDF Embed API is a free JavaScript library that lets you display PDFs inline with the rest of your content along with giving you control over the tools UI, supporting annotations and events, and more. Let’s walk through some examples of what it’s like to work with the library.

Getting a key

Before we begin, you’ll need to register for a key. If you head over to our Getting Started page, you’ll see a link to let you create new credentials:

If you don’t have an account with Adobe yet you’ll need to create one. You’ll be prompted to give the credentials a name and an application domain. While the name isn’t terribly important, the application domain is. The key you get will be restricted to a particular domain. You can only enter one domain here, so to start, you can use localhost or use cdpn.io as the domain if you want to try it on CodePen. If you want to use the API in both local and production environments, you can create multiple projects in the console or use HOSTS file configurations. (The ability to specify multiple domains for credentials is on the radar.)

Hit the lovely blue “Create Credentials” button and you’ll get your key:

If you’re curious and want to see what the Embed API can do right away, click on “Get Code Samples” which brings you to an interactive online demo. But since we’re hardcore coders who build our own editors before we go to work, let’s dive right into a simple example.

Building a demo

First, let’s build an HTML page that hosts our PDF. I’ve been a web developer for twenty years and am now an expert at designing beautiful HTML pages. Here’s what I came up:

<html>
  <head></head>
  <body>
    <h1>Cats are Everything</h1>
    <p>
      Cats are so incredibly awesome that I feel like
      we should talk about them more. Here's a PDF
      that talks about how awesome cats are.
    </p>
		
    <!-- PDF here! -->

    <p>
      Did you like that? Was it awesome? I think it was awesome! 
    </p>
  </body>
</html>

I put it up a bit of CSS, of course:

A heading one that says Cats are Everything, followed by two short paragraphs about cats. The text is white against a green background.

I honestly don’t know why Adobe hired me as a developer evangelist because, clearly, I should be on a design team. Anyway, how do we get our PDF in there? The first step is to add our library SDK:

<script src="https://documentcloud.adobe.com/view-sdk/main.js"></script>

Now we need a bit of JavaScript. When our library loads, it fires an event called adobe_dc_view_sdk.ready. Depending on how you load your scripts and your framework of choice, it’s possible the event fires before you even get a chance to check for it.

We can also check for the existence of window.AdobeDC. We can handle both by chaining to a function that will set up our PDF.

if (window.AdobeDC) displayPDF();
else {
  document.addEventListener("adobe_dc_view_sdk.ready", () => displayPDF());
}

function displayPDF() {
  console.log('Lets do some AWESOME PDF stuff!');
}

Alright, so how do we display the PDF? To accept all the defaults we can use the following snippet:

let adobeDCView = new AdobeDC.View({clientId: ADOBE_KEY, divId: "mypdf" });
adobeDCView.previewFile({
  content:{location: {url: "https://static.raymondcamden.com/enclosures/cat.pdf"}},
  metaData:{fileName: "cat.pdf"}
});

Let’s break that down. First, we create a new AdobeDC.View object. The clientId value is the key from earlier. The divId is the ID of a <div> in the DOM where the PDF will render. I removed the HTML comment I had earlier and dropped in an empty <div> with that ID. I also used some CSS to specify a width and height for it:

#mypdf {
  width: 100%;
  height: 500px;
}

The previewFile method takes two main arguments. The first is the PDF URL. The PDF Embed API works with either URLs or File Promises. For URLs, we want to ensure we’ve got CORS setup properly. The second value is metadata about the PDF which, in this case, is the filename. Here’s the result:

Here’s a complete CodePen of the example, and yes, you can clone this, modify it, and continue to use the key.

You’ll notice the UI contains the same tools you would expect in any PDF viewer, along with things like the ability to add notes and annotations.

Note the “Save” icon in the figure above. When downloaded, the PDF will include the comments and lovely marker drawings.

Customizing the experience

Alright, you’ve seen the basic example, so let’s kick it up a bit and customize the experience. One of the first ways we may do that is by changing the embed mode which controls how the PDF is displayed. The library has four different ones supported:

  • Sized Container — The default mode used to render a PDF inside a <div> container. It renders one page at a time.

  • Full Window — Like Sized Container in that it will “fill” its parent <div>, but displays the entire PDF in one “stream” you can scroll through.
  • In-Line — Displays it in a web page, like Sized Container, but renders every page in a vertical stack. Obviously, don’t use this with some large 99-page PDF unless you hate your users. (But if you already display one of those “Sign up for our newsletter” modal windows when a person visits your site, or your site autoplays videos, then by all means, go ahead and do this.)
  • Lightbox — Displays the PDF in a centered window while greying out the rest of the content. The UI to close the display is automatically included.

To specify a different view, a second argument of options can be passed. For example:

function displayPDF() {
  console.log('Lets do some AWESOME PDF stuff!');
  let adobeDCView = new AdobeDC.View({clientId: ADOBE_KEY, divId: "mypdf" });
  adobeDCView.previewFile({
    content:{location: {url: "https://static.raymondcamden.com/enclosures/cat.pdf"}},
    metaData:{fileName: "cat.pdf"}
  }, 
  {
    embedMode: "IN_LINE"
  });	
}

Note that in in-line mode, the height specified for your div will be ignored so that the PDF can stretch it’s legs a bit. You can view this version of the demo here: https://codepen.io/cfjedimaster/pen/OJpJRKr

Let’s consider another example – using lightbox along with a button lets us give the user the chance to load the PDF when they want. We can modify our HTML like so:

<html>
  <head></head>
  <body>
    <h1>Cats are Everything</h1>
    <p>
      Cats are so incredibly awesome that I feel like
      we should talk about them more. Here's a PDF
      that talks about how awesome cats are.
    </p>
		
    <!-- PDF here! -->
    <button id="showPDF" disabled>Show PDF</button>

    <p>
      Did you like that? Was it awesome? I think it was awesome! 
    </p>
  </body>
</html>

I’ve added a disabled button to the HTML and removed the empty <div>. We won’t need it as the lightbox mode will use a modal view. Now we modify the JavaScript:

const ADOBE_KEY = 'b9151e8d6a0b4d798e0f8d7950efea91';

if(window.AdobeDC) enablePDF();
else {
  document.addEventListener("adobe_dc_view_sdk.ready", () => enablePDF());
}

function enablePDF() {
  let btn = document.querySelector('#showPDF');
  btn.addEventListener('click', () => displayPDF());
  btn.disabled = false;
}

function displayPDF() {
  console.log('Lets do some AWESOME PDF stuff!');
  let adobeDCView = new AdobeDC.View({clientId: ADOBE_KEY });
  adobeDCView.previewFile({
    content:{location: {url: "https://static.raymondcamden.com/enclosures/cat.pdf"}},
    metaData:{fileName: "cat.pdf"}
  }, 
  {
    embedMode: "LIGHT_BOX"
  });	
}

There are two main changes here. First, checking that the library is loading (or has loaded) runs enablePDF, which removes the disabled property from the button and adds a click event. This runs displayPDF. Notice how the initializer does not use the divId anymore. Second, note the embedMode mode change. You can try this yourself via the Pen below.

You have more customization options as well, including tweaking the UI menus and icons to enable and disable various features:

adobeDCView.previewFile({
	content:{location: {url: "https://static.raymondcamden.com/enclosures/cat.pdf"}},
	metaData:{fileName: "cat.pdf"}
}, 
{
	showDownloadPDF: false,
	showPrintPDF: false,
	showAnnotationTools: false,
	showLeftHandPanel: false
});	

You can most likely guess what this does, but here’s a shot with the default options:

And here’s how it looks with those options disabled:

By the way, just so we’re clear, we definitely know that disabling the download button doesn’t “protect” the PDF seen here, the URL is still visible in via View Source.

Again, this is only a small example, so be sure to check the customization docs for more examples.

Working with the API and handling events

Along with customizing the UI, we also get fine grained control over the experience after it’s loaded. This is supported with an API that can return information about the PDF as well as the ability to listen for events.

Working with the API uses the result of the previewFile method. We haven’t used that yet, but it returns a Promise. One use of the API is to get metadata. Here’s an example:

let resultPromise = adobeDCView.previewFile({
  content:{location: {url: "https://static.raymondcamden.com/enclosures/cat.pdf"}},
  metaData:{fileName: "cat.pdf"}
}, { embedMode:"SIZED_CONTAINER" });	

resultPromise.then(adobeViewer => {
  adobeViewer.getAPIs().then(apis => {
    apis.getPDFMetadata()
    .then(result => console.log(result))
    .catch(error => console.log(error));
  });
});

This returns:

{
  'numPages':6,
  'pdfTitle':'Microsoft Word - Document1',
  'fileName':''
}

Along with API calls, we also have deep analytics integration. While the docs go into great detail (and talk about integration with Adobe Analytics), you can handle PDF viewing and interacting events in any way that makes sense to you.

For example, since we know how many pages are in a PDF, and we can listen for events like viewing a page, we can notice when a person has viewed every page. To build this, I modified the JavaScript, like so:

const ADOBE_KEY = 'b9151e8d6a0b4d798e0f8d7950efea91';

//used to track what we've read
const pagesRead = new Set([1]);
let totalPages, adobeDCView, shownAlert=false;

if(window.AdobeDC) displayPDF();
else {
  document.addEventListener("adobe_dc_view_sdk.ready", () => displayPDF());
}

function displayPDF() {
  console.log('Lets do some AWESOME PDF stuff!');
  adobeDCView = new AdobeDC.View({clientId: ADOBE_KEY, divId: "mypdf" });
	
  let resultPromise = adobeDCView.previewFile({
    content:{location: {url: "https://static.raymondcamden.com/enclosures/cat.pdf"}},
    metaData:{fileName: "cat.pdf"}
  }, { embedMode:"SIZED_CONTAINER" });	

  resultPromise.then(adobeViewer => {
    adobeViewer.getAPIs().then(apis => {
      apis.getPDFMetadata()
      .then(result => {
        totalPages = result.numPages;
        console.log('totalPages', totalPages);
        listenForReads();
      })
      .catch(error => console.log(error));
    });
  });
	
}

function listenForReads() {
	
  const eventOptions = {
    enablePDFAnalytics: true
  }

  adobeDCView.registerCallback(
  AdobeDC.View.Enum.CallbackType.EVENT_LISTENER,
  function(event) {
    let page = event.data.pageNumber;
    pagesRead.add(page);
    console.log(`view page ${page}`);
    if(pagesRead.size === totalPages && !shownAlert) {
      alert('You read it all!');
      shownAlert = true;
    }
  }, eventOptions
);

}

Notice that after I get information about the page count, I run a function that starts listening for page viewing events. I use a Set to record each unique page, and when the total equals the number of pages in the PDF, I alert a message. (Of course, we don’t know if the reader actually read the text.) While admiditely a bit lame, you can play with this yourself here:

const ADOBE_KEY = 'b9151e8d6a0b4d798e0f8d7950efea91';

//used to track what we've read
const pagesRead = new Set([1]);
let totalPages, adobeDCView, shownAlert=false;

if(window.AdobeDC) displayPDF();
else {
  document.addEventListener("adobe_dc_view_sdk.ready", () => displayPDF());
}

function displayPDF() {
  console.log('Lets do some AWESOME PDF stuff!');
  adobeDCView = new AdobeDC.View({clientId: ADOBE_KEY, divId: "mypdf" });
	
  let resultPromise = adobeDCView.previewFile({
    content:{location: {url: "https://static.raymondcamden.com/enclosures/cat.pdf"}},
    metaData:{fileName: "cat.pdf"}
  }, { embedMode:"SIZED_CONTAINER" });	

  resultPromise.then(adobeViewer => {
    adobeViewer.getAPIs().then(apis => {
      apis.getPDFMetadata()
      .then(result => {
        totalPages = result.numPages;
        console.log('totalPages', totalPages);
        listenForReads();
      })
      .catch(error => console.log(error));
    });
  });
	
}

function listenForReads() {
	
  const eventOptions = {
    listenOn: [ AdobeDC.View.Enum.PDFAnalyticsEvents.PAGE_VIEW ],
    enablePDFAnalytics: true
  }

  adobeDCView.registerCallback(
    AdobeDC.View.Enum.CallbackType.EVENT_LISTENER,
    function(event) {
      /*
       console.log("Type " + event.type);
       console.log("Data " + JSON.stringify(event.data));
      */
      let page = event.data.pageNumber;
      pagesRead.add(page);
      console.log(`view page ${page}`);
      if(pagesRead.size === totalPages && !shownAlert) {
        alert('You read it all!');
        shownAlert = true;
      }
    }, eventOptions
  );

}

How to learn more

I hope this introduction to the Embed API has been useful. Here are some resources to help you get deeper into it:

  • Start off by perusing the docs as it does a great job going over all the details.
  • We’ve got a live demo that lets you see everything in action and will even generate code for you.
  • If you have questions or need support, we’ve got a forum for questions and you can use the adobe-embed-api on StackOverflow as well.
  • If you need to work with PDFs at the server level, we’ve got the Adobe PDF Tools API as well as a crazy cool Adobe Document Generation tool you may like. These aren’t free like the PDF Embed API, but you can trial them for six months and test them out by signing up.

Lastly, we are absolutely open to feedback on this. If you’ve got suggestions, ideas, questions, or anything else, feel free to reach out!


The post Wrangling Control Over PDFs with the Adobe PDF Embed API appeared first on CSS-Tricks.

You can support CSS-Tricks by being an MVP Supporter.

Formatting Tips and Tricks for Adobe Document Generation API

I’ve been having a fun time playing around with our Adobe Document Generation API service. It provides an easy-to-use API for generating PDFs and Microsoft Word docs based on a template and your data. Today, I will give you a deep dive into another topic — formatting.

When I talk about formatting, I’m talking about ways to display excellent information in your documents. Imagine for a moment the following text in your Microsoft Word document:

Hands-On With Adobe Document Generation API

This week Adobe is proud to announce the availability of the Document Generation API as part of Adobe Document Services. This is a powerful new service that enables developers to generate both Word and PDF documents from a template and dynamic data. This new API is fully supported by our Java, .Net, and Node SDKs already and can be used in any other language via a REST API. Let’s take a look at how this works.

Document generation is done by combining a Word document that acts as a template along with your data. This data could be hard-coded in a JSON file or fetched on the fly from another API. Adobe Document Generation API will take your Word document template, inject your data, and then output either a Word document or PDF as the result. How about a simple demo?

Acrobat on the Web Powered by WebAssembly

PDF documents are a major part of our digital lives and, in an era where we spend most of our time working inside a web browser, enhancing the PDF experience on the web is crucial for providing a seamless, multi-device experience. As the creators of PDF, this led Adobe to envision Acrobat Web; we embarked on our Acrobat Web journey with the introduction of the Document Cloud PDF Embed API in 2019.

The PDF Embed API offers Adobe’s pixel-perfect PDF viewing on the web with the promise of performance and ease of integration on all major browsers. It also offers UI customization and integration with Adobe Analytics. You can see the Embed API in action here.

The End of Adobe Flash

I come to bury Flash, not to praise it, writes Matt May in this excellent thread about the end of Adobe Flash. Not so long ago, web designers used Flash to create striking visuals and animations and games. But shortly after that, it began to replace HTML and CSS which caused a ton of accessibility problems. Most Flash websites weren’t navigable by keyboard and screen readers couldn’t parse them at all.

Matt describes this core problem at the very heart of Flash: the fact that it excluded so many people from the web back then.

“A picture of an interface” is a good way to think about it. But, overall, I reckon this thread is important because it reinforces the idea that we ought to think about accessibility every single day, regardless of whether we’re working on a large web app, a tiny marketing website, or contributing to an enormous JavaScript framework:

Every day we write code, we’re deciding who is welcome and who is not.

Direct Link to ArticlePermalink


The post The End of Adobe Flash appeared first on CSS-Tricks.

You can support CSS-Tricks by being an MVP Supporter.

Adobe MAX 2020 Will Be Free For Everyone to Attend, So Sign Up Now!

Like many other incredible events this year, due to Corona, this year’s Adobe MAX event will be held online.

This may seem like bad news, but there is a good side to it.

This year’s Adobe MAX event will be free for everyone to attend!

If you’re unaware of what an Adobe MAX event is, let me explain.

What is Adobe MAX?

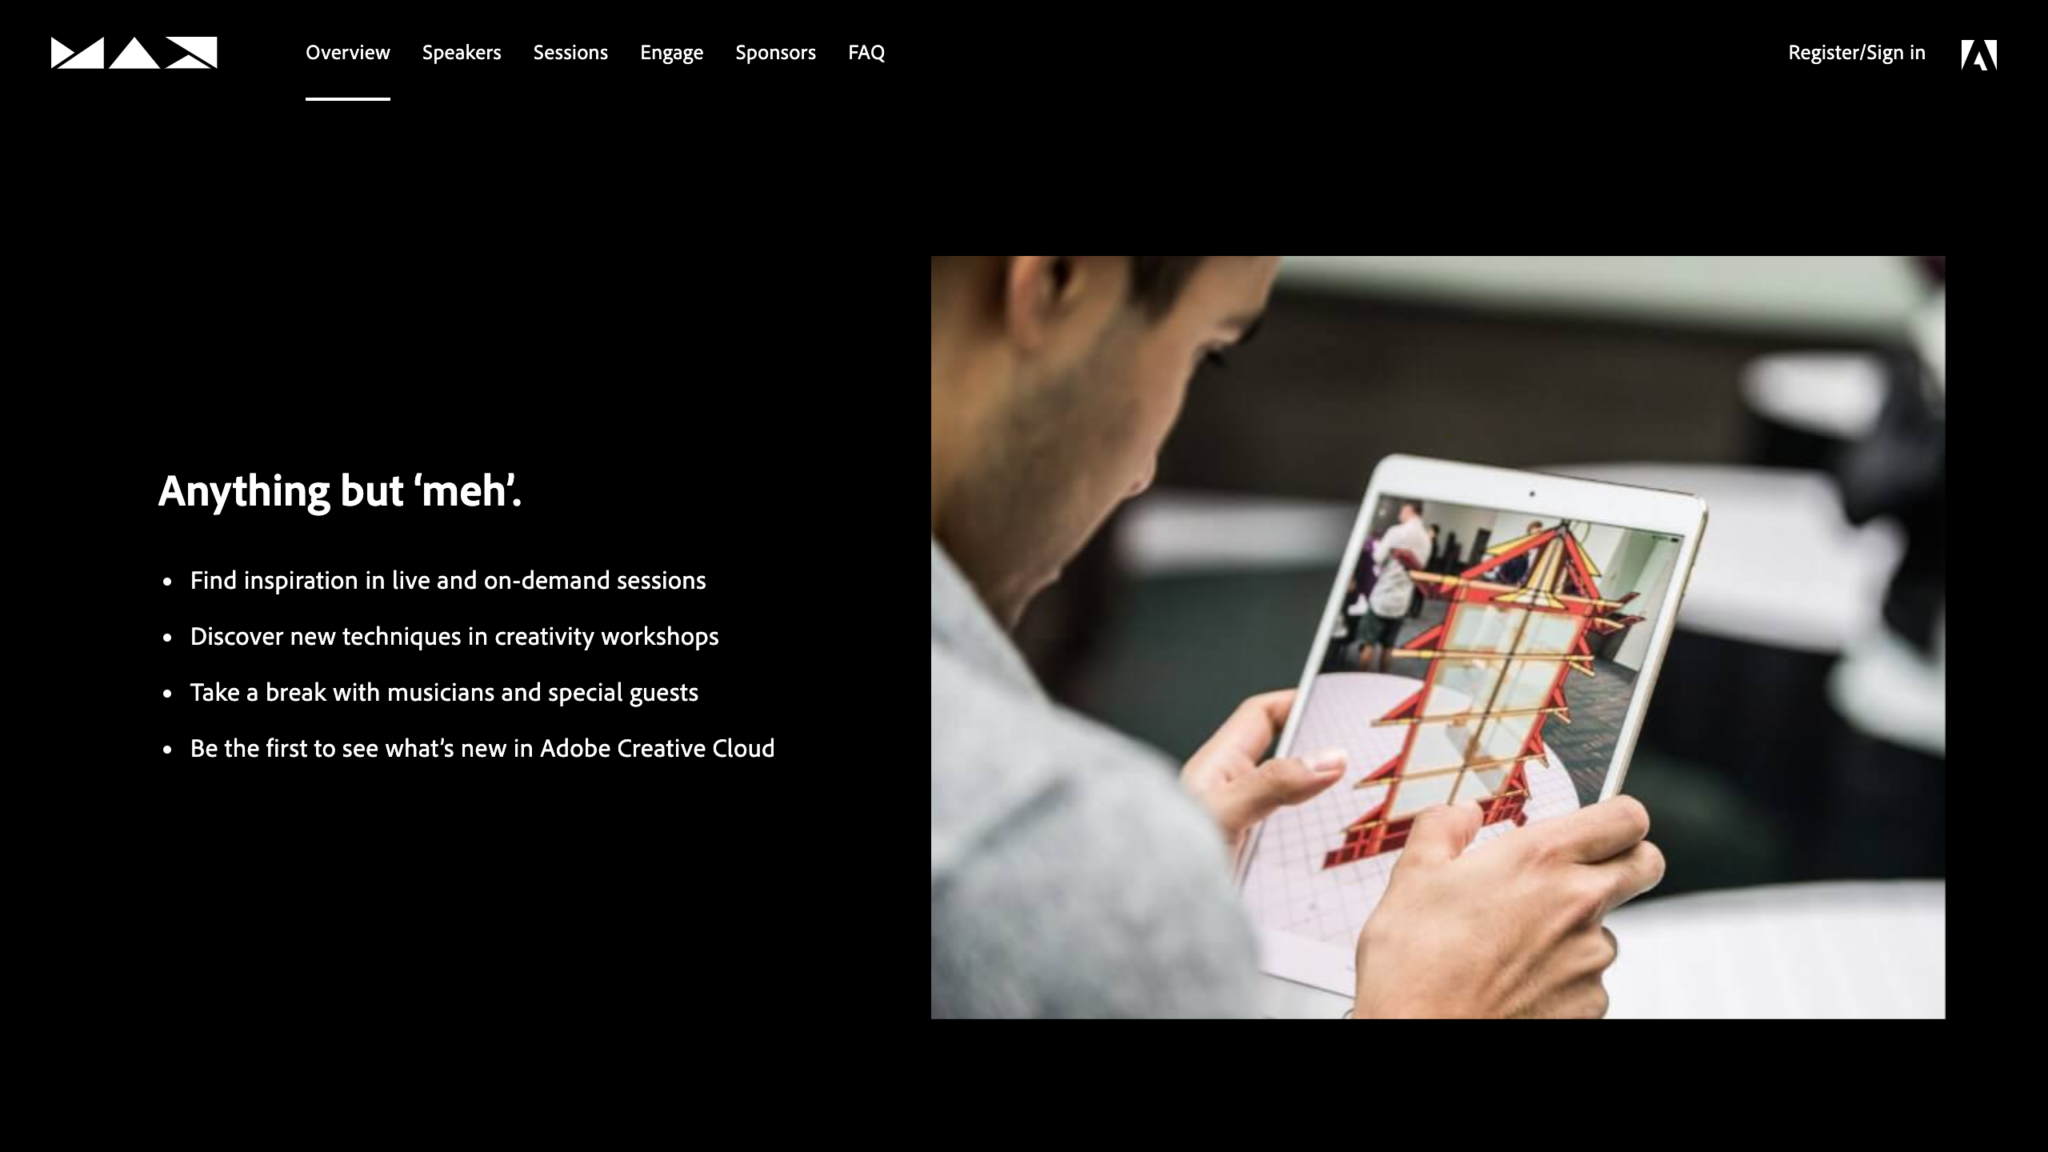
Adobe MAX is a creativity conference where they tease their state-of-the-art experimental technologies for the creative world.

It includes three full days of luminary speakers, celebrity appearances, musical performances, a global collaborative art project, and 350+ sessions — and all at no cost.

That’s 56 hours worth of non-stop inspiration and learning.

Typically, Adobe hosts their events at a single venue, which means that there are limited spots and also, many of us can’t travel to the event.

So, what I’m about to tell you is actually great news.

This year the event will be held virtually for the first time in their event’s history, and most importantly, it’ll be free. But that doesn’t mean that it’ll be lacking in any way, shape, or form.

Who will be speaking at the Adobe MAX 2020 Conference?

If you attend this year’s virtual conference, you will have the amazing opportunity to hear from incredible people like Ava DuVernay, an Academy Award-winning filmmaker, the creative Annie Leibovitz, the amazing Keanu Reeves, The Futur’s founder, Chris Do, recording artist Tyler the Creator, and so many other creative luminaries and celebrity speakers.

When will the Adobe MAX conference take place this year?

Adobe MAX 2020 will be held online on October 20-22, so you better get your tickets now!

How do I sign up for the Adobe MAX 2020 Conference?

The answer to that question is simple.

All you have to do is sign-up is go on this website and register to participate.

That’s literally it. Go ahead and sign-up now before it’s too late!

Are you guys pumped to attend this year’s Adobe Max event?

Have you ever been to one in the past?

Let us know your experiences in the comments below and see you there!

Read More at Adobe MAX 2020 Will Be Free For Everyone to Attend, So Sign Up Now!

An Intro to Adobe Edge Web Fonts: Updated for 2020

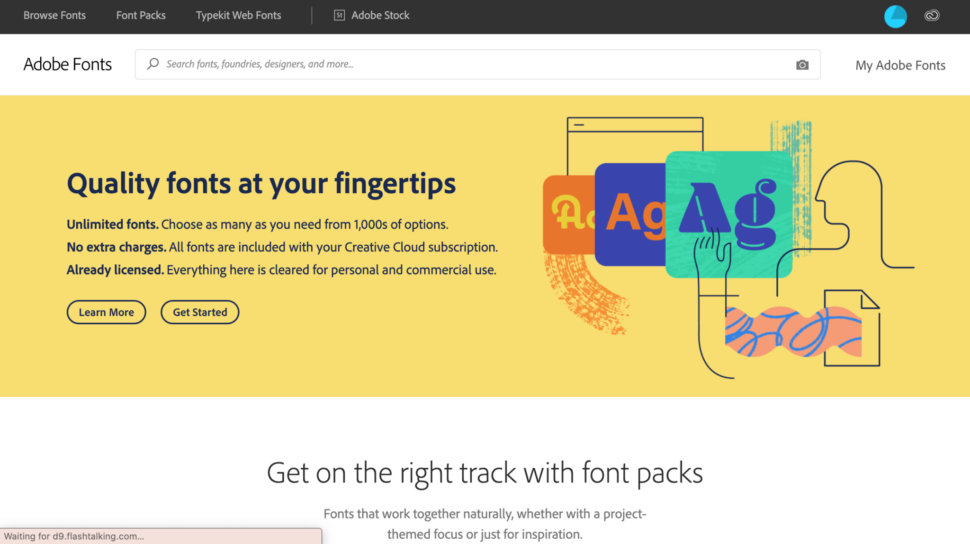
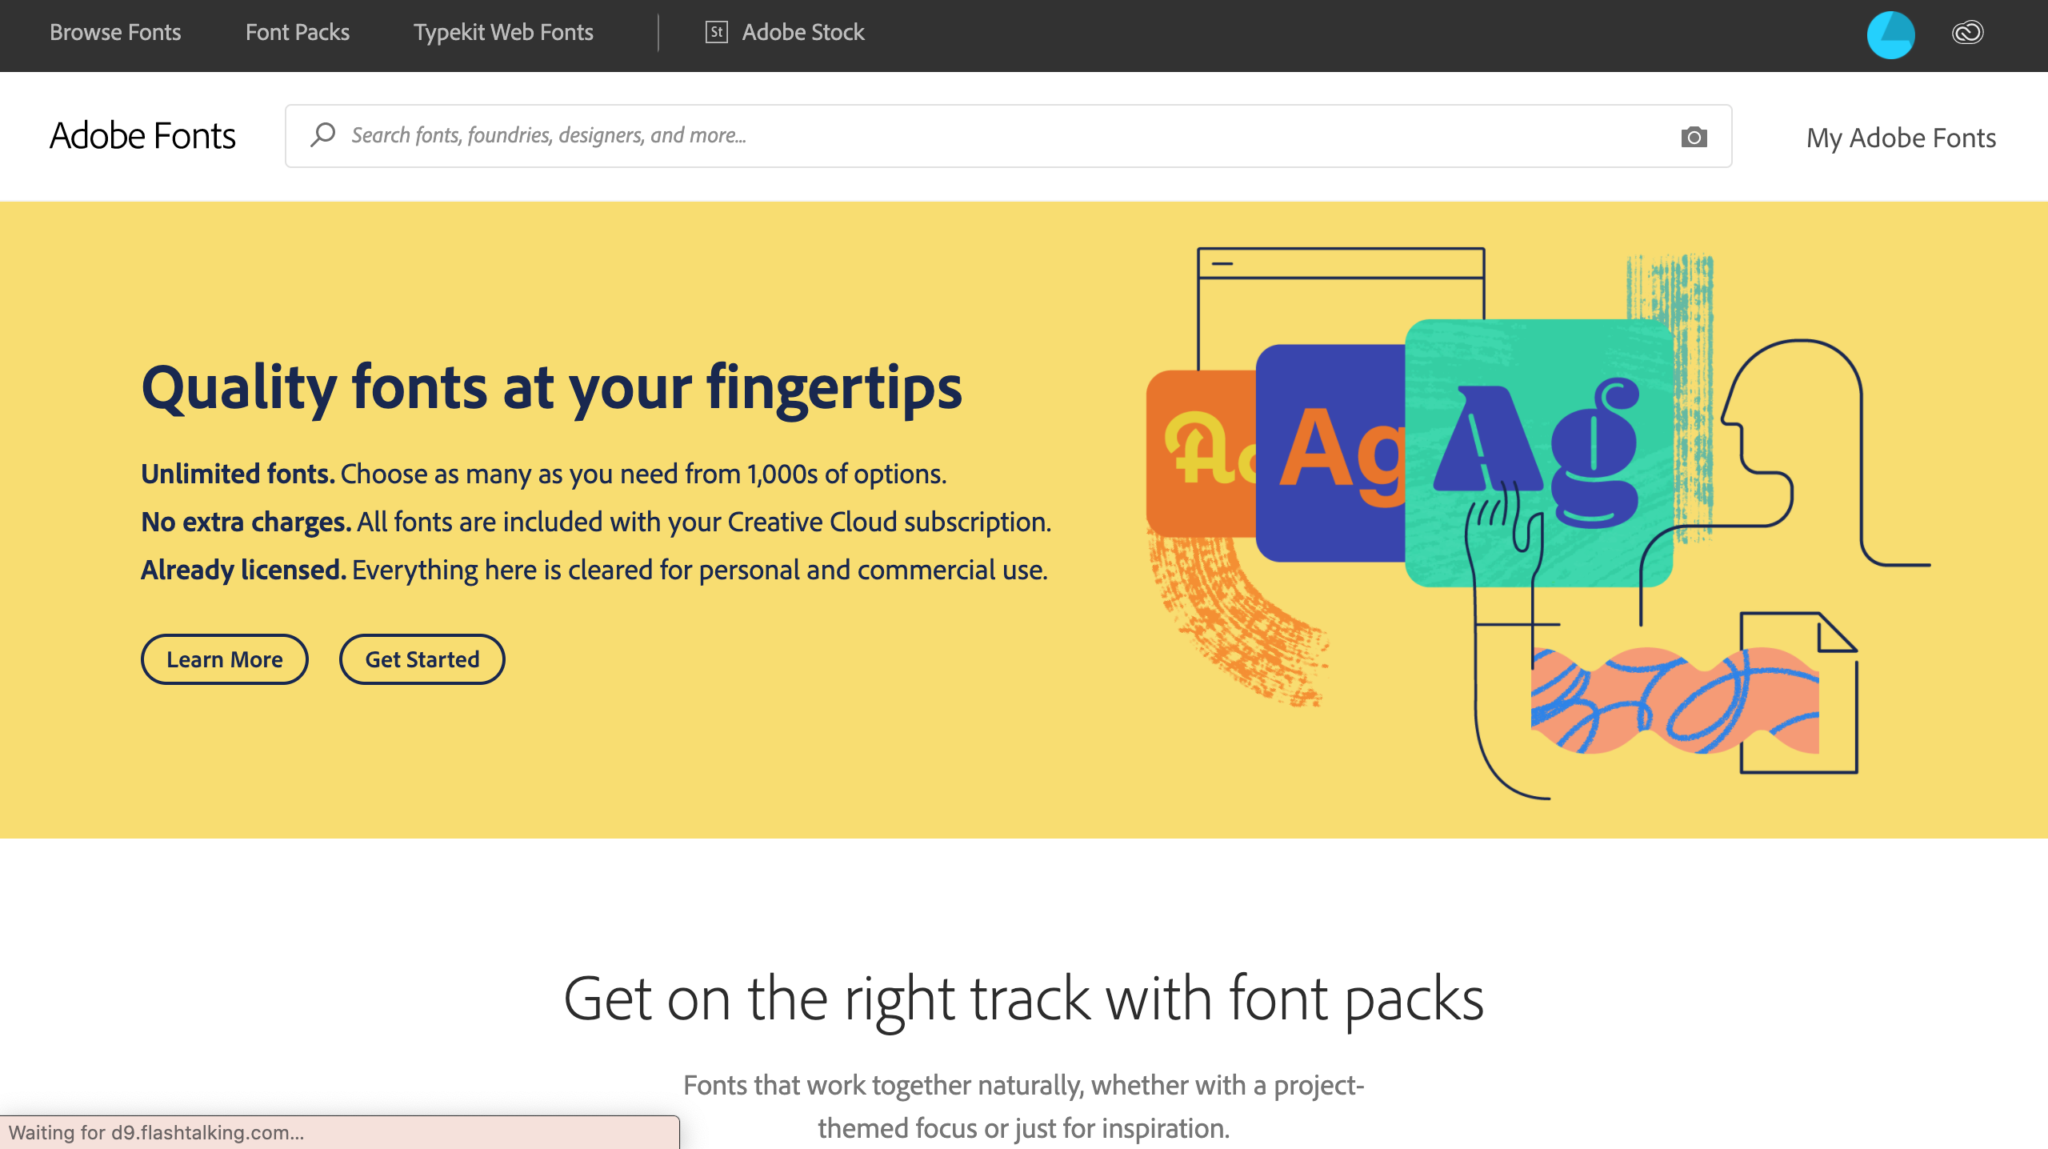
Adobe Fonts homepage screenshot 2020

With the release of Creative Cloud 2015, Adobe has continued its tradition of generating a buzz in the tech sector.

In addition to major updates on their programs like Photoshop and Illustrator, Adobe has also released a new platform named Adobe Edge Web Fonts.

Edge Fonts is a stunning font foundry that web designers can use 100% free for all design work.

If you’re familiar with Adobe and the creative cloud platform then you know about TypeKit.

This is Adobe’s premium font service which costs money.

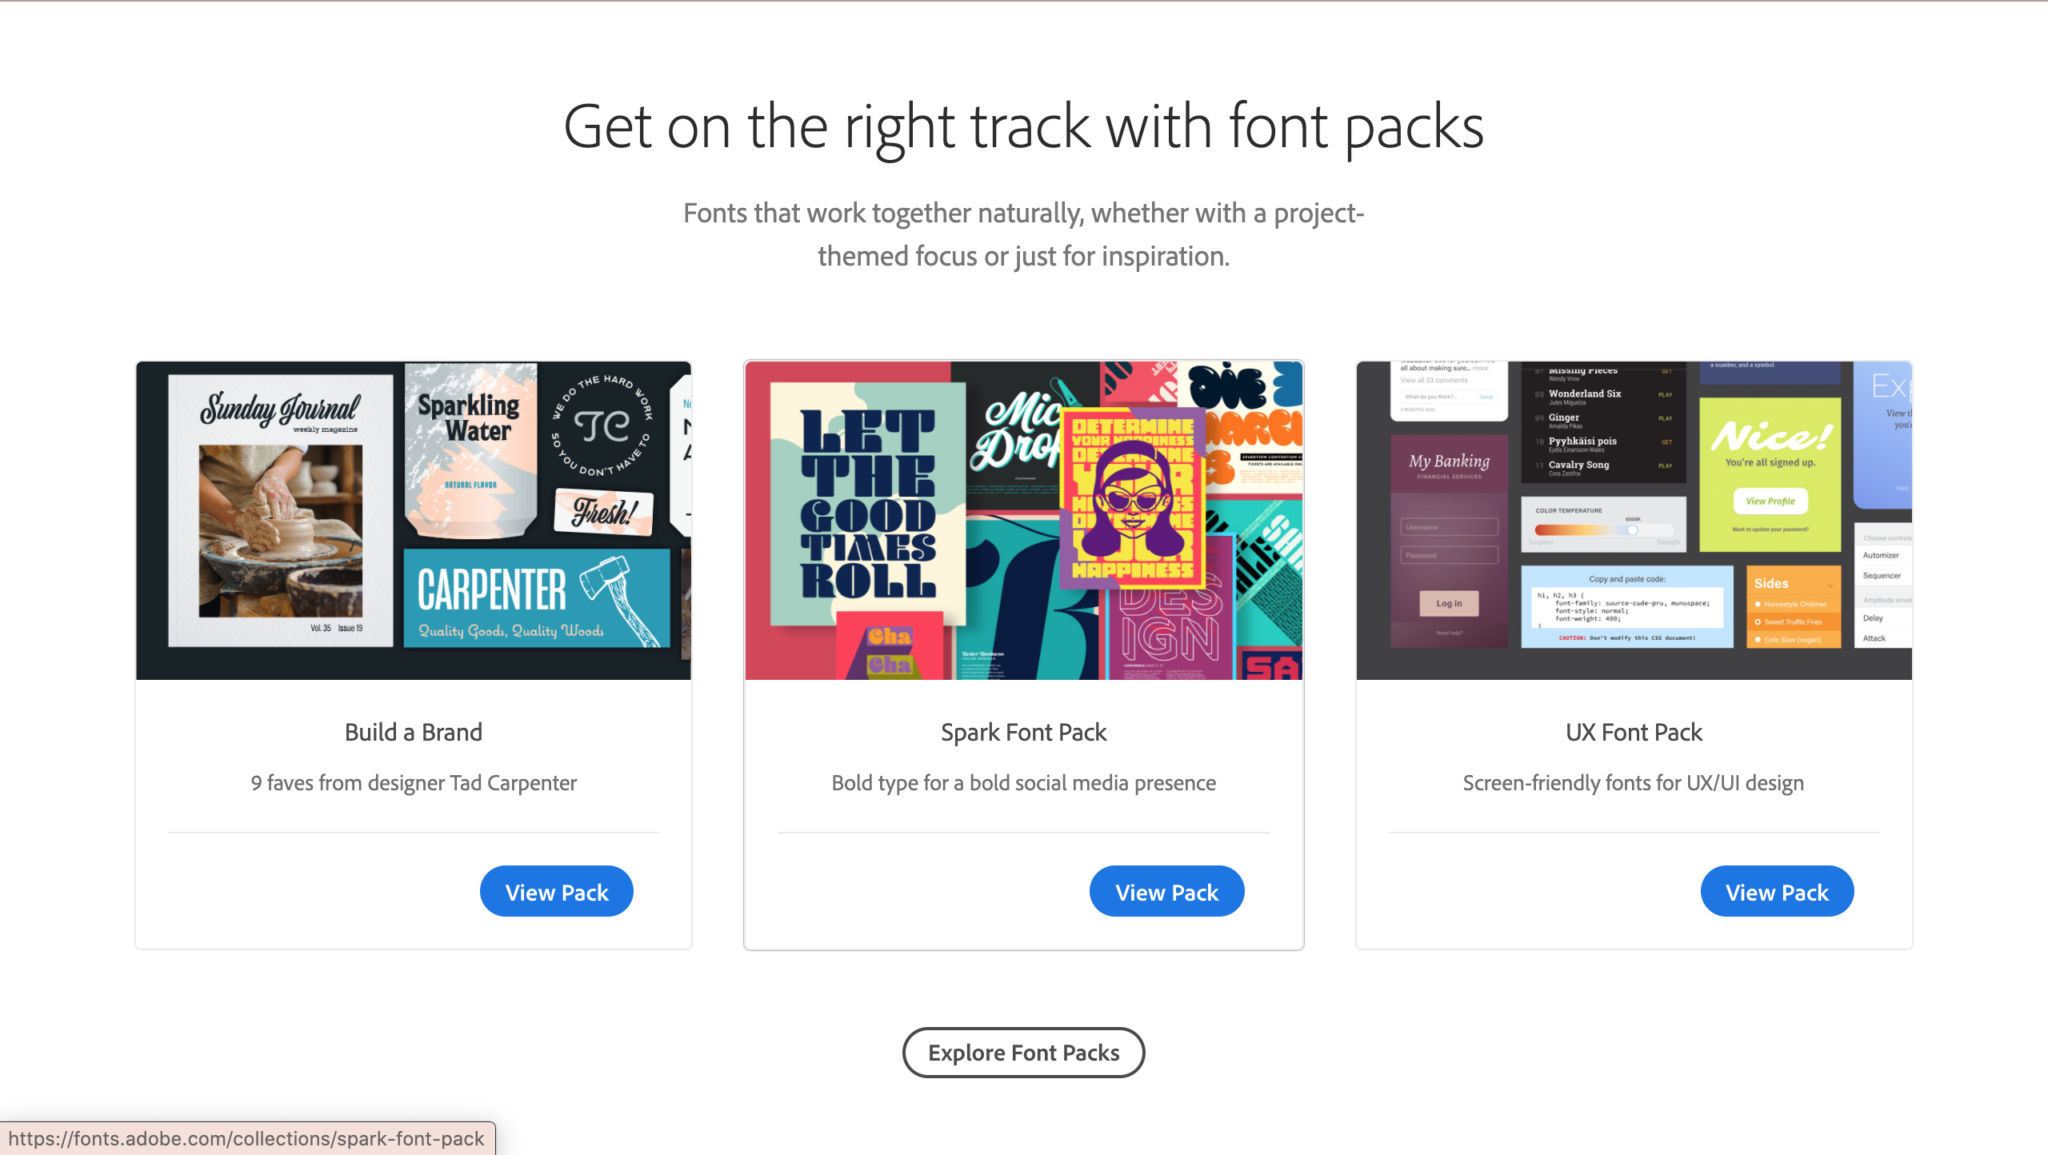
adobe font packs 2020

But with the release of Edge Fonts Adobe now provides an alternative to TypeKit, offering web designers over 500 different font-families to choose from.

I’ll give you an overview of Edge Web Fonts and why designers should be excited about this amazing collection of typefaces.

Edge Web Fonts Homepage

Worth the Wait

In the recent past Google has dominated the web font game. Simply put, no other service provided an extensive collection of web fonts for free.

There is no denying that Adobe TypeKit is extremely popular among web designers. But the price of TypeKit often caused people to stray from using it.

Because Edge Web Fonts is free to use commercially, Adobe now provides an alternative to the once unrivaled Google Webfonts.

Edge Web Fonts aims to provide a free service that is easy to use.

Just like Google Fonts, a person does not need any sort of account to utilize Edge Fonts library (Scroll down for an update on this).

In addition to being easy to use, Edge Fonts is powered by the TypeKit font service.

Users can expect high-end performance and stability for their web fonts.

Edge Web Fonts User Interface

Edge Web Fonts UI

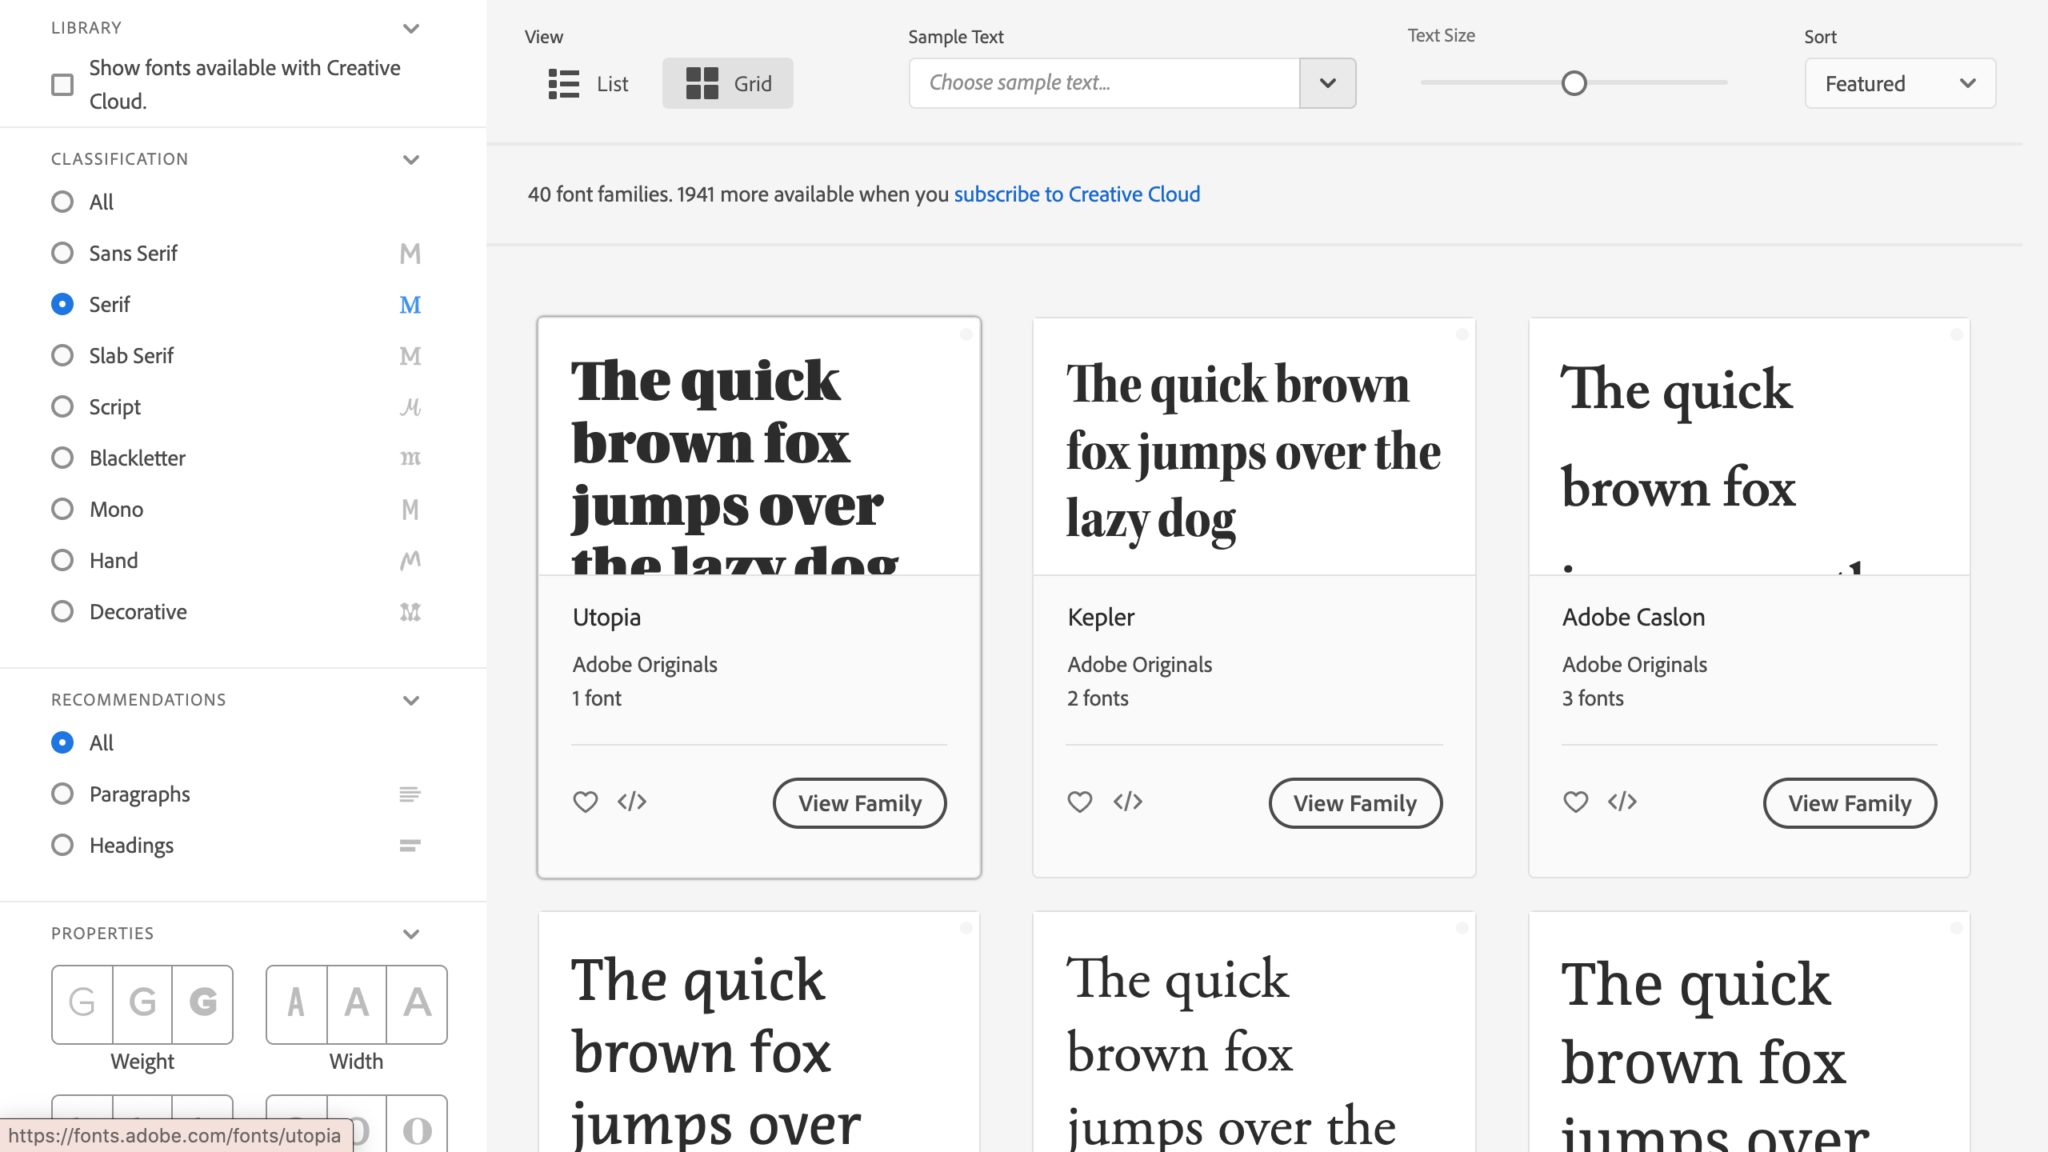
In the image above you can see the interface Edge Web Fonts provides for choosing fonts.

For those of you who’ve used Typekit in the past, you’ll notice the Edge Fonts website is strikingly similar to that of TypeKit.

As a TypeKit user myself I think this is pretty important to note.

The user interface was one of the main reasons why I continued to use TypeKit, and now Adobe is providing this to web designers for free.

Edge Web Fonts Serif Filter

In the example above I’ve narrowed the choices down to only serif fonts in order to show you a basic example of how Adobe’s interface works.

Although this may not seem very powerful, it allows you to sift through font faces that are alike in some way.

Edge Fonts also allows you to search fonts depending on whether they will be used as a heading or paragraph text.

This interface is much easier to choose the most appropriate font for whatever environment you’re designing.

Google Fonts is indeed a tremendous font foundry for web designers, however, sifting through the extensive number of fonts can become a problem.

It seems Edge Web Fonts has a leg up in this regard.

Adobe Edge Web Fonts – 2020 Update

Adobe Fonts homepage screenshot 2020

In 2018, Typekit was finally and officially renamed as Adobe Fonts.

And that was great for all of us. With this new name came many new, much-needed updates.

For example, there are no more web-only fonts, no more desktop sync limits, and no more pageview limits.

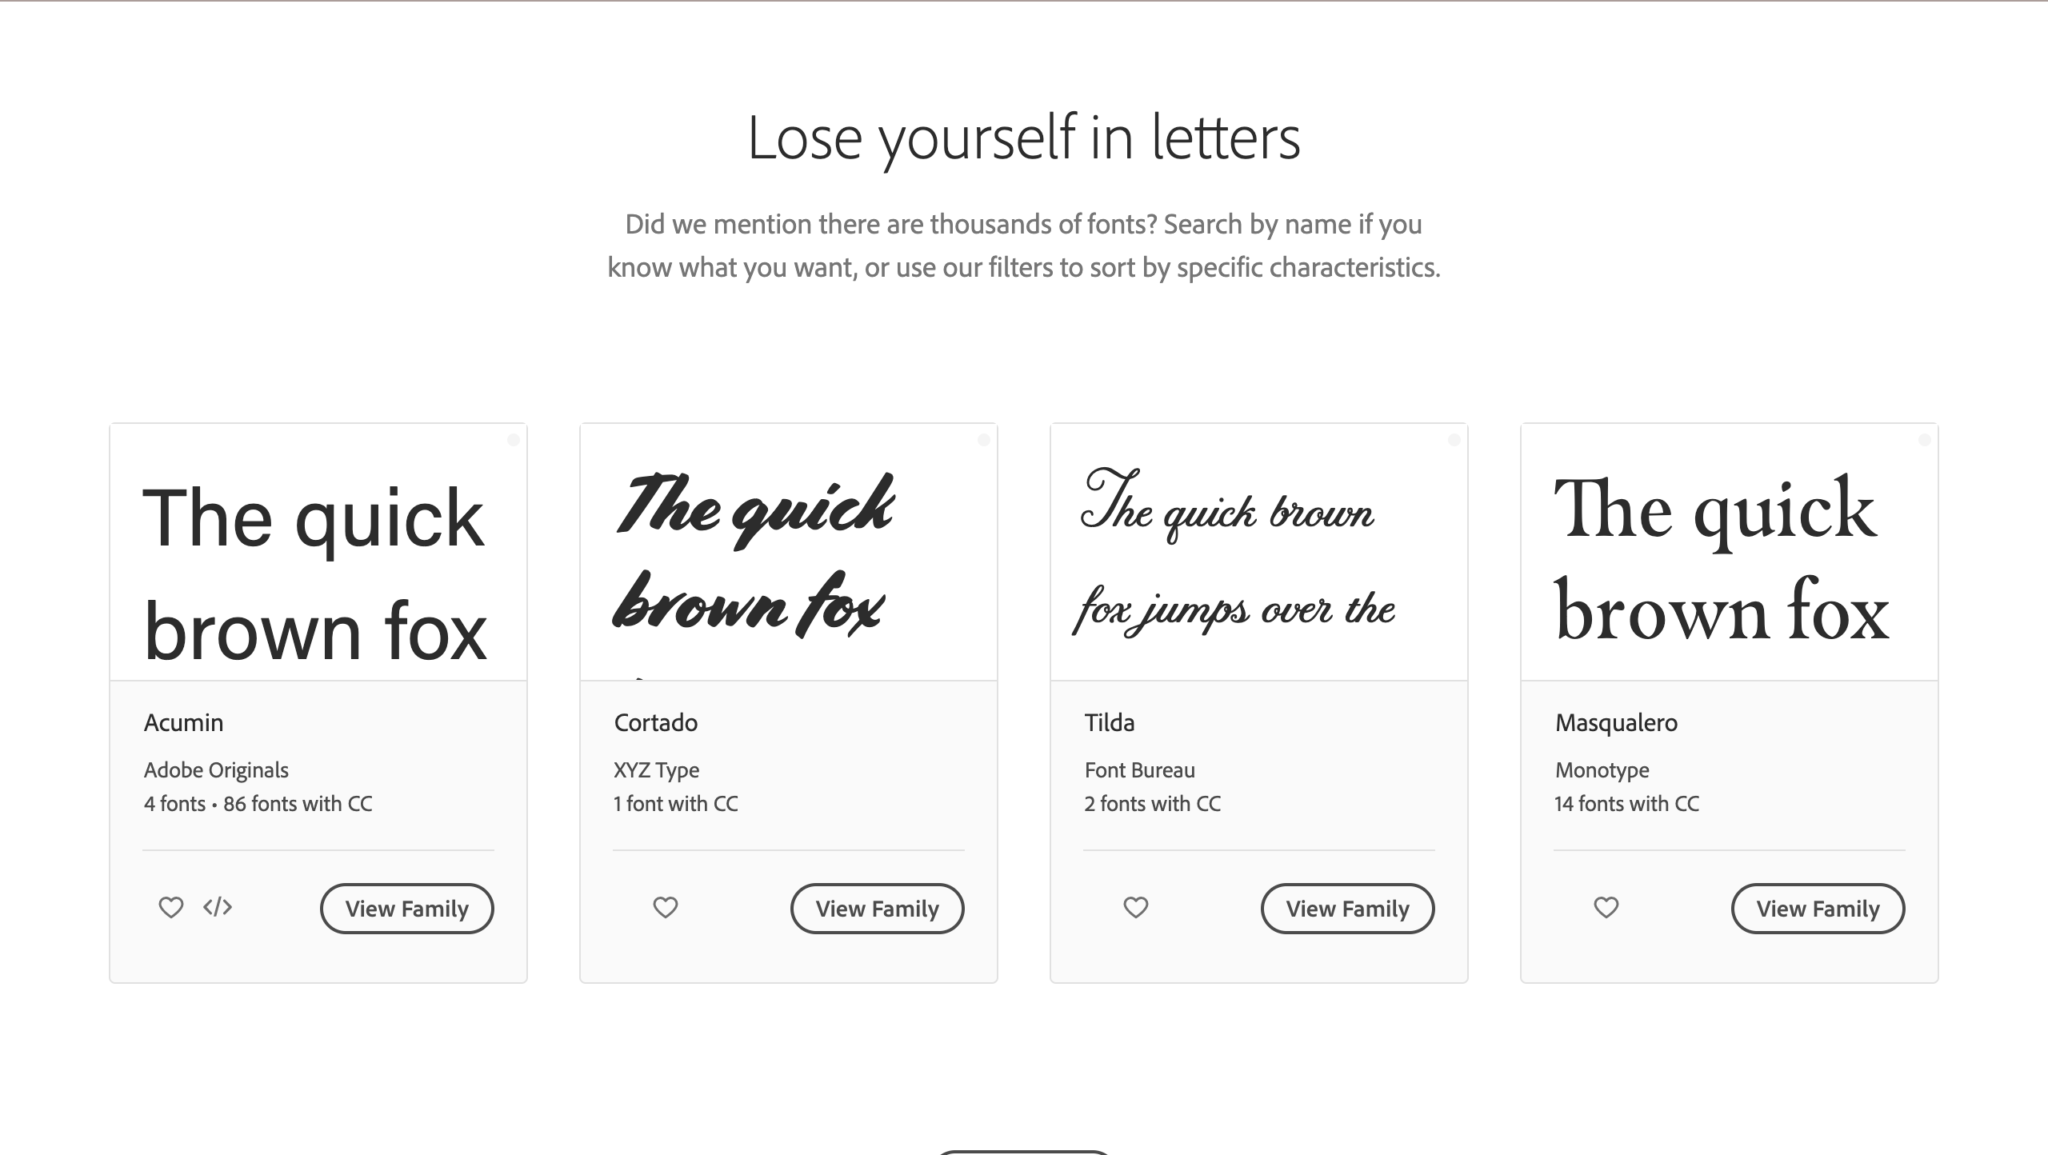
And now instead of only having 500 fonts like there were when it Adobe fonts was first released, there are now thousands of fonts for you to choose from.

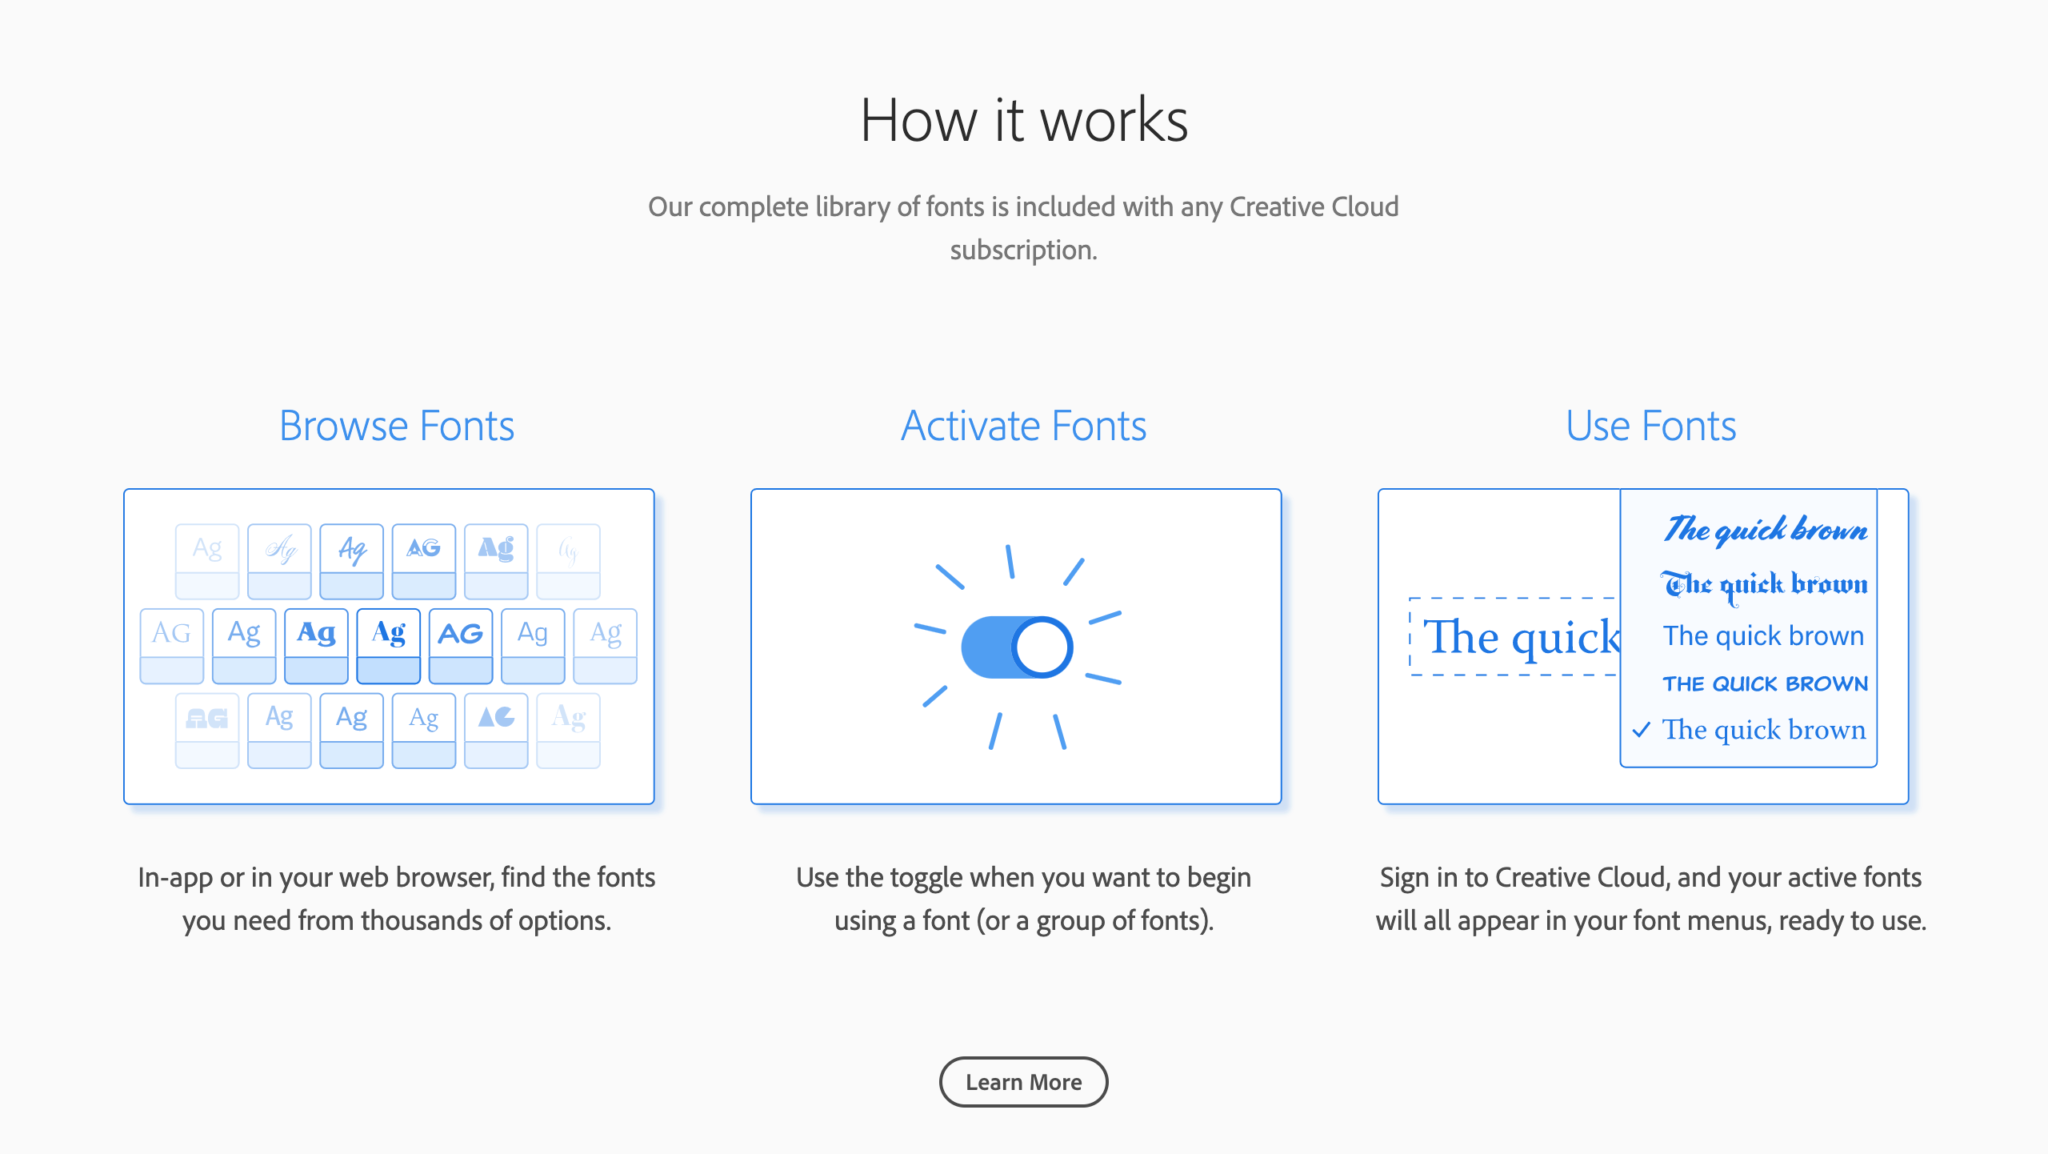
thousands of fonts on Adobe Fonts

Adobe Fonts is free to use IF you have a subscription to any one of their products.

It is no longer a standalone product like it was when it was Typekit.

That is a bummer, but hey, you gotta do what you gotta do.

And chances are, you probably have a subscription to Adobe.

So you should be good to go.

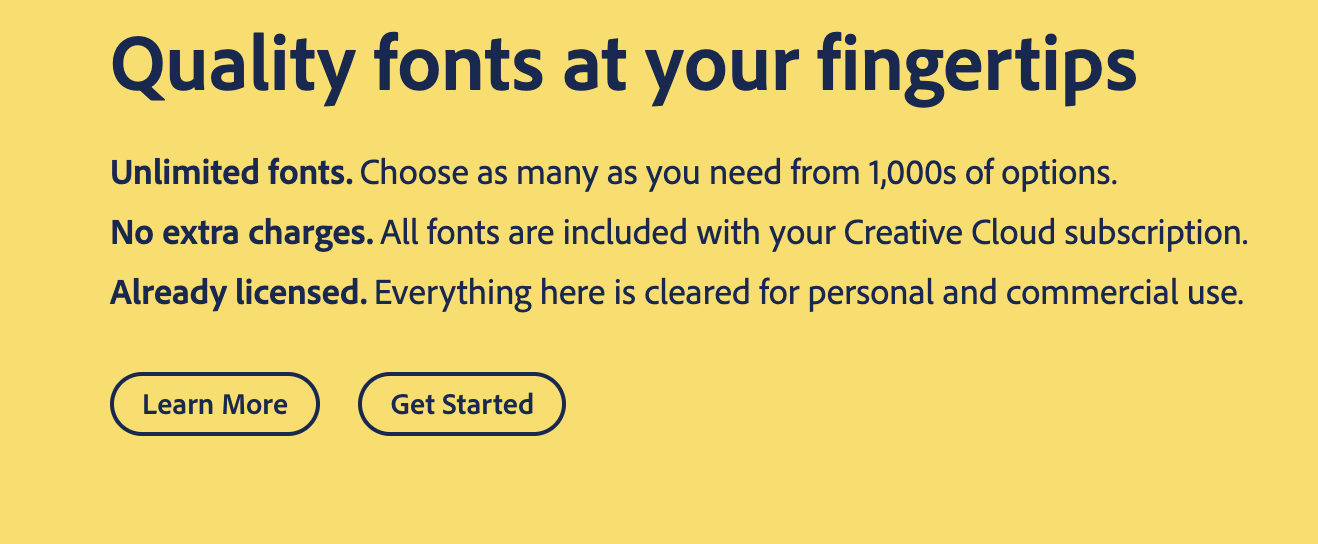
adobe fonts free price

The great thing about Adobe Fonts is that you don’t have to worry about finding the rights to any font you fall in love with, as Adobe takes care of all of that for you!

All fonts are free to use for personal and commercial use.

This means that once you find that perfect font for your project, that’s literally it.

No more contacting the owner and buying the rights to it.

That’s right, you just get to keep the perfect font.

Isn’t that amazing?

Top 10 Adobe Fonts Designers Use

Before we end our time together today, I want to show you my top 10 favorite fonts from Adobe Fonts.

If you’re not convinced that you need to be using Adobe Fonts yet, well, after this, I’m almost certain you will be.

1. Acumin

Acumin adobe fonts 2020

2. ITC Avant Garde Gothic

ITC Avant Garde 2020 adobe fonts

3. Orpheus

4. ITC Benguiat

5. Plantin

6. Minion

Adobe fonts 2020

7. Franklin Gothic

8. Proxima Nova

9. Baskerville

10. Mrs Eaves

Conclusion

In order to truly grasp the power of Edge Web Fonts you’ll have to check it out for yourself.

Not only does it provide an extensive number of fonts, it also makes the process of finding them quick & easy. Also you should remember that Edge Web Fonts provides premier performance for your font styles by utilizing TypeKit!

You’ll surely not be disappointed when you see what has been given to web designers with the incredible Edge Web Fonts service.

Read More at An Intro to Adobe Edge Web Fonts: Updated for 2020