I spend a lot of time in DevTools, and I’m sure you do too. Sometimes I even bounce between them, especially when I’m debugging cross-browser issues. DevTools is a lot like browsers themselves — not all of the features in one browser’s DevTools will be the same or supported in another browser’s DevTools.
But there are quite a few DevTools features that are interoperable, even some lesser-known ones that I’m about to share with you.
For the sake of brevity, I use “Chromium” to refer to all Chromium-based browsers, like Chrome, Edge, and Opera, in the article. Many of the DevTools in them offer the exact same features and capabilities as one another, so this is just my shorthand for referring to all of them at once.
Search nodes in the DOM tree
Sometimes the DOM tree is full of nodes nested in nodes that are nested in other nodes, and so on. That makes it pretty tough to find the exact one you’re looking for, but you can quickly search the DOM tree using Cmd + F (macOS) or Ctrl + F (Windows).
Additionally, you can also search using a valid CSS selector, like .red, or using an XPath, like //div/h1.
Searching text in Chrome DevTools (left), selectors in Firefox DevTools (center), and XPath in Safari DevTools (right)
In Chromium browsers, the focus automatically jumps to the node that matches the search criteria as you type, which could be annoying if you are working with longer search queries or a large DOM tree. Fortunately, you can disable this behavior by heading to Settings (F1) → Preferences → Global → Search as you type → Disable.
After you have located the node in the DOM tree, you can scroll the page to bring the node within the viewport by right-clicking on the nod, and selecting “Scroll into view”.
Access nodes from the console
DevTools provides many different ways to access a DOM node directly from the console.
For example, you can use $0 to access the currently selected node in the DOM tree. Chromium browsers take this one step further by allowing you to access nodes selected in the reverse chronological order of historic selection using, $1, $2, $3, etc.
Another thing that Chromium browsers allow you to do is copy the node path as a JavaScript expression in the form of document.querySelector by right-clicking on the node, and selecting Copy → Copy JS path, which can then be used to access the node in the console.
Here’s another way to access a DOM node directly from the console: as a temporary variable. This option is available by right-clicking on the node and selecting an option. That option is labeled differently in each browser’s DevTools:
Chromium: Right click → “Store as global variable”
Firefox: Right click → “Use in Console”
Safari: Right click → “Log Element”
Access a node as a temporary variable in the console, as shown in Chrome (left), Firefox (center), and Safari (right)
Visualize elements with badges
DevTools can help visualize elements that match certain properties by displaying a badge next to the node. Badges are clickable, and different browsers offer a variety of different badges.
In Safari, there is a badge button in the Elements panel toolbar which can be used to toggle the visibility of specific badges. For example, if a node has a display: grid or display: inline-grid CSS declaration applied to it, a grid badge is displayed next to it. Clicking on the badge will highlight grid areas, track sizes, line numbers, and more, on the page.
Grid overlay with badges in Safari DevTools
The badges that are currently supported in Firefox’s DevTools are listed in the Firefox source docs. For example, a scroll badge indicates a scrollable element. Clicking on the badge highlights the element causing the overflow with an overflow badge next to it.
In Chromium browsers, you can right-click on any node and select “Badge settings…” to open a container that lists all of the available badges. For example, elements with scroll-snap-type will have a scroll-snap badge next to it, which on click, will toggle the scroll-snap overlay on that element.
Taking screenshots
We’ve been able to take screenshots from some DevTools for a while now, but it’s now available in all of them and includes new ways to take full-page shots.
The process starts by right-clicking on the DOM node you want to capture. Then select the option to capture the node, which is labeled differently depending on which DevTools you’re using.
Chrome (left), Safari (middle), and Firefox (right)
Repeat the same steps on the html node to take a full-page screenshot. When you do, though, it’s worth noting that Safari retains the transparency of the element’s background color — Chromium and Firefox will capture it as a white background.
Comparing screenshots in Safari (left) and Chromium (right)
There’s another option! You can take a “responsive” screenshot of the page, which allows you to capture the page at a specific viewport width. As you might expect, each browser has different ways to get there.
Chromium: Cmd + Shift + M (macOS) or Ctrl + Shift + M (Windows). Or click the “Devices” icon next to the “Inspect” icon.
Launching responsive design mode in Safari (left), Firefox (right), and Chromium (bottom)
Chrome tip: Inspect the top layer
Chrome lets you visualize and inspect top-layer elements, like a dialog, alert, or modal. When an element is added to the #top-layer, it gets a top-layer badge next to it, which on click, jumps you to the top-layer container located just after the </html> tag.
The order of the elements in the top-layer container follows the stacking order, which means the last one is on the top. Click the reveal badge to jump back to the node.
Firefox tip: Jump to ID
Firefox links the element referencing the ID attribute to its target element in the same DOM and highlights it with an underline. Use CMD + Click (macOS) or CTRL + Click (Windows) )to jump to the target element with the identifier.
Wrapping up
Quite a few things, right? It’s awesome that there are some incredibly useful DevTools features that are supported in Chromium, Firefox, and Safari alike. Are there any other lesser-known features supported by all three that you like?
There are a few resources I keep close by to stay on top of what’s new. I thought I’d share them with here:
DevTools Tips (Patrick Brosset): A curated collection of helpful cross-browser DevTools tips and tricks.
Dev Tips (Umar Hansa): DevTools tips sent to your inbox!
In this article, we will use Next.js to build a static blog framework with the design and structure inspired by Jekyll. I’ve always been a big fan of how Jekyll makes it easier for beginners to setup a blog and at the same time also provides a great degree of control over every aspect of the blog for the advanced users.
With the introduction of Next.js in recent years, combined with the popularity of React, there is a new avenue to explore for static blogs. Next.js makes it super easy to build static websites based on the file system itself with little to no configuration required.
The directory structure of a typical bare-bones Jekyll blog looks like this:
.
├─── _posts/          ...blog posts in markdown
├─── _layouts/        ...layouts for different pages
├─── _includes/       ...re-usable components
├─── index.md         ...homepage
└─── config.yml       ...blog config
The idea is to design our framework around this directory structure as much as possible so that it becomes easier to migrate a blog from Jekyll by simply reusing the posts and configs defined in the blog.
For those unfamiliar with Jekyll, it is a static site generator that can transform your plain text into static websites and blogs. Refer the quick start guide to get up and running with Jekyll.
This article also assumes that you have a basic knowledge of React. If not, React’s getting started page is a good place to start.
Installation
Next.js is powered by React and written in Node.js. So we need to install npm first, before adding next, react and react-dom to the project.
mkdir nextjs-blog && cd $_
npm init -y
npm install next react react-dom --save
To run Next.js scripts on the command line, we have to add the next command to the scripts section of our package.json.
"scripts": {
  "dev": "next"
}
We can now run npm run dev on the command line for the first time. Let’s see what happens.
$ npm run dev
> nextjs-blog@1.0.0 dev /~user/nextjs-blog
> next

ready - started server on http://localhost:3000
Error: > Couldn't find a `pages` directory. Please create one under the project root
The compiler is complaining about a missing pages directory in the root of the project. We’ll learn about the concept of pages in the next section.
Concept of pages
Next.js is built around the concept of pages. Each page is a React component that can be of type .js or .jsx which is mapped to a route based on the filename. For example:
Let’s create the pages directory in the root of the project and populate our first page, index.js, with a basic React component.
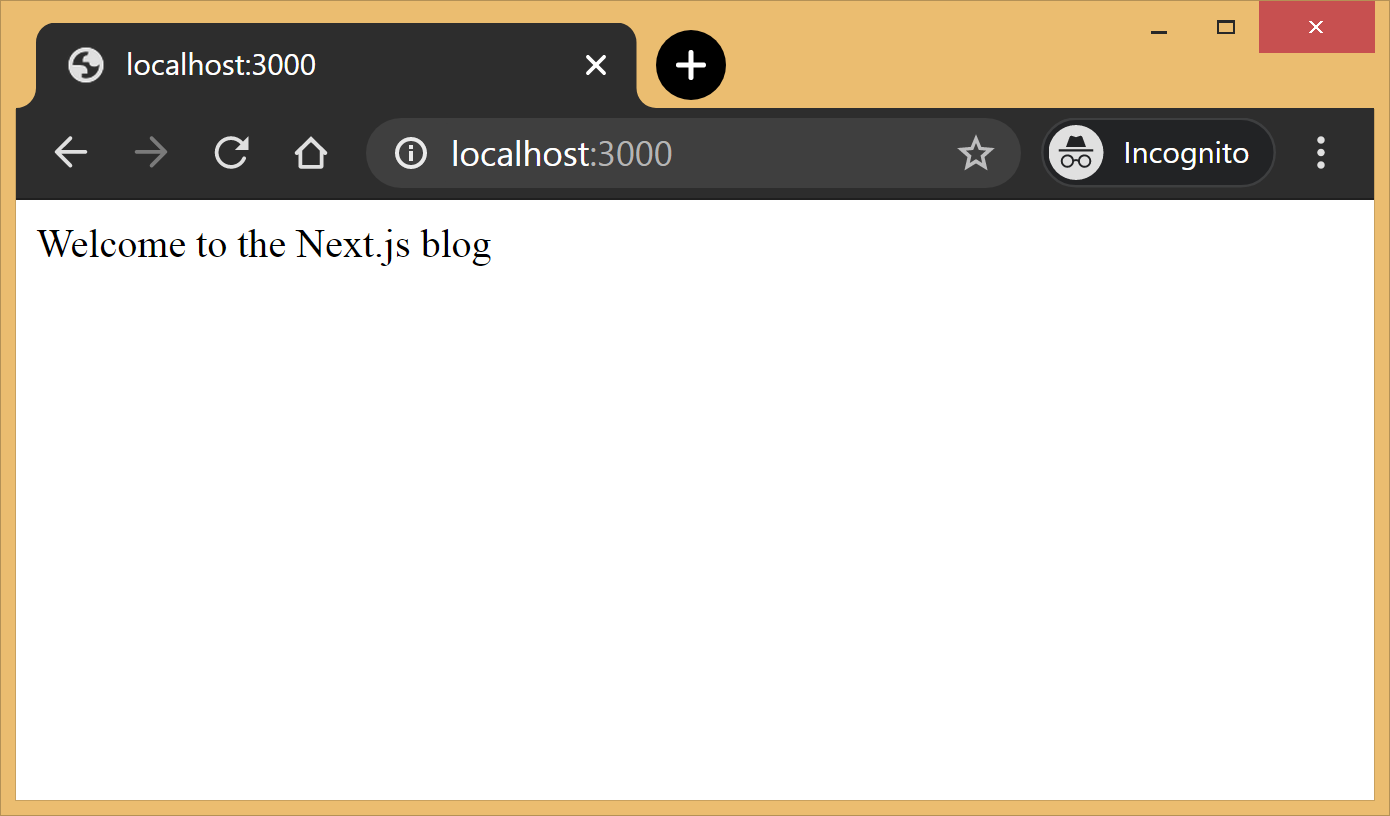
// pages/index.js
export default function Blog() {
  return <div>Welcome to the Next.js blog</div>
}
Run npm run dev once again to start the server and navigate to http://localhost:3000 in the browser to view your blog for the first time.
Out of the box, we get:
Hot reloading so we don’t have to refresh the browser for every code change.
Static generation of all pages inside the /pages/** directory.
Static file serving for assets living in the/public/** directory.
404 error page.
Navigate to a random path on localhost to see the 404 page in action. If you need a custom 404 page, the Next.js docs have great information.
Dynamic pages
Pages with static routes are useful to build the homepage, about page, etc. However, to dynamically build all our posts, we will use the dynamic route capability of Next.js. For example:
Any route, like /posts/1, /posts/abc, etc., will be matched by /posts/[slug].js and the slug parameter will be sent as a query parameter to the page. This is especially useful for our blog posts because we don’t want to create one file per post; instead we could dynamically pass the slug to render the corresponding post.
Anatomy of a blog
Now, since we understand the basic building blocks of Next.js, let’s define the anatomy of our blog.
.
├─ api
│  └─ index.js             # fetch posts, load configs, parse .md files etc
├─ _includes
│  ├─ footer.js            # footer component
│  └─ header.js            # header component
├─ _layouts
│  ├─ default.js           # default layout for static pages like index, about
│  └─ post.js              # post layout inherts from the default layout
├─ pages
│  ├─ index.js             # homepage
|  └─ posts                # posts will be available on the route /posts/
|     └─ [slug].js       # dynamic page to build posts
└─ _posts
   ├─ welcome-to-nextjs.md
   └─ style-guide-101.md
Blog API
A basic blog framework needs two API functions:
A function to fetch the metadata of all the posts in _posts directory
A function to fetch a single post for a given slug with the complete HTML and metadata
Optionally, we would also like all the site’s configuration defined in config.yml to be available across all the components. So we need a function that will parse the YAML config into a native object.
Since, we would be dealing with a lot of non-JavaScript files, like Markdown (.md), YAML (.yml), etc, we’ll use the raw-loader library to load such files as strings to make it easier to process them.
npm install raw-loader --save-dev
Next we need to tell Next.js to use raw-loader when we import .md and .yml file formats by creating a next.config.js file in the root of the project (more info on that).
Next.js 9.4 introduced aliases for relative imports which helps clean up the import statement spaghetti caused by relative paths. To use aliases, create a jsconfig.json file in the project’s root directory specifying the base path and all the module aliases needed for the project.
For example, this allows us to import our layouts by just using:
import DefaultLayout from '@layouts/default'
Fetch all the posts
This function will read all the Markdown files in the _posts directory, parse the front matter defined at the beginning of the post using gray-matter and return the array of metadata for all the posts.
// api/index.js
import matter from 'gray-matter'


export async function getAllPosts() {
  const context = require.context('../_posts', false, /\.md$/)
  const posts = []
  for(const key of context.keys()){
    const post = key.slice(2);
    const content = await import(`../_posts/${post}`);
    const meta = matter(content.default)
    posts.push({
      slug: post.replace('.md',''),
      title: meta.data.title
    })
  }
  return posts;
}
A typical Markdown post looks like this:
---
title: "Welcome to Next.js blog!"
---
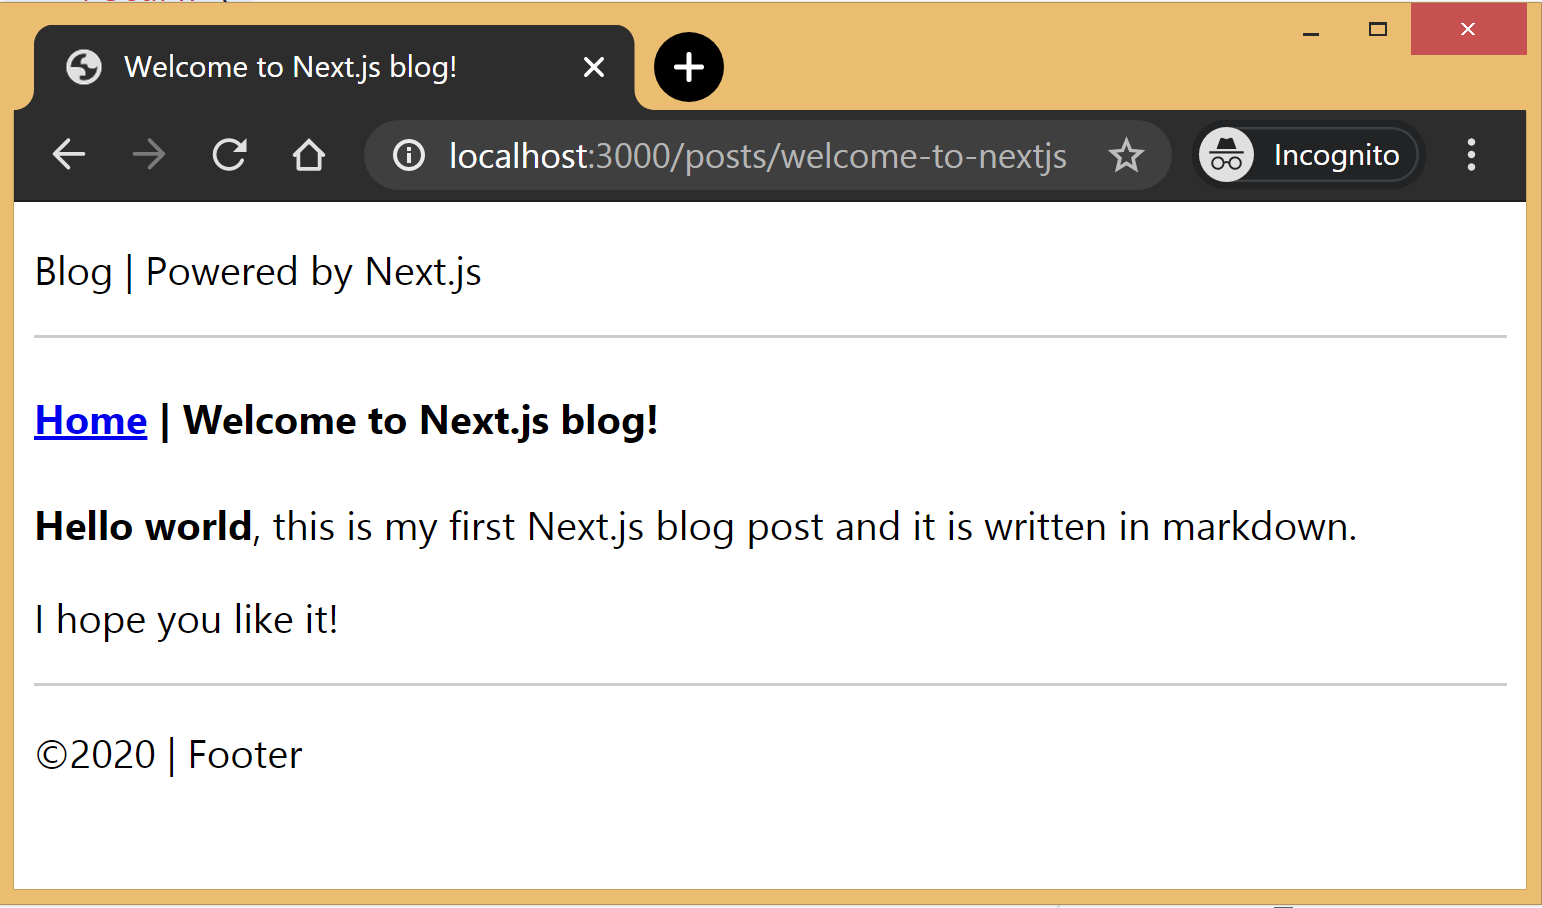
**Hello world**, this is my first Next.js blog post and it is written in Markdown.
I hope you like it!
The section outlined by --- is called the front matter which holds the metadata of the post like, title, permalink, tags, etc. Here’s the output:
Make sure you install the gray-matter library from npm first using the command npm install gray-matter --save-dev.
Fetch a single post
For a given slug, this function will locate the file in the _posts directory, parse the Markdown with the marked library and return the output HTML with metadata.
// api/index.js
import matter from 'gray-matter'
import marked from 'marked'


export async function getPostBySlug(slug) {
  const fileContent = await import(`../_posts/${slug}.md`)
  const meta = matter(fileContent.default)
  const content = marked(meta.content)
  return {
    title: meta.data.title,
    content: content
  }
}
Make sure you install the marked library from npm first using the command npm install marked --save-dev.
Config
In order to re-use the Jekyll config for our Next.js blog, we’ll parse the YAML file using the js-yaml library and export this config so that it can be used across components.
// config.yml
title: "Next.js blog"
description: "This blog is powered by Next.js"


// api/index.js
import yaml from 'js-yaml'
export async function getConfig() {
  const config = await import(`../config.yml`)
  return yaml.safeLoad(config.default)
}
Make sure you install js-yaml from npm first using the command npm install js-yaml --save-dev.
Includes
Our _includes directory contains two basic React components, <Header> and <Footer>, which will be used in the different layout components defined in the _layouts directory.
We have two layout components in the _layouts directory. One is the <DefaultLayout> which is the base layout on top of which every other layout component will be built.
// _layouts/default.js
import Head from 'next/head'
import Header from '@includes/header'
import Footer from '@includes/footer'


export default function DefaultLayout(props) {
  return (
    <main>
      <Head>
        <title>{props.title}</title>
        <meta name='description' content={props.description}/>
      </Head>
      <Header/>
      {props.children}
      <Footer/>
    </main>
  )
}
The second layout is the <PostLayout> component that will override the title defined in the <DefaultLayout> with the post title and render the HTML of the post. It also includes a link back to the homepage.
// _layouts/post.js
import DefaultLayout from '@layouts/default'
import Head from 'next/head'
import Link from 'next/link'


export default function PostLayout(props) {
  return (
    <DefaultLayout>
      <Head>
        <title>{props.title}</title>
      </Head>
      <article>
        <h1>{props.title}</h1>
        <div dangerouslySetInnerHTML={{__html:props.content}}/>
        <div><Link href='/'><a>Home</a></Link></div>
      </article>
    </DefaultLayout>
  )
}
next/head is a built-in component to append elements to the <head> of the page. next/link is a built-in component that handles client-side transitions between the routes defined in the pages directory.
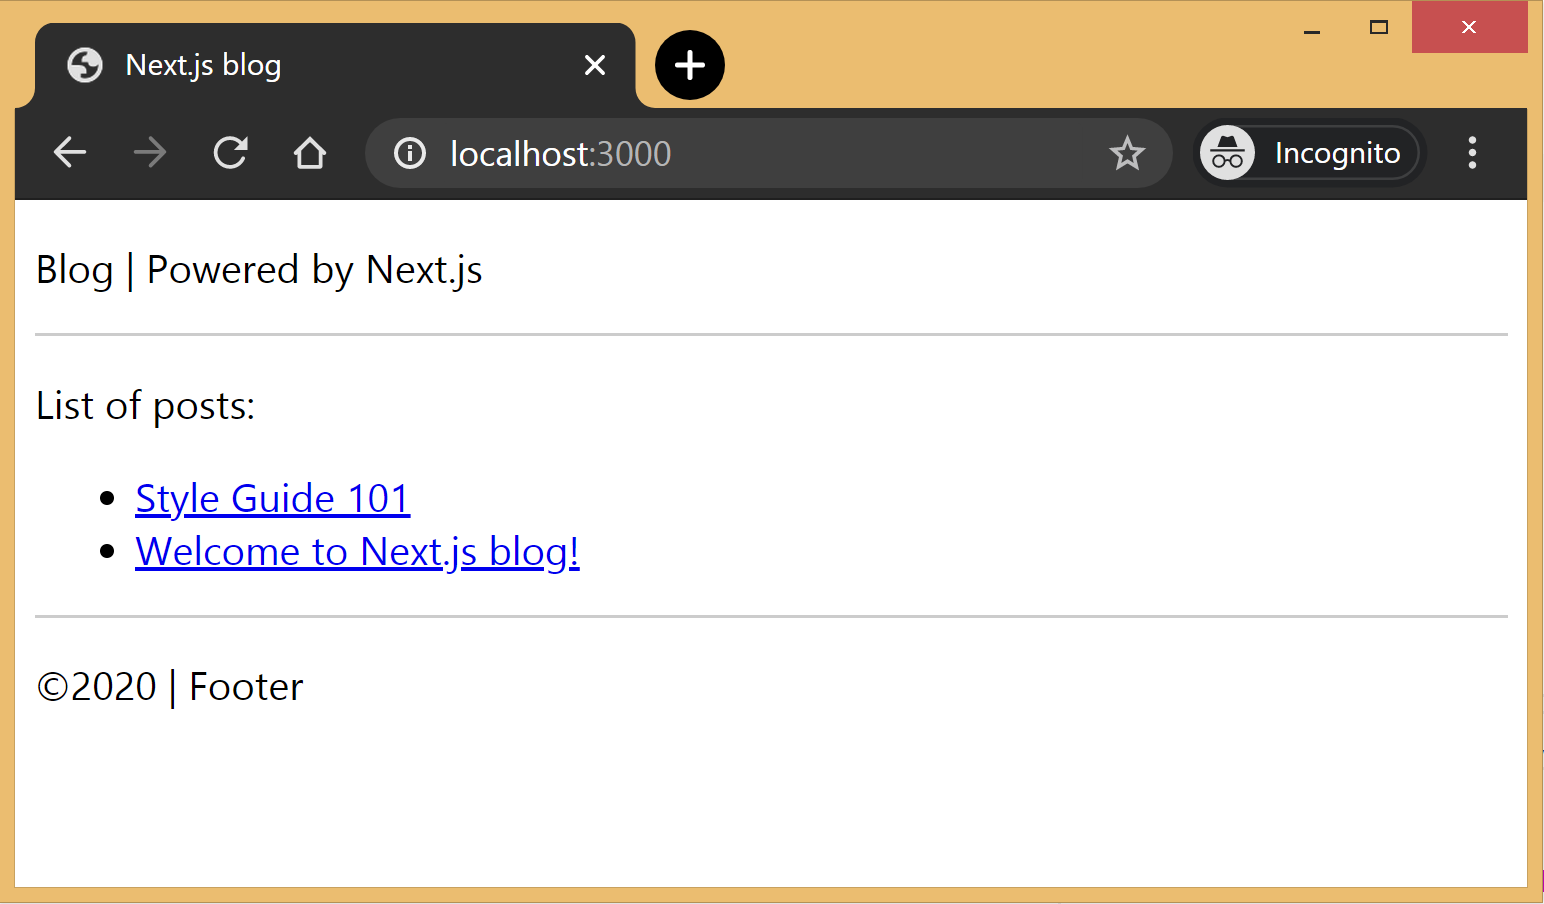
Homepage
As part of the index page, aka homepage, we will list all the posts inside the _posts directory. The list will contain the post title and the permalink to the individual post page. The index page will use the <DefaultLayout> and we’ll import the config in the homepage to pass the title and description to the layout.
getStaticProps is called at the build time to pre-render pages by passing props to the default component of the page. We use this function to fetch the list of all posts at build time and render the posts archive on the homepage.
Post page
This page will render the title and contents of the post for the slug supplied as part of the context. The post page will use the <PostLayout> component.
If a page has dynamic routes, Next.js needs to know all the possible paths at build time. getStaticPaths supplies the list of paths that has to be rendered to HTML at build time. The fallback property ensures that if you visit a route that does not exist in the list of paths, it will return a 404 page.
Production ready
Add the following commands for build and start in package.json, under the scripts section and then run npm run build followed by npm run start to build the static blog and start the production server.
The entire source code in this article is available on this GitHub repository. Feel free to clone it locally and play around with it. The repository also includes some basic placeholders to apply CSS to your blog.
Improvements
The blog, although functional, is perhaps too basic for most average cases. It would be nice to extend the framework or submit a patch to include some more features like:
Pagination
Syntax highlighting
Categories and Tags for posts
Styling
Overall, Next.js seems really very promising to build static websites, like a blog. Combined with its ability to export static HTML, we can built a truly standalone app without the need of a server!