Do you want to disable image attachment pages in WordPress?
Image attachment pages can look like incomplete pages on your site. If a visitor views these, then it can leave a poor impression.
In this article, we’ll show you how to disable image attachment pages in WordPress and redirect it to the parent post.

Why Should You Disable Image Attachment Pages in WordPress?
By default, WordPress creates a single page for every media attachment you have on your site.
This includes images, audio/video files, pdfs, and more. Some users might find this functionality useful, however, most WordPress websites don’t need it.
For example, a photography theme could use the attachment page to display EXIF data. This could show the camera model used, the camera settings, and even the image’s location data.
Often we get complaints from users who accidentally linked their images to the attachment pages, and they don’t like the way it looks.
This is a big issue because many themes don’t have special templates for the image attachment pages.
Sometimes an image on your website can become popular, and people might start landing on the attachment page directly from Google.
Ideally, you want visitors to land on your post and see the image in the context you have used it.
This is why we always recommend users to disable image attachment pages on their WordPress blog.
How to Disable Image Attachment Pages in WordPress (2 Methods)
There are two ways to disable image attachment pages in WordPress.
The first approach uses WordPress plugins, while the second involves adding custom code to WordPress.
You’ll want to choose the method that’s best suited for your skills.
Method 1: Disable Image Attachment Pages in WordPress (with a Plugin)
The easiest way to disable image attachment pages is to use a WordPress plugin. This method is beginner friendly and requires no coding.
We recommend using All in One SEO. It’s the best SEO plugin for WordPress used by over 2 million sites.
The first thing you’ll need to do is install and activate the plugin. To do this, see our guide on how to install a WordPress plugin.
Once the plugin is installed and activated, you’ll have a new menu item called ‘All in One SEO’.
Navigate to All in One SEO » Search Appearance. Next, click the ‘Media’ navigation tab.

The first setting is ‘Redirect Attachment URLs’. You can disable the setting entirely, redirect to the attachment page, or the attachment parent page.
We recommend redirecting to the ‘Attachment Parent’ page. That way, when a user lands on the image attachment page, they’ll be redirected to your article instead.

Once you select your preferred setting, make sure to click ‘Save Changes’ before exiting the screen.
If you aren’t using the All in One SEO plugin, you can still disable image attachment pages and redirect users to a parent post using a plugin called Attachment Pages Redirect.
All you have to do is install and activate the plugin. It’ll automatically start redirecting users that land on attachment pages to the parent post.
If no parent post is found, then users will be redirected to your homepage.
This plugin works out of the box and has no settings page. Simple and easy.
Method 2: Disable Image Attachment Pages in WordPress (with Code Snippet)
Another option is to add a code snippet to WordPress that accomplishes the same goal as the plugin above.
If you don’t want to use a plugin or feel that you’re already using too many WordPress plugins, then you can use this method.
First, you’ll need to create a new file in your WordPress theme folder and name it image.php. If your theme already has an image.php file, then you’ll need to edit that file instead.
After that, all you have to do is add the following code as the first line in your image.php file:
<?php wp_redirect(get_permalink($post->post_parent)); ?>
Next, you need to save the image.php file and upload it to your theme directory using FTP or your WordPress hosting control panel.
Now, when a user lands on your image attachment page, they’ll be redirected to the parent post.
We hope this article helped you disable image attachment pages in WordPress. You may also want to see our beginner’s guide to image SEO and our guide on how to fix common image issues in WordPress.
If you liked this article, then please subscribe to our YouTube Channel for WordPress video tutorials. You can also find us on Twitter and Facebook.
The post How to Disable Image Attachment Pages in WordPress appeared first on WPBeginner.


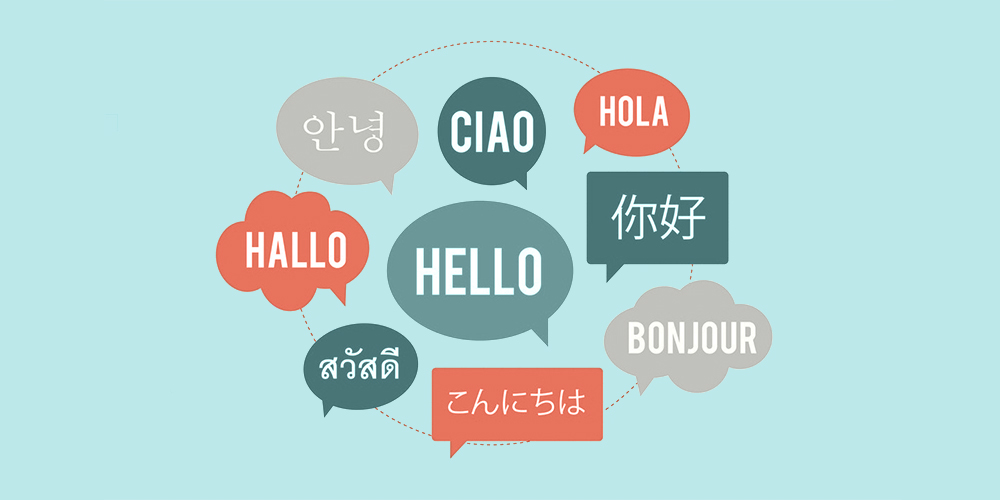 WordPress SEO and Multilingual SEO go together so that they reach certain crucial audiences that may or may not speak your language. There are so many people who look at WordPress blogs and reside in different nations. If you want to drive traffic to your website, you can’t miss these key demographics. According to current […]


 Is a mobile friendly website enough? This question has been doing the rounds in recent years. Continual rise in mobile app usage is making businesses consider the possibility of launching their own app. DIY app making solutions have further made the prospect of learning how to create an app less daunting than ever before. This […]


 Do you have a website? Of course, you do, and I can wager all my money that you want more people to find your site, hence your business. Creating a website is all fun and everything good. It’s exciting building an online space where you can share the things you’re passionate about. But building a […]


 WooCommerce now powers roughly 1 in 3 online stores. The platform continues to consolidate its lead over Shopify in terms of market share. According to WordPress, the WooCommerce plugin has a whopping 5 million active installations. Its increasing ubiquity is all the more impressive when one considers that the platform is not even a decade […]