

Google Slides is one of the best free tools available for creating a quick slideshow presentation. And we’ve collected some of the best Google Slides themes and templates to help you create a visually stunning slide deck.
In this post, we’re featuring some of the best Google Slides templates you can use to create a professional presentation without designing everything from scratch. This collection includes various types of Google Slides themes, including templates for marketing purposes, startup pitch decks, product presentations, and much more.
The collection includes both free and premium Google Slides templates. Feel free to browse and pick one that matches your project and presentation!
What is Google Slides?
Google Slides is a presentation creation tool built by Google. It’s completely free to use and you can use it online without the need of installing any software on your computer. Think of it as a free and cloud-based version of Microsoft PowerPoint.
Just like PowerPoint, Google Slides provides you with all the tools and features you need to create beautiful slideshows and presentations. It’s quite easy to use and you can access it anywhere on your laptop or phone for free, as long as you have a Google account.
Google Slides also supports the use of templates. With pre-designed templates, you can easily import beautiful slide designs that have been already crafted by professional designers to easily create your own presentations.
To use a template, all you have to do is create a new Google Slides file and then go to the File menu and select Import Slides. From there you’ll be able to upload a template and import slide designs into the app.
If you’d like a few more helpful pointers, be sure to read through our Google Slides FAQs, and our tips for making a Google Slides presentation.
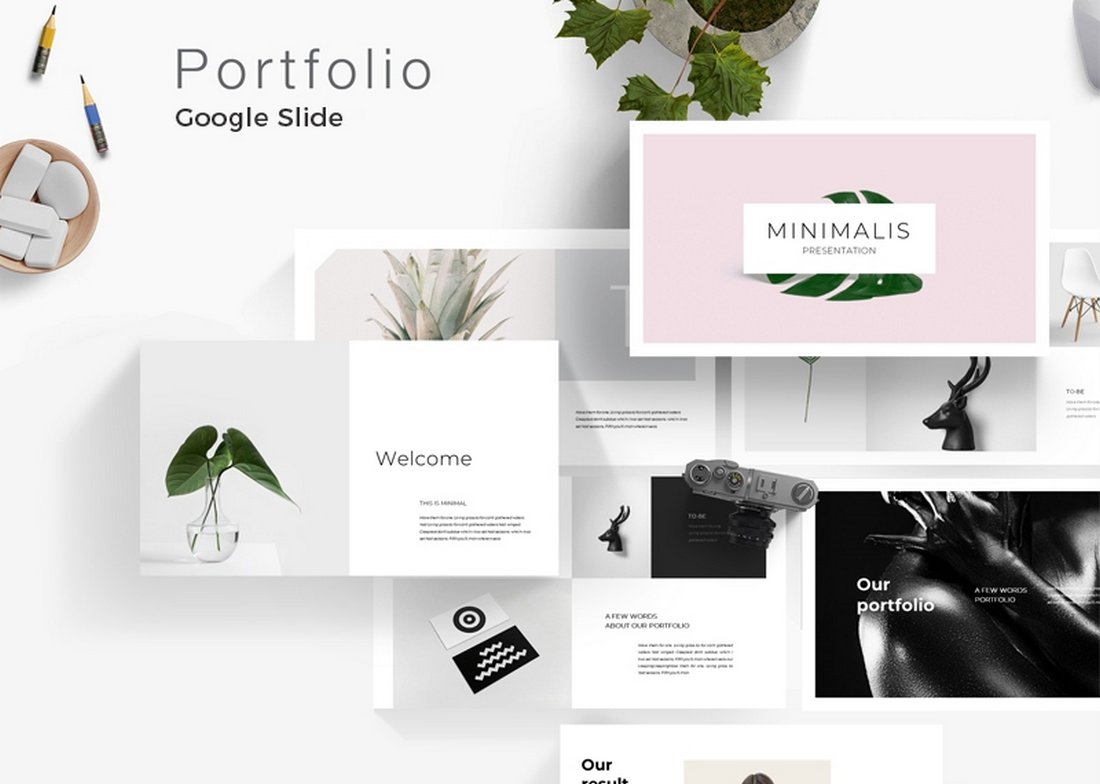
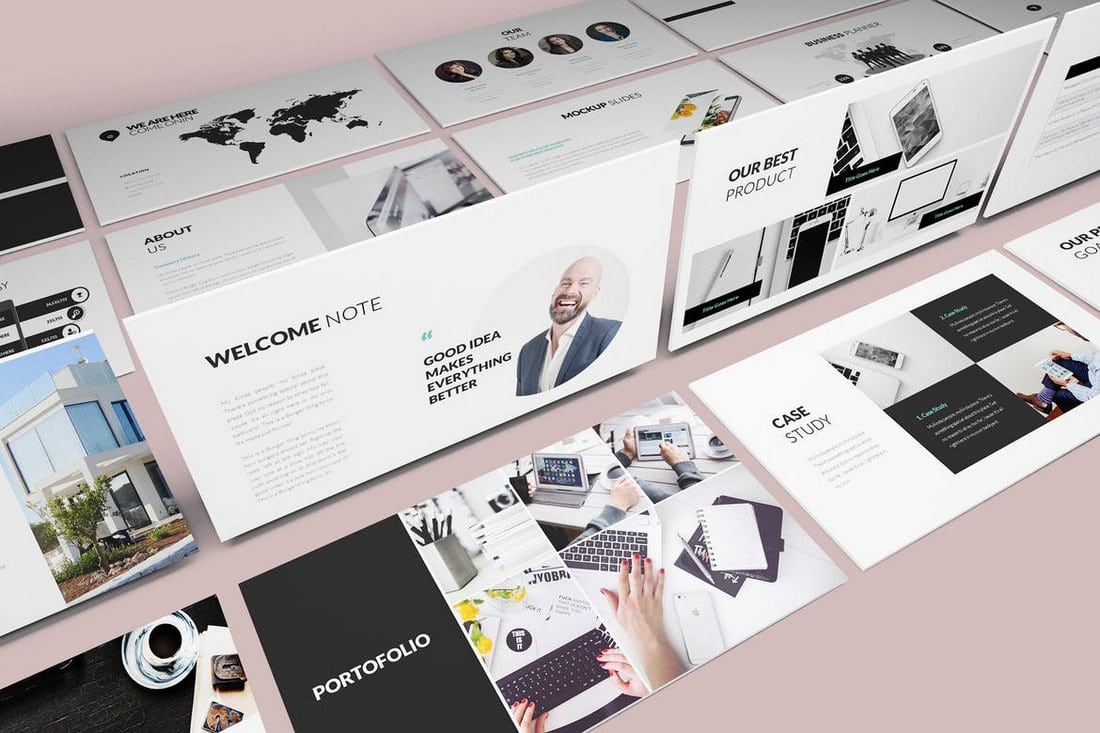
Moral – Multipurpose Google Slides Template
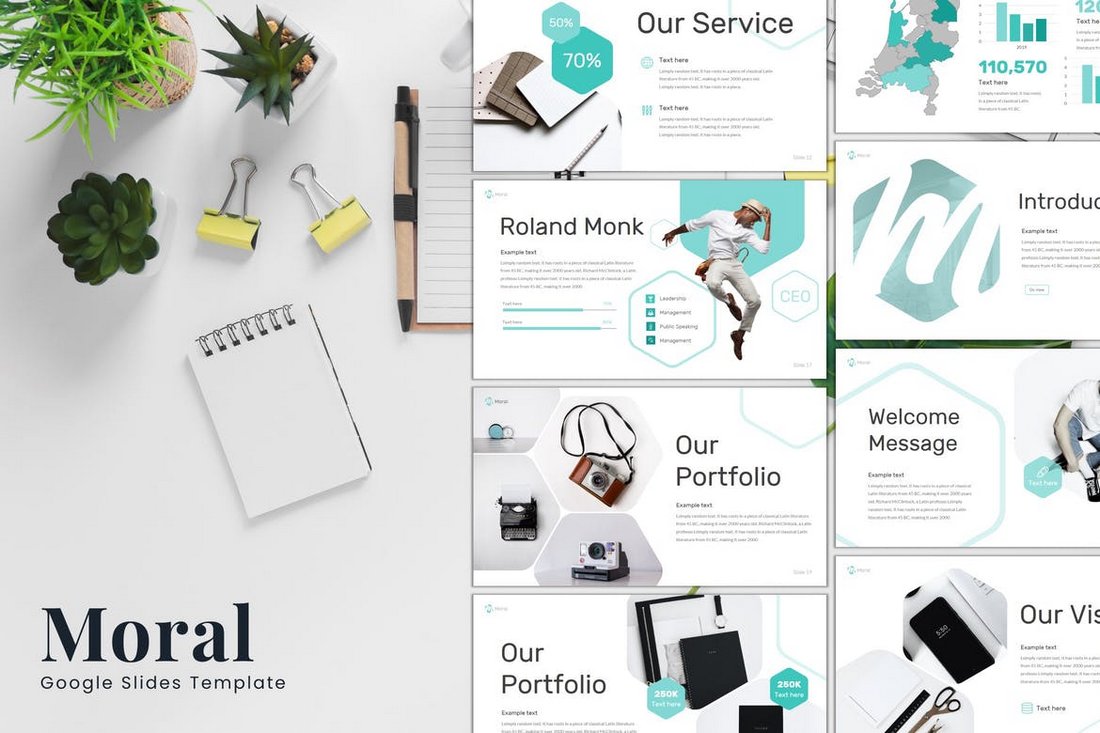
Moral is a modern and beautiful Google Slides templates that comes with a set of multipurpose slide designs. This template is most suitable for designing all kinds of creative, professional, and business presentations.
Moral Google Slides template comes with 30 unique slide designs that are available in 5 different color schemes. It also includes image placeholders and editable vector images as well.
Why This Is A Top Pick
The multipurpose design is what makes this Google Slides template special. In addition, it also features a clean and minimal design that can be adapted to create any type of presentation slideshow.
Be. Google Slides Themes
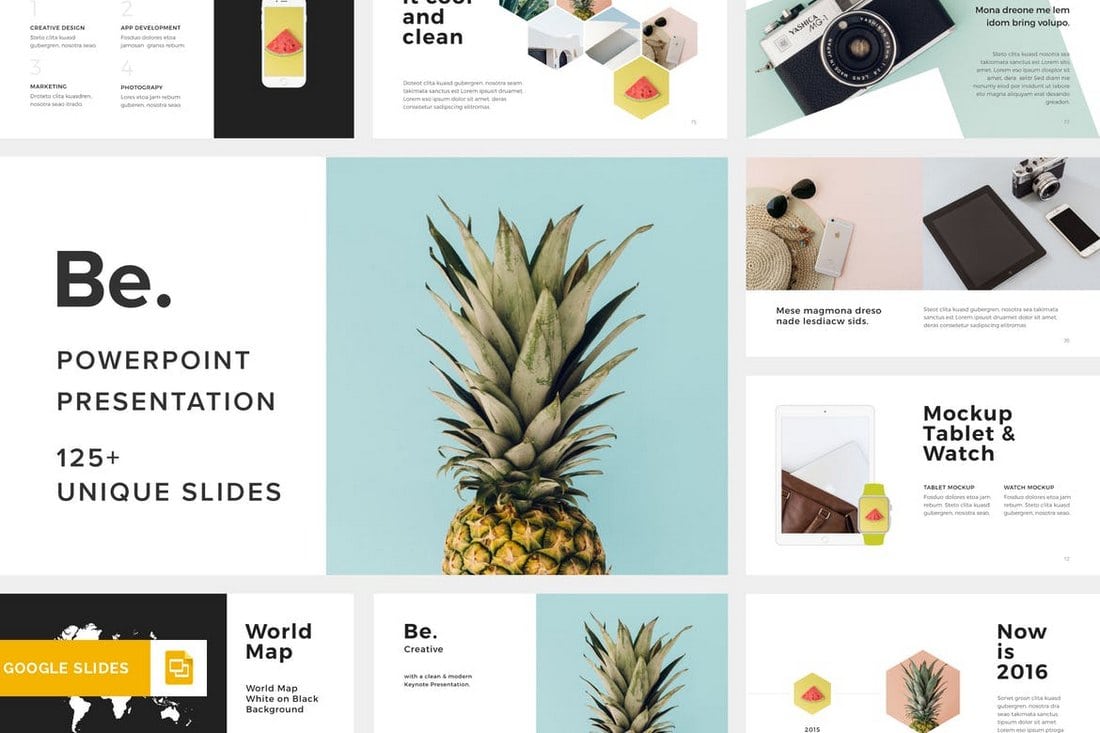
Be is a professionally crafted Google Slides theme that comes in Full HD 1920 x 1080px resolution. It includes over 125 unique slides with drag-and-drop editing. You can easily upload this template to Google Slides and edit them online.
Arthur – Creative Business Google Slides Template

This is a versatile Google Slides template perfect for a range of business presentations. Whether it’s for creative agencies, startups, or personal portfolios, this template allows for easy customization with over 30 slides, resizable graphics, and editable features.
Modern Minimal Google Slides Template

A sleek, modern Google Slides template for business presentations. The template includes 24 editable slides that cover a variety of business-related topics such as market analysis, company introduction, and social media marketing.
Tiyasa – Interior Design Google Slides Template

The Tiyasa is a creative Google Slides template tailor-made for presenting interior design projects. Its 20 modern and insightful slides come with easily modifiable elements to match your specific style or brand. The template utilizes free web fonts and fully customizable vector icons, offering a sleek and elegant presentation form.
Respaut – Fashion Google Slides Template
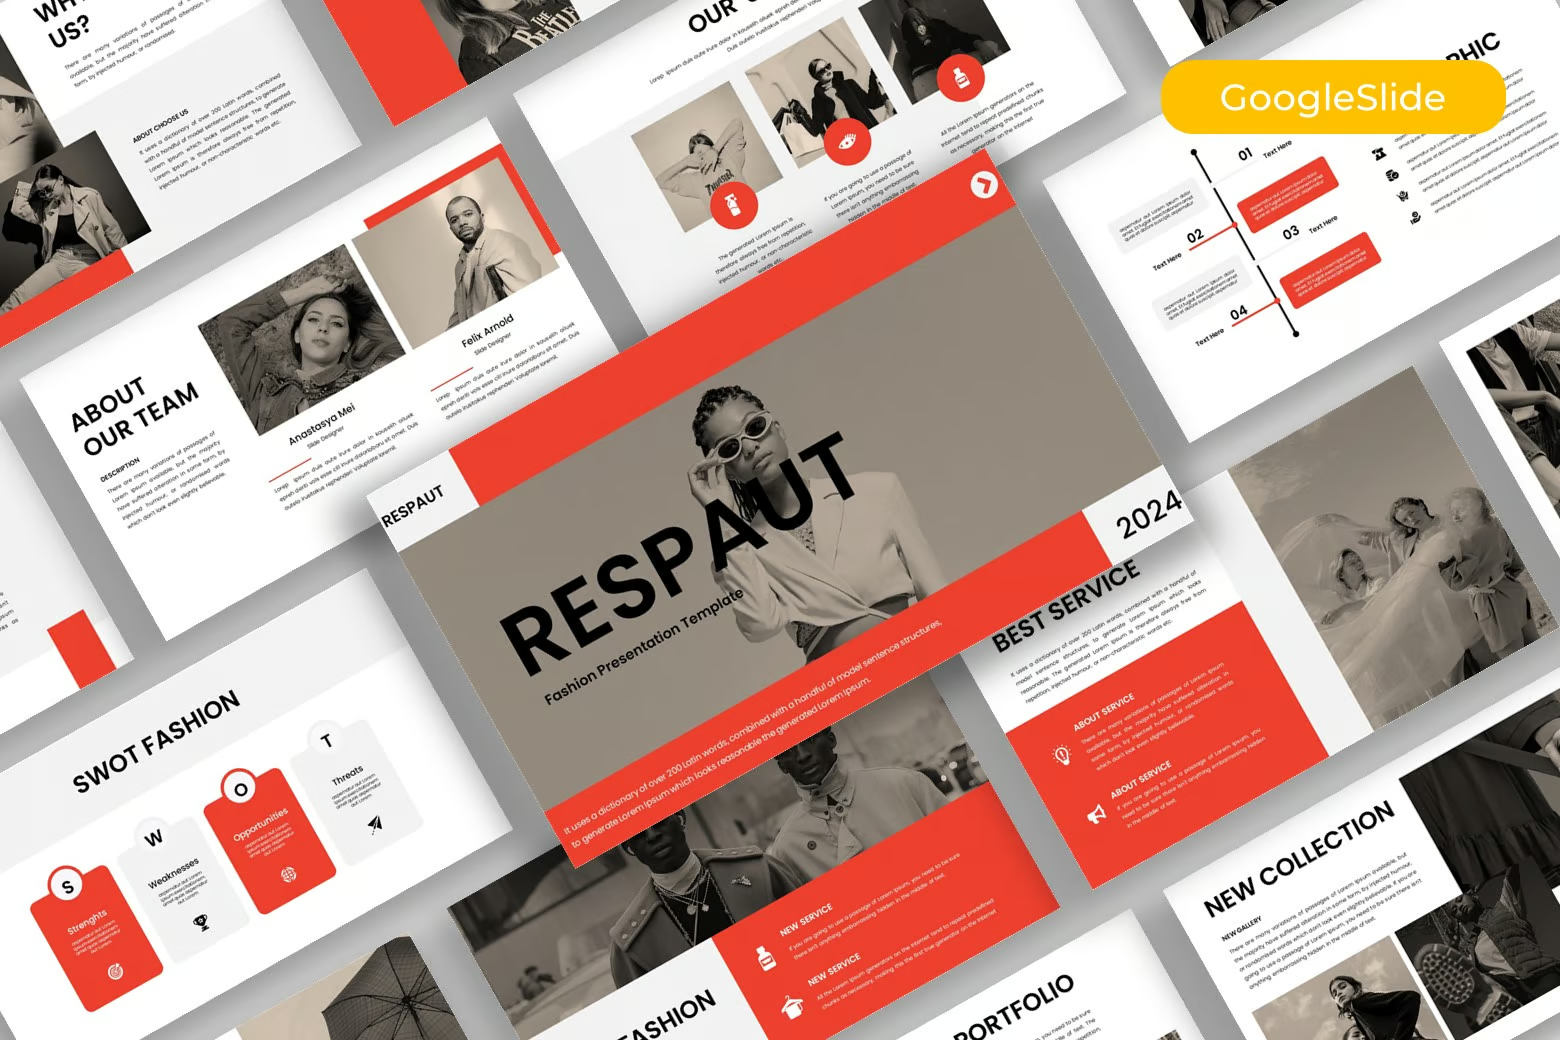
Respaut is a versatile Google Slides template that can enhance various projects like creative agency presentations, company profiles, corporate and business reports, personal portfolios, startup pitches, and even photography portfolios. With 30+ editable, resizable slides, this template offers user-friendly features like drag-and-drop picture placeholders and free web fonts.
Startup Business Google Slides Template

This is an excellent Google Slides template for presenting your company’s structure, vision, and growth strategies. This versatile template is customizable for wide-ranging uses, from pitch decks to financial reports, and will resonate with founders, executives, and other strategic roles.
Competitor Analysis Google Slides Template

Another valuable Google Slides template for businesses looking for a strategic edge. Ideal for marketing teams, strategists, and executives, this tool aids in analyzing competitors, evaluating market positioning, and identifying growth opportunities. Its multipurpose nature allows it to be used for a plethora of presentations.
Maternal – Minimal Google Slides Template

This Google Slides template offers an elegant, modern layout – perfect for various uses ranging from corporate presentations to personal projects. With 24+ unique slides, over 500 icons, and adjustable graphics, this sleek, professional interface enhances your content while keeping the focus on your message.
Gold Luxury Product Google Slides Template
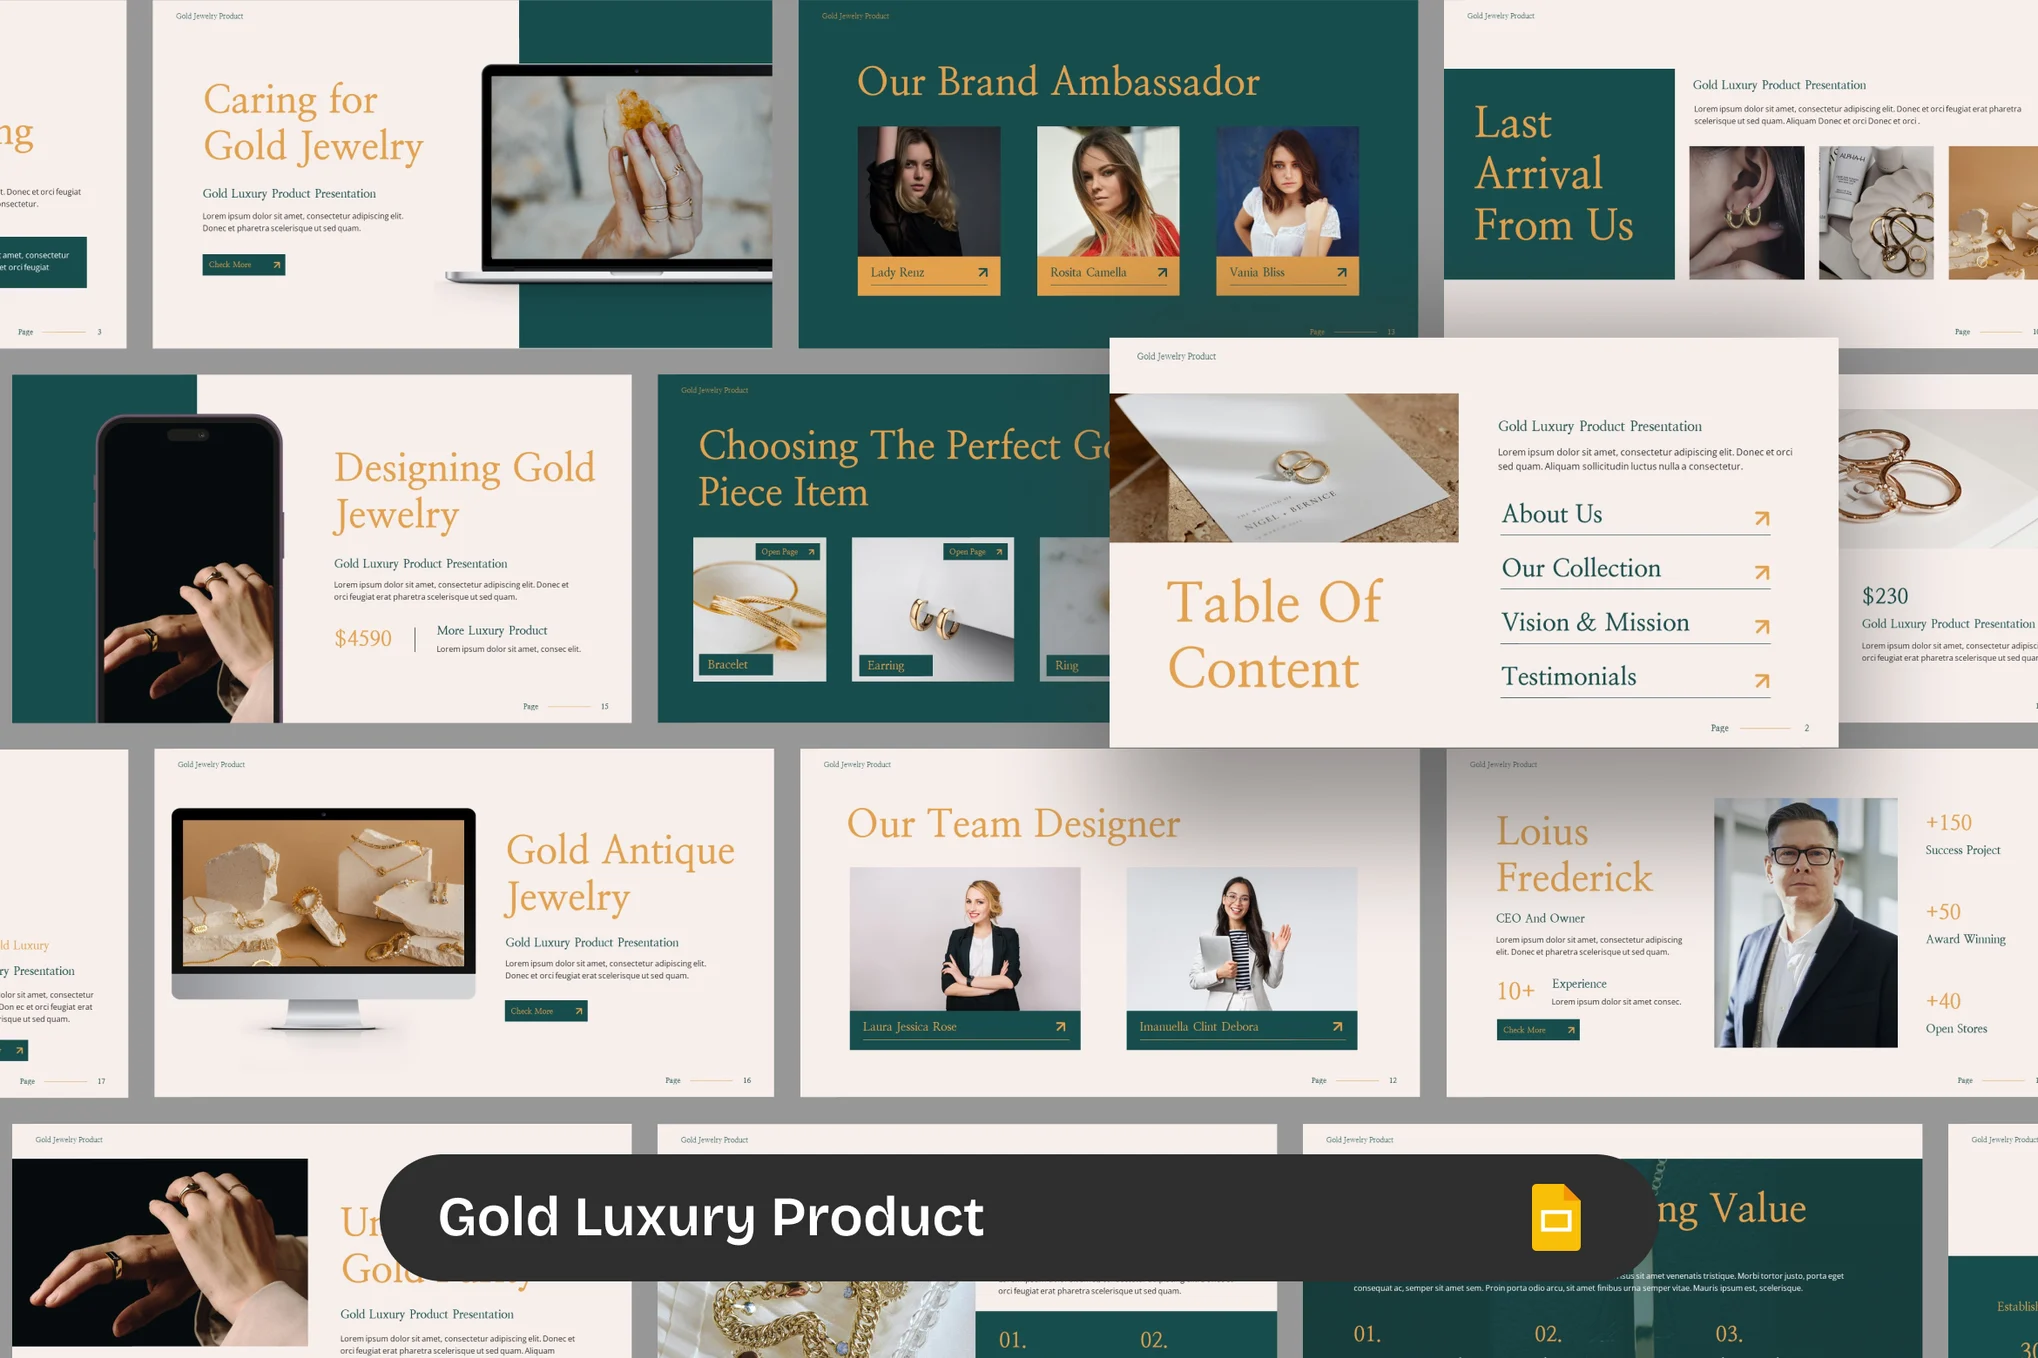
This Google Slides template is ideal for luxury brands, designers and high-end marketers, adds an element of sophistication to your presentations. With striking visuals, it’s suitable for a range of uses, from product launches to investor pitches. Features include widescreen format, editable graphics, and drag and drop image placeholders.
Pet Care Google Slides Template

An engaging, colorful, Google Slides template designed with veterinarians, pet groomers, pet care businesses and animal shelters in mind. Ideal for presentations ranging from business pitches to educational workshops, the template’s resizable graphics and drag and drop functionality provide flexibility and simplicity.
Machine Learning Google Slides Template

This is a dynamic Google Slides template for professionals looking to explain and showcase machine learning concepts. Designed with educators, business leaders, and data scientists in mind, the template makes complex ideas easily understandable. With a sleek, professional design, customizable font themes, and color schemes, this template will elevate any machine learning presentation.
Sora – Multipurpose Presentation for Google Slides

Sora is a modern Google Slides template that comes with a beautiful design mixed with an aesthetic feel. This template features a multipurpose slide design with 20 different layouts to showcase your presentation. It’s available in PowerPoint format as well.
EARTHY – Company Profile Google Slides Template
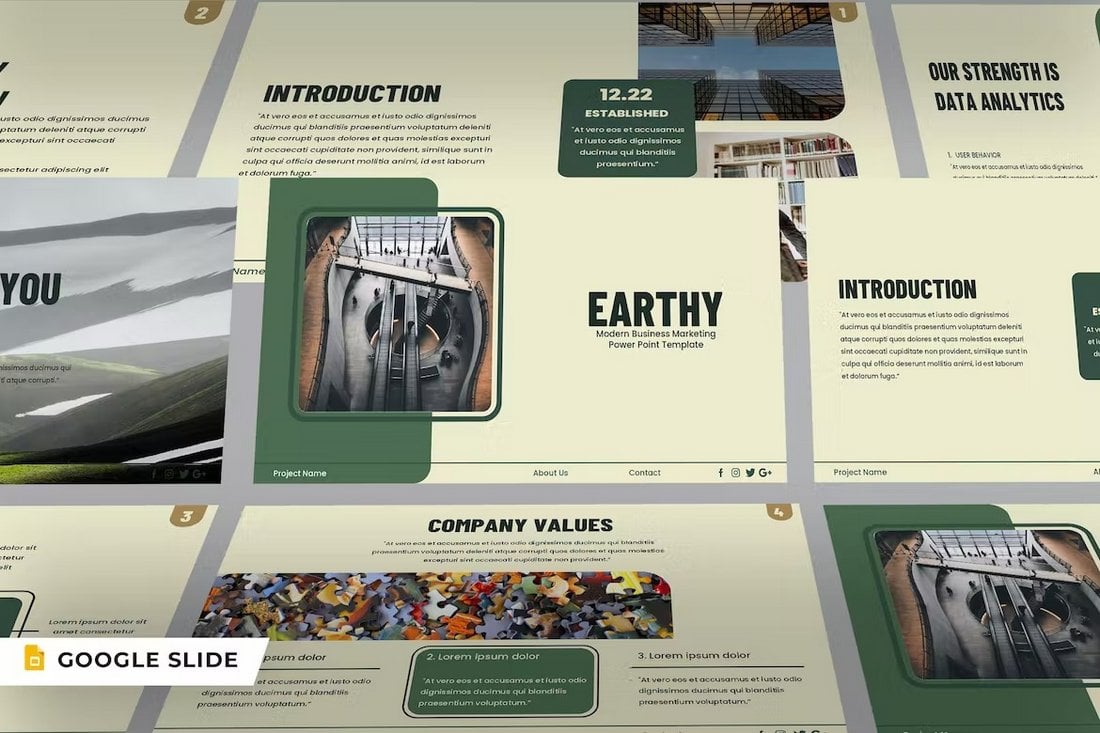
This is a business-themed Google Slides template you can use to craft a unique company profile presentation for a modern brand. The template features a customizable slide design filled with creative shapes and image placeholders. There are 30 slides included in this template.
Astor – Business Presentation Google Slides Template

If you want to design a colorful presentation that instantly attracts attention, this Google Slides template is worth downloading. It has 39 different slides full of vibrant colors, shapes, and decorations. It’s perfect for creative business, agency, and branding presentations.
Business Model Presentation Google Slides Template

This Google Slides template is made with more technical business presentations in mind. It’s especially suitable for a business model, project scope, and competition analysis presentations. There are 35 slide layouts in the template with easily editable designs.
Free Marketing Plan Google Slides Template

This is a free Google Slides template you can use to craft modern and clean slideshows to showcase your business marketing plan. The template includes 28 unique slides with creative layouts.
Modern Pitch Deck Google Slides Template

This template will help you craft a killer slideshow for your pitch deck presentation. It’s ideal for modern startups, agencies, and various creative brands. The template has 30 unique slides. You can customize the colors, fonts, and images to your preference as well.
Hardwin – Business Google Slide Template

Hardwin is a business-themed Google Slides template that comes with a stylish and dark design. It includes 39 different slide layouts full of editable shapes, vector graphics, icon packs, free fonts, and much more.
Modern Real Estate Google Slides Template

A simple, clean, and minimal Google Slides template for all your real estate presentation needs. This template will help showcase your properties in a luxurious way to attract clients more easily. It comes with 30 unique slides.
Education Infographics Google Slides Template

This Google Slides template comes with a bunch of useful infographic slides. They are designed with education presentations in mind. It includes more than 30 different infographic designs with easily editable layouts.
Free Black & Gold Pitch Deck Google Slides Template

You can download this Google Slides template for free to craft a high-end pitch deck presentation for a luxury brand. It features a beautiful black and gold design across 36 unique slides.
Chetah – Business Google Slides Template

If you’re looking for a Google Slides template to design a presentation for your business, this template will provide a fresh start. It features a modern and professional design in all of its 39 slide layouts. The template includes lots of editable vector graphics and master slide layouts.
Bulma – Corporate Google Slides Template

Bulma is another professional Google Slides template made for corporate brands and companies. It’s ideal for making presentations for corporate meetings and events. The template comes with 39 slides with fully editable designs and image placeholders.
Bardox – Agency Google Slides Template

This Google Slides template features a very creative and stylish design that makes it a great choice for agencies and creative brands. The template has master slide layouts that you can use to create your own unique slides. It has a simple drag and drop design as well.
Classroom – Educational Google Slides Template

You can use this Google Slides template to create presentations related to educational institutes. The template includes a total of 150 slides featuring 5 pre-made color schemes to choose from. It’s great for promoting your learning programs, classes, and other school activities.
Free Company Profile Google Slides Theme

This free Google Slides template comes with a premium-quality design that can be used to create beautiful company profile presentations. There are 28 unique slides in this template with fully editable designs. You can download it in PowerPoint format as well.
Puche – Creative Google Slides Template

Whether you’re making a portfolio presentation or promoting your creative agency services, this Google Slides template has the perfect design for all your presentation needs. It includes 34 unique slide layouts with fully customizable designs.
Cevera – Colorful Google Slide Template

Cevera is a colorful and creative Google Slides theme for making more casual, fun, and attractive presentations. It’s especially more suitable for showcasing lifestyle brands, fashion products, and small businesses. The template comes with 30 unique slides with editable graphics and colors.
Project Proposal – Google Slides Template

This is a very professional-looking Google Slides template made specifically for project proposal presentations. It has many business-themed slides, including slides for SWOT analysis. There are 40 different slide designs included in this template.
Stradic – Brand & Business Google Slides Theme

If you’re looking for a minimalist presentation template, this Google Slides theme is perfect for you. It includes a collection of modern slide layouts with a classic urban-style design. This template is ideal for high-end fashion products and luxury brands.
Agency Company Profile Free Google Slides Template

This is a free Google Slides template you can download and use however you like. It comes with 27 unique slides full of colorful shapes, backgrounds, and editable vector graphics. It’s most suitable for making company profile presentations for agencies.
Propitch – Pitch Deck Google Slides Template

You can use this Google Slides template to create an attractive pitch deck for your startups and marketing presentation needs. It includes colorful and dark-themed slide layouts with attractive designs. There are 27 unique slide designs included in the template as well.
Ukque – Vintage Brand Google Slides Template

Ukque is a creative Google Slides theme that comes with a set of colorful slide designs. It uses a vintage design mixed with modern elements to make each slide stand out. There are 45 slides in the template and they come in both light and dark color themes.
Boumz – Minimal Google Slides Template

Looking for a clean and minimalist presentation template? Then be sure to download this Google Slides theme. It features slides with minimal designs and lots of space for showing off your content. The template includes more than 50 unique slide layouts.
Bodybuild – Gym & Fitness Google Slides Template

While this Google Slides template is made with gym and fitness brands in mind, you can easily customize it to make presentations for many other topics as well. There are 30 unique slides in the template with editable colors, fonts, and images.
Graceful Vines – Free Google Slides Theme for Marketing
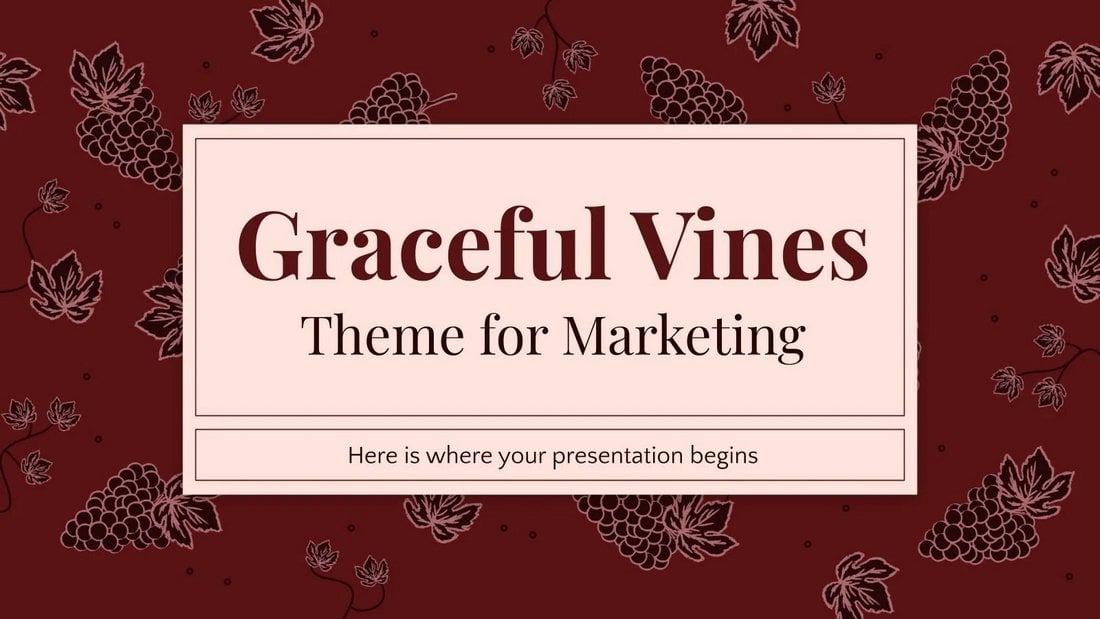
You can download this Google Slides template for free to create an elegant and professional-looking presentation for various marketing topics. It has 35 unique slides with editable charts, maps, and graphs.
Marble – Creative Google Slides Template
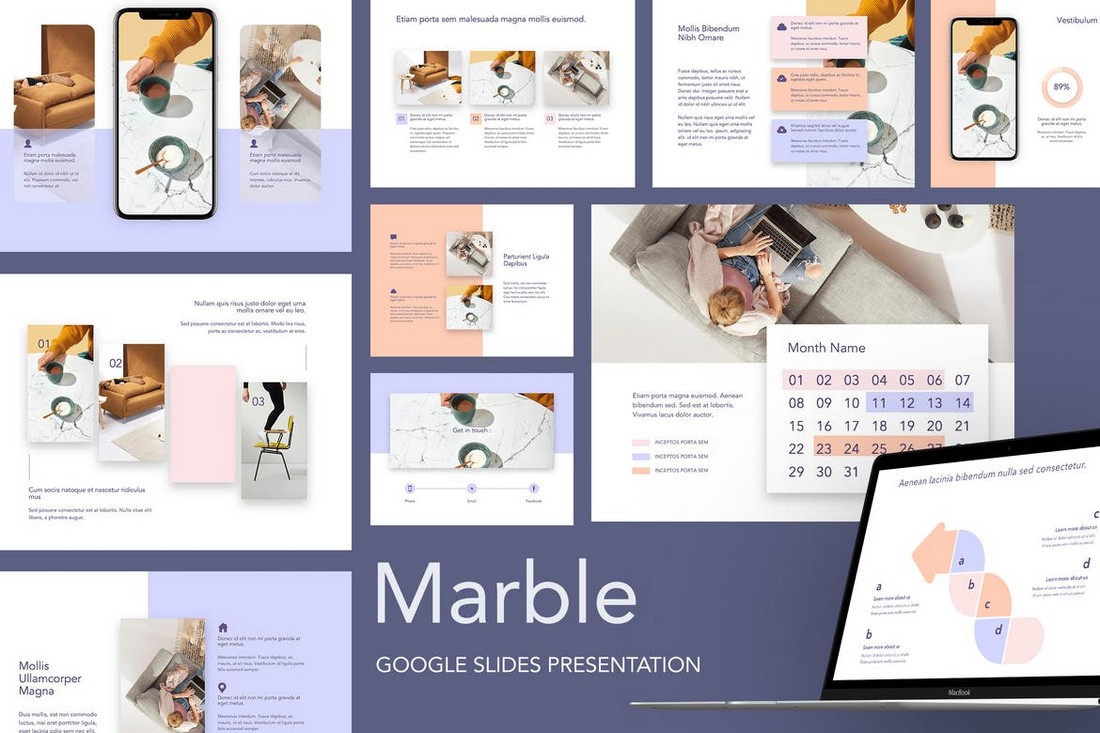
Marble is an elegant Google Slides template that features a modern slide design filled with colors and shapes. It comes with multiple slide layouts, including master slides, for easily designing unique presentations of your own.
Struggle – Business Google Slides Template

This professional Google Slides template is perfect for making different kinds of business and corporate presentations. The template includes 30 unique slide designs. You can also choose from 5 different color schemes to customize the slides.
Carolina – Agency Google Slide Template

Carolina is a creative Google Slides template that comes with a total of 150 slides. It’s most suitable for making presentations for agencies and creative professionals for showcasing their portfolio. The template includes editable graphics and image placeholders as well.
LUNAR – Dark Google Slides Template

Lunar is a modern Google Slides template you can use to design stylish and minimal presentations with a dark color theme. The template features 40 unique slide layouts with easily editable designs. It’s also available in a light color theme as well.
Memphis Marketing Plan – Free Google Slides Theme

This is a free Google Slides theme featuring a set of modern slide designs. It includes 23 unique slide layouts with editable vector graphics, shapes, and icons. The template is also available in PowerPoint version as well.
Bebek – Business Google Slides Template

This is a very professional Google Slides template you can use to craft all kinds of corporate and business presentations. The clean design will allow you to easily highlight your content above all else. The template features 39 different slides with fully editable layouts.
Brodi – Creative Google Slides Template

This Google Slides template is designed with a more focus on image-based content. Each slide features space for showcasing large images as well as written content. It’s ideal for fashion, lifestyle, and design-related presentations. The template comes with 39 unique slide layouts.
STREET – Urban Style Google Slides Template

The dark color theme and the minimal design give this Google Slides template a modern urban look and feel. It’s perfect for all your lifestyle and urban business presentations. You can choose from 30 unique slide designs to create an attractive presentation for your brand.
MARTHER – Modern Google Slides Template

A modern Google Slides theme with a creative content layout. This template comes with 20 unique slides featuring image placeholders, editable shapes, changeable colors, and much more.
Free Market Research Presentation Template

This is a free Google Slides template you can use to craft presentations to showcase your market research projects. The template includes 27 different slides with easily editable layouts. It’s available in PowerPoint version as well.
Excors – Business Presentation Google Slides Template

Excors is a very professional Google Slides template that comes with a clean and modern design. It’s most suitable for making presentations for corporate agencies, brands, and startups. It includes 30 unique slides with editable vector graphics, icons, and shapes.
BOUNTY – Minimalist Google Slides Template

A beautifully minimalist presentation template for making slideshows for modern lifestyles, fashion, and clothing brands. This template includes 30 different slide layouts you can easily edit to your preference.
Organizer – Marketing Presentation Google Slides Template

If you’re working on a presentation for a marketing agency or brand, this Google Slides template will come in handy. It features 25 slides with professional layouts you can use to design marketing and business-themed slideshows.
Torento – Unique Google Slides Template
Everything from the color schemes to the content layouts in this Google Slides template is quite unique. It’s ideal for making attractive presentations for presenting your original ideas. The template includes 36 different slides.
Free Marketing Agency Google Slides Template

You can use this template to craft stylish marketing-related presentations for your brand or agency. It comes with 27 different slides full of free icons, graphics, and image placeholders.
Glammie – Google Slides Presentation Template

Design a stylish lifestyle or fashion presentation using this Google Slides template. It comes with a total of 150 slides featuring slides 5 different color schemes. It also includes editable vector graphics, illustrations, icons, and much more.
Retshion – Google Slides Presentation Template

If you prefer minimalist designs, this Google Slides template is perfect for crafting fashion lookbooks and portfolio presentations with a minimal approach. The template comes with 30 unique slides and they are available in 5 color schemes.
Blend – Creative Google Slides Template
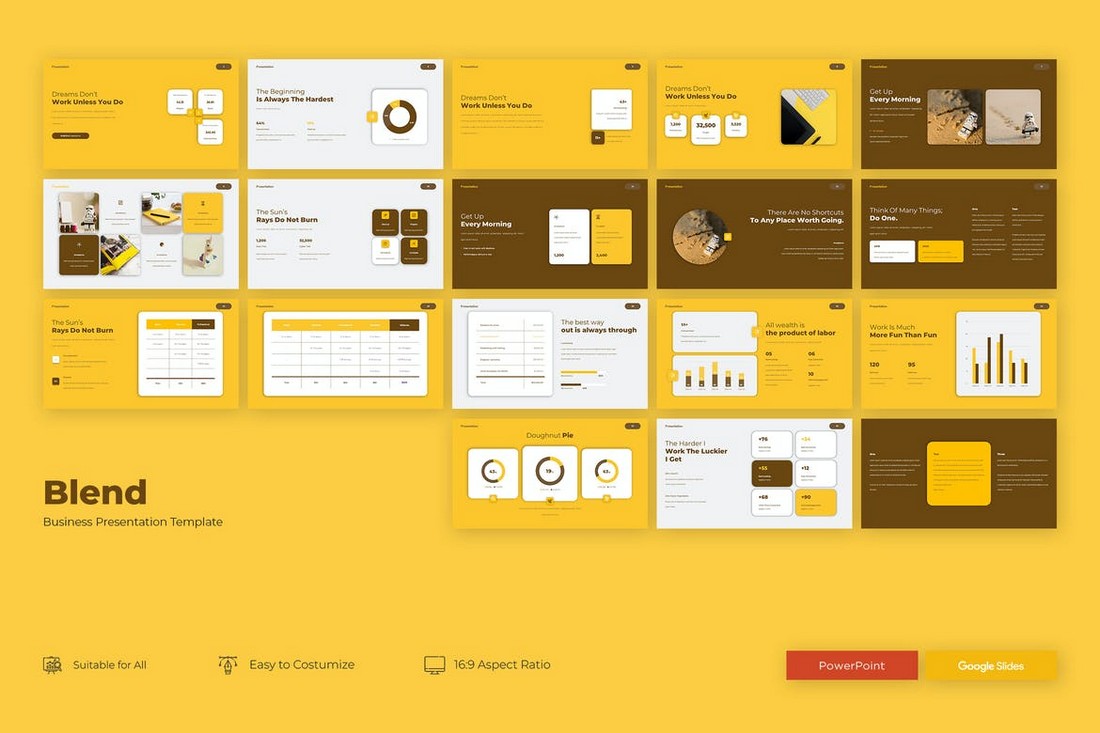
Blend is a very creative Google Slides template you can use to design presentations for digital and marketing agencies. The template comes with 24 beautiful slides. It’s compatible with PowerPoint as well.
BARINCE – Modern Google Slides Template

This modern and multipurpose Google Slides template will allow you to design many different types of presentations for business and professional projects. The template comes with a total of 150 slides. Featuring 5 different color schemes with 30 unique slides in each template.
Niklea – Clean Google Slides Template
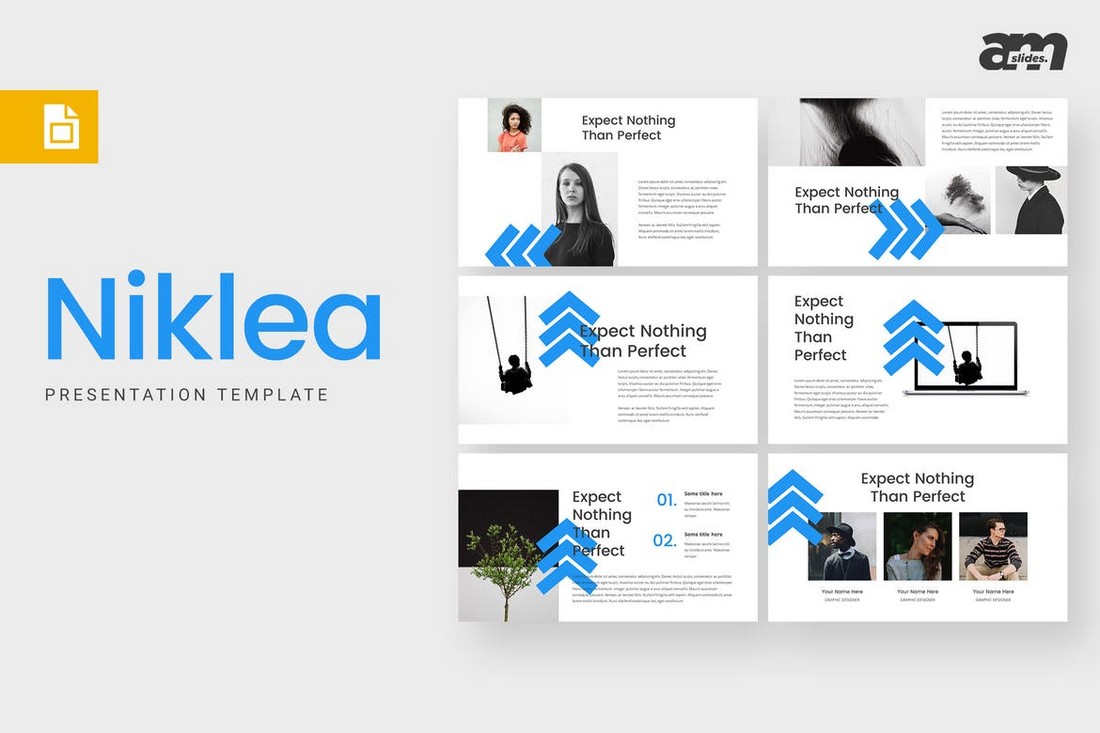
Niklea is a creative Google Slides template designed for creating clean and minimal presentations. The template lets you choose from 30 unique slides to make different types of professional slideshows. It also includes editable graphics and image placeholders.
Business – Google Slide Template

Another modern Google Slides template that’s most suitable for making business and corporate presentations. This template also includes 150 slides featuring various styles of slides in 5 different color schemes. It comes with master slides as well.
Belan – Minimal Google Slides Template
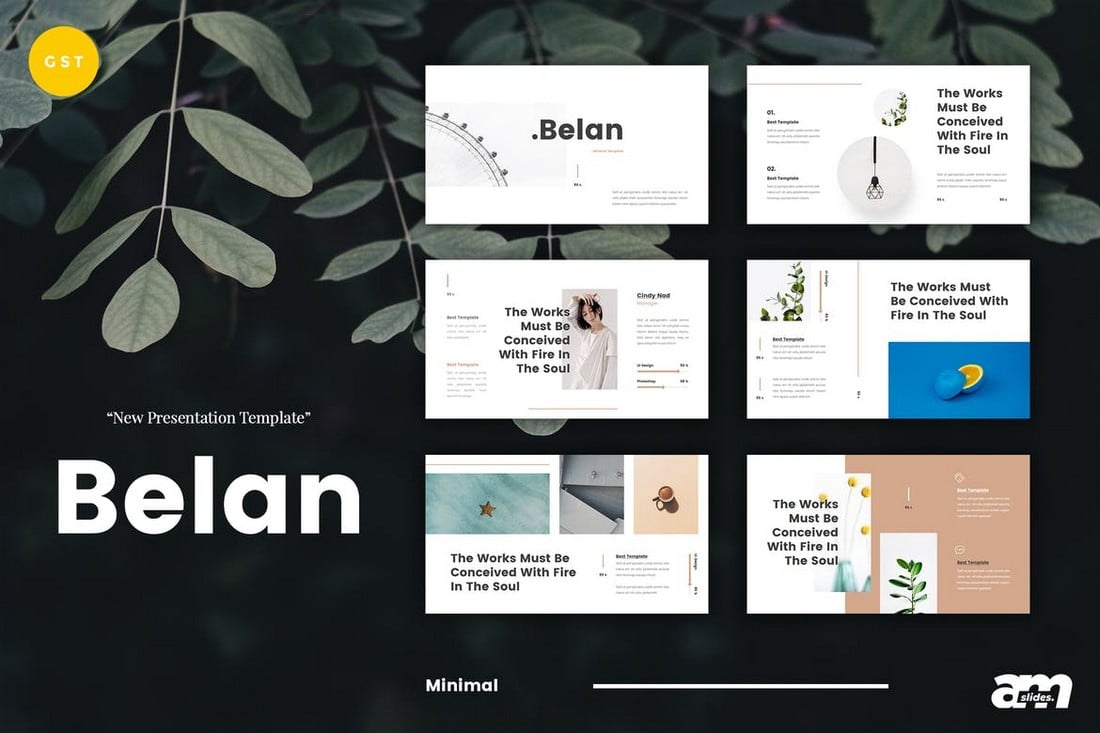
Belan is a minimal and elegant Google Slides template that features a creative slide design. It features lots of image placeholders that allow you to design visual and attractive slideshows for various presentations. The template includes 30 unique slide designs.
Annual Report – Free Google Slide Template

This free Google Slides template is ideal for making different kinds of business report slideshows. It includes 20 unique slide designs filled with image placeholders, master slide layouts, and much more.
INVESTYLE – Elegant Google Slides Template

Investyle is a modern Google Slides templates featuring a set of slides with highly visual designs. It includes placeholders for showcasing large images and titles. The template comes with 75 unique slide designs in both light and dark color themes.
THRAY – Modern Google Slides Template

Thray is a beautifully creative Google Slides template featuring a minimal content design. It’s perfect for designing presentations for travel and adventure businesses. The template comes with 30 unique slides with fully customizable designs.
Hectic Business – Google Slide Template

This modern Google Slides template lets you choose from 30 unique slides to design different business presentations and slideshows. The template is also available in 5 different color schemes featuring infographics and editable vector graphics.
Gloria – Colorful Google Slide Template
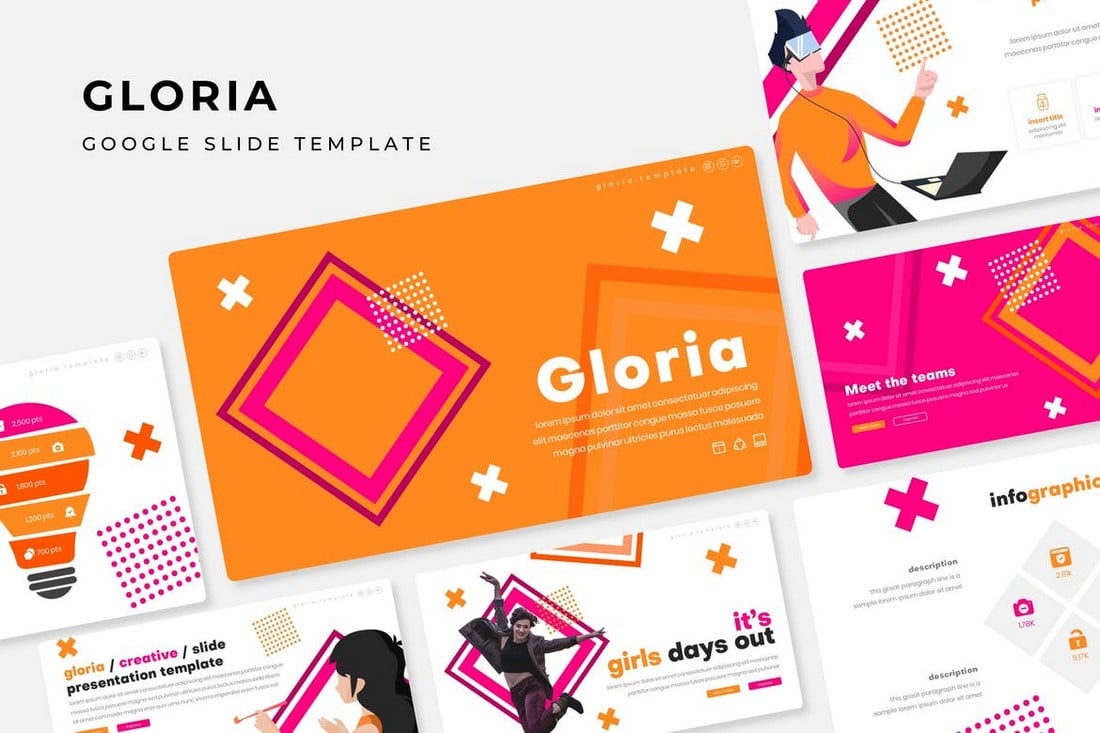
Gloria is a colorful Google Slides template most suitable for making creative and entertaining presentations. The template includes a total of 150 slides featuring 5 color schemes. It also includes image placeholders and lots of illustrations.
Communication Consulting – Free Google Slides Theme

Another free Google Slides theme for making simple presentations for consulting firms and agencies. This template comes with 16 unique slides with image placeholders and editable graphics.
Insine – Google Slides Template

Insine is a creative and colorful Google Slides theme you can use to create a professional slideshow for business and marketing presentations. The template comes with 50 unique slides featuring vector graphics, icons, and editable colors.
Nova – Modern Google Slides Template
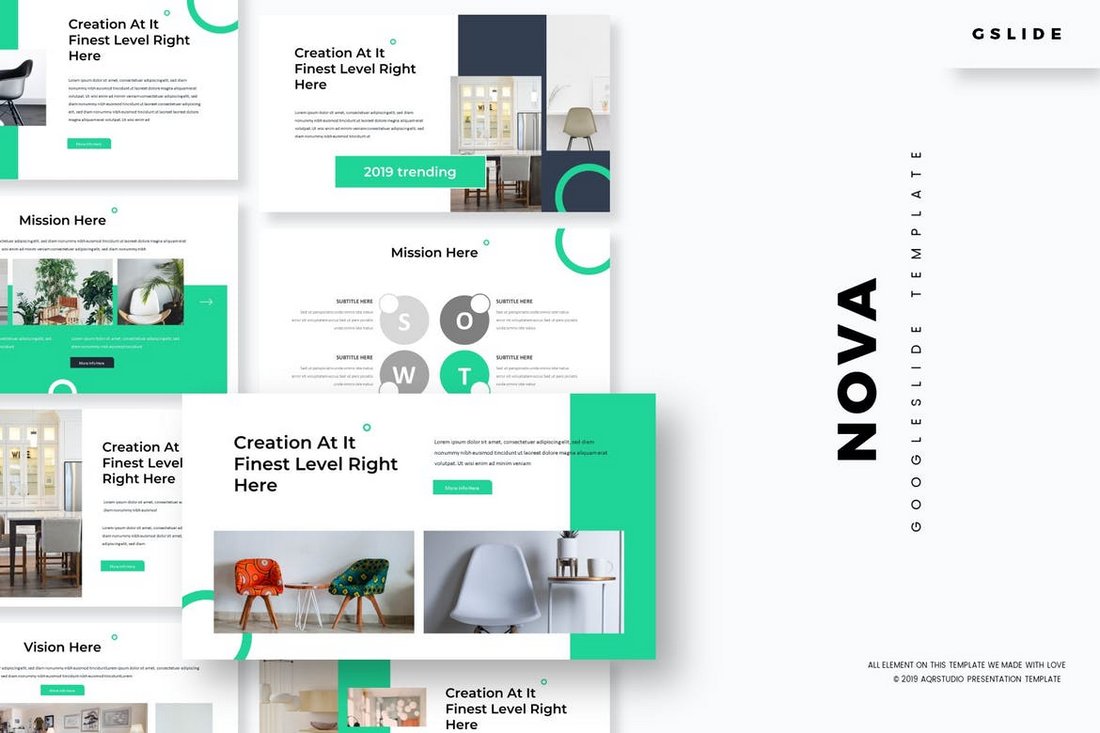
Nova is a modern Google Slides template that comes with a set of professionally designed slide layouts. You can use it to create presentations for creatives, agencies, and startups. The template includes a total of 150 slides featuring editable vector graphics and custom-made infographics.
Vastra – Creative Google Slides Template
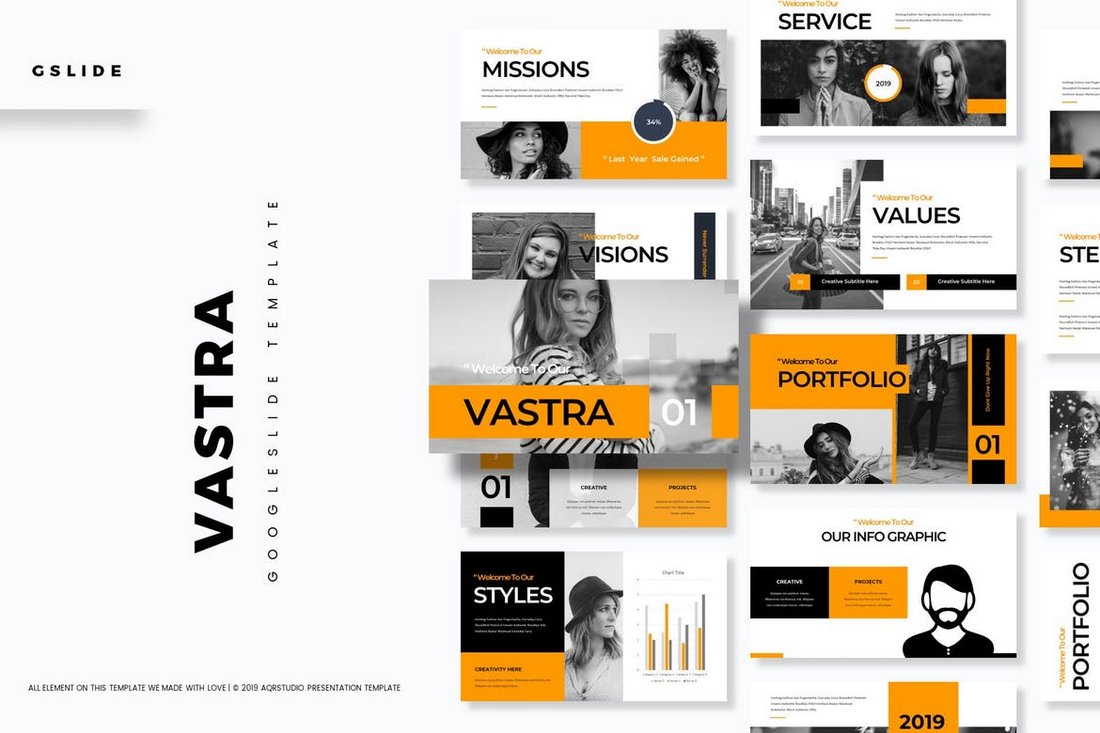
Vastra features a minimal yet creative slide design that makes it the perfect choice for making marketing and creative presentations. This Google Slides template comes with 30 unique slides. You’ll also be able to choose from 5 color schemes to design your presentations as well.
Sanma – Stylish Google Slides Template

Sanma is a creative and highly visual Google Slides template that features lots of large images. It includes image placeholders for you to easily replace the images with your own and the colors can be customized too. The template comes with a total of 150 slides.
Free Corporate Google Slides Template

Among many ordinary free Google Slides templates, this one stands out thanks to its high-quality slide design. This template has been designed for making presentations for corporate agencies and small businesses.
The template includes 8 unique slide designs and it comes in Google Slides, PowerPoint, and Keynote versions as well.
This template is one of the few free Google Slides templates that allows you to use it with both personal and commercial projects, as long as you include attribution. The professional design and the easily editable slide layouts make the template one of the best free ones on our list.
Business – Google Slides Template

This Google Slides template is made specifically for creating all kinds of business-related presentations. It includes modern slides for creating slideshows for everything from sales meetings to company profiles and startup pitch decks.
Creative Portfolio Free Google Slides Template
This free Google Slides template is designed for making portfolio presentations for creative professionals and agencies. The template includes 20 unique slides featuring transition animations, image placeholders, and more.
Case Study Minimal Google Slide Template

If you’re planning on making a stylish slideshow to showcase and present your case study, this free Google Slides template will come in handy. It features 20 unique slides made with case studies and reports presentations in mind.
Xanthopsia – Google Slides Template
Xanthopsia comes with a modern and elegant design filled with lots of images. It’s ideal for creating slideshows for businesses related to fashion and photography. The template includes 50 unique slides.
Guiza – Google Slides Template
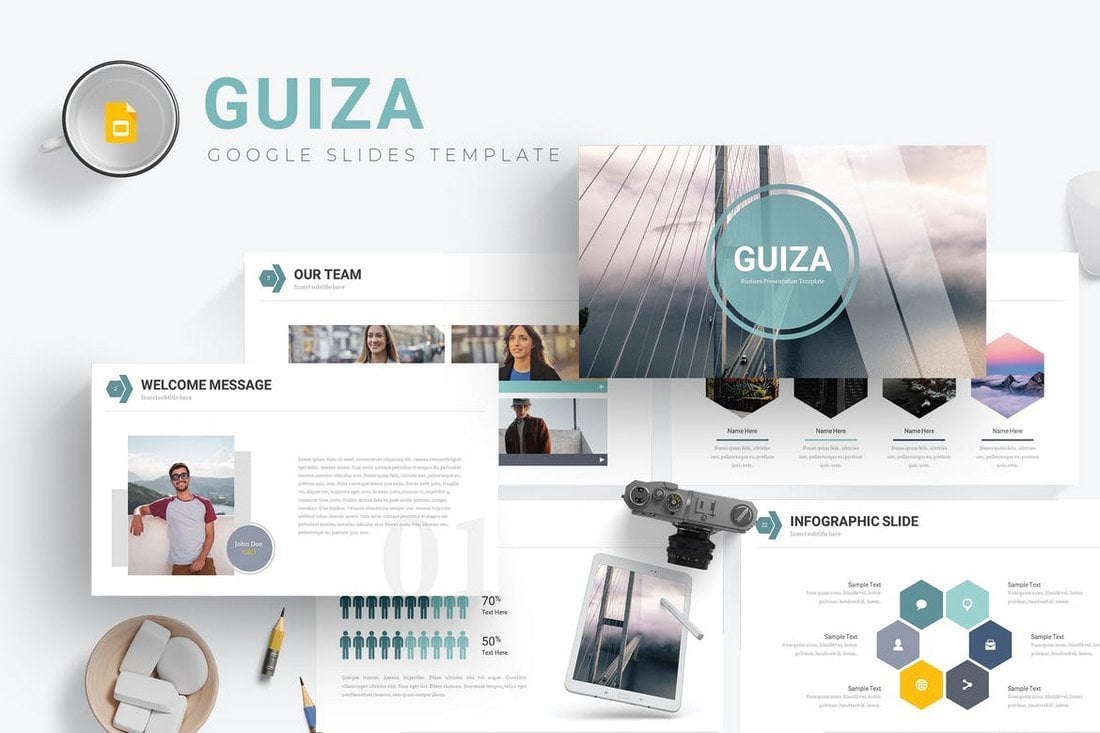
Guiza is another professionally designed Google Slides template that comes in 5 different color schemes. The template includes a total of 150 slides with 30 unique slides in each template.
Gradation – Google Slides Presentation
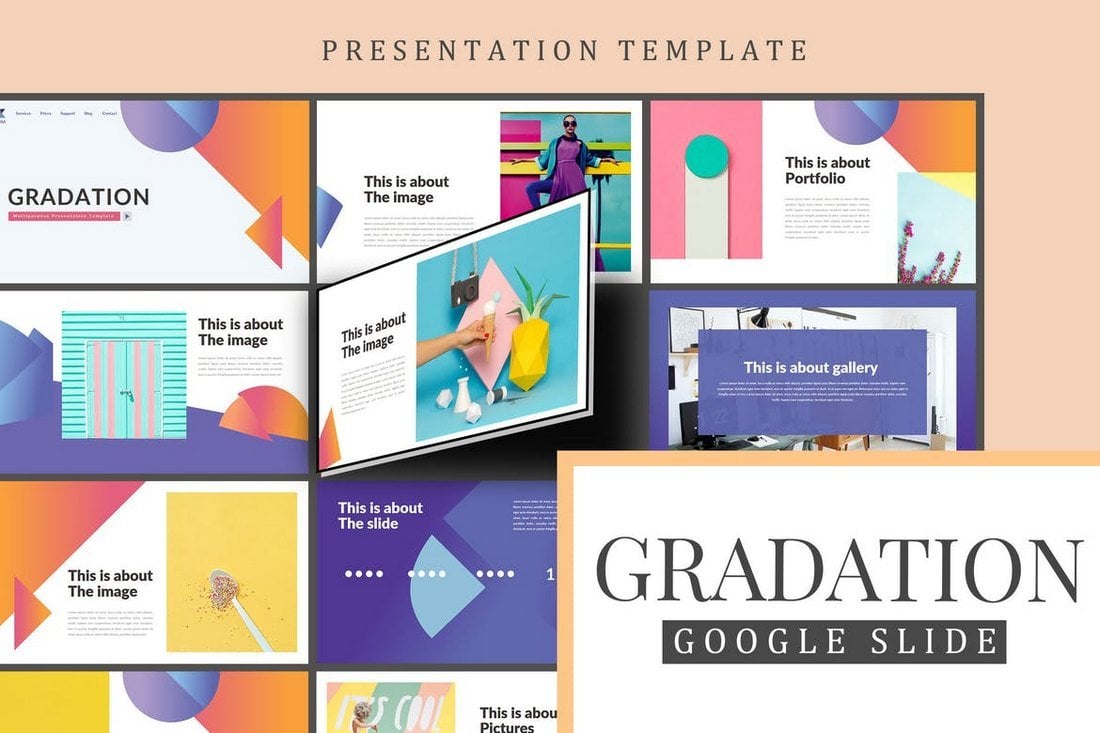
Gradation is a beautiful Google Slides template that features a colorful design. The template comes with 50 unique slides in Full HD layout with lots of vectors, infographics, charts, graphs, and more.
Minotur – Google Slides Template
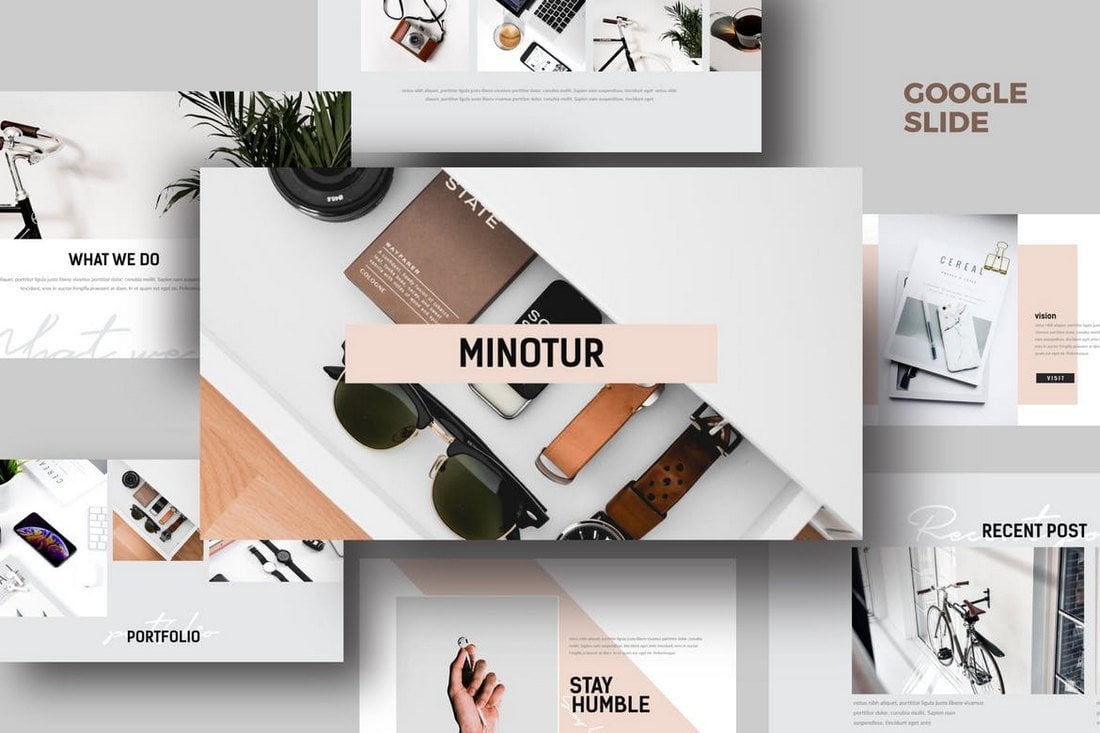
Minotur is a modern and minimal Google Slides template that features an elegant design. It’s ideal for creating slideshows for modern and luxury businesses and brands. The template includes 50 unique slides.
Rafaela – Google Slides Template
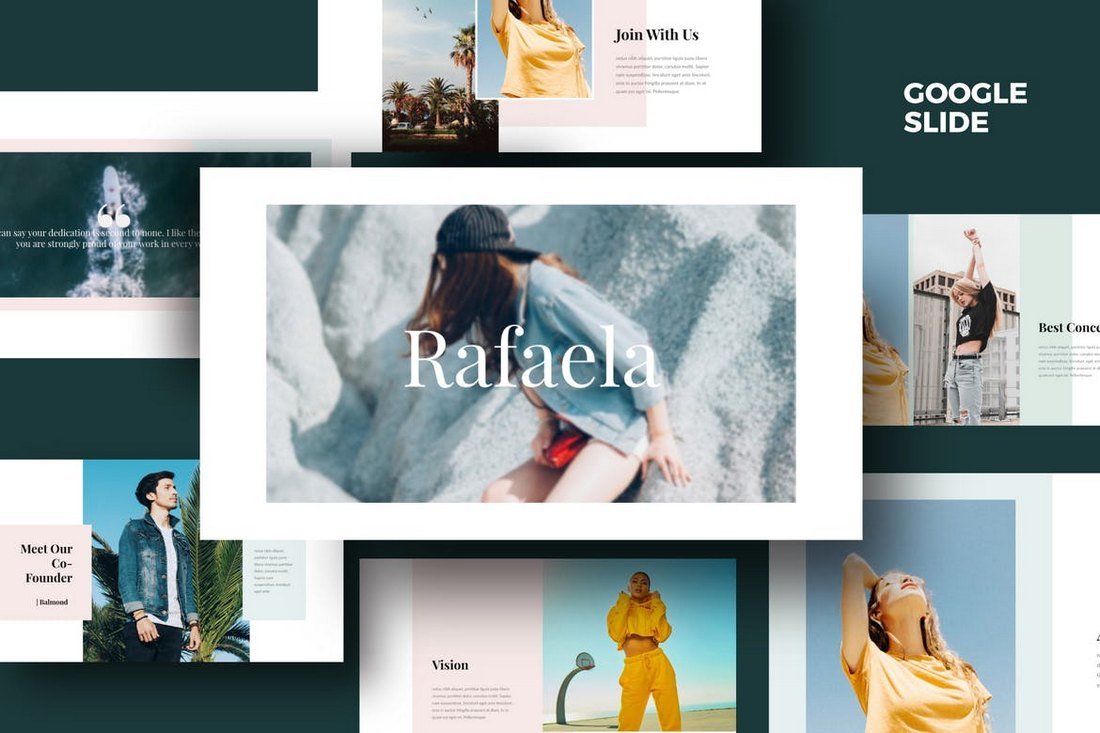
Rafaela Google Slides theme comes with more than 50 unique slides that are designed to highlight your presentations with lots of images. The slides can be easily customized and include image placeholders as well.
Strength White – Google Slides Template

This Google Slides template features 50 unique slides that are easily customizable to change colors, images, and shapes. It also includes lots of vector graphics, infographics, icons, and more.
Business Plan Free Google Slides Template

Business plan Google Slides template features a minimalist and black and white design. This template is ideal for creating simple and minimal presentations for creative agencies and businesses.
Minimal Portfolio Free Google Slide Template
Another creative free Google Slides template you can use to create presentations for creative and agency portfolios. The template features 20 unique slides filled with vector graphics, image placeholders, and editable colors.
Zane Free Modern Google Slides Template

Zane is a free Google Slides template that features a content-focused design that allows you to create presentations with lots of images. The template includes 11 unique slides.
Nabati – Google Slides Template
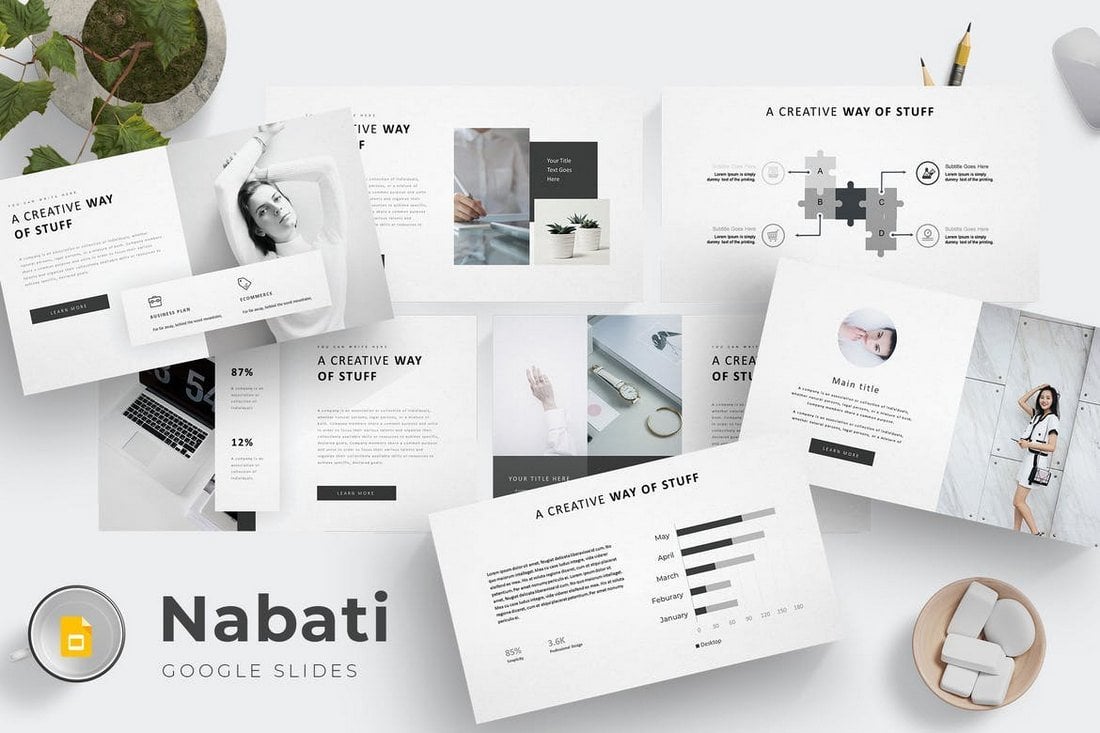
Nabati is a minimalist Google Slides template you can use to create a slideshow for businesses and brands as well as creative presentations. It comes with 30 unique slides and the template is available in 5 premade color schemes.
Gemio – Google Slides Template
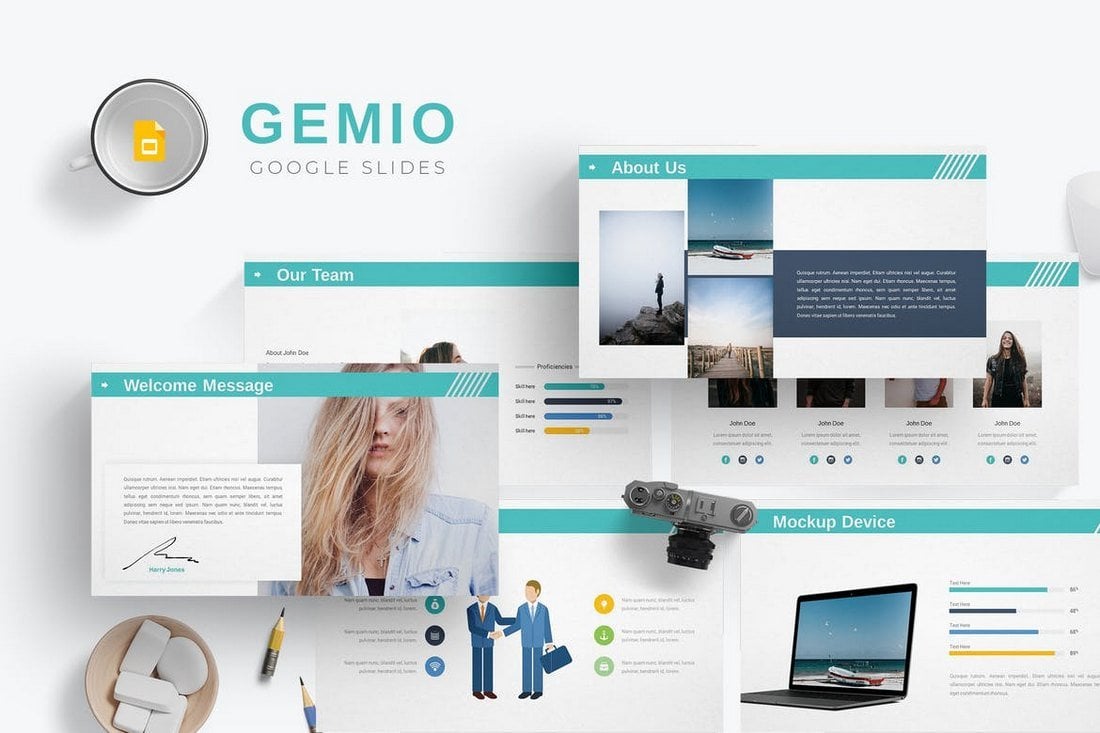
Gemio is a Google Slide theme features modern slides design made for creating slideshows for tech and startup related presentations. It includes a total of 150 and it’s available in 5 color schemes.
BizPro. Google Slides Presentation Template
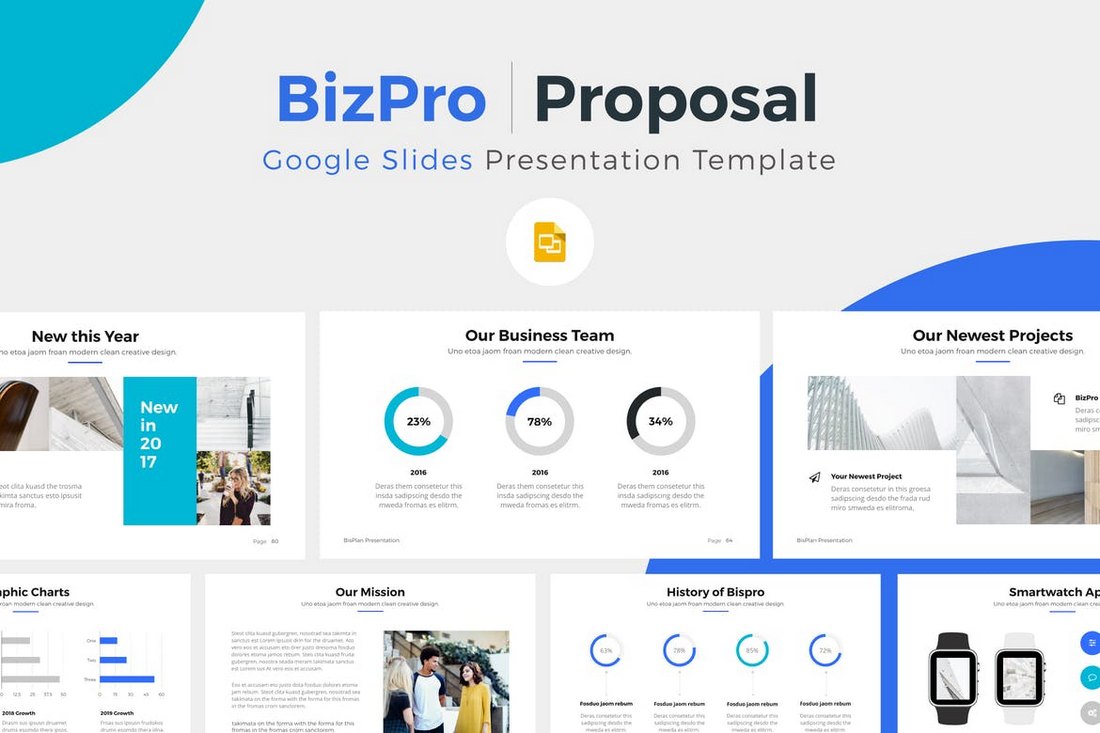
Easily craft a business proposal presentation with this Google Slides template. This template comes with more than 105 unique slide designs featuring Font Awesome icons and lots of vector graphics such as maps, charts, and graphs.
Pitch Deck Google Slides Template
Whether you’re pitching a product, a startup idea, or a business plan, this Google Slides template will help you cover them all. It includes 100 unique slides featuring a creative design and in retina-ready resolutions.
Photography Google Slides Template

This Google Slides template is designed with photographers in mind. It features 70 unique slide designs that help you highlight photos and designs. You’ll also be able to use this template for other presentations, such as fashion and clothing designs as well.
NORS – Google Slides Template
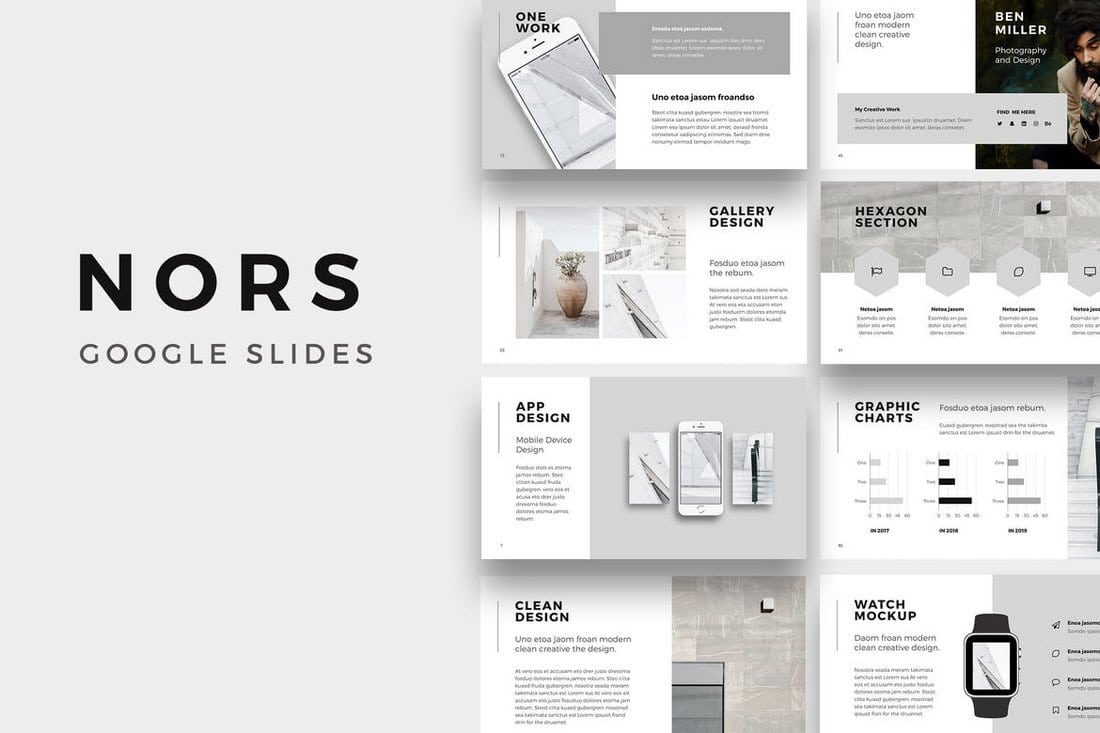
Nors is a highly minimalist Google Slides template that features a clean design. It has a modern look that will help you capture the audience’s attention. The template includes 130 unique slides as well. The colors and graphics are easily customizable.
Fashion Google Slides Template

This Google Slides template is made specifically for designing presentations for fashion-related brands and businesses. It comes with 80 unique and animated slides in Full HD resolution.
VIGO – Google Slides Themes
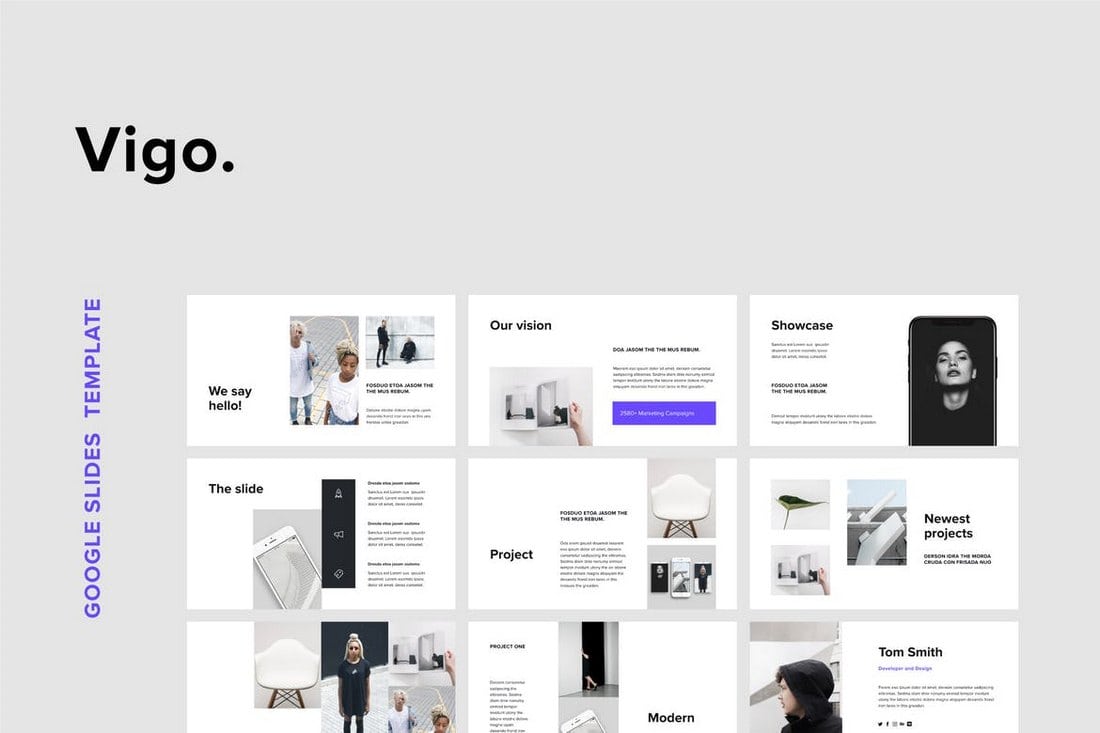
Vigo is a professionally designed Google Slides template that includes 110 unique slides in 1920 x 1080px resolution. The slides in this template are designed with a clean background to highlight its content. It also includes a pack of 500 line icons as well.
Free Outline Illustrated Google Slides Themes

This Google slides template comes with 25 unique slides and it features a modern and a colorful design. It also includes 80 icons and lots of vector charts and graphs as well. All of it comes to you free of charge.
Felipe Google Slides Template

A simple and free Google Slides template that’s ideal for designing slideshows for photography or fashion related presentations. The slides are easily customizable as well.
Creative Google Slides Template

Featuring an attractive dark color theme, this Google Slides template is best for creating presentations related to web design, photography, and more. The template comes with 50 unique slides in Full HD resolution.
Mastah Google Slides Template
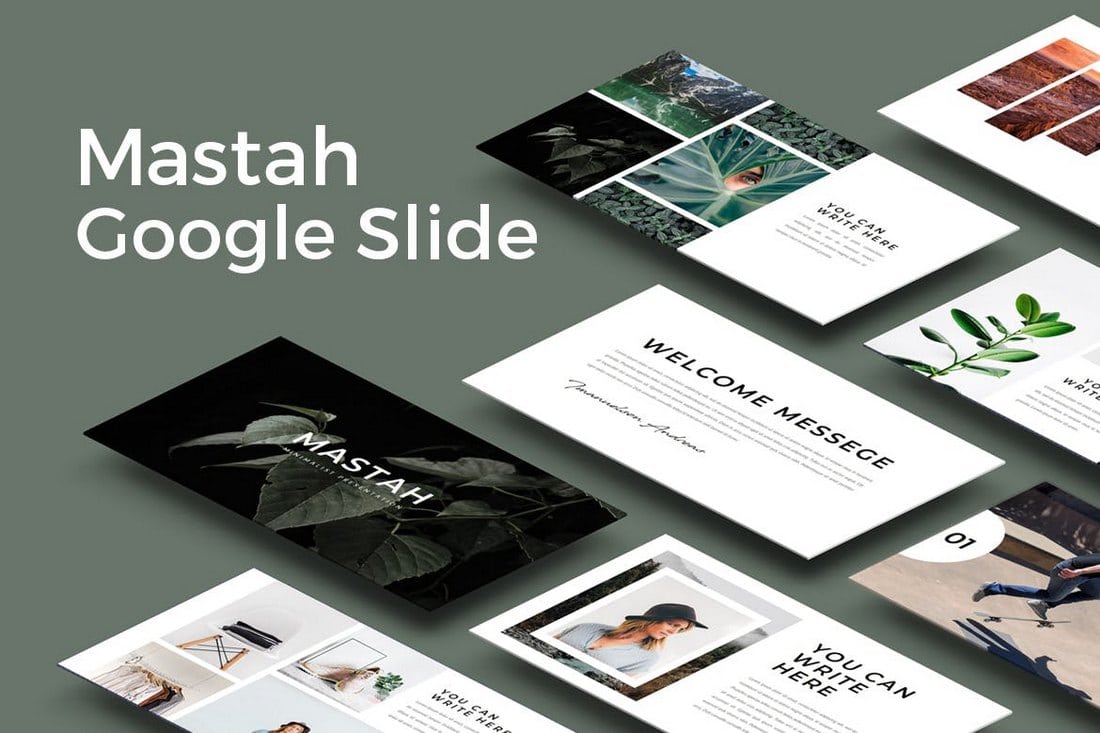
Mustah is a Google Slides presentation that features a minimal design. The template includes 50 slides with modern layouts and with resizable vector graphics. It also includes gallery and portfolio slides as well.
Google Slides Brand Guidelines Template
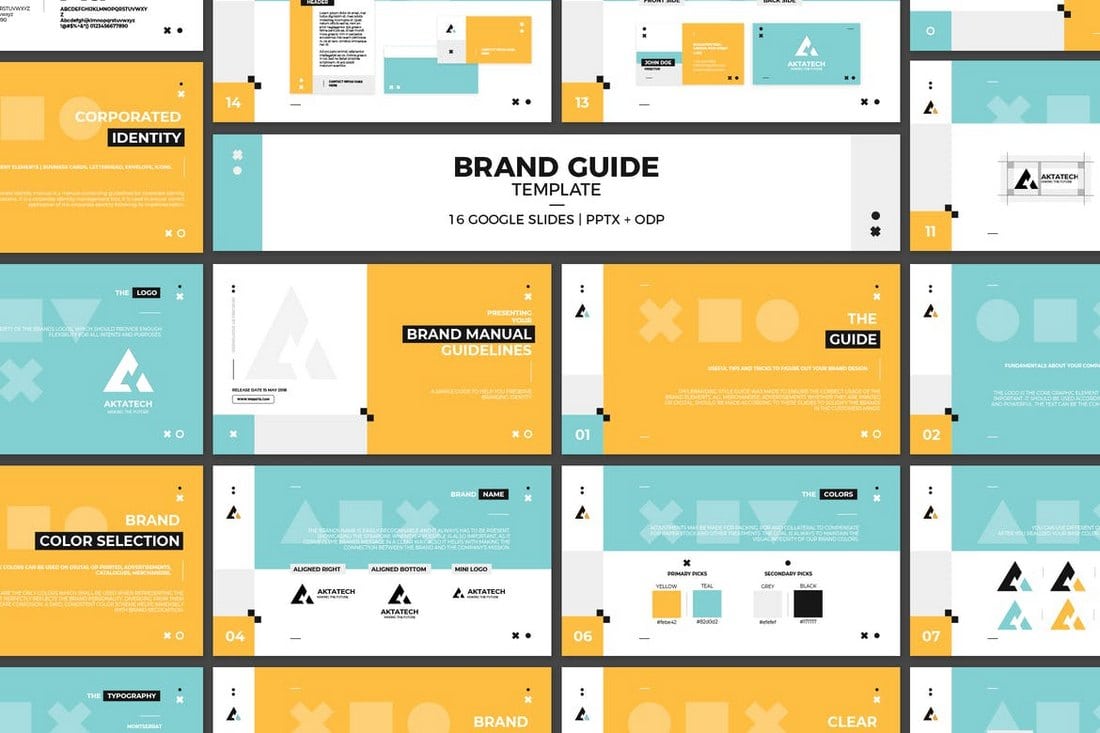
This is a Google Slides template crafted for creating branding and marketing related presentations. The colors and the design of the slides have been carefully selected to highlight its content and message. The template includes 13 unique slides that are customizable with Google Slides and PowerPoint.
Startup Pitch Deck Google Slides Template
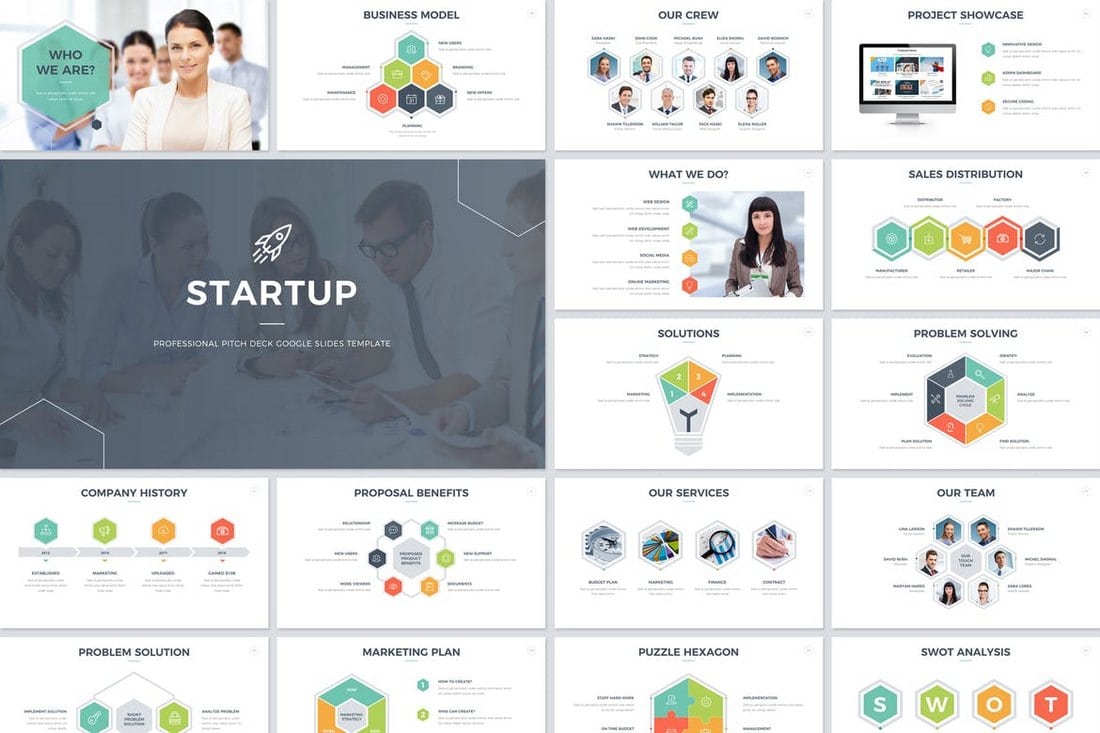
A Google Slides template featuring slides especially designed for creating startup pitch decks. This template includes a total of 100 slides, featuring business model slides, competition slides, timelines, maps, projections, and more.
HiBiz Google Slides Template
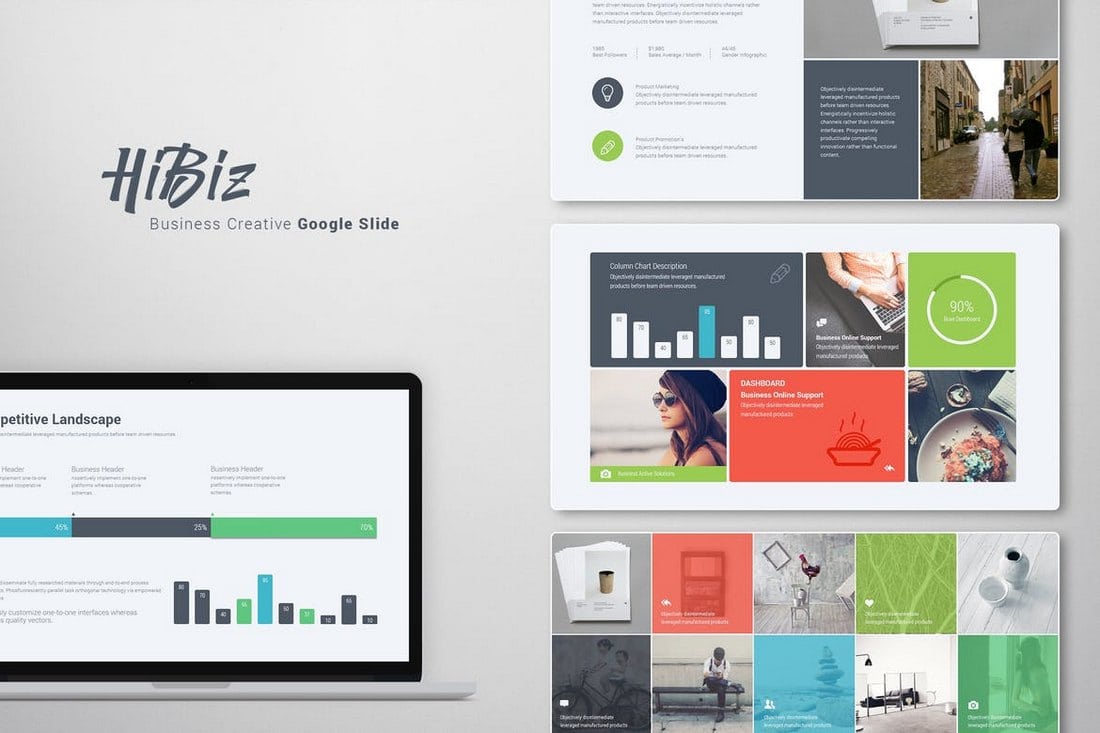
HiBiz is a Google Slides template that comes with a creative and a colorful design. This template is ideal for creating slideshows for creative agencies, professionals, design agencies, and startups. It includes master slide layouts, a library of vector icons, and comes in both light and dark color themes as well.
Kamana Google Slides Template
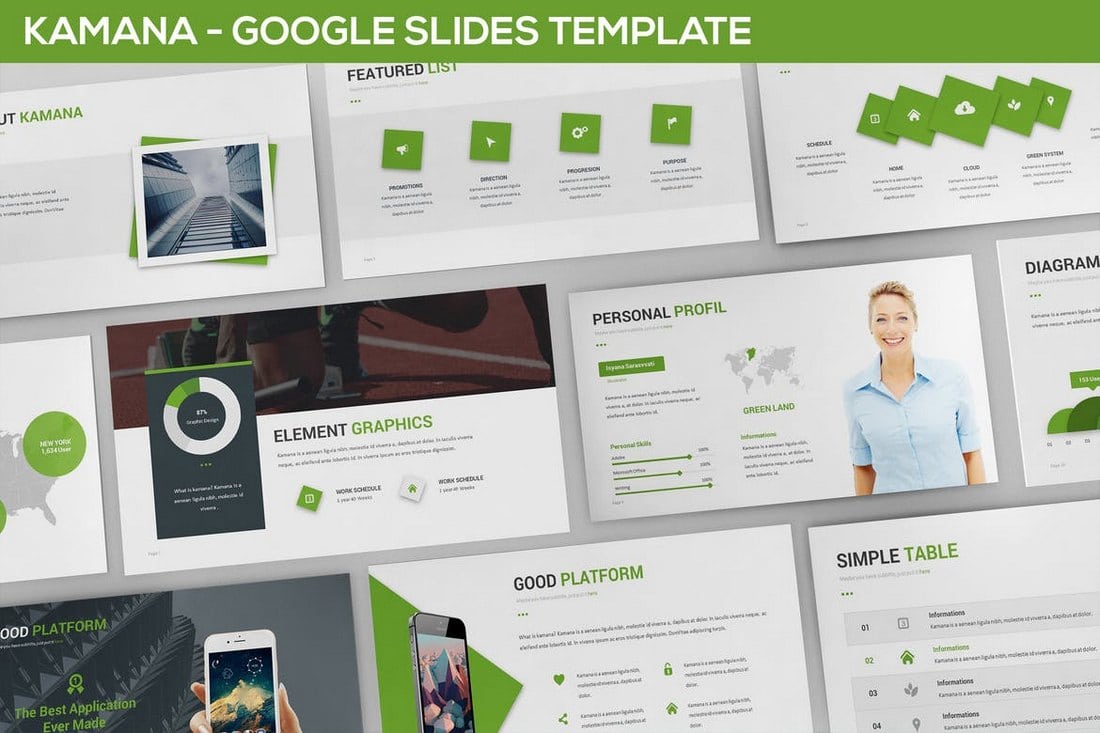
Kamana is a slideshow template that’s ideal for creating app presentations or for businesses related to technology. The template includes 25 unique slides in light and dark backgrounds. The template is available in 3 different color themes.
Creative Agency Google Slides Presentation
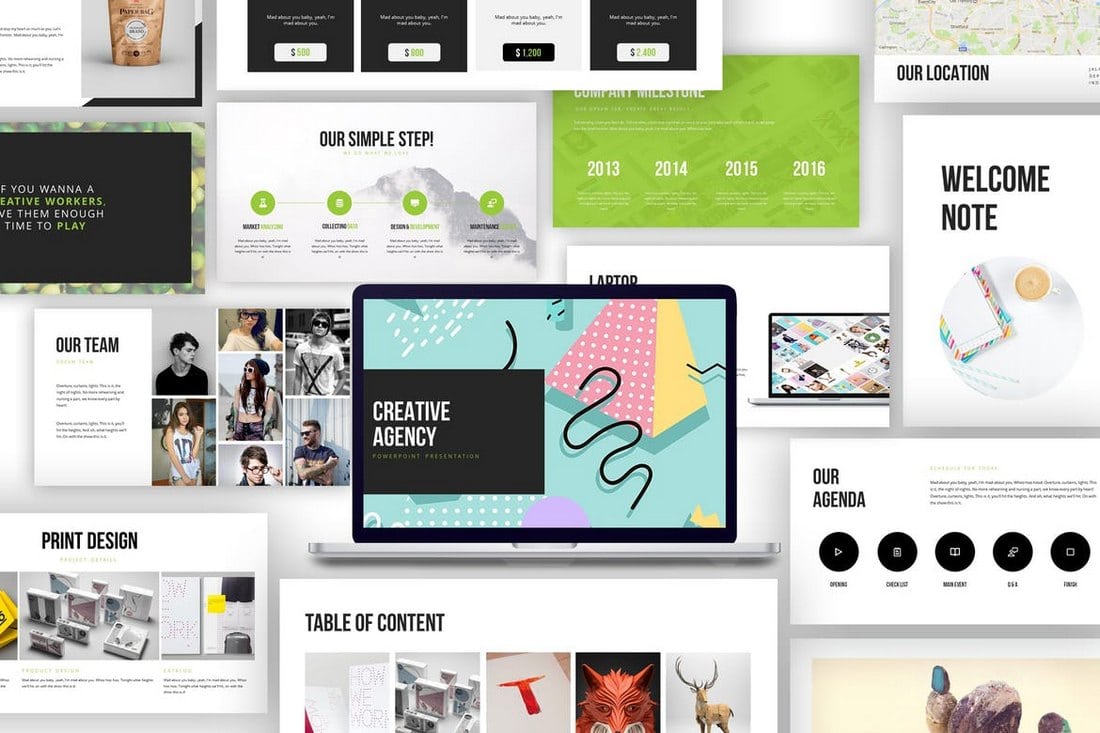
This is a Google Slides template made for creative agencies and professionals. The template includes 70 unique slide designs, featuring a masonry portfolio, animated slides, resizable vector elements, and much more.
Moksa – Creative Agency Google Slides Presentation

A yet another creative Google Slides presentation template for agency and business presentations. This template also includes 100 unique slides in Retina-ready Full HD resolution, vector elements, device mockups, and icons. The templates are easily editable as well.
edge Google Slides Template
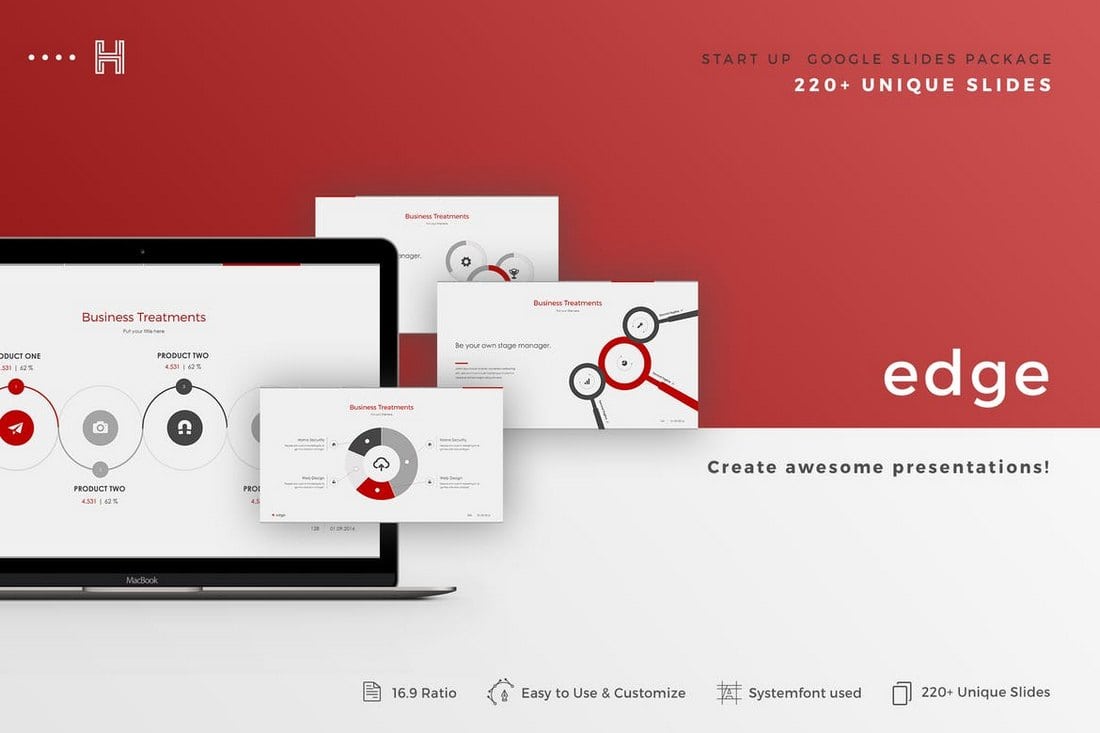
Edge is a template that features a selection of over 220 unique slides. This Google Slides template includes lots of charts, graphs, maps, and infographics for showing off statistics and data in your presentations.
Approach – Multipurpose Google Slides Themes
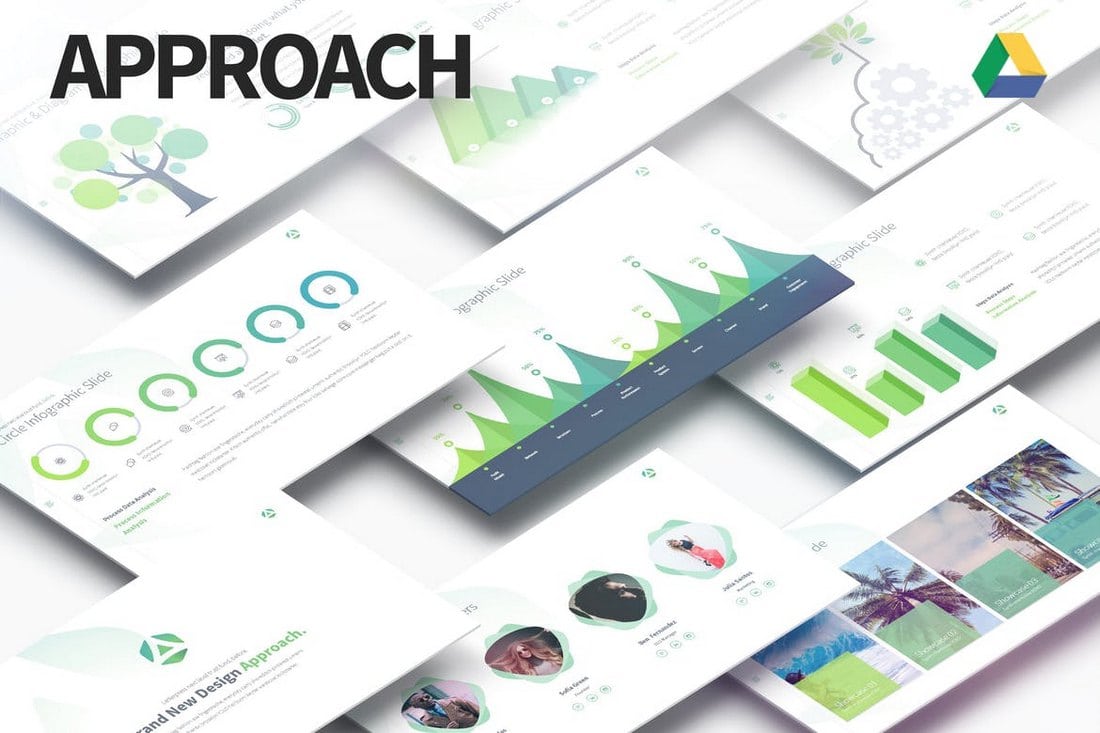
Approach is a Google Slides template designed for both small businesses and corporate brands. The template comes with 100 unique slides with a total of 1010 slides for designing slideshows for many different types of presentations.
Kotak Interior Design Google Slides Template
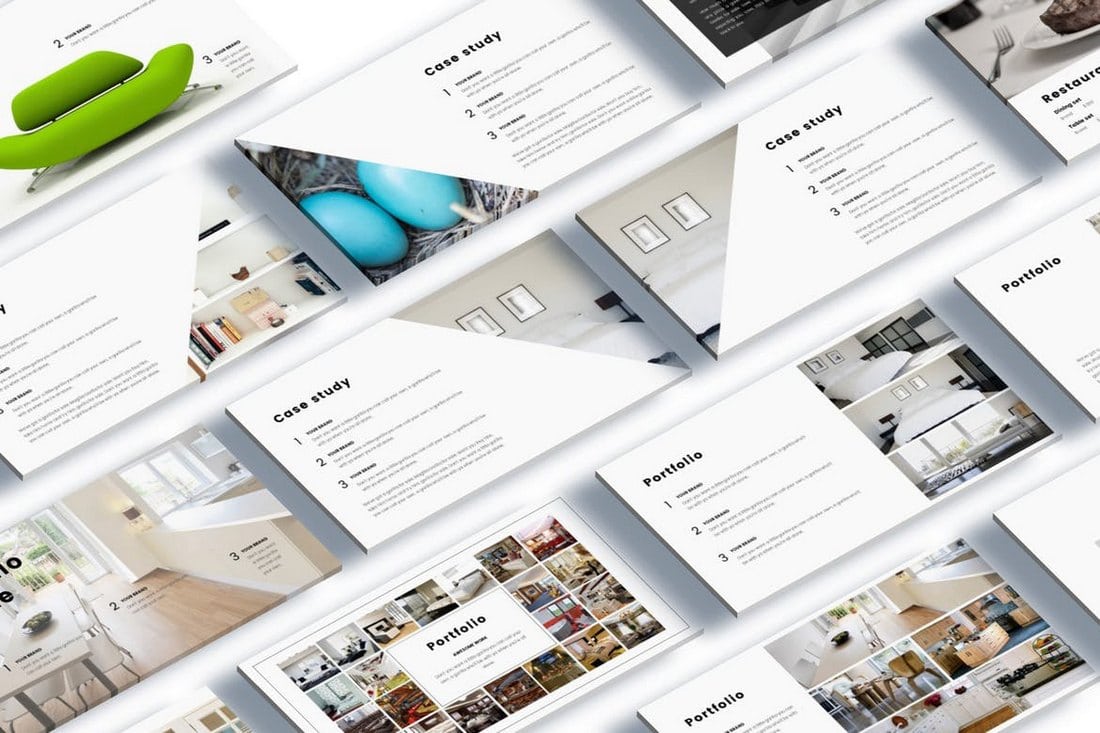
Even though this template is designed for creating Slides presentations for interior design agencies, it can also be used to create other types of presentations as well. The template includes 100 unique animated slides.
MOGA. Small Business Presentation Google Slides
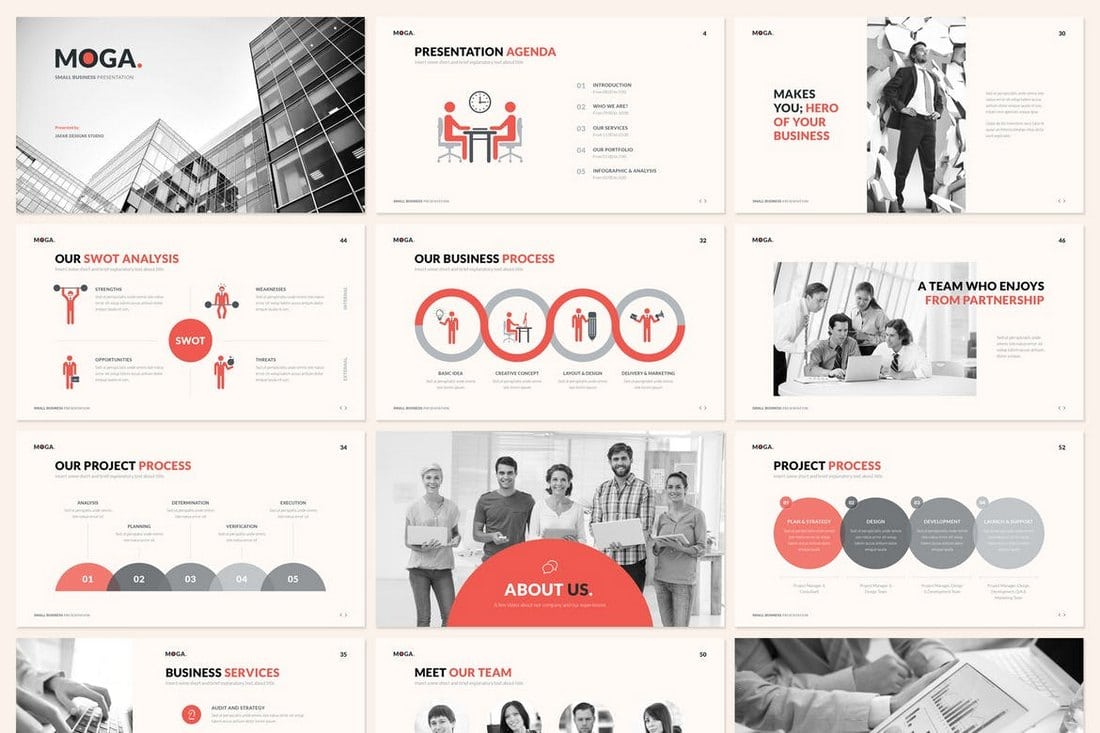
Moga is another Google Slides presentation template designed for crafting business and branding related slideshows. It includes 24 unique slides with a total of 2500 slides. It’s also available in dark and light color schemes as well.
Cocoon – Creative Google Slides Template

Cocoon is a Slides template that’s best for creating presentations for individuals and agencies. It includes 150 creatively designed unique slides with lots of vector graphics, a masonry-style portfolio, and much more.
Free Minimal Google Slides Template

You wouldn’t believe that this beautiful Google Slides template is free. Featuring a minimalist and a modern design, this template is perfect for creating a simple slideshow for a creative presentation.
Business Plan Free Google Slides Template
This free Google Slides template will allow you to create a great slideshow for a business or a corporate presentation. It features a colorful design with lots of vector elements.
Free Modern Google Slides Theme

If you’re a fan of creative illustrations, you’ll love this Google Slides template. It features a set of beautiful slides that includes lots of line-based illustrations. You can download and use it for free as well.
Aumerle Google Slides Template
Aumerle is a colorful and a quirky Google Slides template that’s filled with joy. It’s best for creating presentations for kids and children. It can be downloaded as either Google Slides or PowerPoint.
Kelsie Google Slides Template
This Google Slides template features lots of watercolor effects and styles. It includes 25 unique slides for creating presentations for creative and design related works.
Free Timeline Google Slides Template
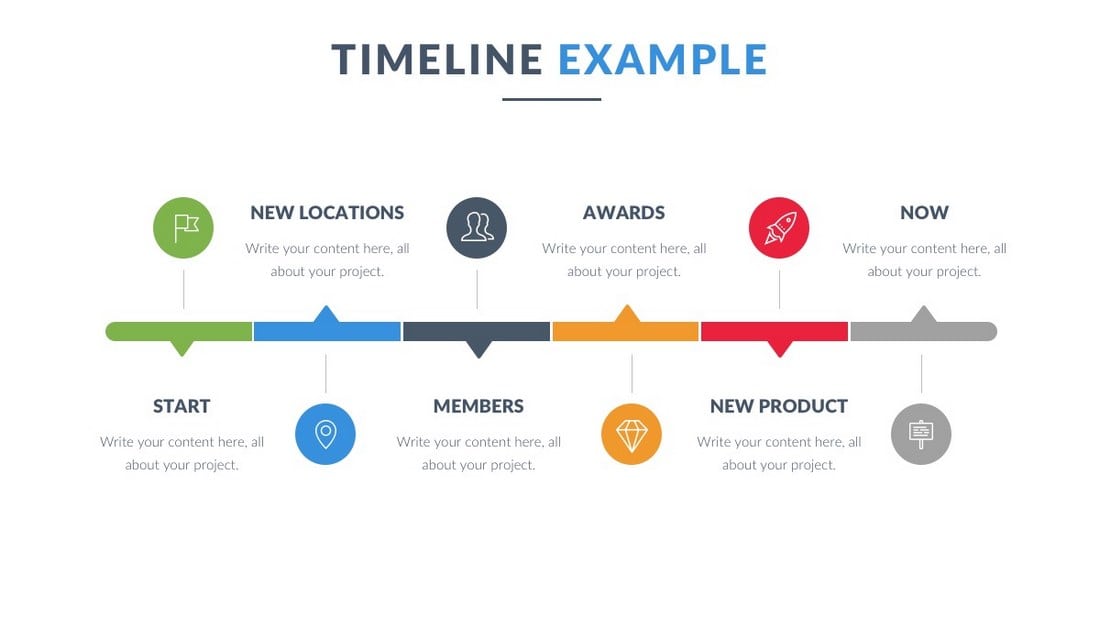
This template is filled with timelines. You can use it for creating business projection slides and showcasing product growth. It includes 5 different slides with different timeline designs.
Science Google Slides Theme

This Google Slides theme comes with 25 unique slides filled with science-related graphics and vectors. It’s ideal for creating presentations for school projects.
5 Common Google Slides FAQs
If you’re new to Google Slides and still learning your way around the app, these frequently asked questions and answers will help you learn a few new tricks.
1. How to Install a Google Slides Theme?
Installing a Google Slides theme is quite easy. Simply open the Themes panel (you can open it by clicking on the Themes link right below the main menu). Then you’ll see a button at the very bottom of the Themes panel that says Import Theme. Click this button and switch to the Upload tab. From here you can upload your downloaded theme file.
2. How to Convert a PowerPoint File into Google Slides?
One of the best features of Google Slides is that the app is compatible with PowerPoint files. But, first, you need to convert it to Google Slides.
To get started, upload the PPTX file into your Google Drive. Then open the file with Google Slides. Now go to the File menu and choose Save as Google Slides. This converts your PPTX file into Google Slides format.
For more detailed step by step instructions, check out our guide.
3. How to Embed YouTube Videos in Google Slides?
Google Slides makes it so much easier to add videos to presentations with its ability to embed YouTube videos.
To embed videos, all you have to do is go to the Insert menu and choose Video. Then copy and paste the URL for the YouTube video you want to embed and click on the Select button. That’s it!
Use our detailed guide for visual instructions.
5. How to Print Google Slides Presentations?
The easiest way to print a Google Slides presentation is to first convert it to a PDF file and print using the PDF. This way, you can share it with anyone and easily print out using any computer.
To convert a Google Slides file to PDF, simply go to the File menu and in the Download sub-menu select PDF format.
6. How to Embed Google Slides Presentation?
If you want to show off a playable version of your presentation on your website or blog, you can use the Google Slides embed feature.
Go to File >> Publish to the Web. Switch to the Embed tab and customize the settings. Then copy the <iframe> embed code and paste it in your website. It’s as simple as that.
5 Tips for Making a Google Slides Presentation
Google Slides is one of the best apps for designing presentations. But, you must know how to use the app to make professional slideshow designs. These tips will help you get a head start.
1. Use a Template
Most Google Slides users only use the default themes that are included in the app itself. However, you can actually upload third-party Google Slides themes made by professional designers to create more unique slideshows and presentations.

Using a template is the easiest way to design an attractive slideshow that stands out from the crowd. Consider downloading a premium or a free Google Slides theme from a third-party marketplace. It will help make your presentations look different from the rest.
2. Use Master Slides
If you’ve used PowerPoint or Keynote you’d already know about the power of master slide layouts. But, most people don’t know that this feature is also available in Google Slides.

With Master Slide layouts, you can easily create new slides with pre-made layouts. Master Slide layouts are often included in Google Slides themes. Just go to the Slide menu and select Edit Master to access the master slide layouts.
3. You Can Insert Videos
Adding videos to a slideshow used to be a nightmare when you’re making presentations with PowerPoint and Keynote. Google Slides actually makes the process much easier.

You can easily add videos into a slide via the Insert menu. It lets you either upload your own videos or embed a YouTube video into the presentation. Just keep in mind that in order to play YouTube videos you’ll have to be connected to the internet.
4. Create Auto-updating Charts
Charts are one of the most effective ways of showcasing and visualizing data. However, when you’re creating charts using data from ongoing research or monthly campaigns, it becomes a tedious task to keep updating the charts over and over again.

Google Slides offers an easy fix for this problem with auto-updating charts. To do this, first, add all your data into a separate Google Sheets file. Then in Google Slides, go to Insert >> Charts >> From Sheets. Then select the Sheets file containing the data to create your chart. Now, whenever you update the data in your Sheets file it will automatically reflect in your chart.
5. Publish to the Web
Did you know that you can publish your Google Slides presentations to the web? By publishing your presentations to the web, you can make your slideshows publicly available for everyone to view, even if that person doesn’t have access to Google Sheets.

This is a great way to share your presentations and make them more accessible to everyone. Go to the File menu and select Publish to the Web.
Check out our PowerPoint presentation templates and Apple Keynote templates for more inspiration.