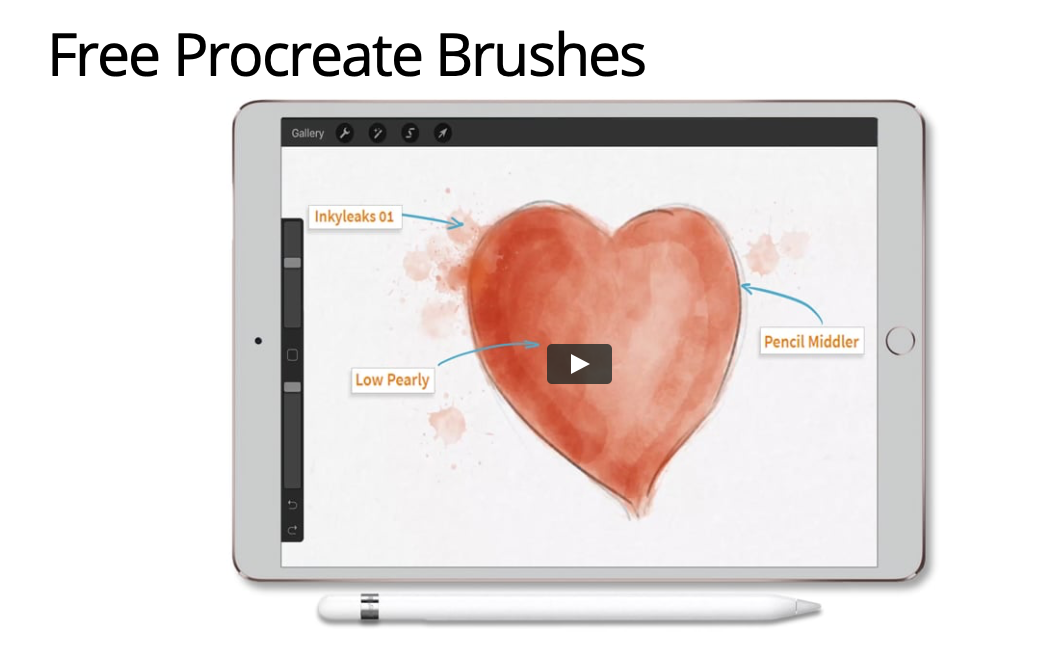
Procreate makes it easy to create stunning designs and pieces of artwork for personal and professional use. However, gathering all the resources you need, like Procreate brushes, can seem like a daunting task when you’re first starting out.
Instead of having to hunt down brushes to use in your art, we’ve put together a resource you can reference whenever you need a new brush. Here, we’ve compiled some premium brushes, free collections, as well as premium (free & premium) collections you can use in your work starting right now.
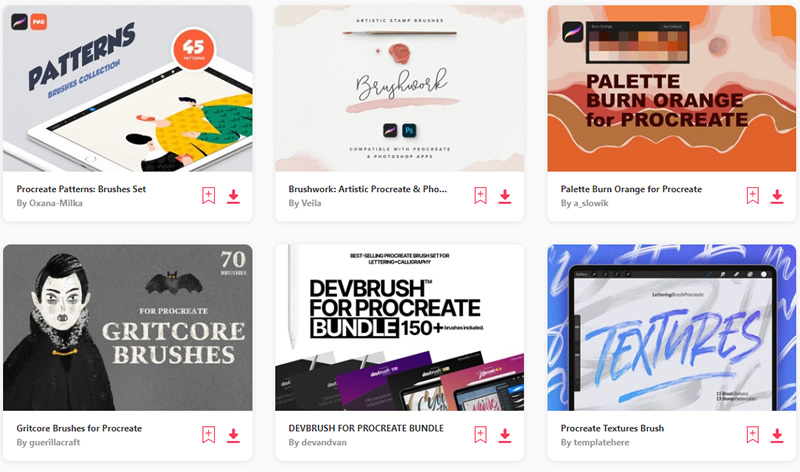
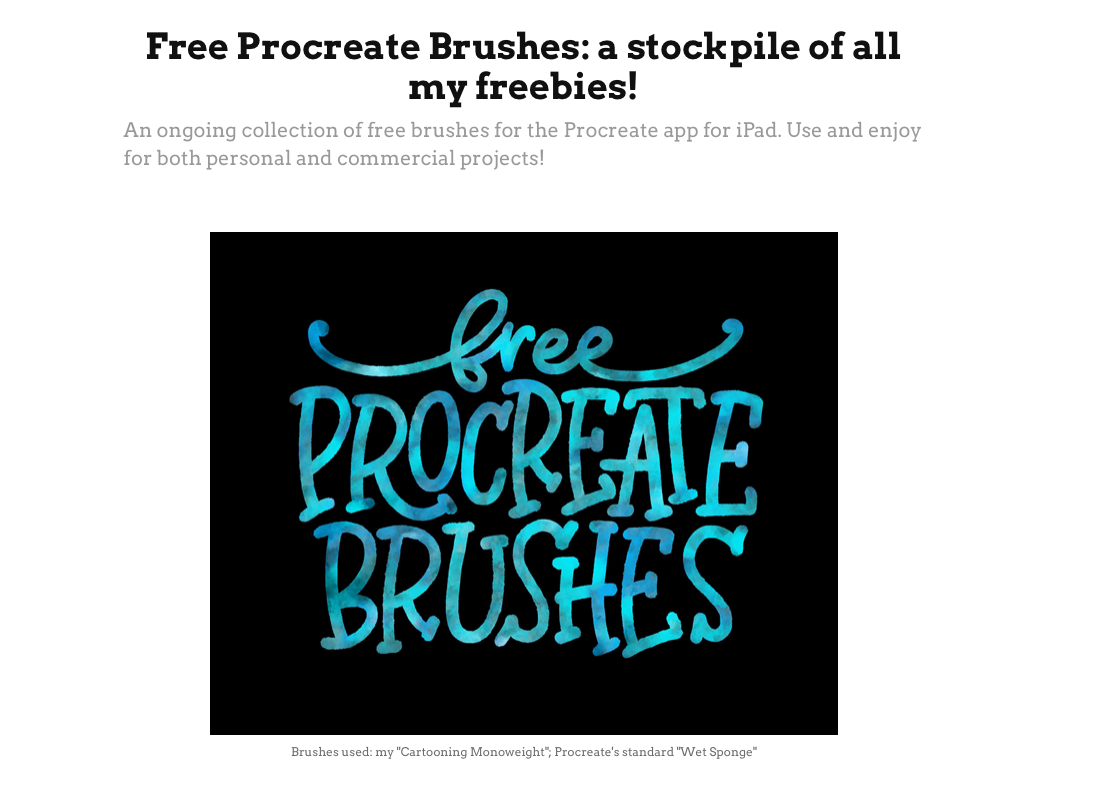
All The Best Procreate Brushes Unlimited Downloads: Hundreds of Procreate Brushes For Your Designs
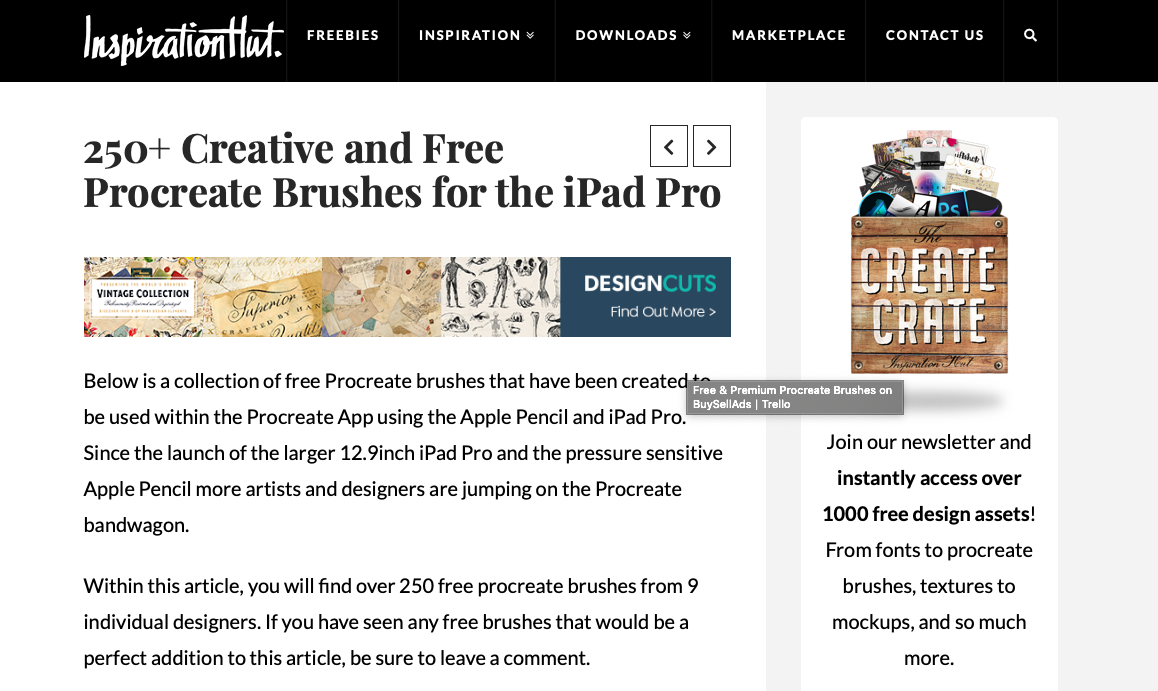
This is a real treasure trove of free resources! Here, you can find over 250 free brushes that offer you new creative ways to make what you want to make.
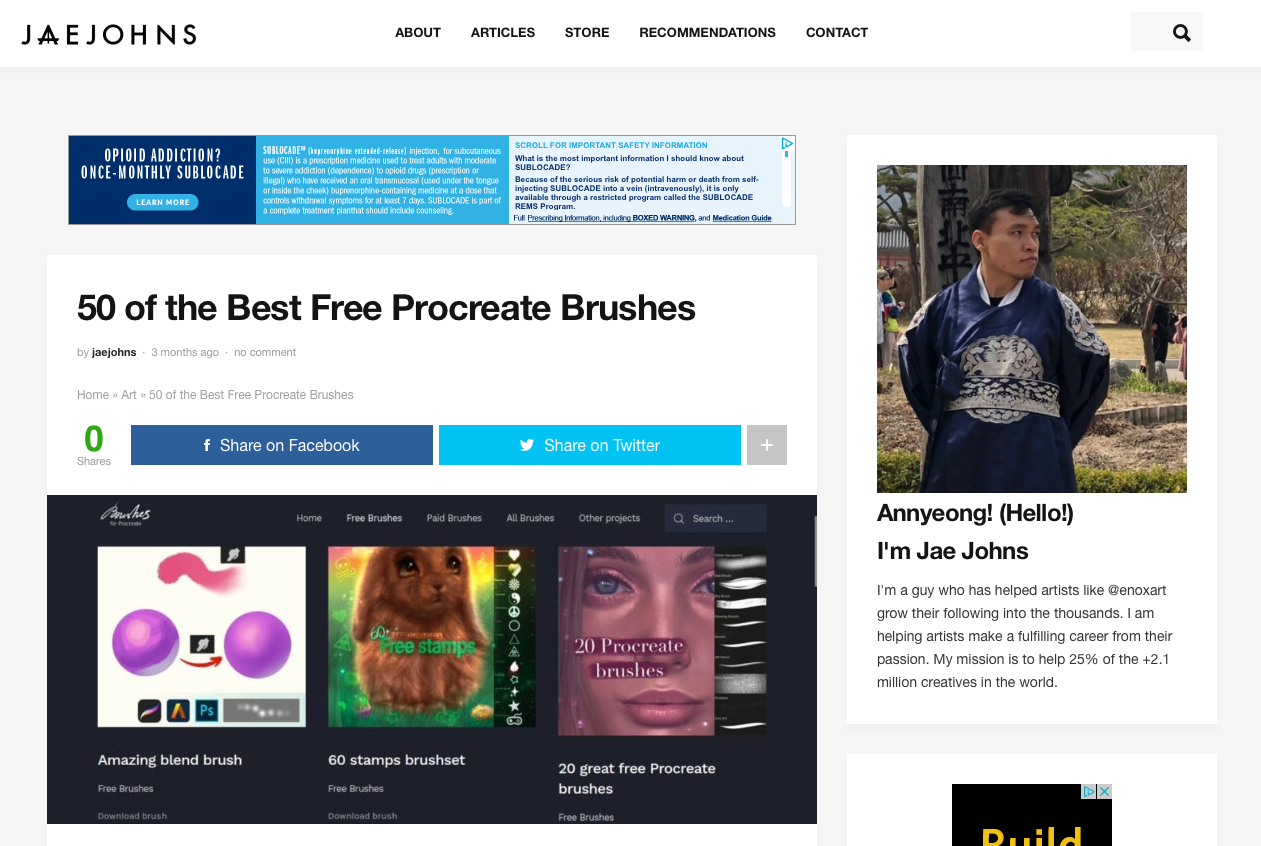
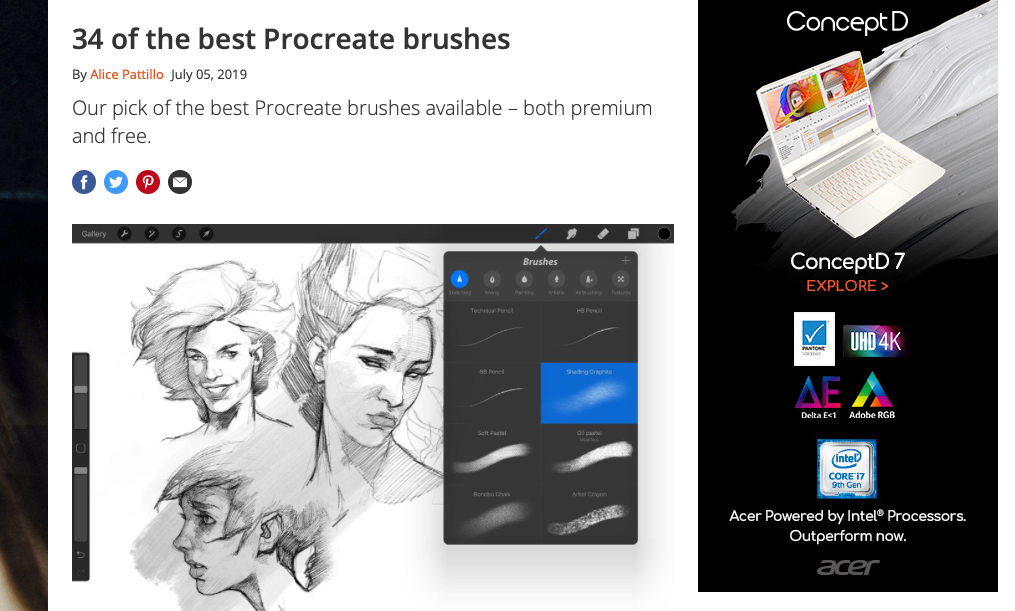
This list of 34 all-time favorite brushes can really take you far when it comes to professionalism — plus there are some freebies included here as well.
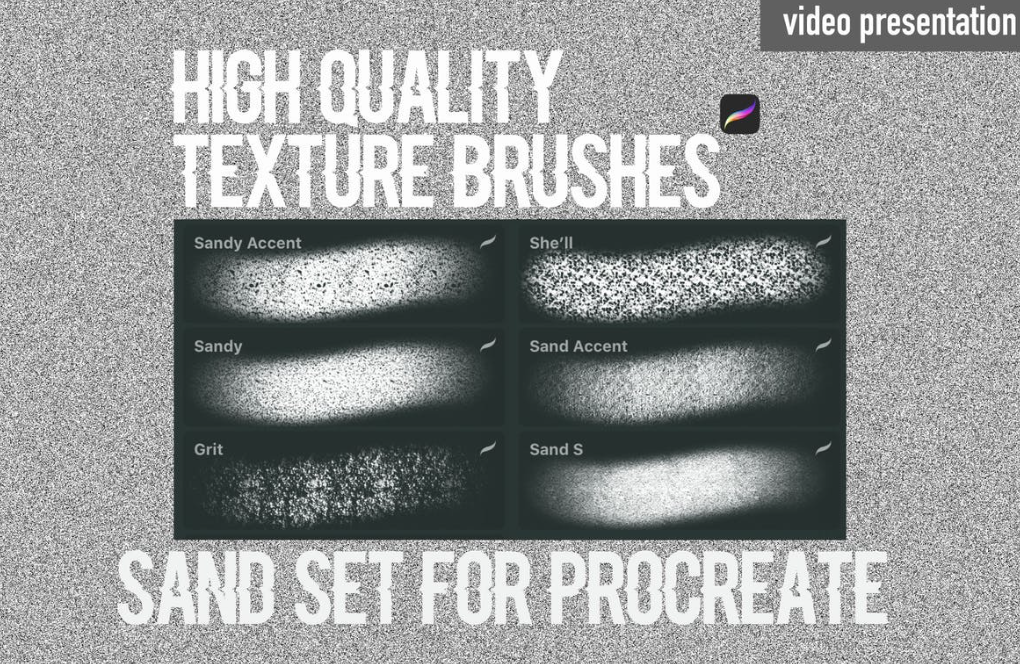
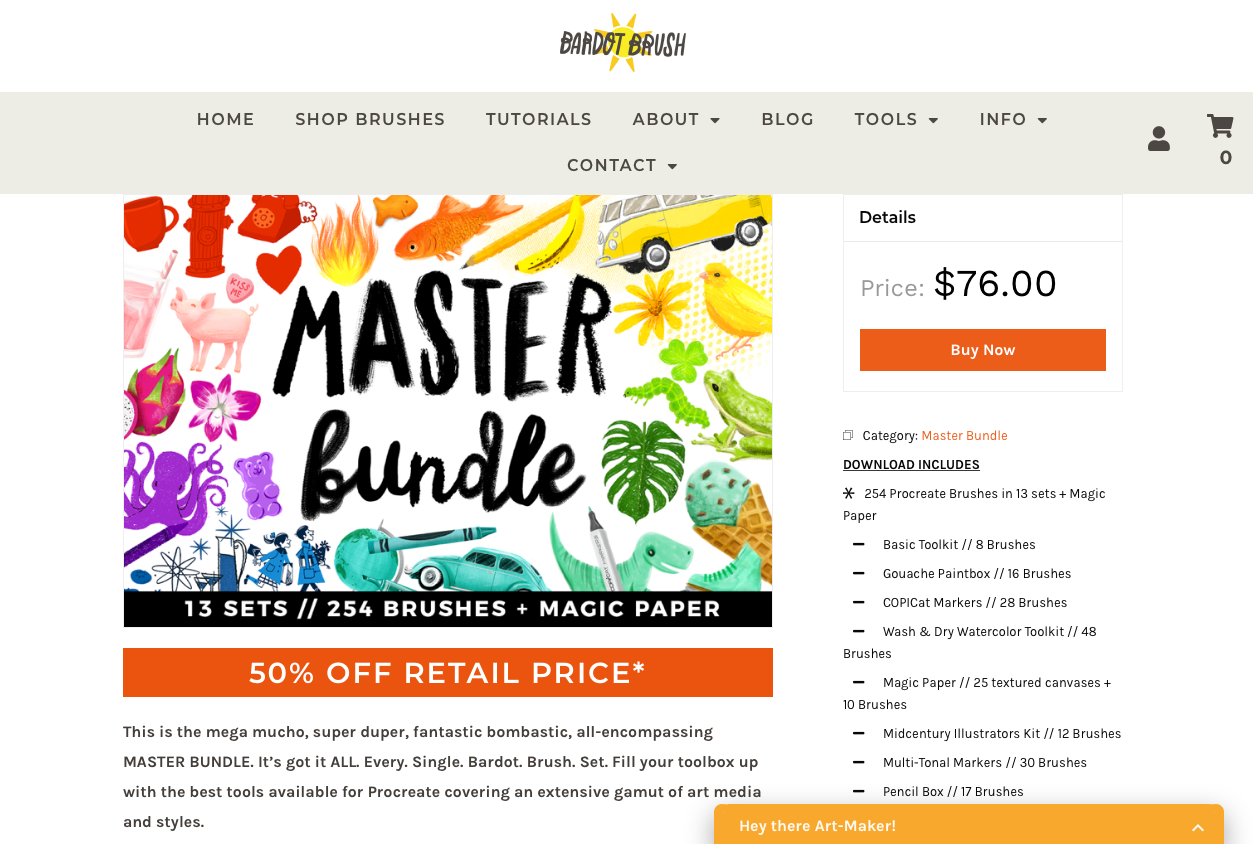
Last on our list is this collection of over 100 brushes that includes free and premium selections, all of which are great for working artists.
Use These Procreate Brushes to Create Your Next Stunning Work
Don’t let a lack of on-hand resources stunt your next project. Instead, see what’s available to you for or for a nominal fee. What’s available might really surprise you. And hopefully, this collection of Procreate brushes will send you well on your way toward putting together something truly eye-catching. Be sure to check out our other brush resources here.
Incidents of data breaches and theft are showing no signs of slowing down. According to Forbes, in the first half of 2019 alone, cybercriminals compromised the personal information of more than 4 billion users. As the world becomes more and more digitalized, businesses can longer afford to ignore cybersecurity.
One of the best ways to stay safe is to keep abreast of emerging cybersecurity trends, so here we’ll discuss five of the most prominent ones to be aware of going in 2020:
Many WordPress plugins can add a contact form to your blog, but a plugin is not necessary. In this tutorial, I'm going to show you how you can create a built-in contact form for your WordPress theme.
Is 2020 going to be the year you learn how to start an eCommerce business from scratch? You’re certainly in the right place! This guide will give you a roadmap to getting from 0 to a fully functional eCommerce business. We go step-by-step through the entire process to start an eCommerce business and make everything as straightforward as possible.
Poker is one of the most popular card games on the planet, and it’s played by millions of people. There are thousands of online poker sites at which players can easily find a game and...
Well I'm very much interested in the data protection and also giving the best privacy to the public where we protect your passwords. I've seen something that Firefox had introduced to their browsers with also their Apps. This is called LockWise which is a tool to sync your passwords with your other devices.
Now as we are in the 4IR I personally think that such information shouldn't be shared purely with other devices because what will happen when you are not in front of those devices?
Worst of them all we all know that browsers don't encrypts the passwords so this to me opens a very huge security loophole because a person with access to let say your computer can see and copy your passwords as the browsers saves the actual passwords.
With that in mind check BRIWPED on YouTube see the demonstration on this live. I think as we are in the 4IR the only person should know the actual password is the owner only. I don't see a reason why would we still submit the actual password over the internet whereas we can only use the encryption systems like BRIWPED to ensure that only the salts is sent and on the server the encryption MD5 or encrypted RSA1 or any encryption is used so that even on the server there will be no actual user password is received but rather the MD5, RSA1 or any other.
This will make it more harder to hack provided that the user also have AV installed to his computer.
Tools like BRIWPED makes it easy to share like LockWise but not the actual password is shared but the salts which there can be verification to ensure that if the login is to be granted to a site or App but it from the actual user.
What also nice with BRIWPED is that they also have an App that gives you instant notification when there is a login activity and with the App you can instant stop that login.
It can also be used on any website. As we are in the 4IR sensitive information like your passwords should be kept secure and private at all times so only you yourself knows it and not even your browsers or server because what if your browsers or your server gets hacked?
What do you think of this, do you agree that such services and tools like LockWise and I also saw a video on YouTube with the smart key which also carries your passwords and you don't have to type the passwords on the browsers because these keys automatically submit or type it to the browser for you.
We've also seen what had happened to the contactless on the smart cards where hackers now target it and hack it without even touching you. So such things with also happen with the passwords if they are not encrypted at all times.
What is your view on these security issues that are within the 4IR?
It's that time of the month again.... time for another API Meetup in Washington, DC. Since January's meetup was canceled due to snow (basically, all of Washington, DC shut down for the occasion), we will be running with the same agenda (same speakers, same topics, same pizza, same beer and other beverages) for the February edition on Tuesday, Feb 4, 2020.
For such a robust and popular WordPress gallery plugin, I was baffled to find only a few posts covering NextGEN Gallery. I mean, most of the articles were old and caught an era when the plugin was still in its infancy. Today, things are different. NextGEN Gallery has bloomed into a fully-fledged WordPress gallery plugin. […]
I’ve been hand-coding SVG schematics to figure out how thing should go together, and as a by-product, guide me in both material buying and wood cutting.
This might sound hugely bespoke and artisanally overdone, but they’re not that complicated, and as a major benefit, the process has helped me understand SVG a little bit better.
Letterpress
This all reminds me of my own SVG-meeting-real-life scenario. Years back, when I had access to a letterpress shop, I had some SVG converted into printable plates to make fun little bits of art.
First I did a little SVG shape morphing to get some in-progress morphs:
Then I used those SVGs in Illustrator to create a design, which I sent off to a special company to make me a letterpress plate out of polymer.
Every web developer should keep useful code snippets in a personal library for future reference. Today, I'm showing you the 10 most useful snippets and functions I have added to my snippet library from the past 3 months.
A customer journey map is a visual representation of the different steps a customer goes through to achieve a goal within your company’s website or product. It’s meant to provide insight into what’s going through a customer’s mind as they’re …
Setting up an eCommerce site is a great way for you to build up an income for your business. Not only will you be able to attract new customers, but you can allow them to get in touch from all over the world. However, there are some key things you can’t forget when setting up […]
Building a new business isn’t something to take lightly. It takes a lot of time and effort, not to mention a clear business plan. But what does it take to build a solid online business? Below, we’ll discuss some of our tips for building a strong foundation for a new online business. Build a Solid […]
Do you want to enable author tracking on your WordPress website?
If you run a multi-author WordPress site, then you’re probably wondering which of your authors write the most popular posts. This information can help you increase traffic and grow your website.
In this article, we’ll share how to enable author tracking in WordPress.
Why Enable Author Tracking in WordPress?
If you run a multi-author blog, then you need to enable author tracking in WordPress. It allows you to gather data about how each author’s posts perform on your WordPress website.
You can then promote high-performing authors and offer some extra help to those who are struggling.
It is also a great way to find out whose posts bring in the most traffic and which articles are engaging readers.
For instance, you might have an author who’s great at writing posts that get lots of visitors. However, those visitors may not stick around on your site. This may result in a high bounce rate, fewer page views, and less time spent on the website.
After gathering this data, you can make informed decisions by improving your editorial workflow and offering more tips and help to struggling writers. You might find a way to funnel users from the first author’s posts to the writers you want to get more attention.
That said, let’s see how you can enable author tracking on your website.
MonsterInsights offers a Dimensions addon that allows you to set up custom dimensions in Google Analytics.
It helps you track additional information in Google Analytics that’s not available by default. This includes author tracking, most popular post types, categories, tags, and more.
Do note that you’ll need at least the MonsterInsights Pro plan because it includes the custom dimensions feature. There is also a MonsterInsights Lite version you can use for free.
First, you need to install and activate the MonsterInsights plugin. For more details, see our step-by-step guide on how to install a WordPress plugin.
Upon activation, you will see the welcome screen. Go ahead and click the ‘Launch the Wizard’ button.
Next, you can follow the instructions in the setup wizard to connect Google Analytics with your website. For more details, please see our guide on how to install Google Analytics in WordPress.
Once connected, Google Analytics will start tracking all your website traffic.
With MonsterInsights, you can easily set up dual tracking and start collecting data in a Google Analytics 4 (GA4) property. GA4 is the latest analytics version, and it will replace Universal Analytics on July 1, 2023.
After this date, you won’t be able to track website traffic in your Universal Analytics property. That’s why this is the best time to switch to Google Analytics 4.
Setting up Author Custom Dimensions for Accurate Tracking
Now that everything is up and running, let’s tell Google Analytics to start tracking authors by adding a custom dimension.
You need to start by visiting the Insights » Addons page. From here, you need to go to the ‘Dimensions’ addon and click on the ‘Install’ button.
The addon will now automatically install and activate.
Next, you can go to the Insights » Settings page and switch to the ‘Conversions’ tab.
From here, simply scroll down a little, and you’ll see the ‘Custom Dimensions’ box.
This is where you can add a new custom dimension. Go ahead and click on the ‘Add New Custom Dimension’ button.
Next, you’ll need to select the ‘Author’ dimension from the drop-down menu.
Besides that, you will also need to add the ID that will be filled in for you.
Don’t forget to click the to store your settings.
Now that you have set up custom dimensions in MonsterInsights, the next step is to do the same in Google Analytics.
We’ll go through the steps for Universal Analytics and Google Analytics 4.
Add Custom Dimensions in Universal Analytics
First, you can visit the Google Analytics website and open your website property. Do be sure that the ID for this property begins with ‘UA.’
From here, you need to click on the ‘Admin’ button at the bottom left corner of the screen.
Then you can select Custom Definitions » Custom Dimensions under the Property column.
Next, you’ll need to add a new dimension.
Simply click the ‘+ New Custom Dimension’ button.
On the next screen, type in ‘Author’ for the name and leave the other details unchanged.
After that, click the ‘Create’ button, and Google Analytics will save it.
Next, you’ll see some code on the next screen.
You don’t need to do anything, as MonsterInsights handles everything for you. Just click ‘Done’ to continue.
Next, you will see your ‘Author’ custom dimension listed in a table with an ‘Index’ column.
Make sure that the value in the ‘Index’ column is the same as the ID given to that author’s custom dimension in MonsterInsights.
If not, then don’t worry because you can edit the custom dimension in MonsterInsights.
Now, let’s see how you can set up custom dimensions in GA4.
Add Custom Dimension in Google Analytics 4
First, you will need to go to your Google Analytics 4 property.
Once logged in, head to the ‘Configure’ tab on the left.
Next, you can click the ‘Custom definitions’ option from the menu that appears.
After that, go ahead and click the ‘Create custom dimensions’ button.
A window will slide in from the right, where you will need to enter the details of your custom dimensions.
To start, enter a name for your dimension. There is also an option to add a description.
From here, you can keep the Scope set to ‘Event’ and then enter an event parameter like ‘author_tracking.’ The Event parameter is what Google Analytics 4 will use to show your dimension in the reports.
After entering these details, don’t forget to click the ‘Save’ button.
You have successfully set up author tracking on your WordPress website. Now, let’s get to the fun part of viewing the reports and finding out how your authors are doing.
Viewing Your Author Tracking Reports
After your website has collected traffic data, you can view your top authors on the WordPress dashboard.
Simply go to the Insights » Reports page and switch to the Dimensions tab.
From here, you can see the top authors that generate the most traffic on your website.
You can now use this data to improve your editorial workflow and promote content from high-performing authors. For instance, you can display their content as popular posts and get more pageviews.
Additionally, the information will help you see which writers are struggling, so you can work with them and increase traffic to their blog posts.
Sometimes you need to delete duplicate rows in a database :)
In the future, set UNIQUE keys when you need them :)
In the example below, we have a table appropriately named TABLE_NAME and there are multiple rows that have the same value for the duplicate_field field. In this example, we want to remove the ones where the id field is set to "remove". In other examples, you can pick any conditional you want when choosing which of the rows to remove or which to keep, including conditionals between them (e.g. foo.id < bar.id will keep the row with the highest id value and delete the others).
Alternatively, if you do want to add that UNIQUE index, you can do the following to brute force dropping duplicate rows:
ALTER IGNORE TABLE TABLE_NAME
ADD UNIQUE INDEX index_name (duplicate_field);
FFmpeg is a multiplatform, open-source library to record, convert and stream video and audio files. Created in 2000, it is a powerful command-line tool that runs on Linux, Windows and Mac operating systems. FFmpeg is currently used by many websites and programs, including YouTube and VLC Media Player, and is published under the GNU Lesser […]
The end result of Eric Meyer's tutorial on creating this row of slanted images is pretty classy. But it's more about the journey than the destination (there isn't even really an isolated demo for it). Eric does an amazing job at talking it through like a thought process.
We did that recently, only ours was sort of fake/generic which Eric's was for a real-world design.
This is a row of boxes, so flexbox. Eric pondered if grid would have been as good or better of a choice since the widths are known and either can be made to accept more/less boxes without adjustment. I agree it's a tough call here.
Since the image dimensions being manipulated, object-fit is a must, and the less-used object-position is used here to help with a focal point.
The captions are just pushed to the bottom of the boxes naturally by the images.
The slanting is done with clip-path, but it involves some trickery. The boxes need to be enlarged to clip without leaving blank space, then pulled together with negative margin. Percentages are used all around to keep things flexy.
Still more tweaks are needed to keep from clipping the captions, and then there is still opportunity for more clever design bits.
Sad that this is probably the last time I'll link to 24 ways.


 For such a robust and popular WordPress gallery plugin, I was baffled to find only a few posts covering NextGEN Gallery. I mean, most of the articles were old and caught an era when the plugin was still in its infancy. Today, things are different. NextGEN Gallery has bloomed into a fully-fledged WordPress gallery plugin. […]