What’s the most important part of a business presentation? The way you dress? Your speech? Or is it your body language? It’s actually none of the above!
Your presentation slides are the most important part of a business presentation. Why? Because your clients will be staring at the slides at all times and you’ll be using those slides to visualize your speech. That’s why you should pay close attention when designing the slides for your presentations.
To help you get started with your Keynote slide designs, we handpicked the best Keynote slides templates you can use for your business and corporate presentation needs. Design your presentation right, follow our tips on how to give a Keynote presentation with impact, and you’ll capture and keep the attention of everyone in the room!
Top Pick
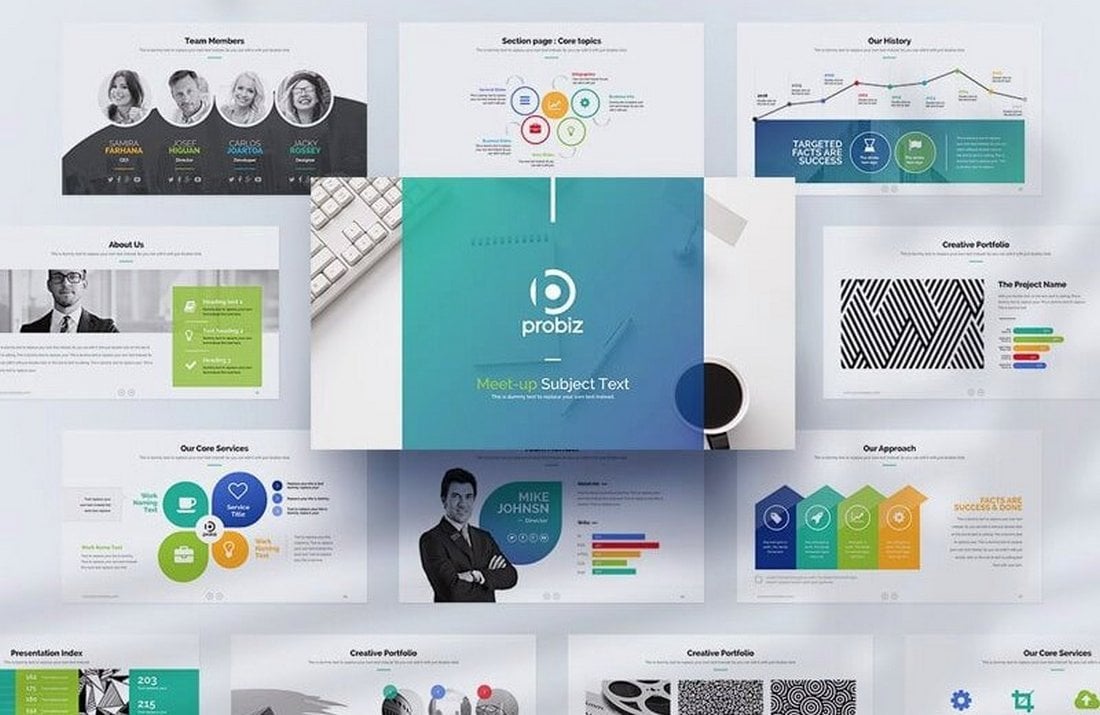
Vixa is a multipurpose Keynote template that comes with a stylishly modern slide design you can use to create all kinds of professional and business presentations.
The template includes 30 unique slides and each slide is available in 5 different color schemes, making it a total of 150 slides. The slides also include image placeholders for easily placing your images as well.
Why This Is A Top Pick
In addition to its beautiful slide designs, this template also comes with lots of editable charts, infographics, icons, and illustrations you can use to create a more compelling business presentation.
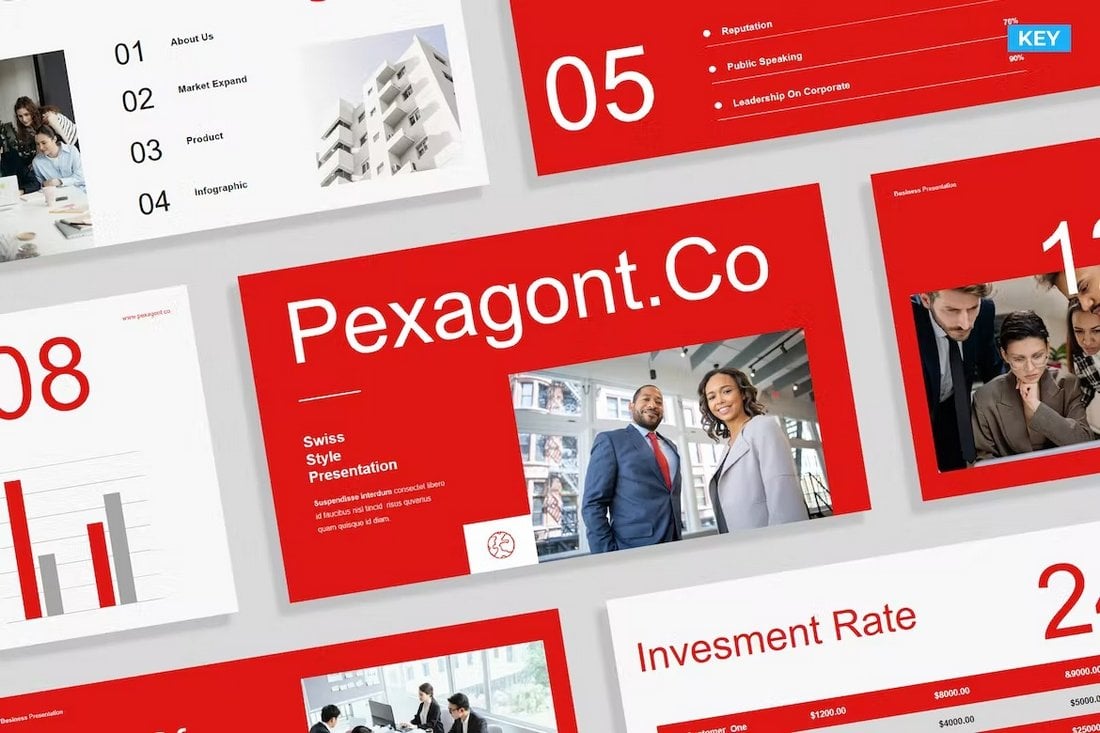
This Keynote template will help you design more modern and professional-looking presentations for your business meetings. It features a bold red color theme with stylish content layouts. There are 27 unique slides in this template with fully customizable elements, vector graphics, charts, infographics, and more.
The Bauhaus design theme is the highlight of this Keynote template. It uses the popular Bauhaus design trend quite well to offer both a creative and professional mix throughout the slideshow. The template includes 25 unique slides.
This is a visually engaging, well-structured Keynote template designed to present business proposals in a clear and professional manner. Ideal for new project pitches and securing client agreements, this template effectively communicates complex data, highlighting your proposal’s value proposition and benefits.
This is a thoughtfully designed Keynote template for constructing compelling business presentations. It offers a clear framework for outlining strategies related to business expansion. Ideal for entrepreneurs and executives, the template places a strong emphasis on clarity and impact.
This Keynote template serves as a professional presentation template with a minimalist and modern design. Ideal for any startup business or agency bolstering its profile, this multipurpose template caters to various needs like pitch decks, company portfolios, financial reports, and marketing kits.
A versatile, modern Keynote template ideal for businesses in the footwear and fashion industry. This clean, professional presentation template is perfect for pitches, project proposals, or marketing operations. Boasting 36 slides, resizable and editable graphics, and a 16:9 wide screen layout, it allows for a tailored, comprehensive showcase of your brand and offerings.
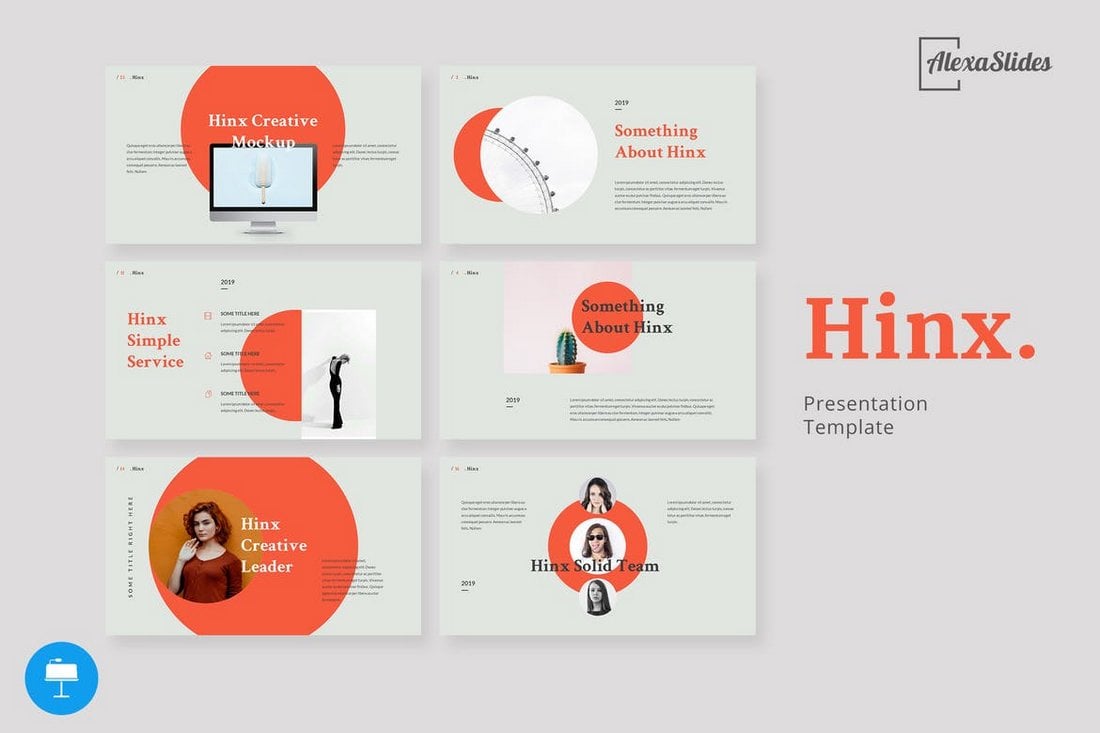
This is a sleek Keynote template with a minimalist design. Perfect for any creative business purpose, it offers a range of 40 versatile slides that can be easily customized. Fantastic for advertising agencies, branding consultants or design studios, this template allows for drag and drop image placeholders.
This is a versatile, easy-to-use Keynote template designed to streamline the process of creating annual reports. It boasts professional and editable slides, boasting a 16:9 aspect ratio, which can be customized without the need of an image editor. The package incorporates a convenient icon pack, an image placeholder function, and a resourceful help file.
This Keynote template offers an efficient way to present your business in a professional manner. With 36 slides full of customizable features such as infographics, photo layouts, and diagrams, this template is easy to use and edit, with no prior application knowledge required.
This Keynote template comes equipped with creative photo layouts, infographics, tables, diagrams, and more, to showcase your business and its work professionally. This versatile template is accessible to both technical and non-technical users, being fully editable and easy to personalize, and more.
An is an adaptable Keynote template made to enhance your presentations. It features 10 slides with fully editable and scalable graphics, allowing for clear and captivating communication. The template is designed with wide screen ratio, uses recommended free web fonts and is based on Master Slides.
This a Keynote template designed for stunning, futuristic presentations. This asset offers sleek, modern designs, intuitive layouts, and editable infographics, aiming to captivate audience attention and facilitate impactful message delivery. With 20 unique slides, the pack features a picture placeholder for easy use.
The bold, simple, and professional design of this template makes it the perfect choice for making slideshows for corporate brands and businesses. It uses simple content layouts with enough space for showcasing images and data. This template has 30 different slides.
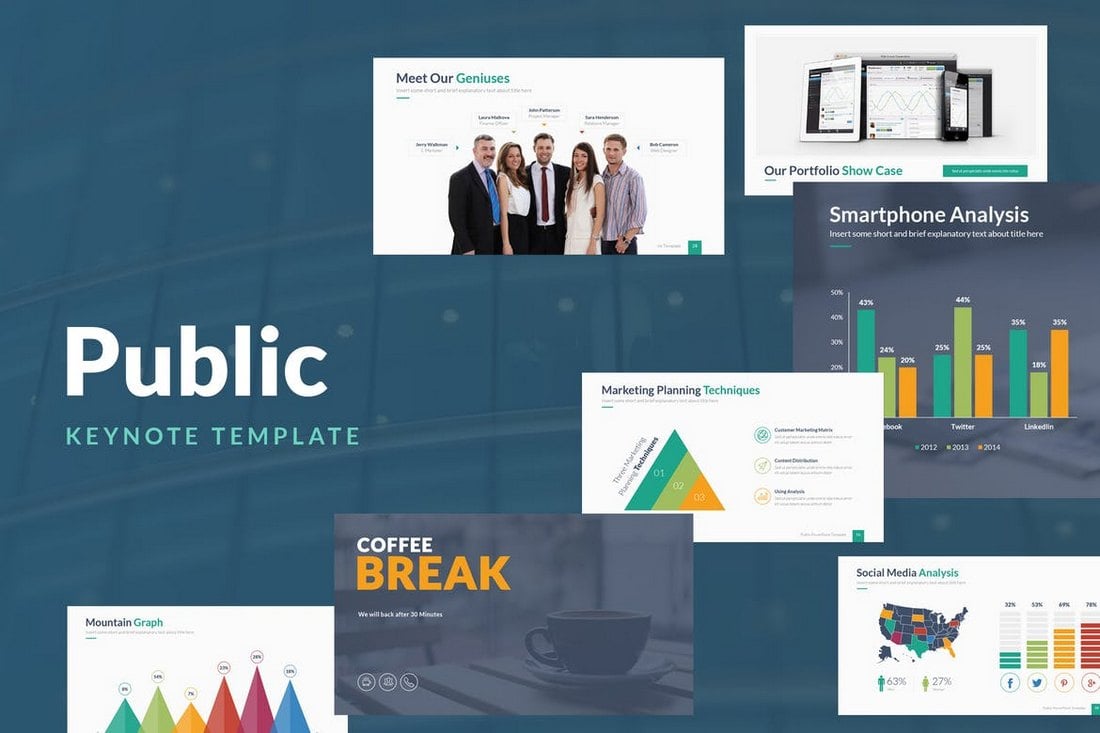
If you want to make a presentation to showcase your marketing plan in a more effective way, this Keynote template is for you. It comes with a whopping 152 unique slides to choose from. The template has lots of useful marketing and business-themed slide layouts for showcasing statistics as well.
Born Ink is a free Keynote template that comes with a set of beautiful slides. It’s ideal for making presentations for design agencies and artists. The template includes 10 unique slides and it comes in PowerPoint format too.
This Keynote template comes with a bold and modern slide design. It’s perfect for making all kinds of corporate, business, and agency presentations. There are 29 different slide layouts included in this template.
Edric is a modern Keynote template you can use to design slideshows for project proposals, portfolios, and business profile presentations. The template comes with 39 unique slides with editable vector graphics, custom icons, and more.
Design the perfect proposal presentation for your modern business brand using this Keynote template. It lets you choose from 20 different slide layouts to create a minimal and clean slideshow that will win over clients.
Create a steps analysis for your project presentations using this collection of Keynote infographic slides. There are 17 different slide layouts in this template with various styles of steps analysis designs. Each slide is available in 12 different color themes as well.
This is a free Keynote template you can use to design a simple business profile presentation. The free version of the template includes several useful slides for showcasing your business and services.
Beat is a creative, colorful, scalable, and eye-catching Keynote presentation template that can be used for pitch-deck, e-commerce business, or brand promotion purposes. It contains 50 unique slides and hundreds and thousands of vector shapes and icons.
Here we have a modern, creative, and multi-purpose Keynote template featuring 150 unique slides, 5 color variations, pixel-perfect illustrations, resizable and editable graphics, drag and drop picture placeholders, and much more.
Bionema is a stunning Keynote template that can be used for virtually any purpose under the sun. It has an uncluttered, sleek design, and a smorgasbord of amazing features for you to customize to your heart’s content.
Next up is a versatile Keynote template that can be used for a variety of purposes. It offers a range of beautiful slide designs that can be adjusted to suit your needs. Download this freebie and you’re ready to nail your next presentation.
Are you looking for an easy-to-edit, stylish presentation that really makes a statement? Look no further than this crypto Keynote template featuring a dark, and bold theme, unique layout, and a number of customizable options.
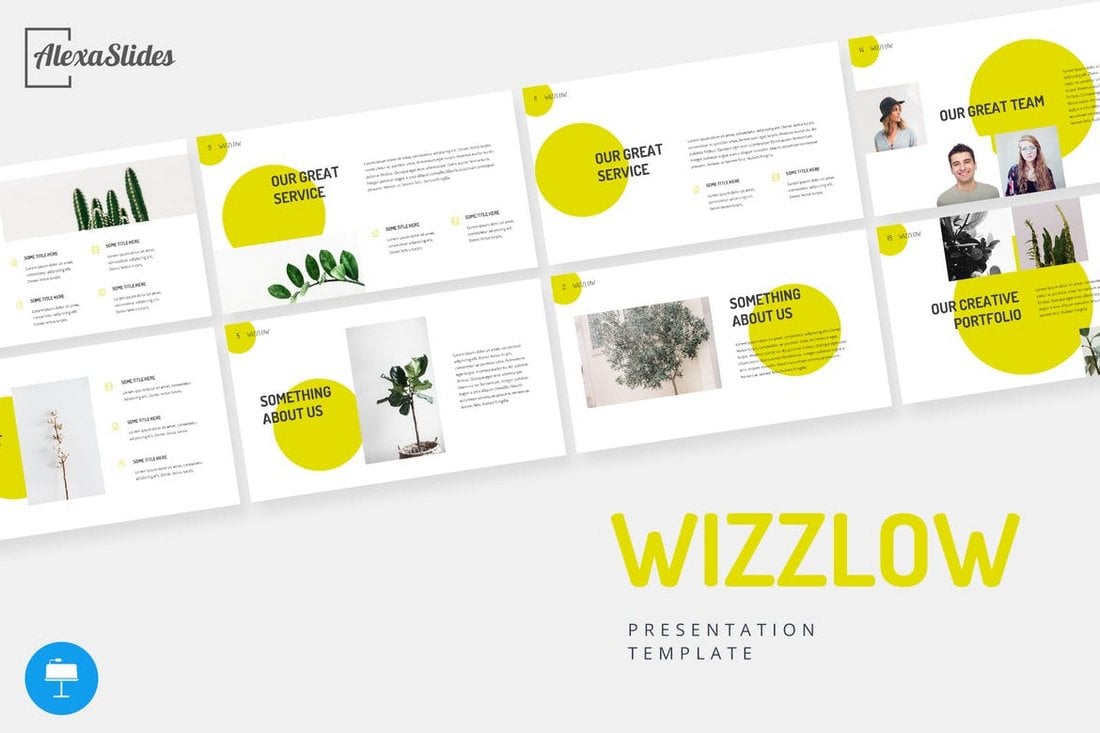
Wizzlow is a professional Keynote template that features a minimal and elegant design. It features all the elements you need to make an effective business presentation including 30 unique slides, vector icons, editable shapes, and much more.
This modern Keynote template is perfect for businesses and agencies for making visually appealing presentations. The template comes with 33 unique slides filled with vector graphics, icons, master slide layouts, image placeholders, and more.
Trusty is a beautifully minimalist Keynote template that features a modern design filled with creative shapes, colors, and elements. It’s perfect for showcasing creative agencies and businesses. The template includes 30 unique slides with editable vector graphics.
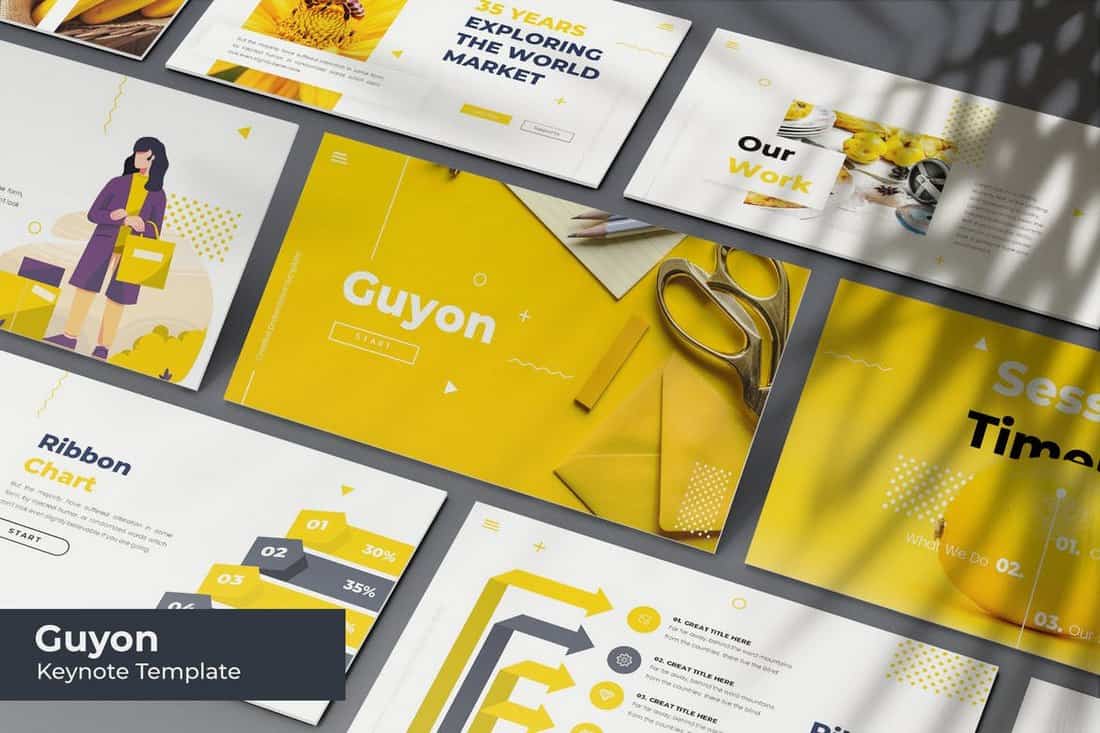
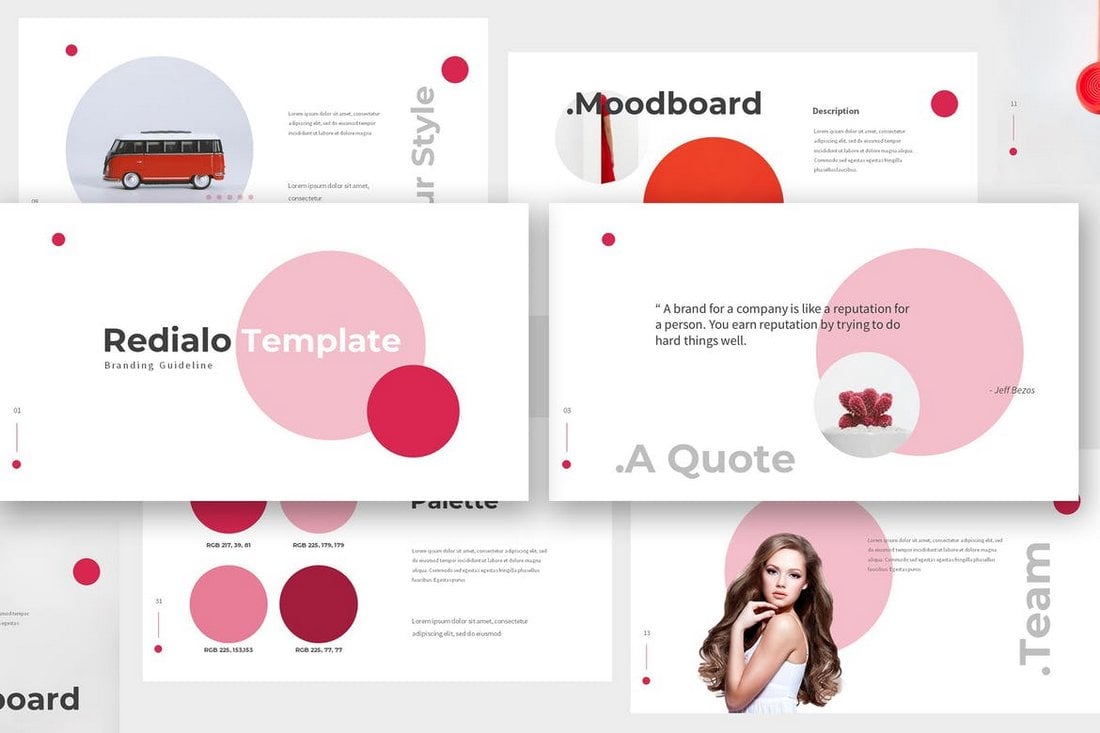
Guyon Keynote template comes with a creative set of slides that are most suitable for making presentations for modern marketing, fashion, and creative businesses. It includes 30 unique slides in 5 different color variations as well as image placeholders and illustrations.
Monochrome is a minimal business presentation template that comes with a clean and elegant design. This template features 40 unique slides filled with lots of infographics, charts, graphs, and vector elements. You can use it to design all kinds of business-related presentations.
Space is a professional Keynote template you can use for free to create different types of business and creative presentations. It includes multiple slides you can easily edit and customize to change colors and images as well.
Say hello to Exclude, a bold, and bright presentation format that packs a powerful punch. It contains 39 beautifully designed slides that can be edited on the go, vector icons, free fonts, drag, and drop picture placeholder, and a lot more amazing features.
How would you like to get access to a minimal Keynote template that’s available for free, and allows you to spend the majority of your time and effort on the content of the presentation? Sure, nothing holds a candle to a premium Keynote presentation, but for a freebie, Macmu is as good as it gets.
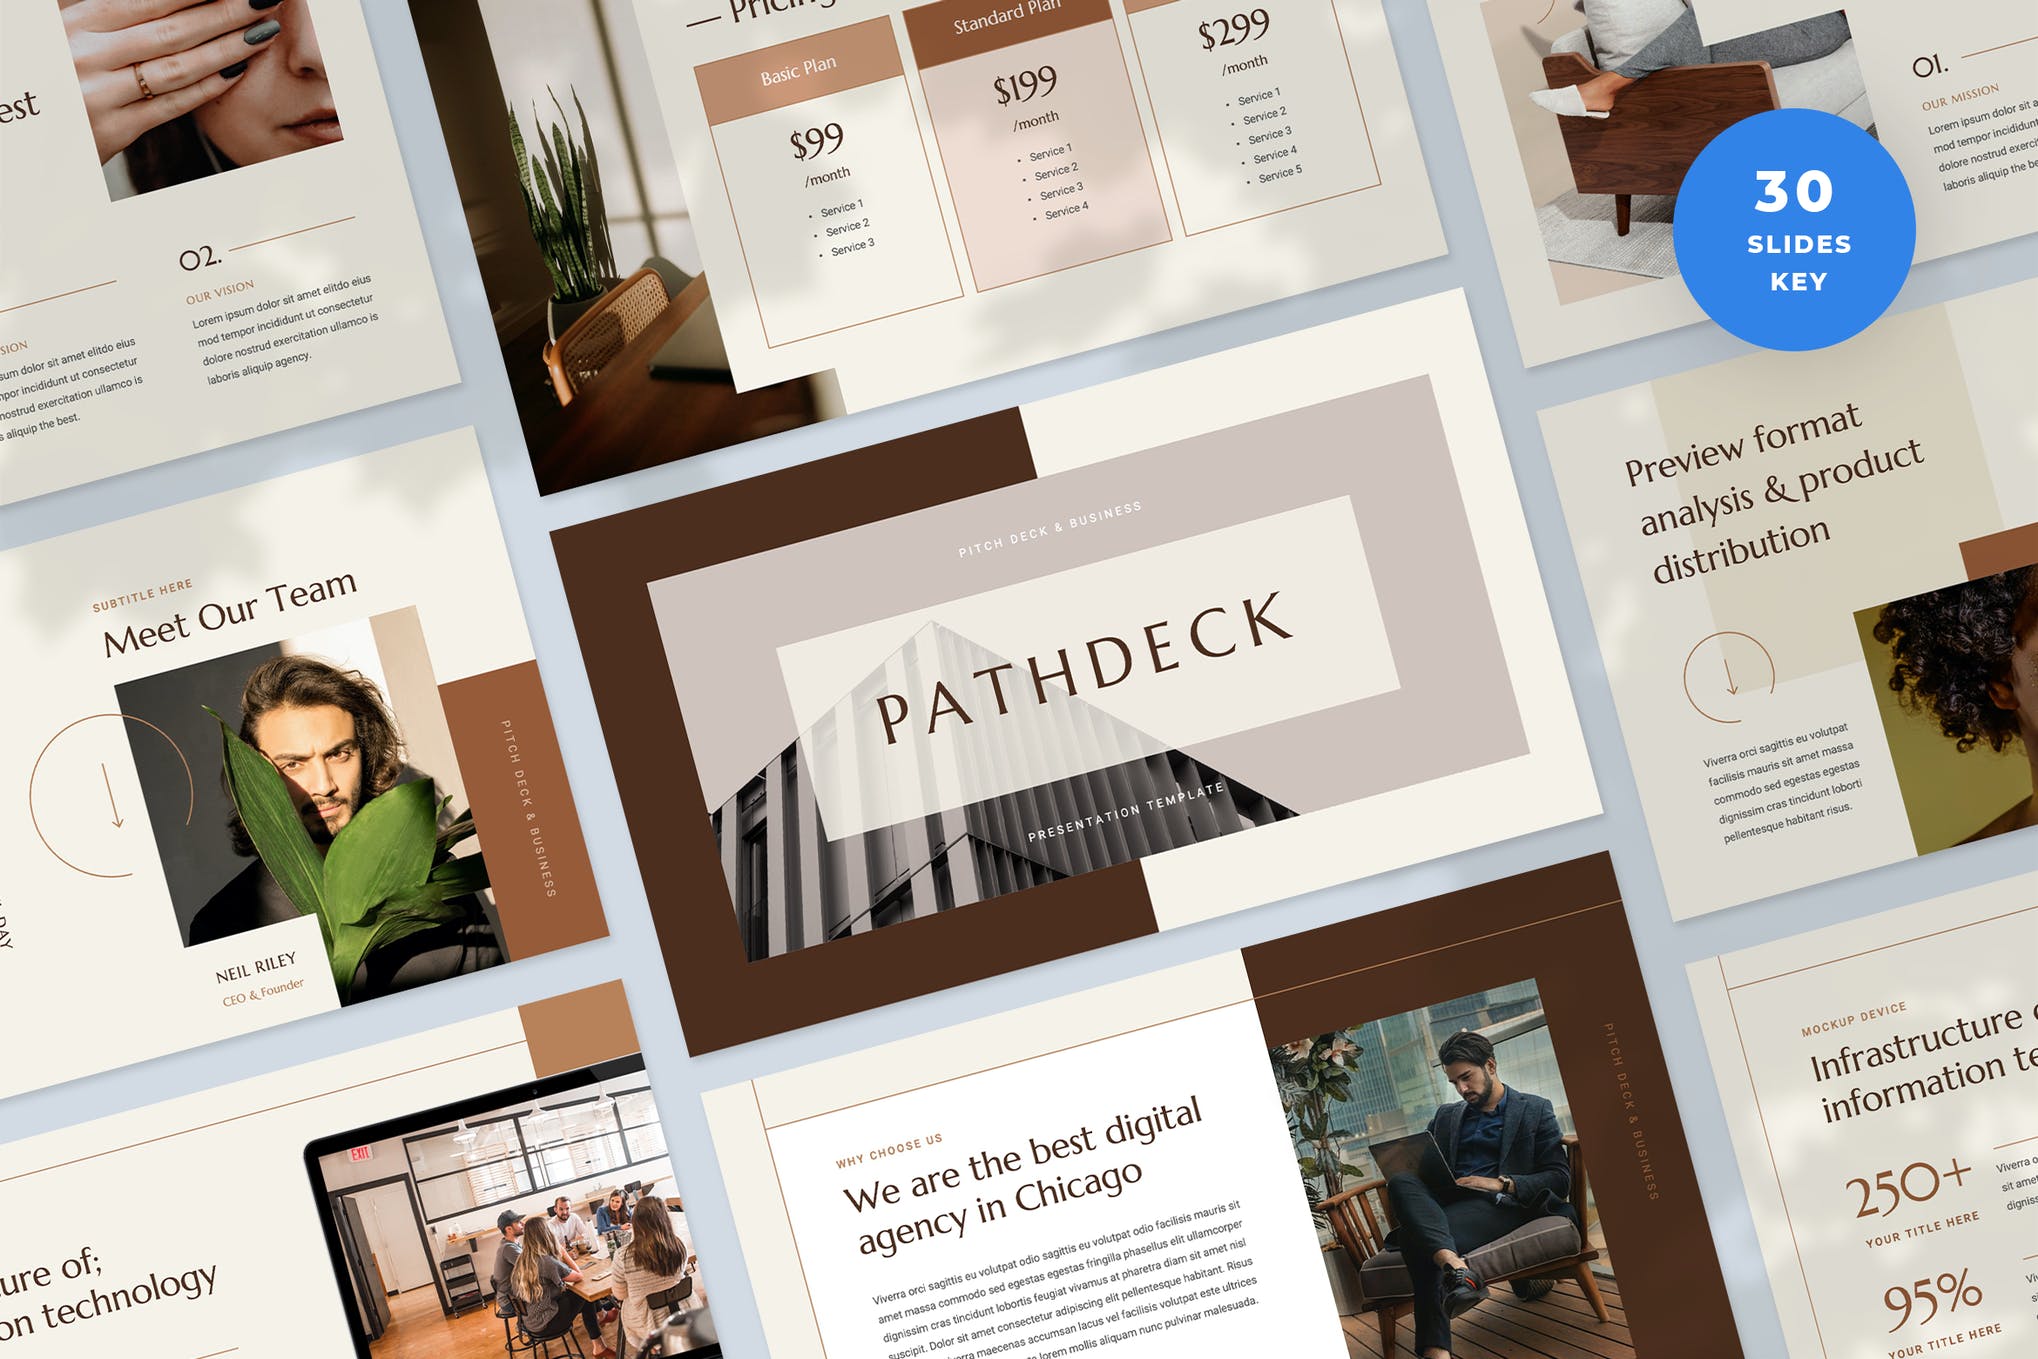
Wow your audience with Pathdeck, a minimal, and elegant presentation template comprising of 30 carefully crafted slides that can be customized in just a few easy clicks. This Keynote template will allow you to create a sensational presentation with minimal effort.
Maloka is an impressive Keynote presentation that will instantly draw your audience’s attention to the slides, and keep it there till the end. It contains 36 clean, and creative slide designs, RGB color mode, and a range of editable infographics.
You don’t always need bells and whistles to make a statement. Sometimes, a simple and sophisticated presentation is enough to do the trick. If elegance and minimalism are what you’re after, Seattle is the best option to go for. It’s available for free.
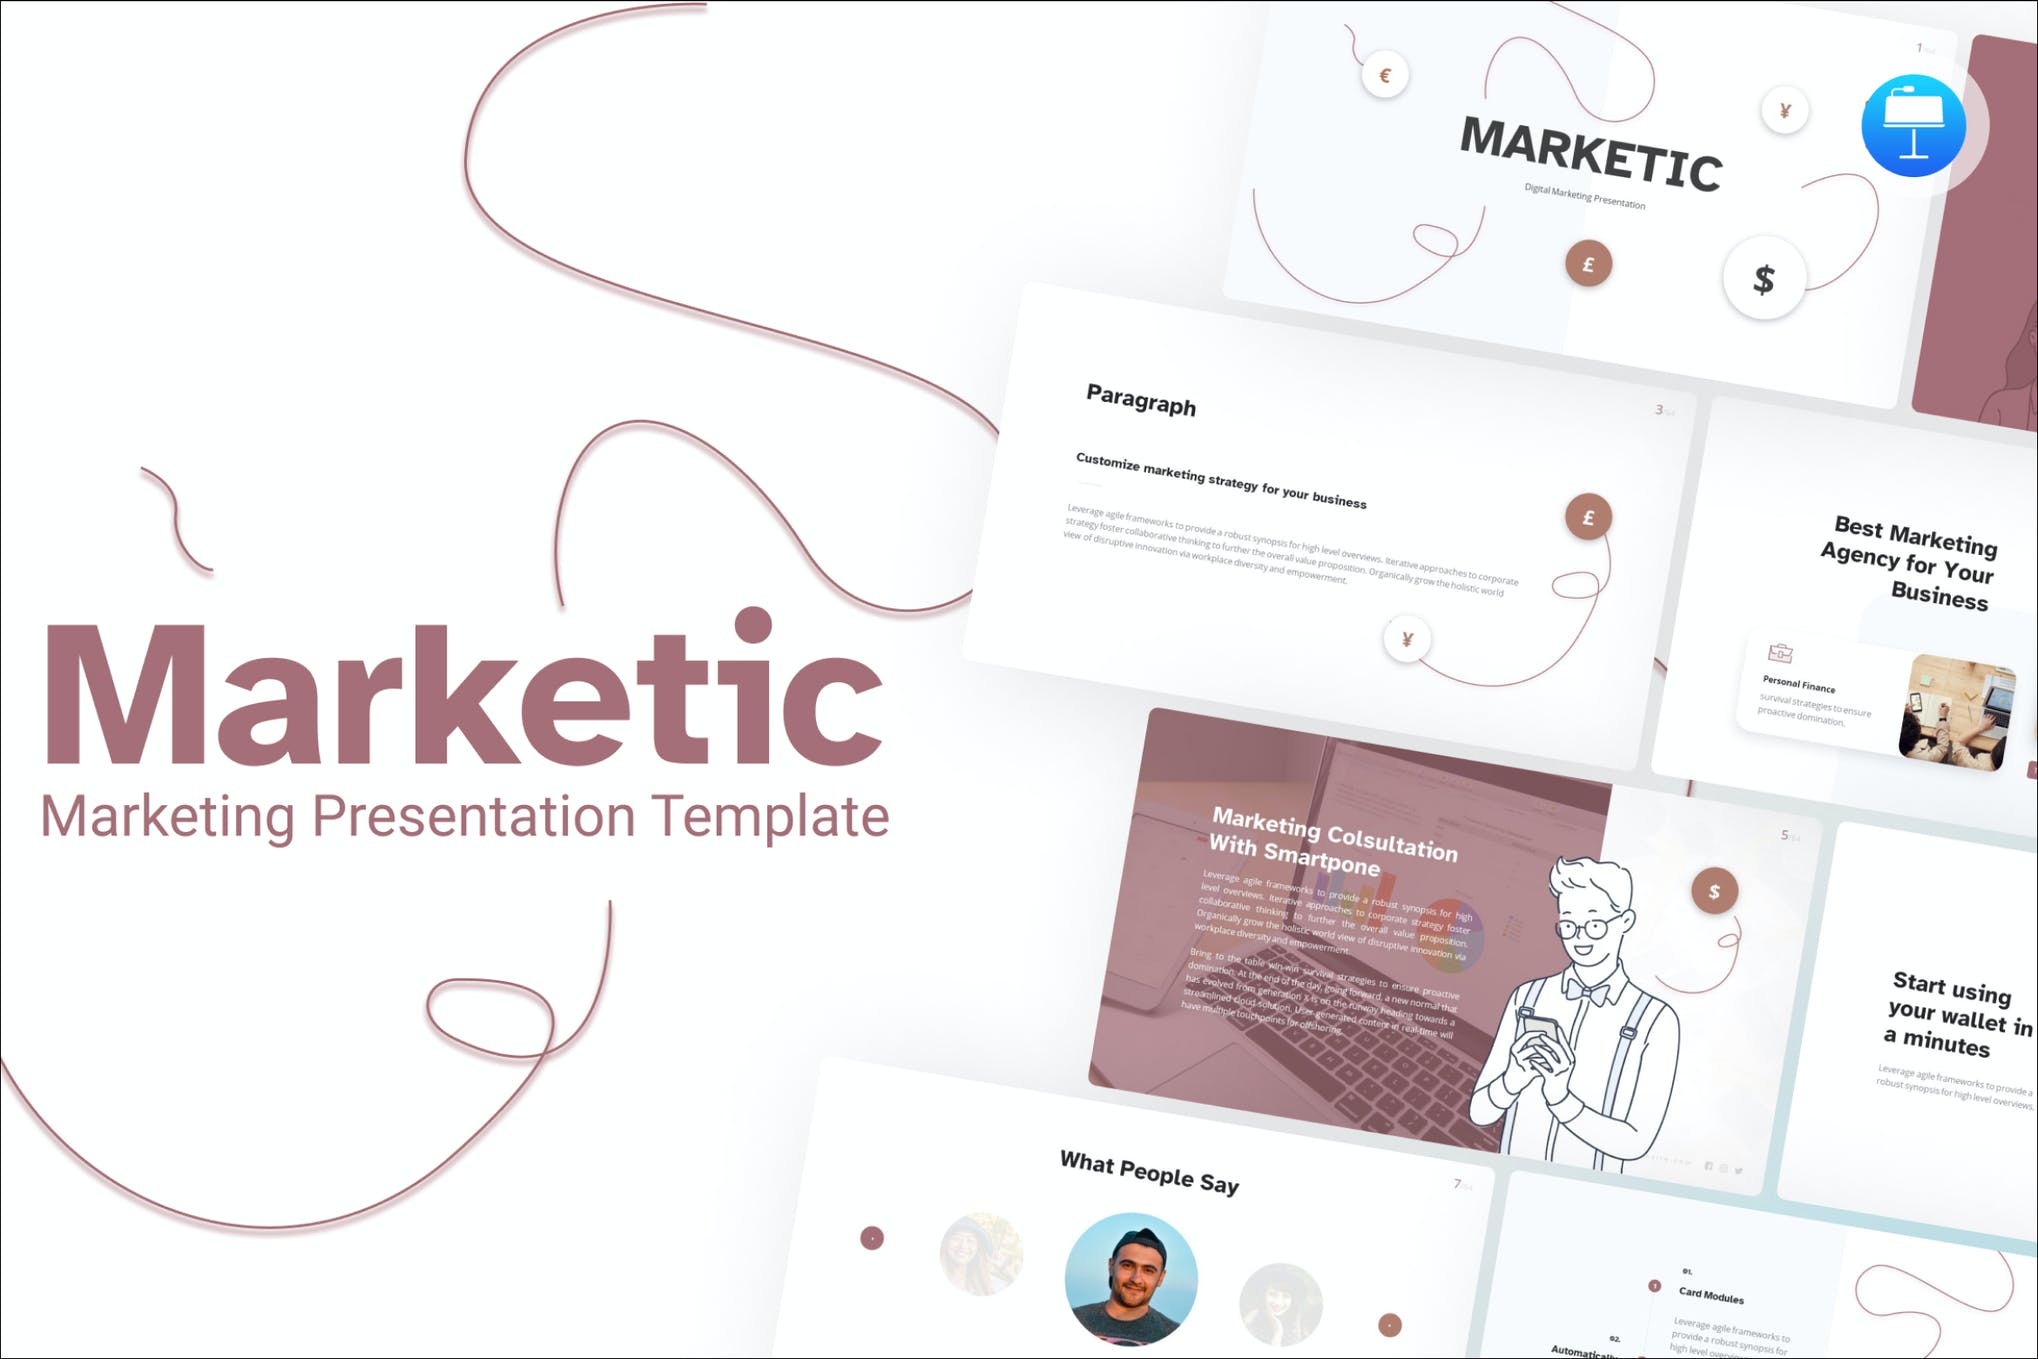
Marketic is an elegantly designed business template that’s guaranteed to take your marketing game to a whole new level. It consists of 30 slides with handmade infographics, a light and dark background option, and free fonts. A must-have product in your keynote collection!
Finnegan is an easy-to-use, time-saving Keynote template that you’re going to cherish for a long time to come. It’s a multipurpose presentation format that features 35 minimal slides, easily customizable using the drag and drop picture placeholder.
Investyle is a stunning presentation template to draw your investors’ attention in. It comprises 20 slides crafted with an attention to detail, widescreen, free icon pack, handmade infographics, and so much more. We recommend you take Investyle for a spin, or add it to your shortlist at the very least.
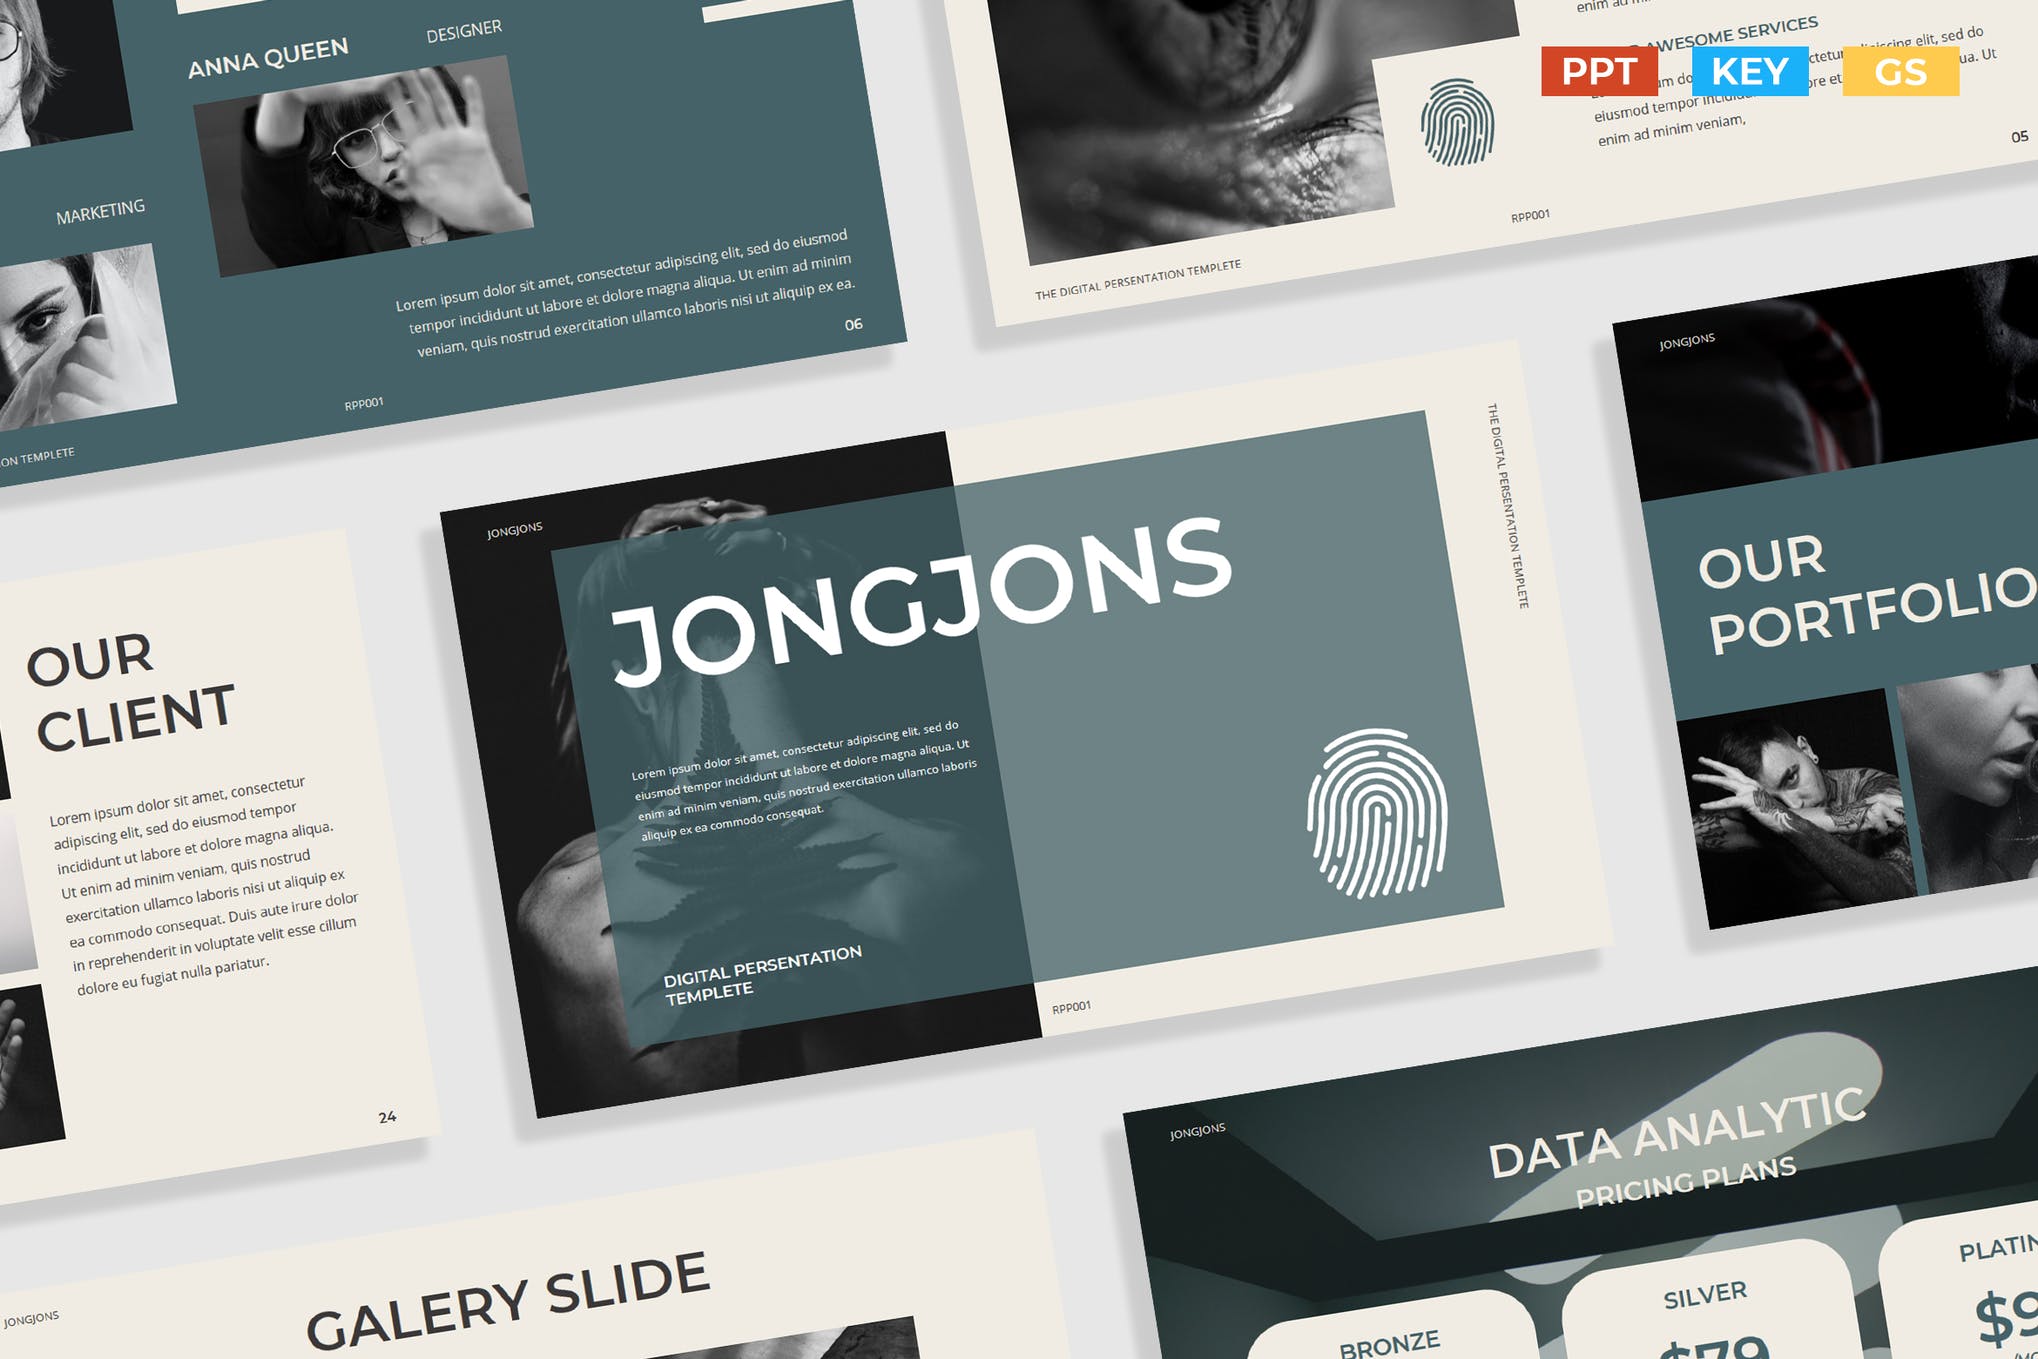
If you’re looking for an attention-grabbing template for creative businesses, Jongjons is an excellent contender for your cash. It’s a versatile Keynote template guaranteed to give a distinctive look, and feel to your presentation without you having to make an extra effort.
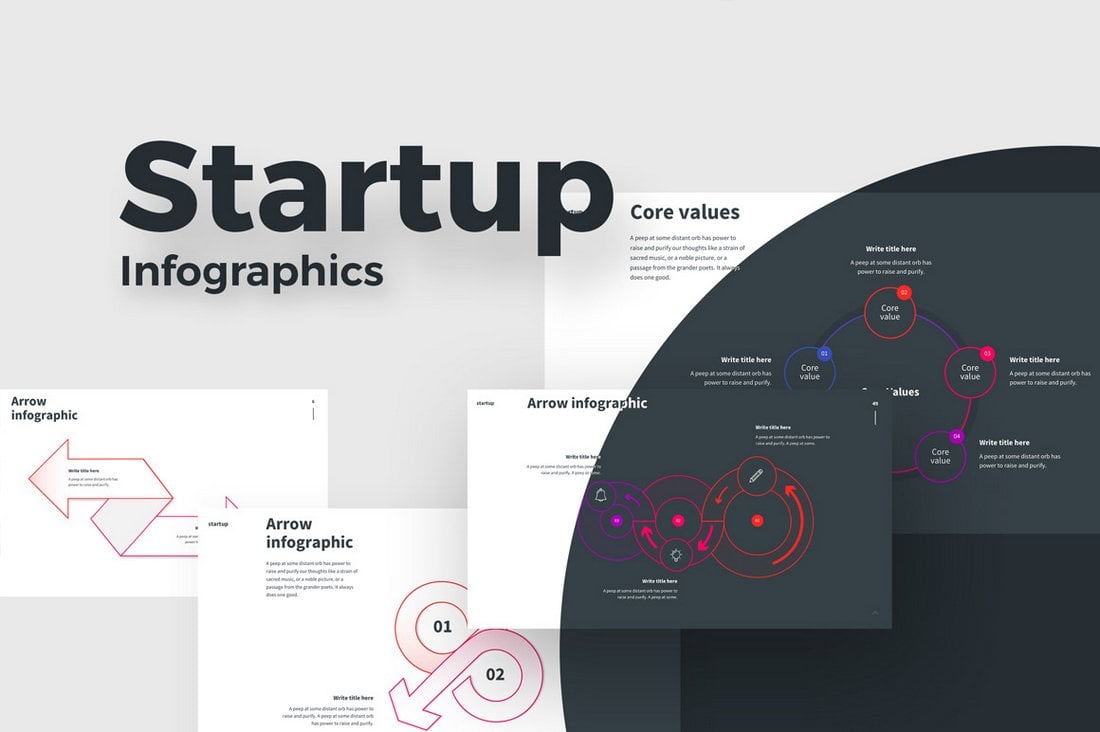
This is a unique free Keynote template that comes filled with lots of infographic slides you can use to create presentations backed by statistics and data. It includes 10 unique slide designs with editable vector shapes and graphics.
If you’re working on a presentation to showcase a marketing plan for your company, this Keynote template will help you create a more compelling presentation that wins your crowd. It includes 30 unique slides in 10 different premade color schemes.
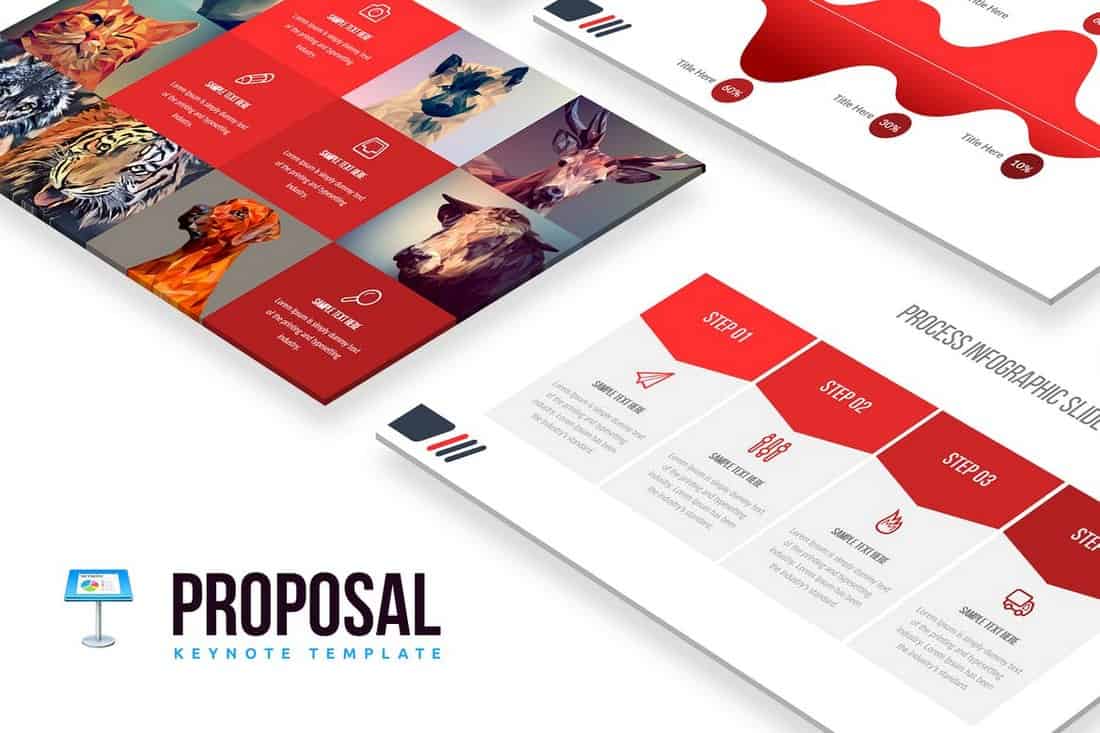
Use this professional Keynote template to design effective business proposal slideshows to pitch your new ideas, project proposals, and products to investors and clients. The template features 30 creative slides in 5 different color variations.
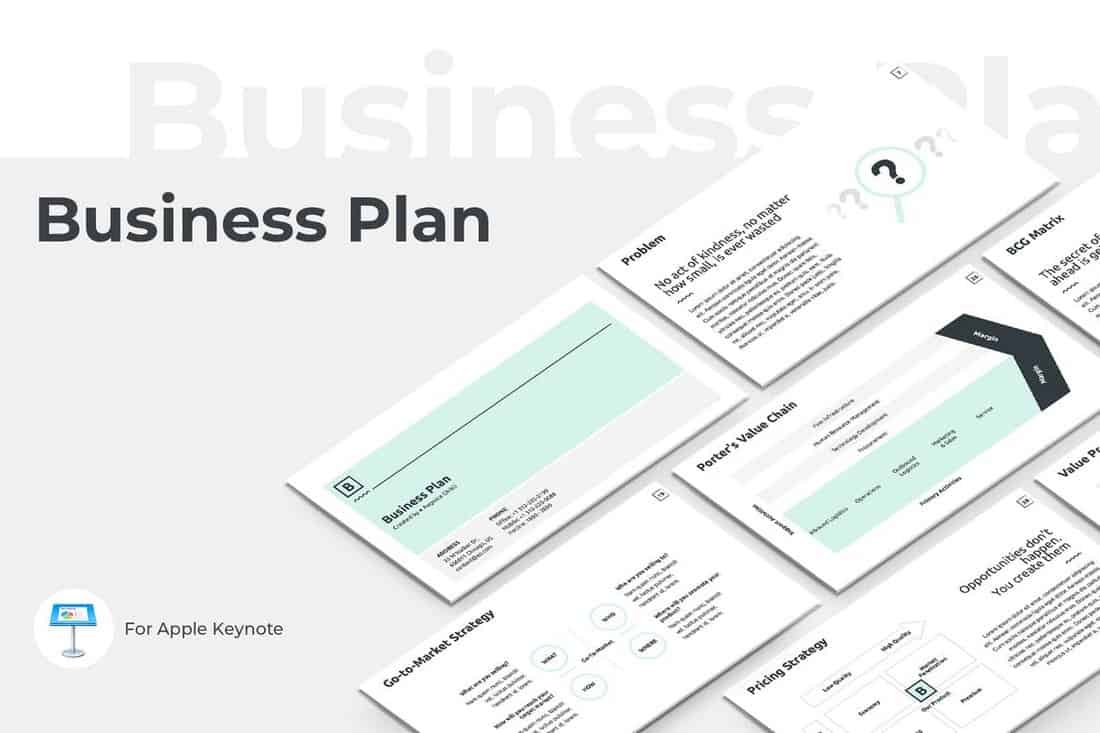
Another clean and minimalist Keynote template that will help you create more unique presentations with content-focused designs. This template lets you choose from many business-related slides, including slides for showcasing revenue, market, vision, PEST, AIDA, and many other business models as well.
This colorful Keynote template is perfect for making a presentation for a creative agency or a freelance professional. It features 30 unique slides that also comes with fully customizable designs and image placeholders for easily editing the slideshow to your preference.
DMZ is a professional Keynote presentation template made specifically for digital marketing and social media marketing agencies. The template features a highly visual design filled with lots of images. It also includes a total of 210 slides that are available in both light and dark color themes.
Air is a free Keynote template designed for crafting presentations for agencies and modern businesses. The template 60 unique slides filled with editable graphics. It’s free to use with personal and commercial projects as well.
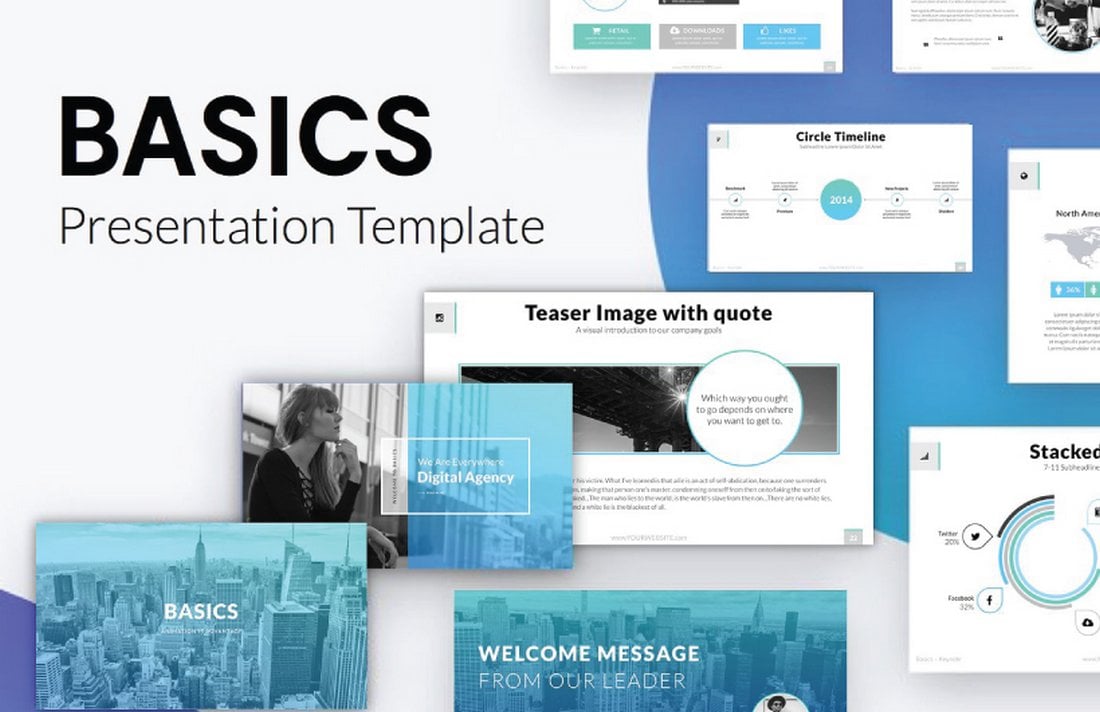
Basics is yet another free Keynote template that comes with more than 30 elegant slide designs you can use to make business and professional presentations. The template is fully customizable and comes in print-ready format.
Innov is a modern Keynote template you can use to design presentations for hotel and resort businesses. The template comes with more than 50 unique slide designs with vector icons, editable graphics, image placeholders, and much more.
If you’re working on a presentation for a construction business, this Keynote template will help you design the perfect slideshow. It includes a total of 150 slides featuring gallery, portfolio, services slides and more that are available in 5 different color schemes.
This Keynote template comes with a modern design featuring all the elements you’ll need to create an effective presentation to promote your business. It includes 146 unique slides in 5 different colors that come with graphs, charts, pricing tables, vector graphics, and more.
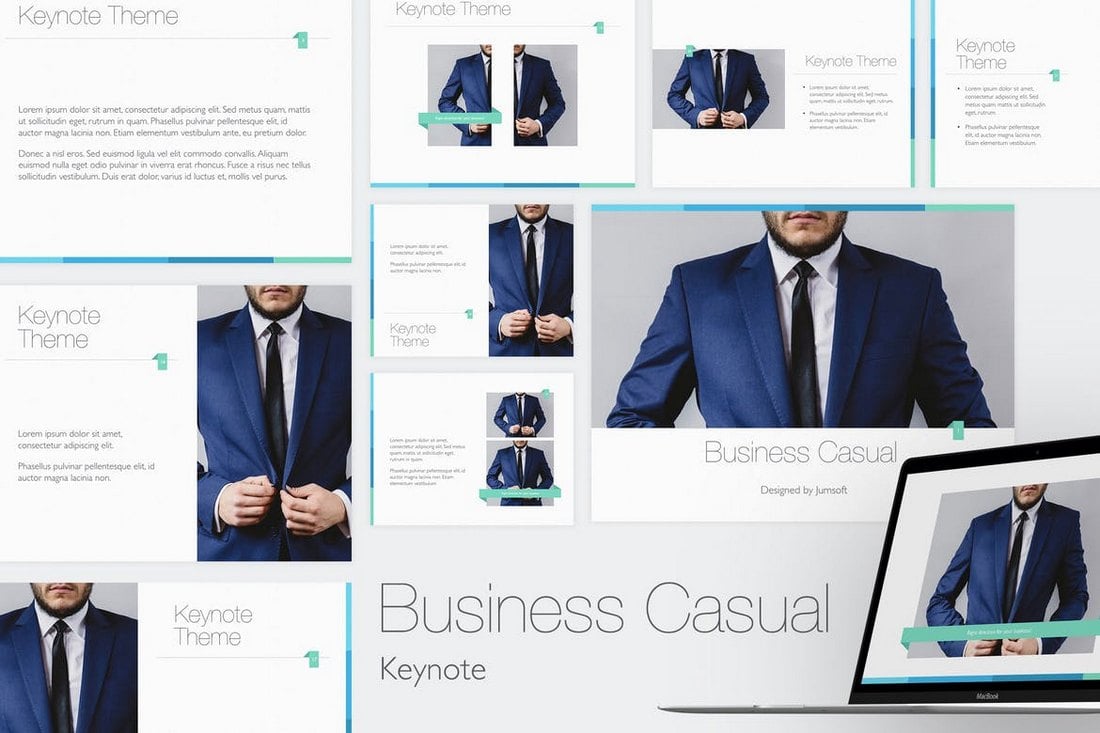
This business Keynote template features a casual and a minimalist design. It includes 32 master slides in 2 different sizes: standard and widescreen. The template can be easily customized to change colors and replace images to your preference.
A keynote template designed specifically for making professional pitch decks for pitching products and startups to clients and investors. This presentation template comes with fully customizable vector graphics, an icon pack, photo placeholders, and more.
A modern and effective Keynote template designed for promoting agencies, small businesses, and corporate businesses. It includes 100 unique slides in 15 different premade color schemes.
Enable is a free Keynote template most suitable for making agency portfolio and modern startup presentations. The template includes slides filled with lots of image placeholders and highly visual content design.
Simple is a minimal and free Keynote template you can use to make all types of business and professional presentations. The template includes multiple slides you can easily customize to your preference.
This creative Keynote template comes with a colorful and an attractive design you can use to pitch your company marketing strategy to clients and your boss. It includes 40 unique slides featuring slide transitions and animations.
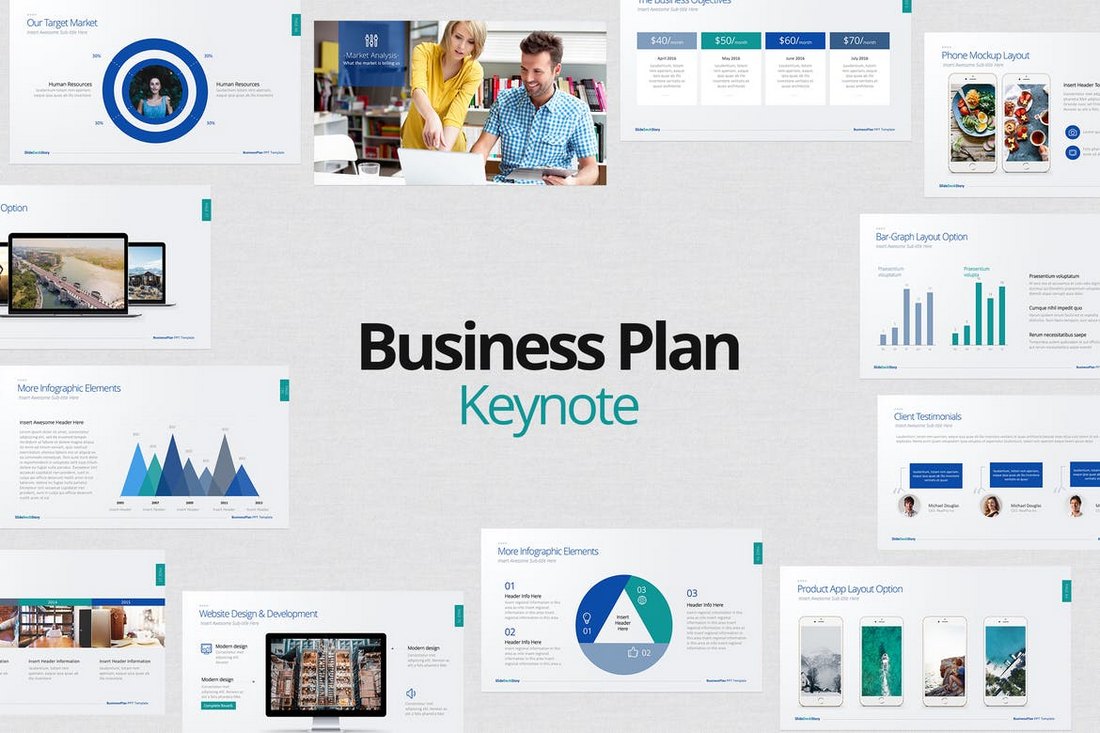
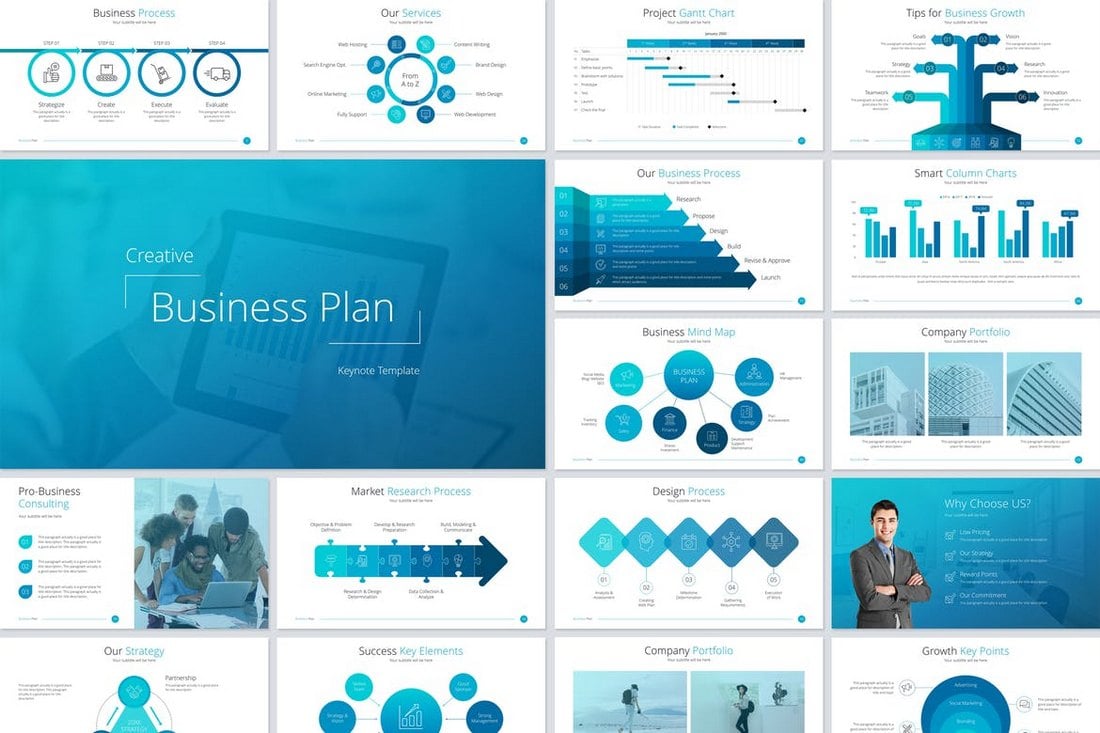
The perfect Keynote template for creating a presentation to promote your business plan. The template includes 70 unique slides, featuring timelines, team slides, maps, projections, and much more.
Pitch is a creative Keynote template that features a modern and a colorful design. It comes with 120 unique slides made for creating presentations to pitch products, businesses, and startups.
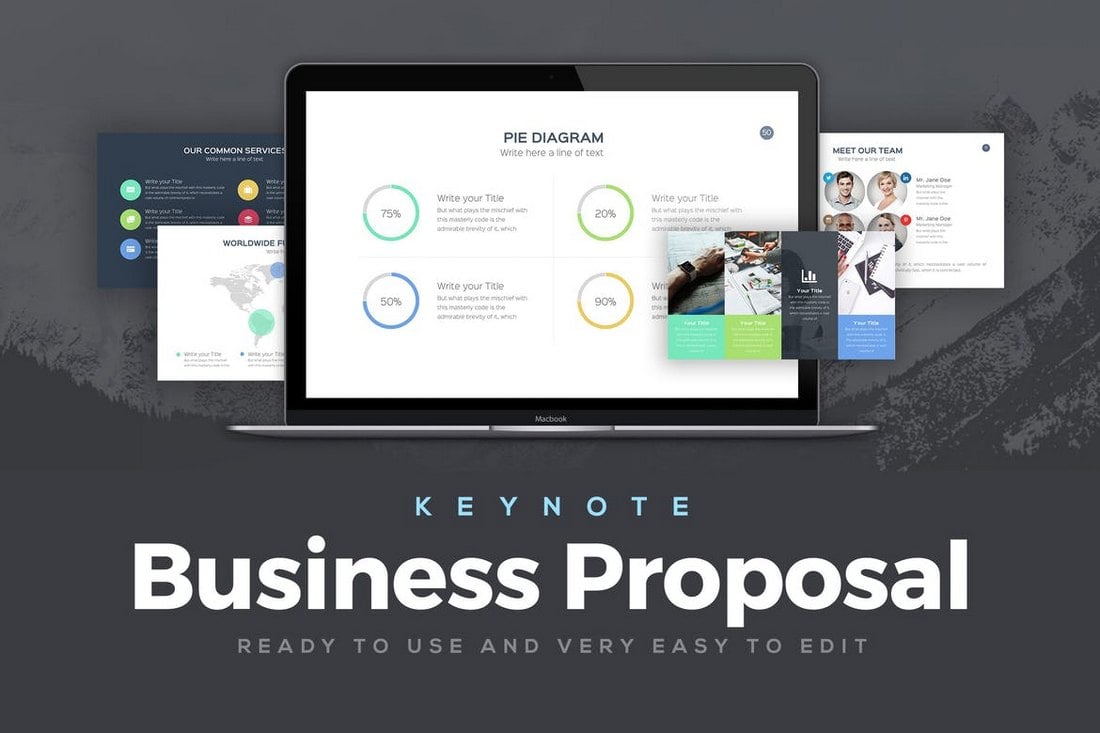
Create an effective business proposal using this Keynote template. It includes 60 unique slides in 4 different color schemes featuring resizable vector graphics, icons, and more.
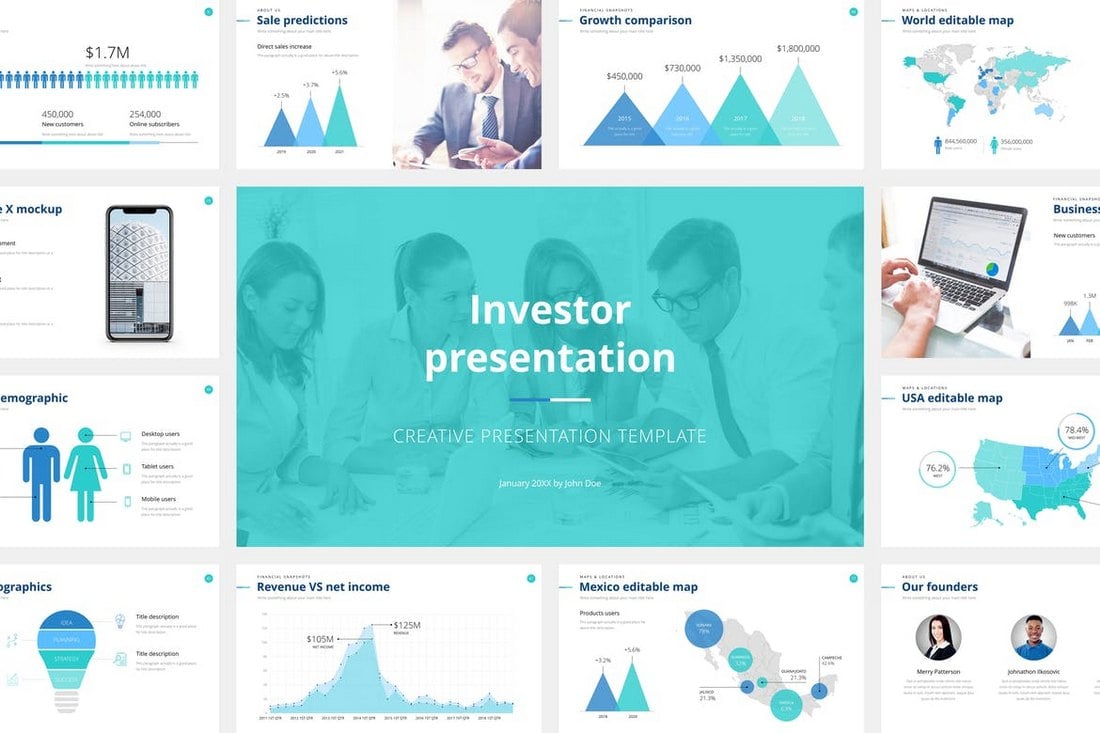
Are you working on a presentation to pitch a product or a business to investors? Then this Keynote template will come in handy. It’s designed specifically for creating investor presentations and it includes 90 unique slides.
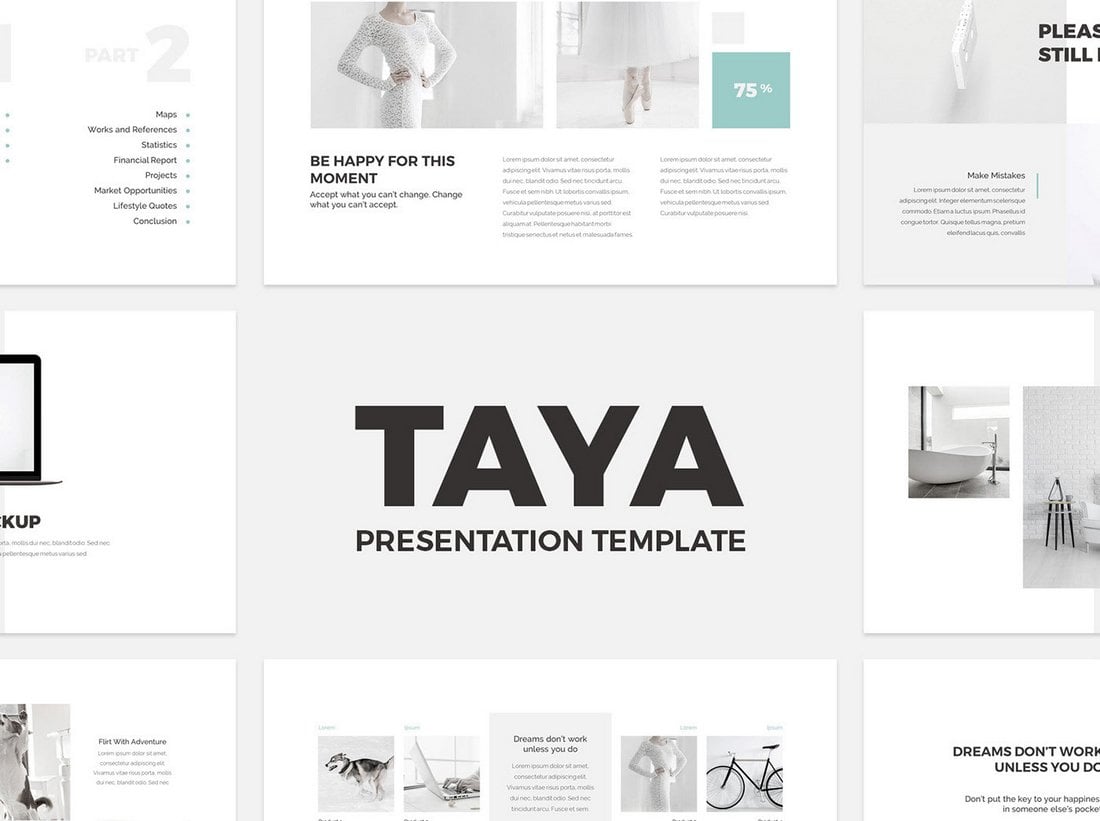
Taya is a simple and clean Keynote presentation template that comes with a set of slides featuring minimalist designs. This template is most suitable for making agency portfolio and business profile presentations.
Create effective financial report presentations for your business meetings using this Keynote Template. It comes with 130 unique slides featuring infographics, charts, diagrams, timelines, custom icons, and much more.
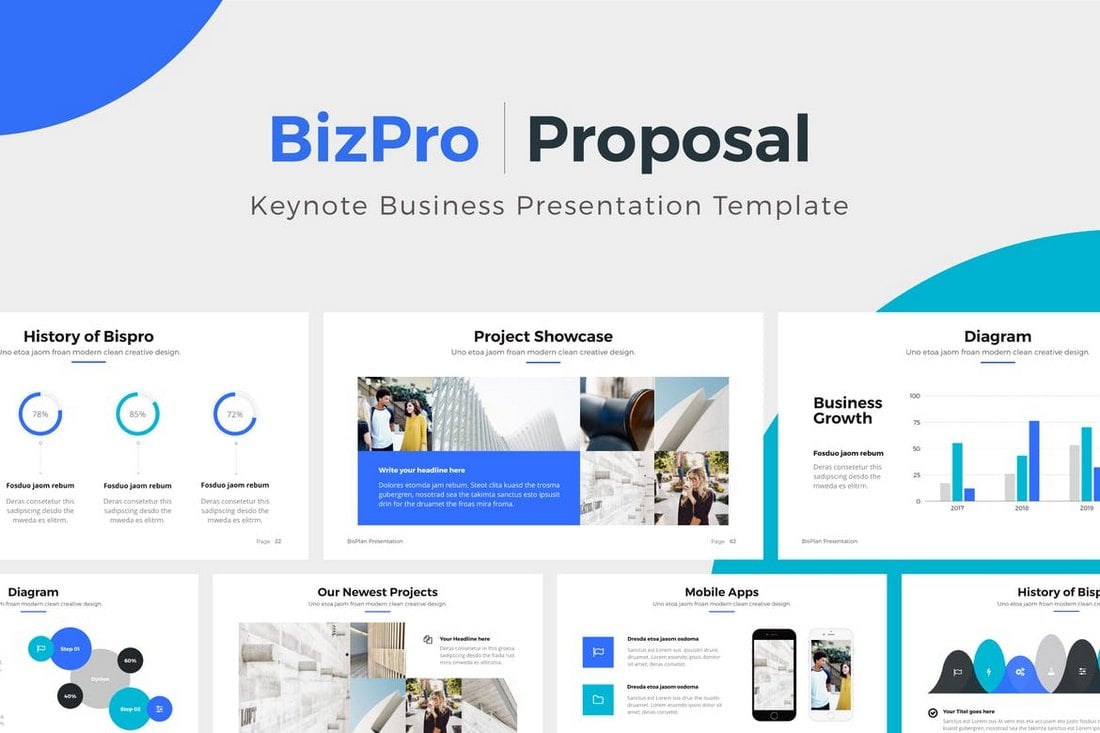
BizPro is a professional Keynote template designed mainly for creating proposal presentations and slideshows. The template includes 105 unique slides and it’s available in 6 versions featuring editable colors, resizable graphics, and icons packs.
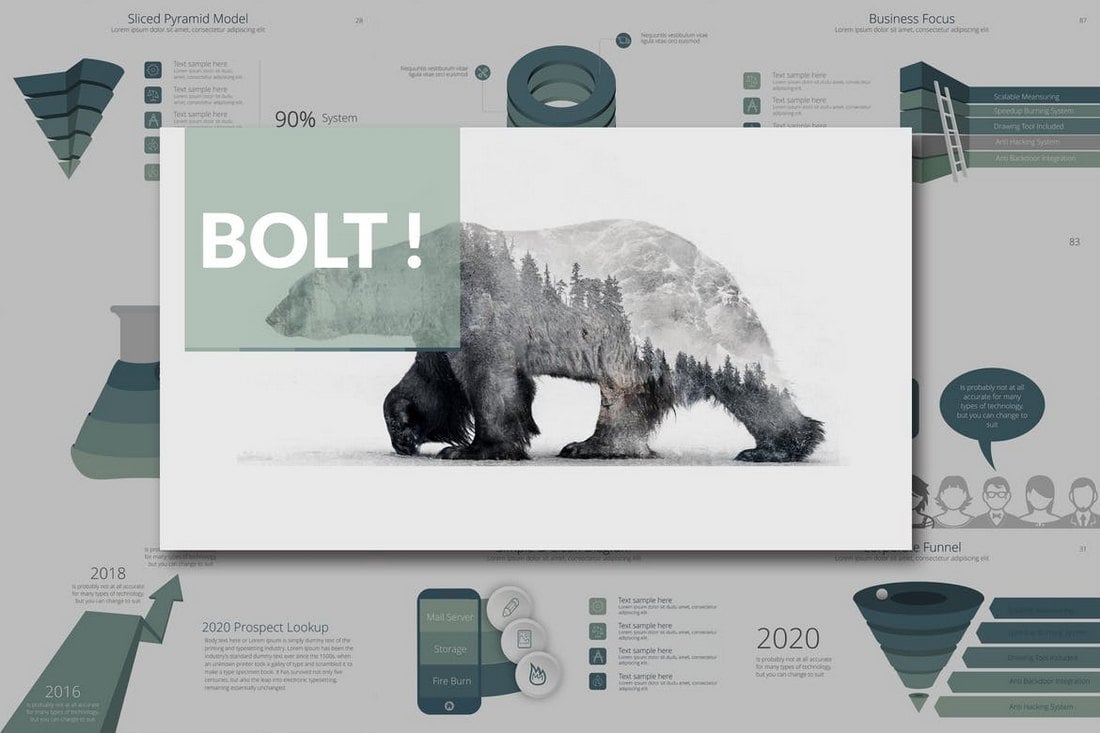
BOLT is a minimalist Keynote template made for business and corporate presentations. It features 145 creatively designed slides featuring stylish vector graphics, charts, graphs, diagrams, and more.
Dreamer Keynote presentation template is made for creating both business and professional presentations. It comes with an elegant dark color theme with 100 unique slides. It also includes a light color themed version of the template.
Create a powerful and engaging presentation to pitch your startup to investors using this Keynote template. It includes many useful slides featuring problem slides, business model slides, competition slides, and more.
Monthly Planner Keynote template comes with 50 unique slides. You can use this template to design effective presentations for monthly or weekly meetings to summarize your projects and progress.
An effective Keynote presentation template featuring 20 master slides for crafting unique business reports and presentations. It’s available in both standard and widescreen sizes as well.
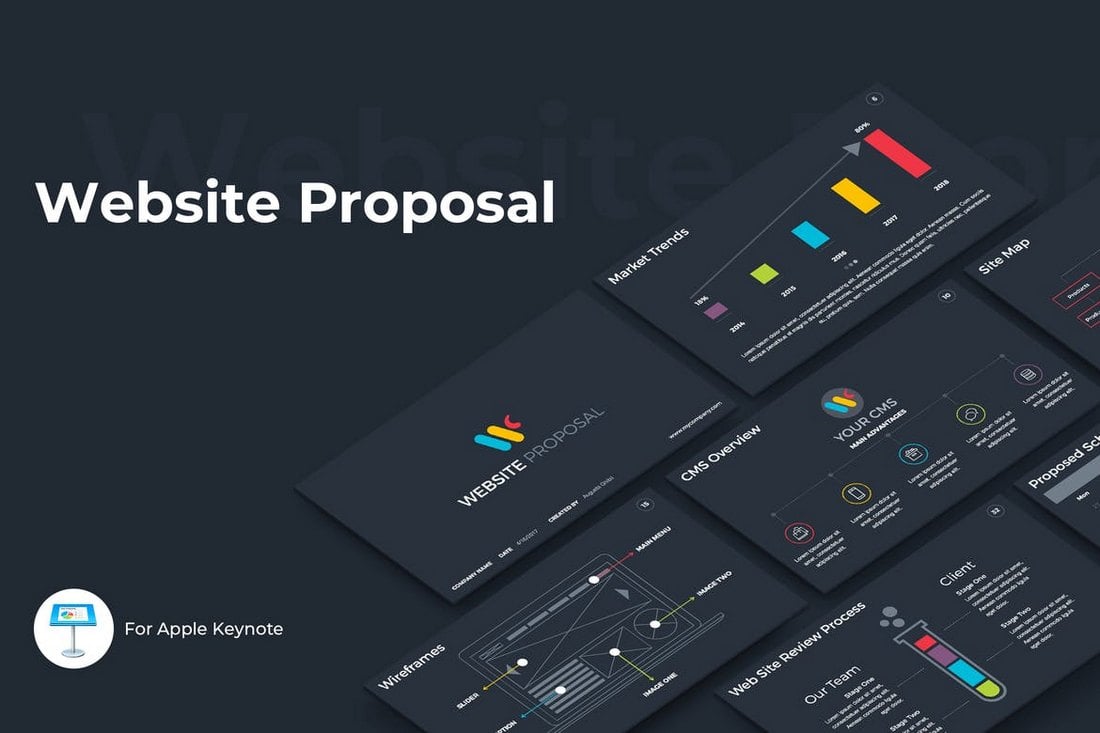
This Keynote template is specifically designed for web design agencies for pitching new website designs to clients. It includes many unique slides featuring wireframes, expenses, project overview, and more.
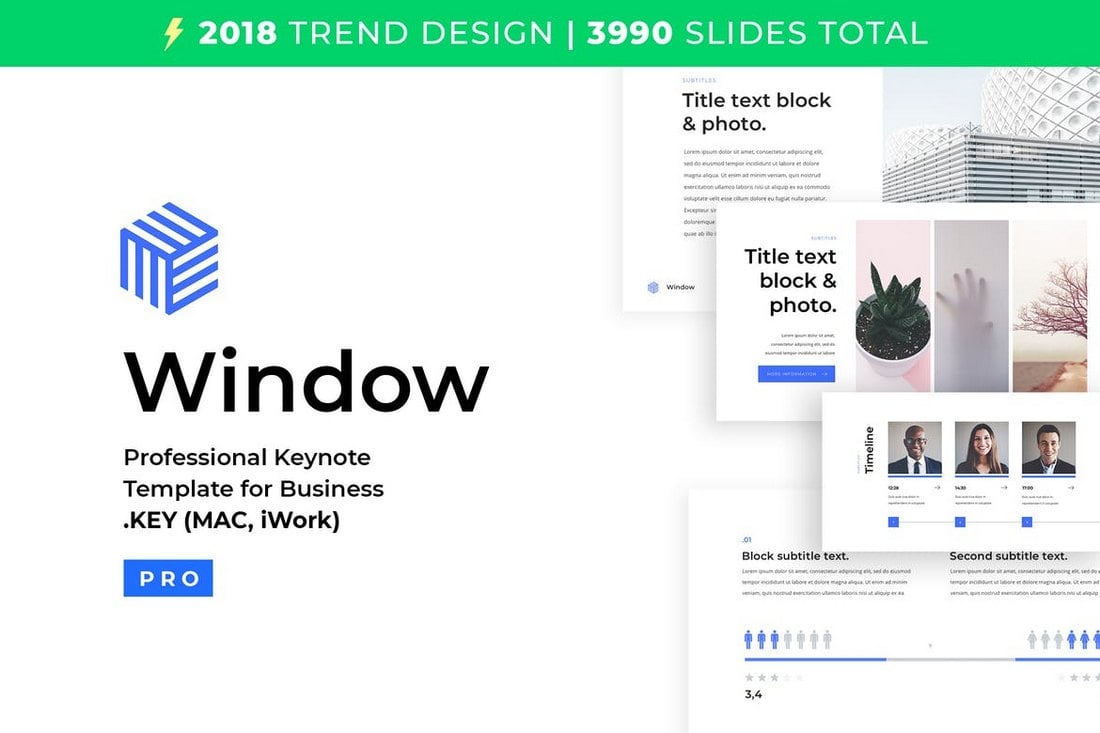
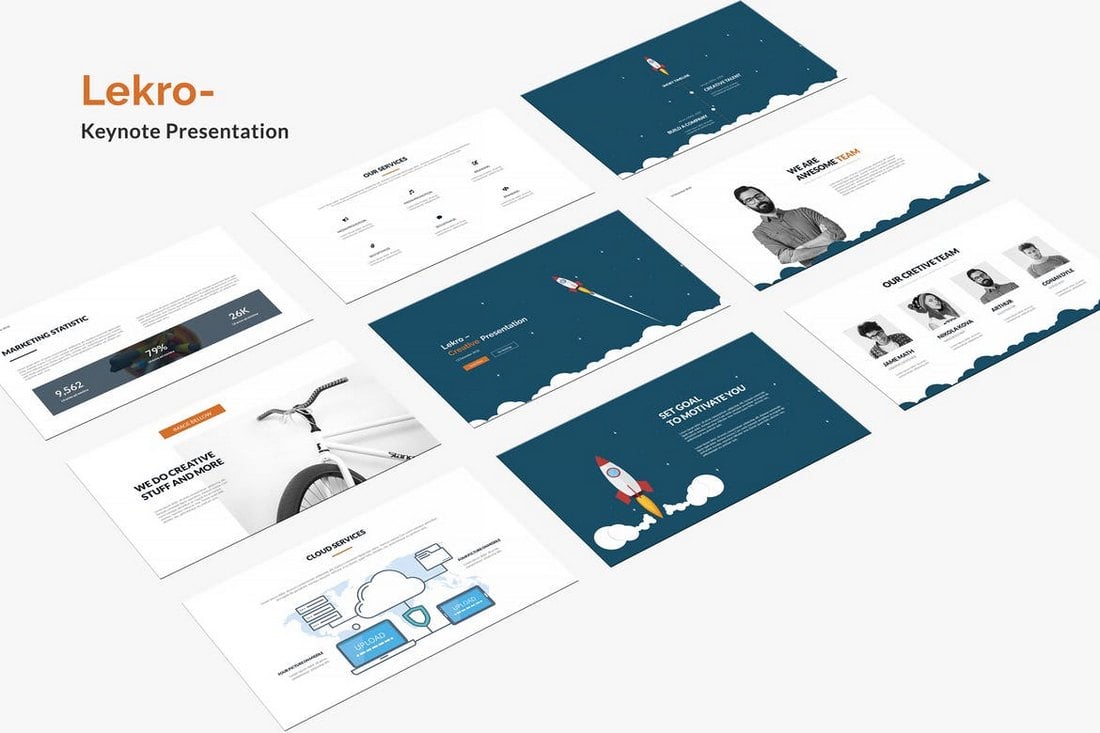
Lekro is a unique Keynote template that features a set of modern slides with a minimal design. It comes with 61 unique slides with animations and slide transitions as well as charts and vector graphics.
This Keynote template comes with lots of creative and attractive illustrations that will help you create a unique presentation to promote your business or agency in style. It includes 110 unique slides in widescreen and standard sizes.
Create effective financial and economy related presentations using this Keynote presentation template. It includes many useful business slides featuring flowcharts, infographics, diagrams, and more.
Another modern Keynote template featuring 60 unique slides for creating presentations for digital marketing agencies. The template comes with easily customizable design and it’s available in 8 different color schemes as well.
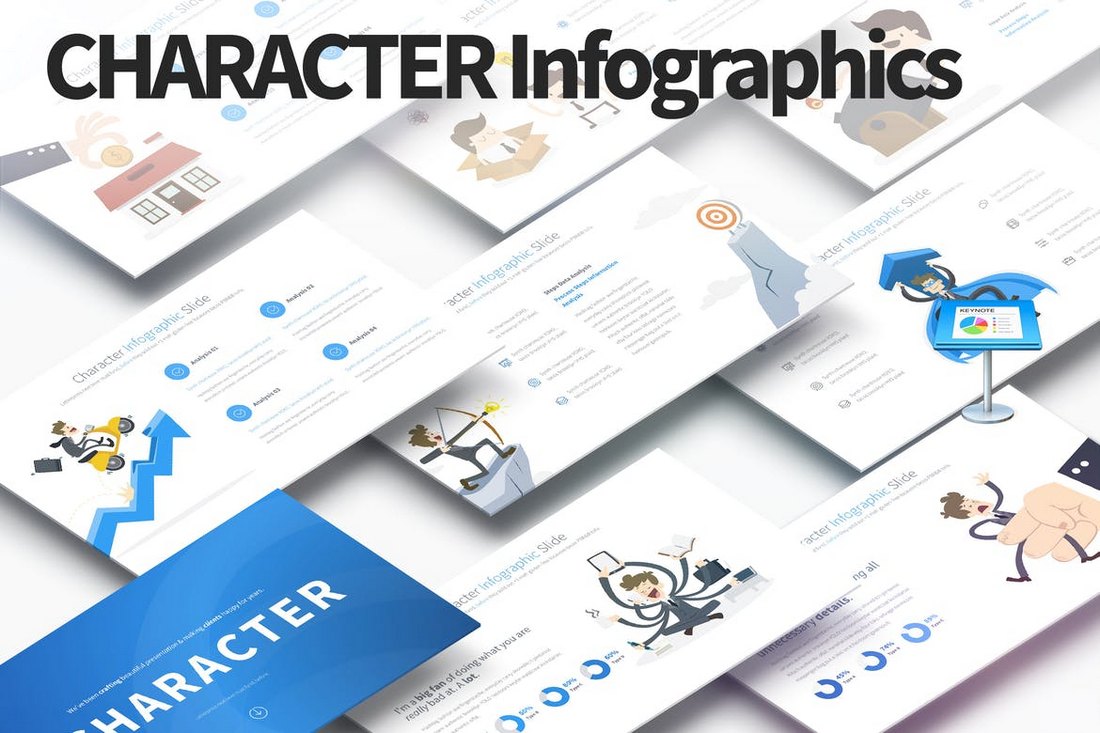
This creative Keynote slideshow template comes with a minimal design featuring lots of beautiful character illustrations that’ll give a unique identity to your presentations. It includes 35 unique slides in 11 different color schemes, a total of 385 slides.
Pitch Werk Keynote template comes with a set of elegantly designed slides made specifically for making pitch decks and startup presentations. It includes 100 unique slides in 5 different color schemes.
This is a unique Keynote presentation template that includes lots of slides featuring arrow-shaped charts, graphs, diagrams, and lots of infographics. It comes with 35 slides with customizable vector graphics.
Forward is a multipurpose Keynote template you can use to create many different types of presentations for startups, agencies, and other businesses. It includes 86 unique slides in 10 different color schemes, making a total of 860 slides.
You can create a professional presentation using this effectively designed Keynote template. It comes with 310 total slides featuring both light and dark color themes. It also includes plenty of slides with maps, infographics, pie charts, tree diagrams, and much more.
This creative Keynote template is ideal for creating presentations related to marketing agencies and promotions. It comes with an easily customizable design and includes 50 clean slides that have been designed based on master slides.

Businex is a clean, and professional Keynote template that can be used for nearly all kinds of businesses to deliver standout presentations. It consists of 20 slides that can be fully molded to suit your specific requirements, a drag and drop picture placeholder, free fonts, and more.
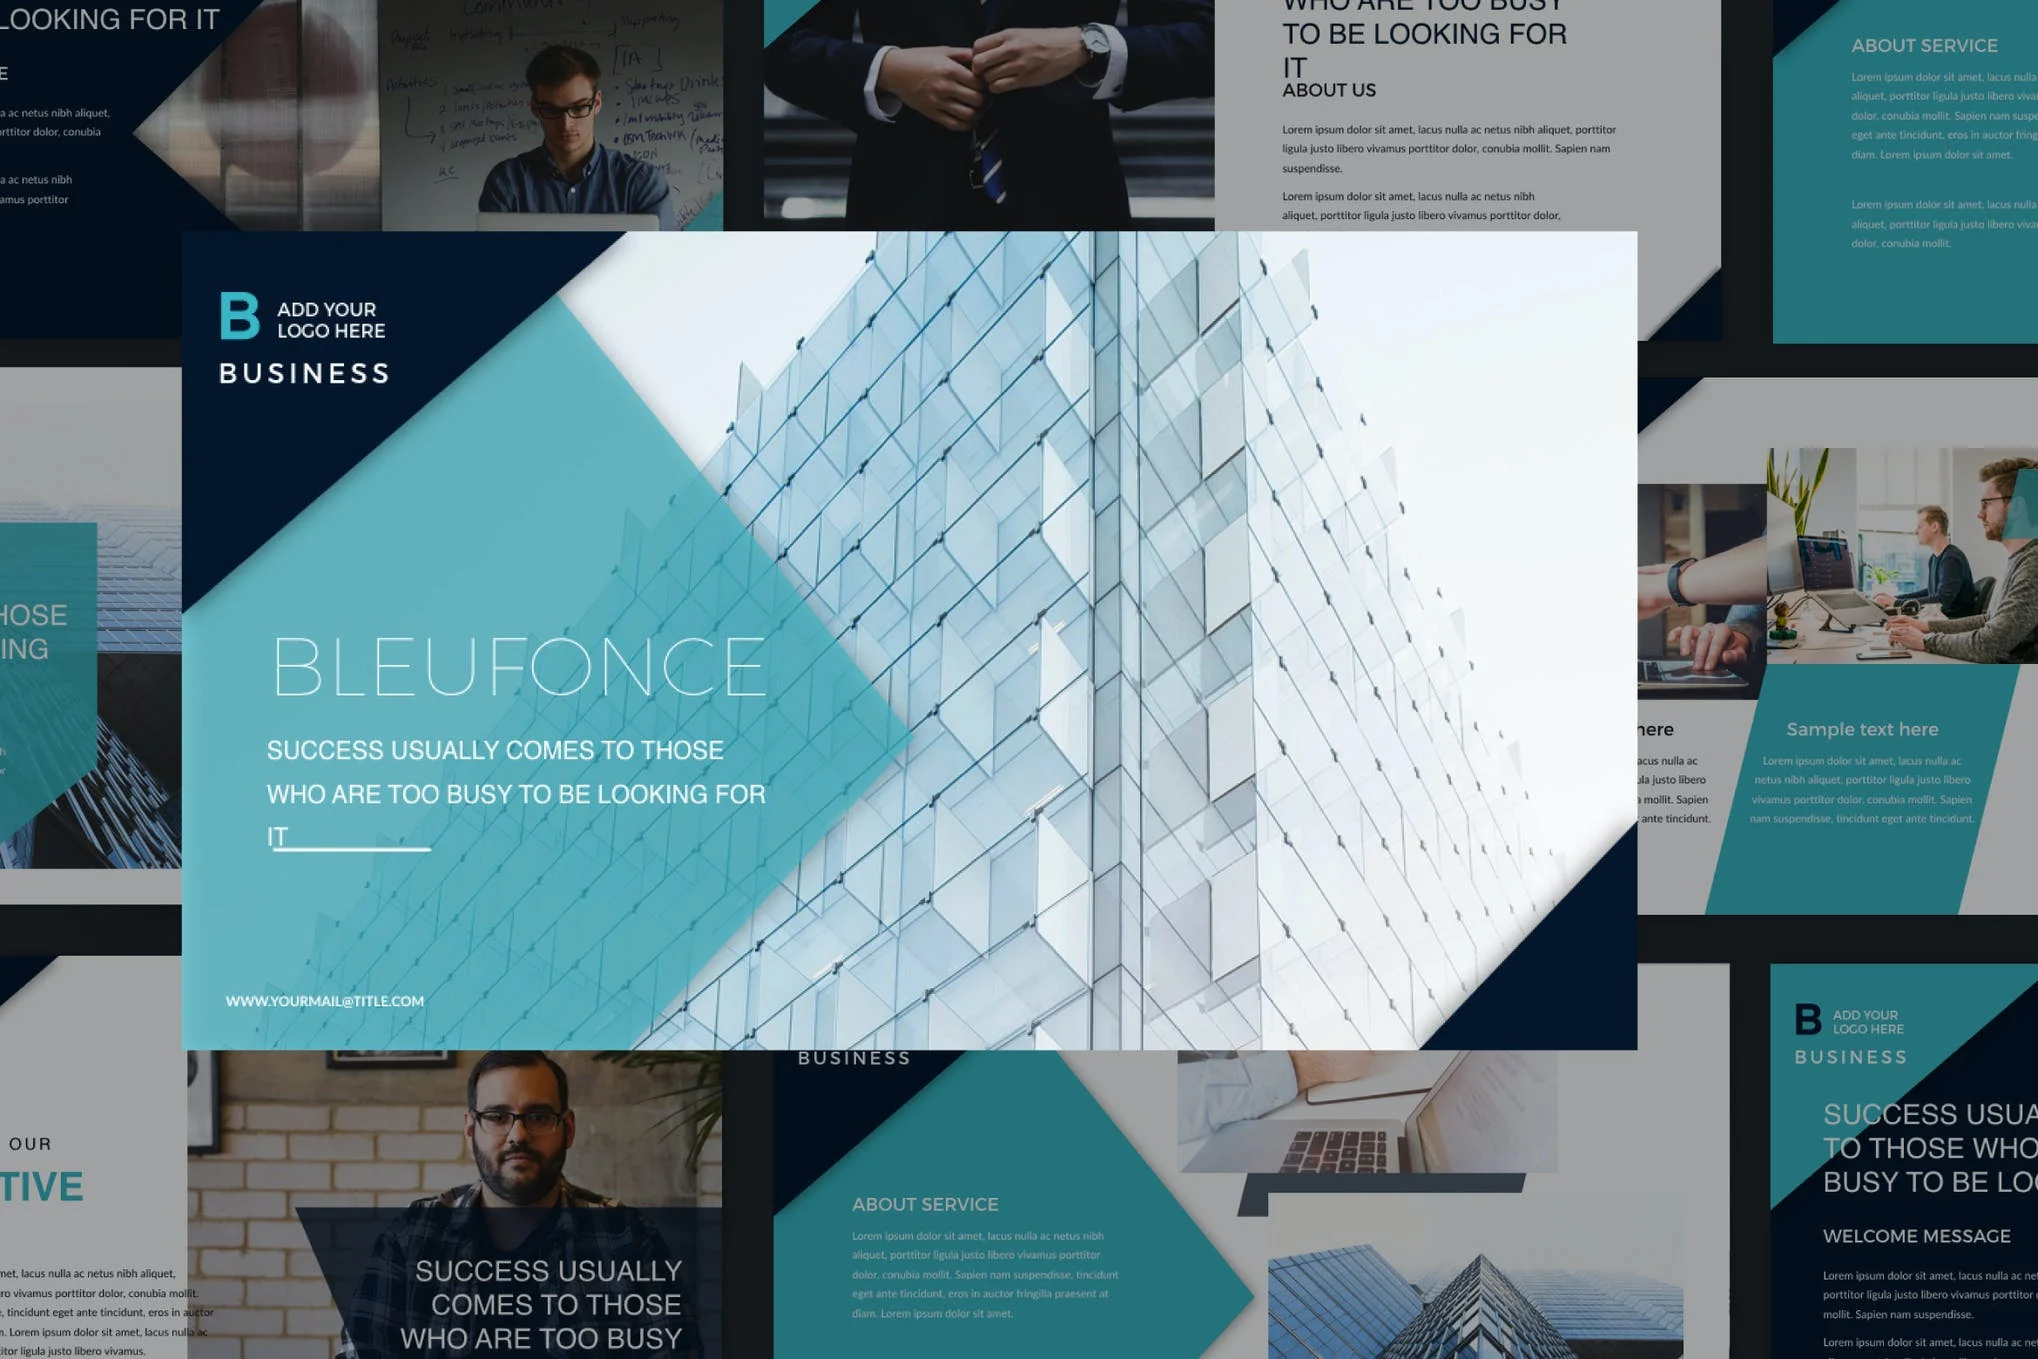
If you’re looking for a minimal yet creative template that really separates your presentation from the crowd, Bleufonce is right up your alley. When it comes to the best Keynote corporate templates, Bleufonce stands at the top of the league.

Obiza is a solid choice for anyone looking to deliver an impactful presentation, and leave a lasting impression on their clients. It has a strictly professional design that makes it suitable for virtually any business, or industry under the sun.

Maxi is a modern, and minimalist presentation template that can be fully customized to your specific requirements in Keynote. It’s an excellent contender for your cash if you truly value standing out from the pack. Don’t hesitate to take this incredibly remarkable template for a spin.

If you’re looking to hunt down the best Keynote business templates available on the market today, Karia is well worth checking out. It offers 30 clean and creative slides, editable vector icons, and shapes, free fonts, and a lot more. Check it out!
5 Tips for Giving a Business Presentation with Impact
Making a business presentation is not always about selling, most of the time it’s about education and persuasion. These tips will help you achieve that goal by creating a killer presentation.
1. Use the Power of Storytelling
Watch a few TED talks and you’ll notice how every talk starts with a story. This is not something only used in TED talks but an effective strategy used to make impactful business presentations as well.
Storytelling is a great way to create an emotional bond with your audience right from the very beginning of your presentation and it helps capture the attention of your audience throughout your speech. It will also allow you to create a strong narrative for your presentation as well.
Create a story for your speech. It doesn’t always have to be a true story. Invent a character if you have to or even try making it funny. It works every time!
2. Design an Attractive Slideshow
The slides you use in your presentation is arguably the most important aspect of a business presentation. Whether you’re presenting to a small group of investors or a large audience, everyone will always be glancing at the slides for reference and context.
Especially when creating business presentations, be mindful to create professional slides with a minimal content layout. Use a great font to improve readability and add stylish photos as well.
3. Use Charts, Graphs, and Infographics
If there’s one thing every business presentation has that’s statistics. Every business presentation uses statistics and data to prove certain key points and make an impact. Make sure to highlight these key points in your slideshow.
Find a presentation template that comes with editable charts, graphs, and infographics you can use to highlight stats and data throughout your presentation.
4. Take Advantage of Colors and Animations
While it’s generally a good idea to avoid using too many animations in business presentation, there are certain situations you can use them to your advantage. For example, when delivering multiple key points in your presentation you can use reveal animations to show those points one by one or even surprise the audience with product reveals.
You can also use your slideshow color palette to effectively highlight key points in your presentations and highlight keywords and call to actions more easily.
5. Be Consistent
Above all, always do your best to preserve consistency across all aspects of your speech, including your speech, slides, gestures, and even your voice.
Especially, be persistent with the colors you use, the fonts, images, and shapes you use in your presentations.
For more inspiration, check out our best minimal Keynote presentation templates collection.


![Download Now: The State of U.S. Consumer Trends [Free Report]](https://no-cache.hubspot.com/cta/default/53/ebf9ec8e-a468-455a-943e-80aa4e6be694.png)


![Download Now: Free State of Marketing Report [Updated for 2024]](https://no-cache.hubspot.com/cta/default/53/db725f24-564c-483b-a28c-2d6ff9986516.png)