Are you wondering whether you should use an excerpt instead of full posts in your archive pages?
A summary helps provide a quick glimpse to your visitors about your content. Users can read through the short excerpt and decide if they’d like to view the entire blog. However, using the full post may get more eyes on the content because it doesn’t require extra action on the user’s part. But which is better?
In this article, we will compare full post vs summary (excerpt) in your WordPress archive pages.

What is an Excerpt and How to Add It in WordPress?
An excerpt is a short summary of an article that you can display on the archive pages in WordPress. The excerpt also has a link that users can click to read the whole article.
If you have limited space on your WordPress site, then excerpts are great for showing descriptions of your content.
By default, WordPress will use the starting 55 words of a blog post and show it as an excerpt. However, you can also manually add an excerpt.
Adding Excerpts in WordPress Posts
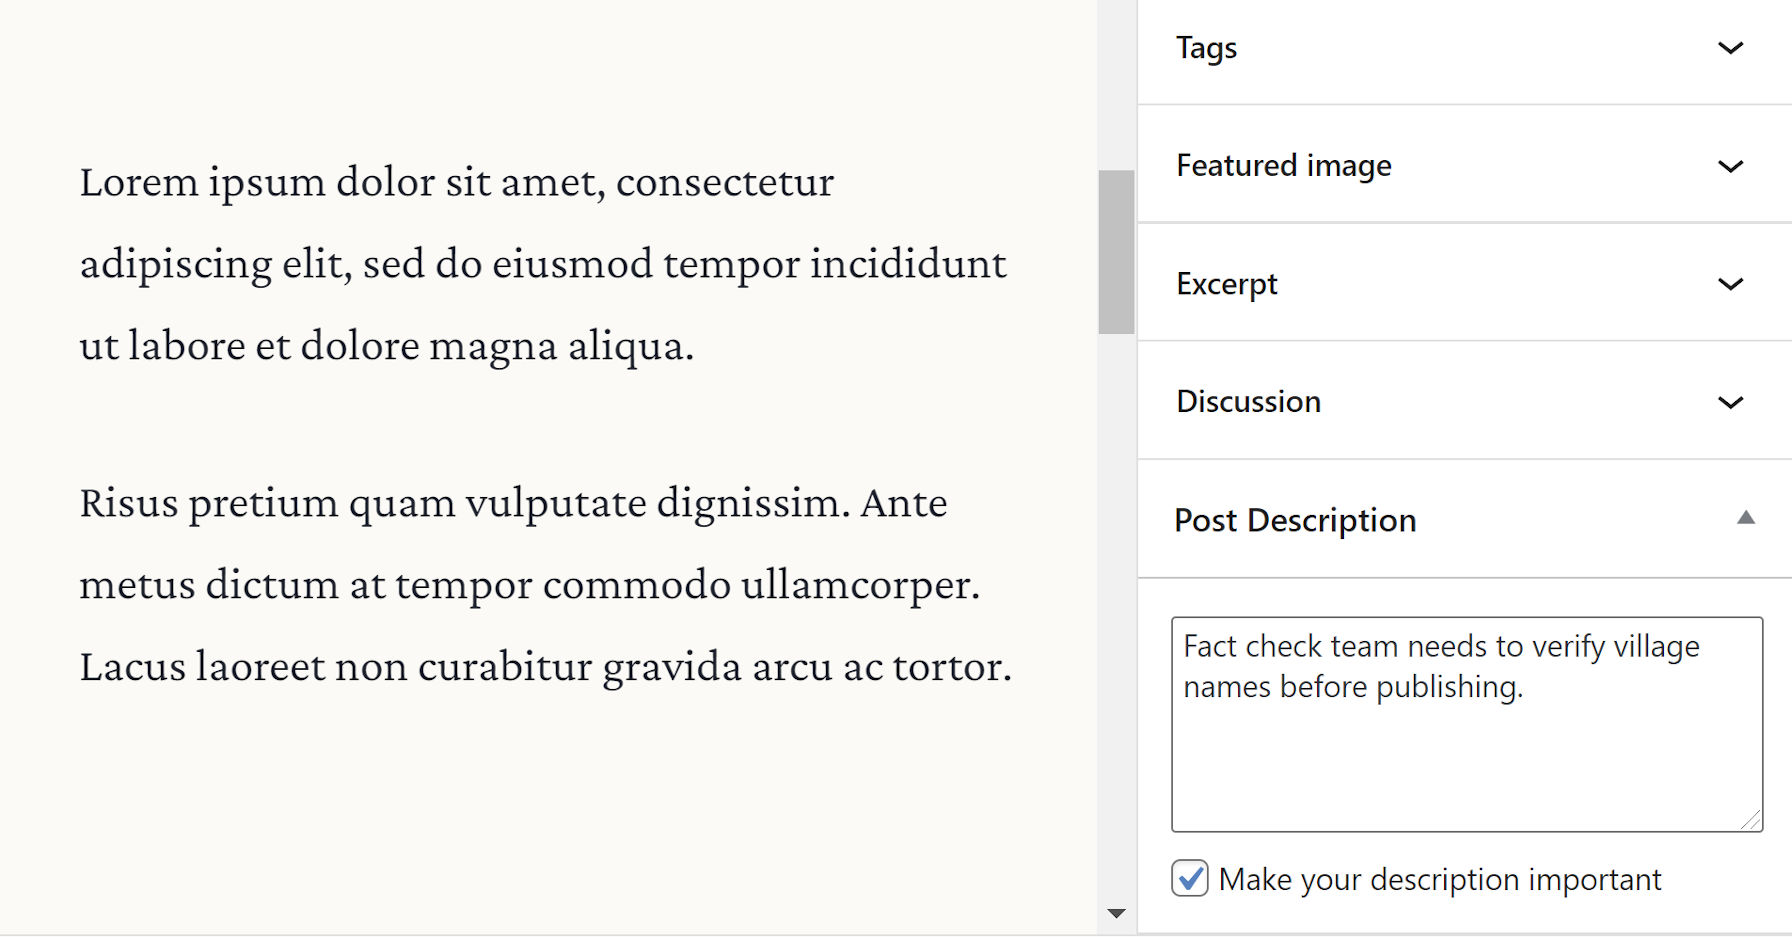
First, you’ll need to add a new post or edit an existing one. Once you’re in the WordPress content editor, you can click the ‘gear’ icon at the top right corner to open the settings panel.
Next, scroll down to the ‘Excerpt’ section and add your text in the ‘Write an excerpt (optional)’ field.

When you’re done, simply publish or update your blog post.
Adding Excerpts in WordPress Pages
If you need to add a summary to a WordPress page, then you’ll notice that there’s no option to add an excerpt. However, you can simply add the following code to your website:
add_post_type_support( 'page', 'excerpt' );
To add the code, you’ll need to install and activate the WPCode plugin. For more details please see our guide on how to install a WordPress plugin.
Upon activation, head to Code Snippets » Add Snippet from your WordPress dashboard, and then select the ‘Add Your Custom Code (New Snippet)’ option.

Next, you can enter a name for your code snippet.
After that, simply paste the snippet in the ‘Code Preview’ area and select the ‘PHP Snippet’ from the Code Type dropdown menu.

From here, you can scroll down to the ‘Insertion’ section and select where you’d like to add the snippet on your site.
Next, click on the ‘Location’ dropdown menu and choose the ‘Run Everywhere’ option under ‘PHP Snippets Only.’

After entering the code, you can click the toggle at the top to activate the snippet and then click the ‘Save Snippet’ button.
This will add an ‘Excerpt’ meta box in the settings panel in your WordPress editor, where you can easily provide a short summary for your page.

Please see our tutorial on how to add excerpts to your pages in WordPress for more information.
That said, let’s see the advantages of using a summary vs a full post in archive pages.
Benefits of Using Summary vs Full Post in Archives
When optimizing your site for a better user experience, choosing between excerpts and full posts in archive pages can play a huge role. You want users to easily browse the website, find what they are looking for, and improve search engine ranking.
With summaries, you can provide an improved user experience. It helps users find the content they want to read. Plus, it keeps your page organized and allows you to display multiple posts on a page. This would be very difficult if you show full posts in archives.
That said, here’s a closer look at why we recommend using summary (excerpts) vs full posts on your WordPress site’s archive pages.
1. Improves Page Load Time
Did you know Google now uses your site speed as a ranking factor? The search engine will rank fast-loading websites higher than the ones that take a lot of time to load fully.
By using excerpts on your archive pages, you significantly improve the page load time.
Imagine an archive page that shows 10 posts per page. If each of those 10 pages is 500+ words long with 5 images each, then your user has a lot to scroll through. The page will also load slower than normal.
By using excerpts, you can significantly improve the user experience.
Here’s a preview of how a short summary appears on WPBeginner when you view the archive pages.

Users can load and browse through our category, tags, date, and other archive pages quickly and easily. As for search engines, you will see a boost in rankings for archive pages and improvement in WordPress SEO with faster page load times.
2. Prevents Duplicate Content
By showing excerpts on your archive pages, you can prevent being flagged for duplicate content in search engines.
For example, WordPress by default has category, tags, date, and author archives. Publishing full posts in archives will make each article appear at full length on several different pages on your site.
Even though search engines are quite smart in finding canonical URLs for each post, they can still flag the site for duplicate content which will affect your search engine rankings.
3. Increases Pageviews and Reduces Bounce rate
Using summaries or excerpts can reduce the bounce rate and increase pageviews. Users can click through to the full post in order to read the entire article.
If you just have full posts displayed in the archive pages, then people will not see any other elements that are on the blog page itself, such as a popular posts widget inside the post or page content.
By displaying the full post, users might just leave your site after looking at a single page instead of clicking around.
A summary makes your archive page more engaging and allows your readers to see find more content easily.
Disadvantages of Using Summary vs Full Post in Archives
1. Short Excerpts Provide Poor User Experience
If you don’t set an excerpt for blog posts, then WordPress will automatically create a summary using the first 55 words in the article. This is too short, and sometimes your sentences will be cut in half, resulting in a poor user experience.
You can always change the excerpt length in a WordPress theme, but that doesn’t fix the problem entirely.
One solution is to write a custom excerpt in the content editor before publication. Another solution is to write short, catchy introductions that will most likely make the user interested and can easily work as excerpts.
2. Hidden Content
Some users prefer to read everything on one page rather than having to go to a different page to read the entire article. This is useful if you have short blog posts that don’t contain many images.
These users are likely to stay on your site longer, even if they don’t click on any other pages, which is also a metric that Google uses to determine search engine rankings.
Should You Use Full Post or Summary in Archive Pages?
If your articles are short and do not contain a lot of images, then you can get away with displaying full posts on your archive pages.
However, in most cases, we always recommend using a summary or excerpts for your archive pages. Most WordPress themes come with a built-in option that allows you to choose between full posts vs excerpts from the settings.
Excerpts provide a better user experience and make your site look clean and organized. You can boost user engagement, increase pageviews, and show multiple articles on your archive pages.
We hope that this article answered the question of whether you should use a full post or summary in your WordPress archive pages. You may also want to see our guide on how to move a WordPress from HTTP to HTTPS and WooCommerce made simple.
If you liked this article, then please subscribe to our YouTube Channel for WordPress video tutorials. You can also find us on Twitter and Facebook.
The post Full Post vs Summary (Excerpt) in WordPress Archive Pages? first appeared on WPBeginner.