


Tips, Expertise, Articles and Advice from the Pro's for Your Website or Blog to Succeed


The jQuery Deferred object was introduced as a part of the 1.5 release of the framework. The Deferred object in jQuery is based upon the concept of Promises. To understand all about Deferred objects, it would be wise to try to understand what a Promise is all about.
Many times in our daily lives, we cannot rely on the outcomes of certain actions. However, we may still need to make decisions about the future depending on an anticipated outcome. All we know for sure is that we are going to get an outcome. Let’s just say that we wrap the term “outcome” in a fancy-looking gift wrapper and call it a “Promise.”
In the analytical business world, we all operate nowadays there’s never been a greater emphasis on data gathering and processing, especially for webshops. You’ll want to get data from the moment a visitor and potential...
The post Conversios.io Review appeared first on 85ideas.com.

 The last thing anyone who does great work should be doing is having to take time out from doing great work to promote it to their higher-ups. Unfortunately, until the person you report to achieves omnipotence, you’re going to have to make sure their perception of your work lines up with the quality.
In fact, when we asked our community what issue they would want professional coaching on, it was this: How to improve the impression of your work.
An HTTP message is a common means by which two systems, usually a server and a client, exchange data. We typically refer to each HTTP message as an HTTP request or an HTTP response.
Webhook HTTP requests are a specific subset of HTTP requests which transfer data between systems based on events in those systems. Webhooks are used with many event-driven integrations.
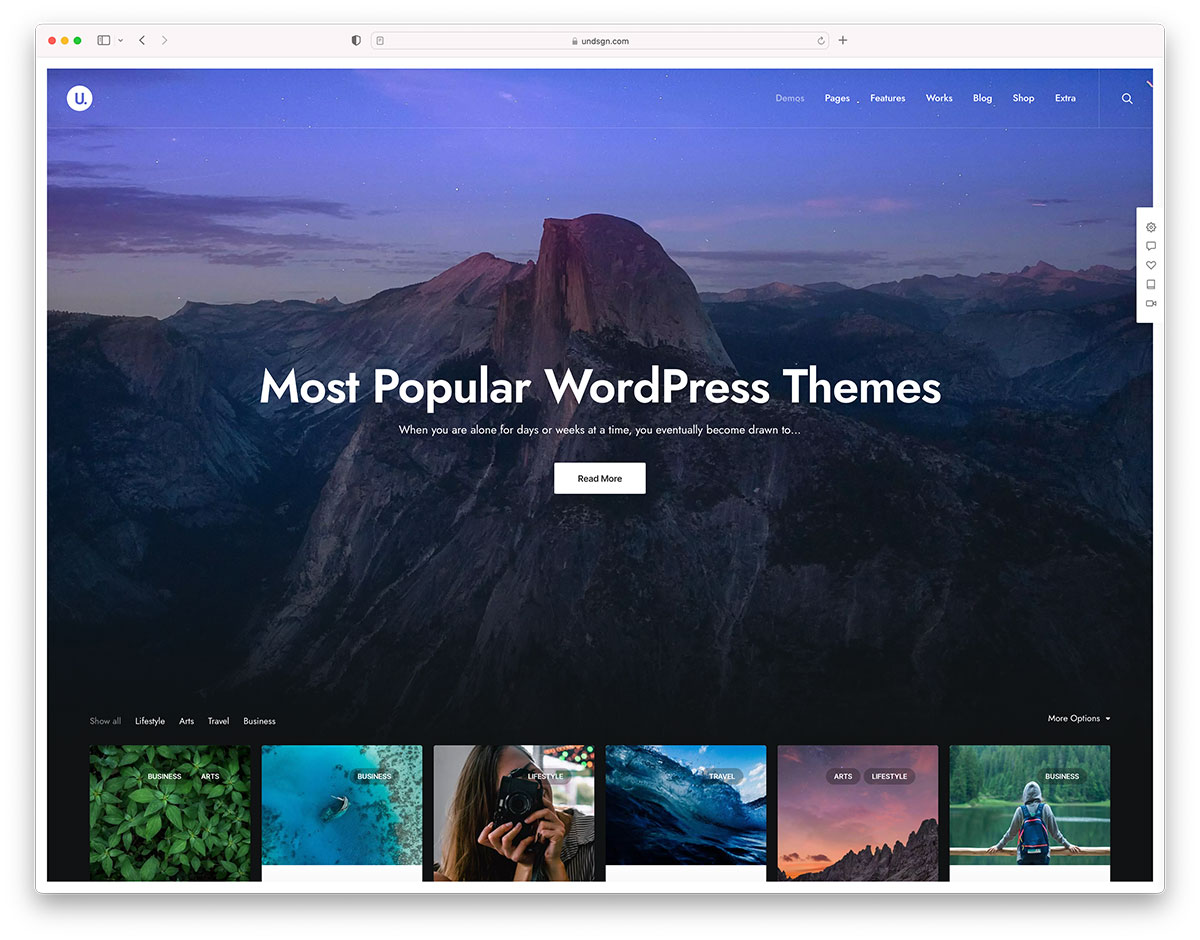
 Astra is one of the most popular free WordPress themes due to its lightweight code and user-friendly features. However, every site owner has different needs, and you might be wondering whether this is a suitable option for you. To help you make an informed decision, we’ve put together a detailed Astra WordPress theme review.


Online presence has become a necessity for businesses in the age of Internet marketing and e-commerce; however, many companies may not possess the expertise to design their own websites. Thus, web design agencies are available to provide specialized services to meet the individual needs of their clients in constructing and designing the desired websites. Sometimes, […]
The post Top 20 Web Designing Companies in the World first appeared on WPArena and is written by Editorial Staff.

This week Marie and Chris get together to chat about what’s been hot hot hot on CodePen lately. We’ve discovered there is a really taking to the creamy cardstock look, for one thing. Typography is always great, but we’re seeing more typographic trickery often including variable fonts. While not new, there are still loads of really wonderfully creative Pens using Three.js and p5.js. Neon-on-dark is a fresh look. We get into those and more, a bit sneakily as we can take an internal look at what the Top 100 might look like this year, but we can’t share those details too early!
The post 372: Trends appeared first on CodePen Blog.

 You probably keep hearing about these two in similar contexts, but maybe you can’t tell the difference exactly. So, which one do you need for your business? What’s the difference? This and more is what we’re going to clarify in this post. This is landing page vs website, round 1.
You may not have heard the term data downtime, but I’m willing to bet you’ve experienced it and the cost of bad data firsthand.
Urgent ping from your CEO about “missing data” in a critical report? Duplicate tables wreaking havoc in your Snowflake warehouse, all titled some variation of “Mikes_Table_GOOD-V3.”? Or, perhaps you’ve unintentionally made a decision based on bad data from last year’s forecasts?

Data build tool (dbt) is a popular open-source data transformation tool that enables analytics engineers to transform data in their warehouses through SQL statements. The TiDB community recently released the dbt-tidb adapter to make TiDB a distributed SQL database to work with dbt. Through the dbt-tidb plug-in, analytics engineers working with TiDB can directly create forms and match data through SQL without having to think about the process of creating tables or views. They can also use Jinja, a dbt template language for writing SQL, test, package management, and other functions, which greatly improves efficiency.
In this tutorial, I will show you how to use dbt with TiDB. Before you try any of the steps below, make sure the following items are installed:
We will learn about the following streaming protocols in order:
RTMP streaming protocol, a TCP-based technology, was developed by Macromedia for streaming audio, video, and data over the Internet between a Flash player and a server. Macromedia was purchased by its rival Adobe on December 3, 2005, but with the phasing out of Flash in 2020, its use has become less to do with viewer-facing delivery of content and more for ingesting live streams into a platform through RTMP-enabled encoders.
As the website-building experience is something we improve on daily, it’s no surprise that a tool like WP Maintenance exists. If you’re not sure what we’re talking about, it’s a WordPress plugin that gives you...
The post WP Maintenance- Customize Your Own Maintenance Page appeared first on 85ideas.com.


WordCamp Europe 2022 concluded last weekend in Porto, Portugal. The event sold 2,746 tickets and had 2,304 people attend. It kicked off with a record-setting Contributor Day that coordinated the efforts of 800 participants giving back to WordPress and its related projects.
WCEU featured 70 speakers across 26 sessions and 18 workshops, made possible by the efforts of 65 sponsors, 91 organizers, and 164 volunteers.
Attendees and organizers were thrilled to be back together in person after two years of not hosting the event due to the COVID-19 pandemic. Remkus de Vries, one of the founders of WCEU, joined our recent WP Jukebox podcast and commented on the importance of being back in person with fellow WordPress enthusiasts. He characterized WordCamps as the “glue” that keeps the community together.
“I think the glue part is way more important than people thought that it was,” de Vries said. “I think you can say the same thing for what we’re seeing here. Yes, you can be connected. You can have great relationships online and everything, but the real deal is in real life. That’s where you make the actual connections.
“You have things you say that you then in real life have time to correct if that wasn’t the intent that you actually had. All of these little things make up what that glue actually consists of, so not having that for two years creates a like a vacuum of things that are not seen, not communicated, not spoken about, not processed.
“There have been companies started from WordCamps. There have been mergers started. There have been friends made there have been marriages come from WordCamps. Everything happens when you’re together.”
In 2023, the project that is democratizing publishing will be hosting its European conference in the birthplace of democracy, Athens, Greece. The date is set for June 8-10, and the call for organizers has already been published. Check out the intro video below for a taste of what’s to come next year.
When you’re working in a group, you need to know how to coordinate. Coordination requires a shared understanding of how everyone will work together. Most human groups define Roles. Roles help clarify boundaries and expectations for people working together.
For example, in sports, these roles are called Positions. To play well, you need all the positions to understand how to work with each other. And you need everyone to focus on their position. It would be ridiculous in football (aka soccer) to have everyone try and be the goalkeeper.