

Do you remember a time when there was only text on the internet? Or when the first images popped up in their glorious blocky low resolution? It seems like a lifetime ago.
Streaming services, social media, shops… Images and videos are all around the web today. It’s no wonder we see more and more imagery used for online advertisement as well.
There are always aspects to consider to decide the best fit for your project. When choosing your advertising strategy, it’s essential to know the good and the not-so-good about photography and videography for marketing.
Advantages
Look Sharp
Pictures – or better yet, videos – show commitment. They show you take your business seriously and are willing to put effort and money into it, reassuring people, so they trust you and your business more.
Emotional Connection
Studies show our brain reacts strongly to visual stimuli, so images cause stronger emotions than text. You can use media to elicit good feelings from potential clients to perceive you as more trustworthy.
Engagement
People usually lose their focus quickly when scrolling their feeds, so it’s best to avoid long texts on social media. Replace words with images that convey your meaning at a glance, and more people will remember your ad.

Images and videos with a catchy bit of text often prompt more people to comment, which increases your visibility and reach.
Things to Consider
Price
While a fantastic tool, creating good visual content might not be cheap, depending on your project. Be sure to consider your budget when planning your marketing strategy. If you’re starting small, it might be best to wait for a bigger announcement to start advertising with images, but it’s an investment that pays off. Facetune filter editor can help in photo editing and in making photos look professional.
Platforms
Videos are still mostly watched on desktops and notebooks, and on average, smartphone and tablet users spend less time watching before scrolling down. News readers notoriously prefer text over video, but some data from the same study shows videos are sought after the most during breaking news.
Harder to Edit
Editing a text is easy. An image, a bit less so. However, an actor’s speech in a video? It’s easier to redo the whole thing, lest it could end up terrible. Carefully think about what you intend to say and make sure any information is correct before finishing up.
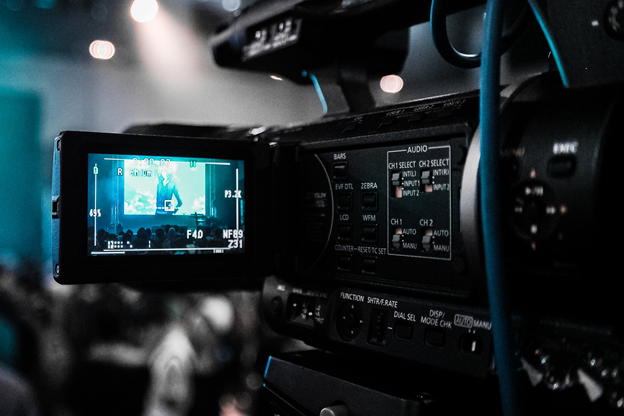
Photography vs. Videography
You’ve decided to add visuals to your next marketing campaign. How do you decide between pictures and video?
Price
Pictures will be considerably cheaper than videos in general. Ideal for smaller businesses, they aren’t forgotten on bigger brands. Pictures are essential and favored in some social sites over other types of media. Again, considering the platform and your audience plays an important role in your ad campaign’s success (or not).
Engagement
Videos will usually be more engaging than pictures. They allow you to delve deeper into storytelling and convey more information in a shorter amount of time, being perfect for today’s ever-shorter-focused people.
Platforms
Besides mobile or desktop, you should consider where on the internet you’ll be advertising. Facebook users engage a lot more with videos, while Twitter users prefer images over all other media. Plus, videos require more bandwidth, so mobile users might avoid them more often than pictures.

Summing Up
Using visual media can be a great wait to boost visibility and engagement. Planning is essential for crafting a perfect advertisement campaign. If you have doubts or don’t feel confident heading on alone, try to reach out to a friend who works with online marketing or ask for recommendations to find professionals who can help you.
Study your audience and listen to your potential clients’ feedback to figure out what works and what doesn’t and adapt to your target group. There’s no magic formula.
The post Pros and Cons of Photography and Videography in Visual Marketing appeared first on Photoshop Lady.