Branda gives you the power to white label WordPress, letting your brand flow from the front to the back-end of your site. In this guide, we’ll show you how to renovate your admin area with some of Branda’s most impressive features.
White labeling your WordPress site has never been easier. Branda splits every one of her features into easy to digest modules which can be activated and removed as necessary.
Branda lets you white label every Aspect of WordPress
No job is too big or small – you can customize anything from your color scheme and dashboard widgets, right down to the text labels on your login page, and the icons in your admin toolbar.
In this guide, we’ll show you not only how to completely white label the back-end of your WordPress installation using Branda, but also how to personalize and reorganize your tools and menus to ensure peak efficiency when working within your admin area.
We’ll be covering how to:
- Customize Your Login Screen
- Change the WordPress Logo
- Rework the Admin Bar
- Personalize Your Widgets
- Organize Your Admin Menu
- Add Text to Your Footer
- Text Replacement
- Change the Color Scheme
Read on to find out how Branda can help you put your own stamp on your WordPress admin.
1. Customize Your Login Screen
When customizing your WordPress admin, it makes sense to start at the first page you’ll always see – the login screen.
Branda can help you create a completely new login screen that will impress your clients and inject some personality into your WordPress back-end.
There are seven preset templates you can select, or you can create your own from scratch.

If you start from scratch, the main changes will come in the form of your background and logo.
First up is the logo – you can either upload your own image, or import one from a URL.
Once you’ve added your logo, you can choose a new background to complement it.

You’re free to take it even further and edit or hide the labels, display a message, or add custom error messages.
Add custom messages for users when they log in.
A few tweaks and you can completely revamp your login section.
2. Change the WordPress Logo
If you’re a developer working on a lot of sites, or if you’re trying to create a personalized experience for a new client, the ability to switch out the WordPress logo in the admin bar can make a lot of difference.
It can let you know at a quick glance which site you’re currently logged into and it can be the icing on a cake for a client that you’re trying to impress.
With Branda, it takes seconds to change the logo to something more personal.
This setting is found within Admin Area > Admin Bar.
As you can see below, it’s such a simple change but it takes white labeling WordPress to the next level.
3. Rework the Admin Bar
If you find the admin bar more unsightly than useful, there are a couple of ways Branda can help you manage this.
You can remove the admin bar from your front-end if you want to quickly view your site without it getting in the way by heading to Admin Area > Admin Bar.

If you don’t want to hide the toolbar completely, you can customize the items it shows.
Start by choosing the items you wish to hide:

If you really dislike the toolbar, you can even go as far as removing all its links in the back-end:

If you’d prefer an admin bar that is practical and personalized to fit your needs, you can create this by adding custom items to it.

Once you click to add a custom item, you will need to select a title, icon and a link destination.

Add a submenu if required, and set the visibility of your new menu item per user role.

4. Personalize Your Widgets
With all the standard widgets active, your dashboard can begin to look a bit cluttered.
If you head into Branda and to Widgets > Dashboard Widgets, you can hide any that you don’t use.

You can then begin to repopulate your dashboard with widgets that are more useful to you, as Branda has the option to create your own custom widgets.

Widgets can contain notes, company updates, stock reminders – you have total freedom.

5. Organize Your Admin Menu
Your admin menu is the heart and soul of your WordPress admin area. If you want to customize the back-end of your site, it makes sense to tailor the admin menu to your needs.
Head to Admin Area > Admin Menu > Customize Admin Menu and you will be presented with a ton of options to help you get the most out of your admin menu.
First up, you can customize each item in your admin bar per user role and can opt to hide each item.

When you click to edit one of the items, you are first offered the chance to rename it as well as change the CSS ID and class.

If you scroll down a little further, you can choose a new icon from tons of presets.
Once you are satisfied with how your menu item looks, it’s time to decide what happens when you click on it.
Underneath the icons, you will find the option to change the link, as well choose whether or not it opens in a new tab.

Once you have amended your existing menu items to your taste, you can scroll to the bottom of the list to add your own custom items.
This is useful if you want shortcuts to external websites or areas of your site that take a while to navigate to.
6. Add Text to Your Footer
You can add text or even media to the bottom right of your admin area.
This could be anything from an important message or update, to your company motto, or even just your site name.

It’s just another quick way to break out of WordPress’ usual template and add a bit of brand/personality to your admin area.
7. Text Replacement
A handy feature found within the utilities section of Branda allows you to replace words and phrases throughout your site.
This can be especially beneficial when it comes to white labeling your admin area.
You can control whether the rules are case sensitive, and whether they apply everywhere or just on your front or back-end.

Using this feature, you can easily change the ‘Howdy’ message on the right-hand side of your admin bar, to something more to your taste.

8. Change Your Color Scheme
If you’re dedicated to truly whitelabeling and personalizing your site, then changing the color scheme should definitely be on your to-do list.
Branda comes loaded with 8 color schemes for you to choose from.

If your plan is to match your admin area to your brand, you can extensively edit the color schemes to your exact requirements.
Below is just a taste of how many options you have to create your own scheme.
You can color each element of your admin area separately, and tweak things such as hover and focus color.

WordPress Who?
Branda has so many options for customization and white labeling that you can put the same love and care into the back-end of your site as you do the front. No longer will you have to gaze upon the WordPress logo or endure every site you work on looking exactly the same from the back-end. With Branda, you can truly make each site your own.
If you’re eager to find out what else Branda can do, check out the documentation for a complete run down and visit our roadmap to see what else she’s got in store. Better yet, get Branda installed and experience the power of personalizing WordPress with Branda for yourself.


 We’ve covered how to change permalinks without breaking your website, but why would you want to change them to begin with? Well, today we are going to spend some time going over WordPress permalinks structure. And of course – why and how you might want to optimize your permalink structure for SEO. What Are Permalinks? […]


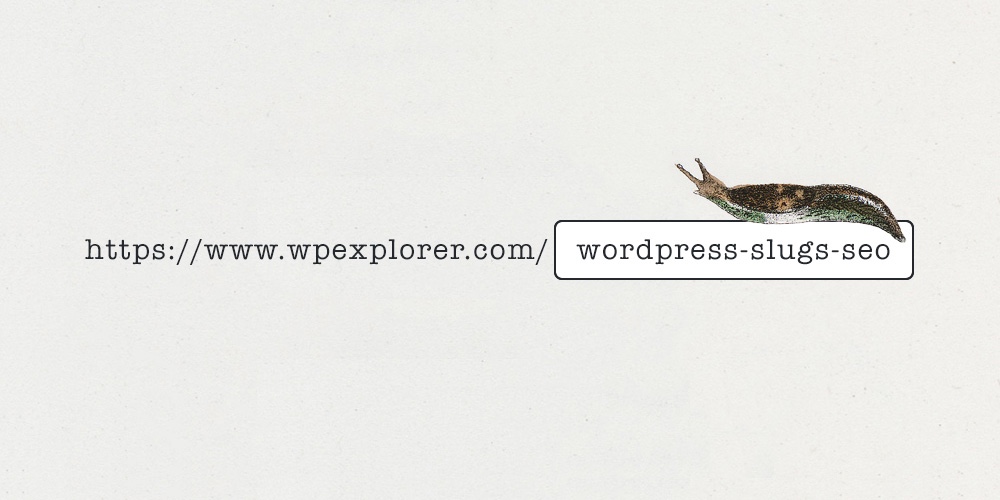 You might have read the word “slug” in WordPress SEO guides, or articles with tips on improving traffic to your site. But do you really know what a slug is? If you’re not familiar with WordPress or websites your first thought might be a slimly little garden pest. However, a WordPress slug is not the […]
 WordPress has always been praised as one of the most SEO friendly and optimized content management systems (CMS) out there – even right out-of-the-box! But there are still some very important and basic first steps you will want to take upon first installing WordPress on your blog or site to help optimize the on-page SEO […]