How did you fare in this weeks core update? Losses for us.
This week’s core update


Tips, Expertise, Articles and Advice from the Pro's for Your Website or Blog to Succeed
How did you fare in this weeks core update? Losses for us.

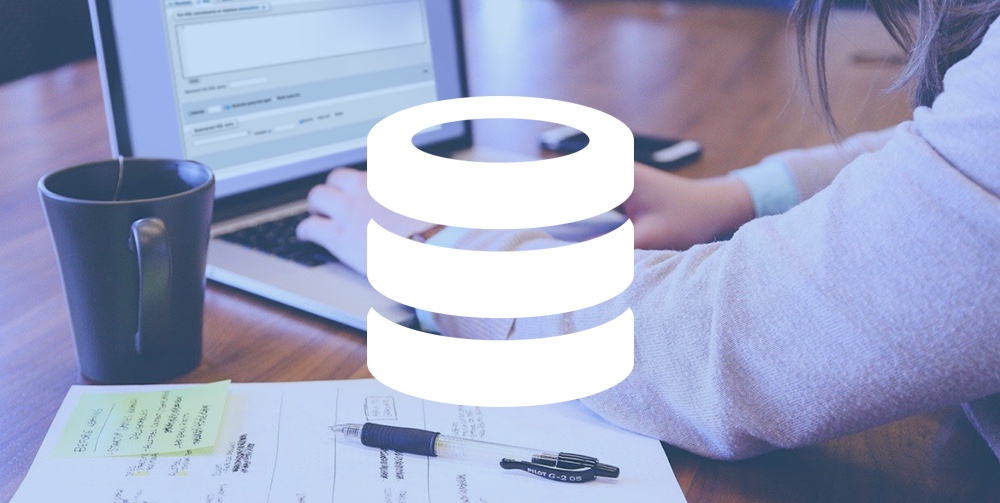 If you are a WordPress website owner, there is a lot of stuff to take care of. Constantly updating your blog content, adding new products, changing prices, and we do not even mention regular plugins update, providing a dev with access and doing many more things as a part of daily WordPress routine. Sometimes, if […]
The post Time Saving SQL Queries for WordPress appeared first on WPExplorer.

For the first time, at least 19 people from the WordPress community can literally call themselves WordPress rock stars without it sounding like an outdated marketing gimmick.
GravityView dropped a community music video and website named WordPress Strong earlier today. It is fun. It is inspirational. It will leave a smile on your face. The video features a wide range of faces, voices, and musical talent from around the planet.
Much of the world is looking for small ways to cope with the ongoing COVID-19 pandemic. Each day is about finding the things we should be thankful for while waiting for life to feel like normal. The WordPress community has been a beacon of hope for many. It has continued providing purpose to people despite their daily lives being upended. This project is one more way to show the strength of our community.
“People were scrambling to adjust to the new reality of living in a pandemic, and there was a rush of uncertainty,” said Zack Katz, the creator of GravityView, on starting the project. “In the middle of all that uncertainty, I felt lucky to be part of the WordPress community: doing what we do, working on an open and thriving platform, with a culture of people who are kind to each other and support each other.”
Many GravityView customers began using the plugin to enable COVID-19 responses, such as sites like Support Redditch, which coordinates relief efforts. “I sensed a movement of coming together to help each other, and I wanted to get the word out: if you need help, ask the community,” said Katz. “We’re here for you. We’ll get through this together.”
A total of 19 volunteers contributed to the music video, including WordPress co-founder Matt Mullenweg. However, the true star of the group was Tracy Apps, the owner of tracy apps design, who laid down the beat on the drums.
“It involved asking a lot of people!” said Katz of finding willing subjects. “I get why people are reluctant. I even waited until the last minute to record my video! Something special happens when people are invited to go beyond their comfort zone, especially when it comes to creative endeavors. It was moving to have the emails come in with their videos. People were willing to share a different part of themselves.”
The #WordPressStrong hashtag is open for anyone to contribute to on Twitter. The project is calling for volunteers to join in on the fun. If you can sing, play an instrument, or dance — or if you can’t — you can be a part of this movement for our community to become stronger. If nothing else, it will give you something to do to pass the time. Tag yourself doing something and share it. I am certain it will brighten at least one person’s day.
Katz began the project in March. He shared some initial lyric ideas with Jonathan Mann who then wrote and recorded WordPress Strong. The GravityView team reached out to members of the WordPress community and asked them to lend their voices.
“I deeply respect [Mann] as a musician and how he exposes himself through his music,” said Katz. “His album I Used to Love My Body was my soundtrack for last year.”
Mann is the voice of the GravityView brand and has previously created a song for the product. Katz and Mann also worked on the WordPress Wiggle song in 2017.
“When creating WordPress Strong, I shared a poem with [Mann] and expressed the tone that I wanted to convey,” said Katz. “The email had the subject line ‘WordPress Hope Song.’ He wrote and recorded WordPress Strong, and I think you agree, it’s a great WordPress Hope Song.”
The plan for the WordPress Strong website goes beyond releasing a song. Katz wants to expand the site to be a place where people from the community can ask and receive help during the pandemic. The team is currently working on a part of the site where community members can request assistance or offer help anonymously.
“I was hoping artists of all stripes would be interested in sharing their work on the WordPress Strong website,” said Katz. “Sharing creativity together empowers us to be vulnerable in our despair as well as our hope. I would like to help foster that.”

There’s some new units I was totally unaware of from the Level 4 spec for CSS values! The lh unit is “equal to the computed value of line-height” and rlh is the same only of the root element (probably the <html> element) rather than the current element.
Why would that be useful? Šime Vidas’ has a strong point:

.inline-icon {
  display: inline-block;
  width: 1lh;
  height: 1lh;
}
The post `lh` and `rlh` units appeared first on CSS-Tricks.